Upcycled Aluminum Can Fall Wreath DIY

Aluminum Can Leaf Wreath Tutorial at savedbylovecreations.com #fall #wreath #upcycle #repurpose #recycledCrafts

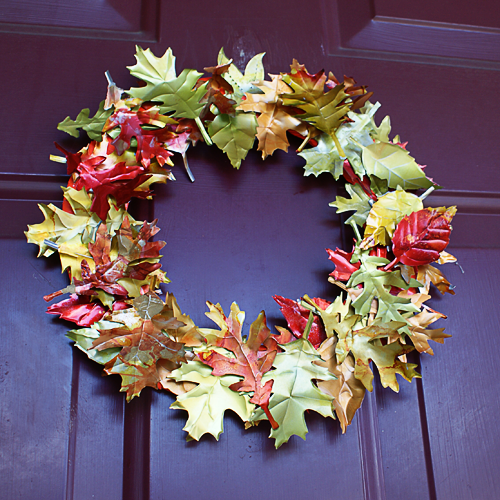
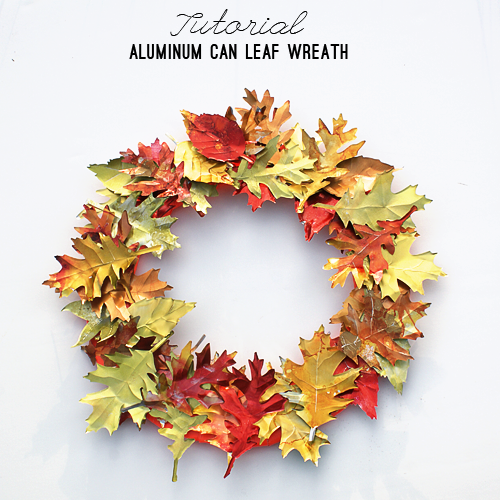
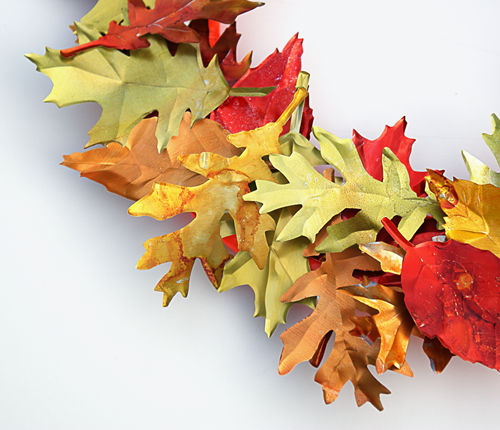
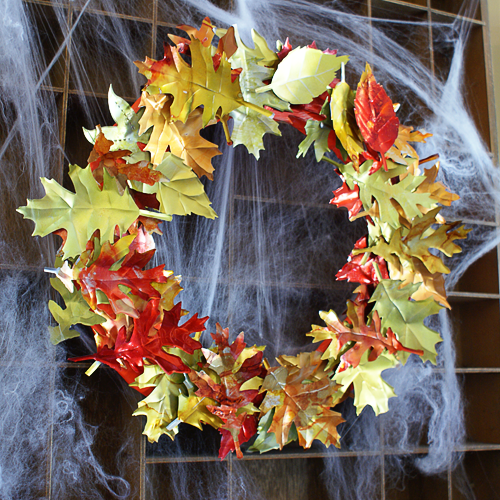
This is one of my favorite projects ever.  I cost pennies to create, I absolutely love fall decorating and crafting, and upcycling is my thing.  To make this wreath, I used my Sizzix and Tim Holtz leaf die, but if you don’t have a die cutter, you could do this part by hand with a leaf template, or use leaf shaped paper punches.  They work great on aluminum cans. Let’s get started on this vibrant, eco-friendly autumn leaf wreath!

Aluminum Can Leaf Wreath Tutorial at savedbylovecreations.com #fall #wreath #upcycle #repurpose #recycledCrafts

SUPPLIES:

Tim Holtz Tattered Leaves die

Sizzix

Ranger Alcohol Inks in your fave fall colors; Check out my friend Amy’s awesome color palate for fall, and how she used the inks on a shower curtain cut with the leaf die

Felt applicator for alcohol inks

Straw

Aluminum cans

Metal snips

Cardboard

Circle shapes to trace for inner and outer diameter of wreath

Pen

Scissors

3D Foam Mounts

Duct tape (optional, but recommended if you are putting your wreath outside)

Non stick craft mat

Aluminum Can Leaf Wreath Tutorial at savedbylovecreations.com #fall #wreath #upcycle #repurpose #recycledCrafts

TUTORIAL:

Rinse out your cans with soapy water and cut them into sheets like my aluminum can rose video:

Aluminum Can Leaf Wreath Tutorial at savedbylovecreations.com #fall #wreath #upcycle #repurpose #recycledCrafts
Metal snips
What do you think?  Do you want to make one yourself?  What are your favorite fall decor projects?

60+ Fall Decor Projects to Make

60+ DIY Fall Decorating Projects from savedbylovecreations.com

It’s time for fall, and with that comes my favorite DIY decor projects.  This round-up is full of ways to bring autumn into your decorating, from Halloween pumpkin crafts to Thanksgiving themed printables, and everything in between.  I hope you enjoy beautifying your space with inspiration from these amazing projects!


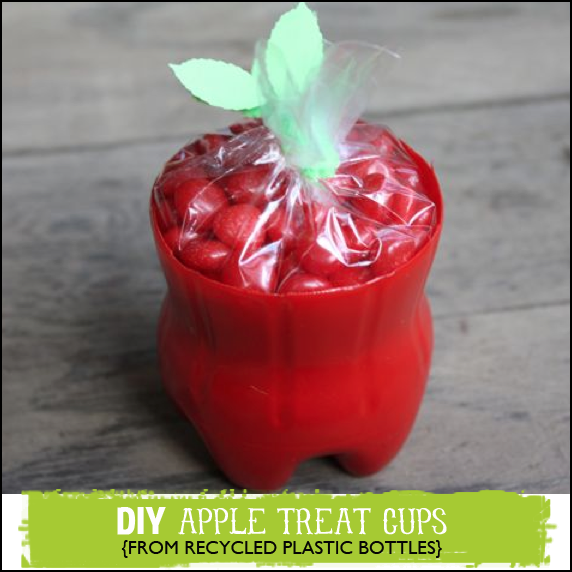
Upcycled Apple Treat Cups

Upcycled apple treat cups

Need a fall party favor or teacher gift for back to school?  Today’s guest has you covered with these precious apple treat cups.  Not only are they adorable, but they are eco-friendly, made from plastic bottles.  Malia from Yesterday on Tuesday makes me happy.  How did she know I love apples?  If you are new to this talented creator of vintage lovelies, you are in for a treat.  I could spend hours browsing her projects, and her recipes usually make me drool on my keyboard.  Thanks for sharing with us, Malia!

Hi There, Saved By Love Friends! My name is Malia and I blog over at Yesterday on Tuesday, where I like to share craft projects, recipes, vintage finds and more.

Maliaprofile
YoTNewButton

Johnnie is one of my favorite bloggy pals so I was psyched when I got the opportunity to blognap SBL for a day while she’s on vacation.

Upcycled Apple Treat Cups - Yesterday on Tuesday
I am a BIG crazy upcycler. It bugs me to see things go to waste so before I toss something in the recycling or trash I am always thinking… WHAT CAN I MAKE WITH THIS?

With school coming up, and apples in season, I had a hankering to make something apple-themed… so the idea of these apple treat cups was born. These would be cute for a back-to-school party or autumn gathering.

Supplies Apple Treat Cups - Yesterday on Tuesday

Supplies: 12 oz plastic drink bottles, red spray paint, a sharp knife or kitchen scissors, leaf punch, green cardstock, green pipe cleaner or twist ties, red candy, clear treat bags, glue or glue dots.

Punch 2 leaves per “apple” and set aside.

Bottle Cut - Yesterday on Tuesday

Find the seam on the bottle, stick the knife or scissors in and cut all the way around.

Plastic Cups -  Yesterday on Tuesday

The plactic won’t be sharp but you can go around again with scissors to even it out.

Spraypaint - Yesterday on Tuesday

Spray paint the “cups”

Spraypaint Bottoms - Yesterday on Tuesday

Don’t forget the bottoms!

Red Plastic Cups - Yesterday on Tuesday

It might take a few coats.

Red Hots Treat Cups - Yesterday on Tuesday

After they are all dry… it’s time for the fun part. Fill the treat bag up with red candy, use a snippet of pipe cleaner or twist tie to close it and secure the leaves on there with a drop of glue or a glue dot.

Red Hot Apple Treat Cup - Yesterday on Tuesday

Any kind of small red candy will do!

Apple Treat Cups - Yesterday on Tuesday

Ta-Da! A cute Upcyled Apple Treat Cups. “Pick” one or two or three!

Thanks for letting me hang out with you today and thank you Johnnie, for having me.

I’d love to connect with you on my blog, Pinterest or Facebook.

YOT sig 3

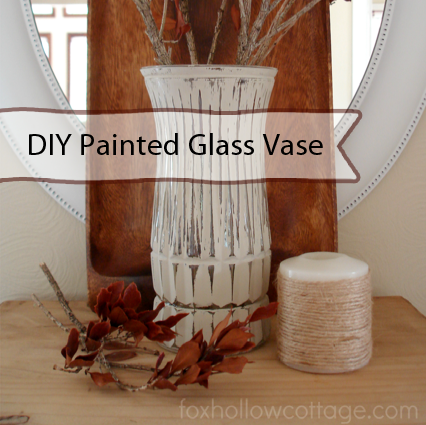
Painted Glass Vase Tutorial

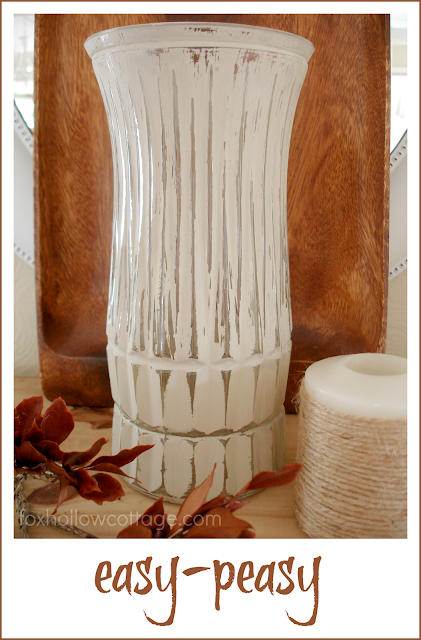
 Distressed Painted Glass Vase at savedbylovecreations.com by Fox Hollow Cottage

Give a warm welcome to today’s guest poster, Shannon!  Thanks for being here today to share this great, quick fall decor painted vase project.

Hi there SBLC readers!

My name is 
and I blog at

Today I’m going to share a super… 
(and I mean super)
simple craft that will result in a pretty decor accent, perfect for anytime of year!

-Make a Painted, Distressed Vase-

Grab yourself a vase.
You might have a few on hand already. 
The more cut work, (nooks&crannies) the better!
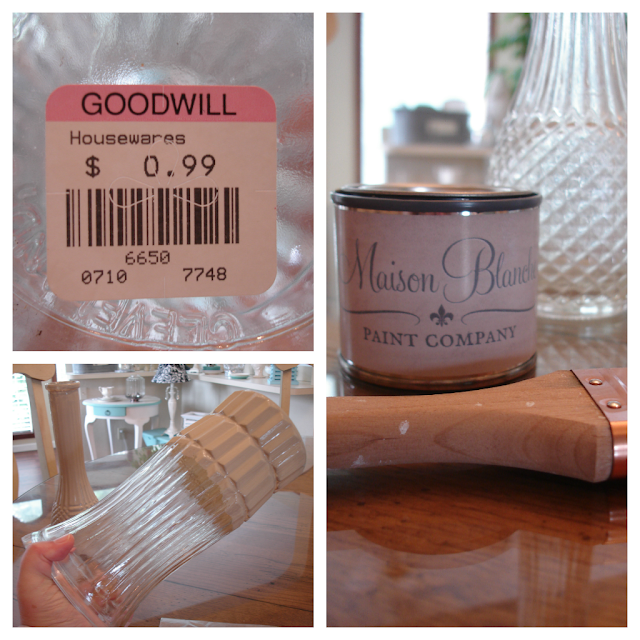
I got mine at Goodwill for 99 cents.

Make sure it’s clean & dry.

Next, you’ll want to use a paint that is suitable for glass surfaces. 
I used a (new to the USA) paint called 
La Craie.
It’s a chalk based paint and it worked beautifully on the glass. 
I decided on Cobblestone.
It’s a perfect neutral and I thought I could get lots of use out of my vase in this shade.

I like to move stuff around. A lot!

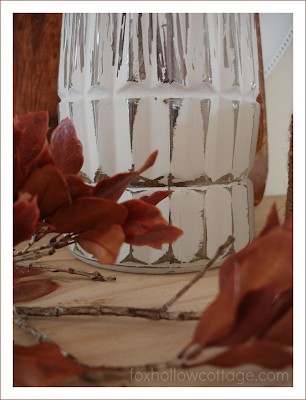
After my paint was dry. I grabbed  a sanding sponge and just knocked-off the paint until I liked the look!

Done
Decorate
 
Enjoy
This idea can be utilized to make centerpieces for parties, showers or casual weddings too. Any paint color can be used and embellishments can be added to make them really personal too! 

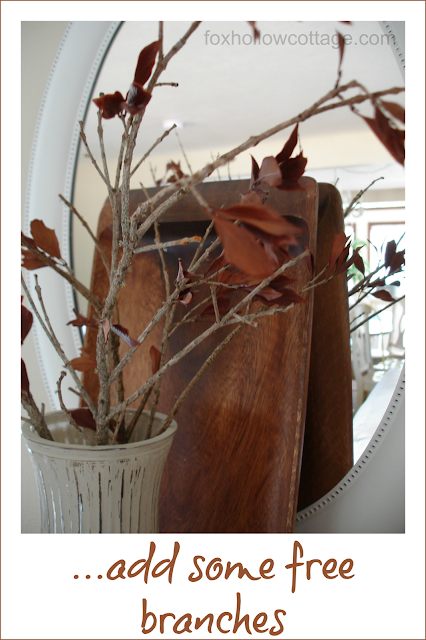
For Fall… I liked the simple, unadorned vase dressed in paint only. I can really enjoy the texture and cuts in the vase and I liked it paired with the branches, leaves and the natural elements of the wood and jute twine.
If you would like to view some more ideas for dressing up simple items… I have a some fun, 
tin-can crafts you might want to peek at.


Thanks so much for having me today!!
It was a real pleasure 🙂
Photobucket

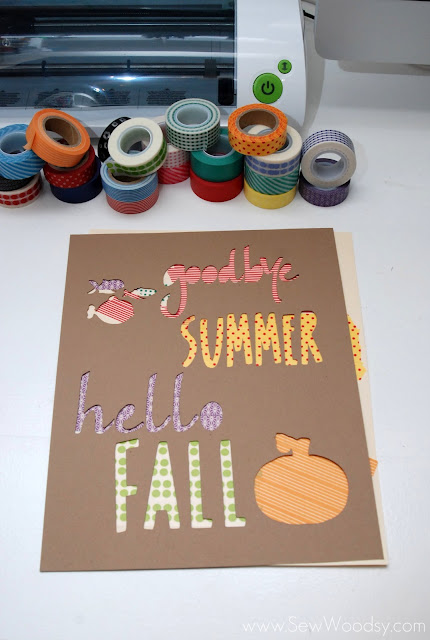
Fall Washi Tape Sign

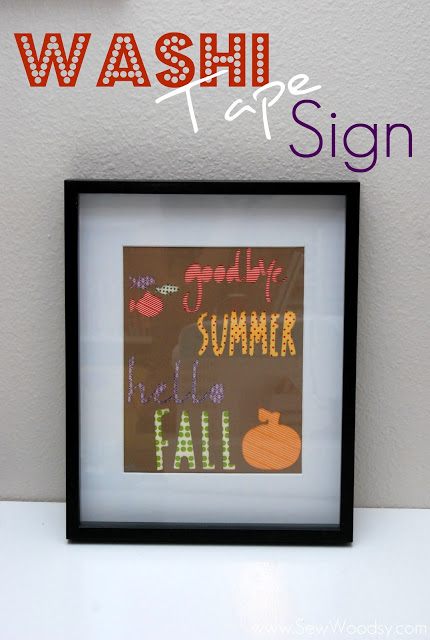
Fall Washi Tape Craft


Today is Day 1 of a week of guest posts here at SBLC.  Starting the show is Katie, from Sew Woodsy.  This creative friend knows a thing or two about decorating with washi tape.  Today she is sharing an adorable fall sign, with a washi tape underlay.  I can’t wait to try this project.  Take it away, Katie!  Thanks for sharing with us.

Hi everyone! I’m Katie from Sew Woodsy. My husband Jon (dubbed Mr. Woodsy on our blog) and I document our journey of homeownership one tutorial at a time. Sew Woodsy is a place where we share our love for renovating and decorating on a budget.

Thank you Johnnie, for inviting me to guest post for you today!

I don’t know about you, but I’ve fallen head over heals for washi tape this past year. I can’t get enough of this paper tape! I’ve been a cricut user for the past 3 years now and have fallen in love with the Cricut Mini and Cricut Craft Room. I upgraded to a larger machine for my birthday back in April, and just this month started playing around with it. Gah–why did I wait so long? It is amazing. This project utilizes the Cricut and Cricut Craft Room; however, if you have another die-cut machine I’m sure it will work just fine.

Supplies:

Cricut

Cricut Craft Room

Computer

(1) 8×10 sheet of recycled card stock

(1) 8×10 sheet of card stock

variety of washi tape

scissors

spatula

double-sided tape

frame
washi tape sign

First step, design your cut-out for your sign. I wanted to make a sign essentially saying goodbye to summer and greeting fall! This is what my creation looked like in Cricut Craft Room. I used the Designer’s Calendar script font for both “goodbye” and “hello”. I used Designer’s Calendar basic font for “summer” and “fall”. I found shadow of the pumpkin in Designer’s Calendar and grabbed the fish from Life is a Beach cartridge. I scaled my cut-out so that it would fit perfectly on one 8×10 sheet of card stock. washi tape sign

Once your cut-out is designed, it is time to cut it out using your Cricut.

washi tape sign

This is what it looked like while it was being cut out.

washi tape sign

Using a spatula, carefully peel the card stock off the mat.

washi tape sign

This is what it looked like once it was pulled off the mat. I decided to keep the letters since you never know when you might be able to use the letters!

washi tape sign

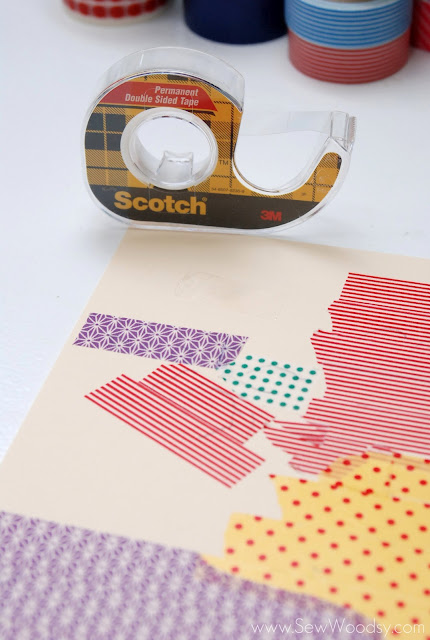
Next up, time to grab your washi tape and a piece of card stock that you’ll adhere all that washi tape, too.

washi tape sign

I lined up the two pieces of card stock and light traced around the bottom layer. This will act as a guide when I begin to apply the washi tape to the piece of paper.

washi tape sign

I started at the top with the fish.
washi tape sign

All three fish are complete. It might not look like much, but once you put the top layer over the tape it will look fantastic!

washi tape sign

washi tape sign

After completing the fish I realized I should probably erase the pencil marks as I go. Some of the tapes can be transparent and the last thing I wan to see is pencil markings.
washi tape sign

Added the red and white striped to the “goodbye”.

washi tape sign

Next up, add another layer of washi tape to the bottom card stock. This will be for the word “summer”.

washi tape sign

You’ll notice that the yellow and red polka dot tape started to go into the “L’s” from “hello”.

washi tape sign

Time to do intricate cutting so that the yellow and red polka dot tape doesn’t show through.
washi tape sign

Add a few rows of purple patterned washi tape!

washi tape sign

On to another layer…

washi tape sign

Last up the pumpkin!

washi tape sign

This is what my sheet looked like after I was done. If the top layer wasn’t over it you would think someone was just having fun with washi tape.
washi tape sign

Double check to make sure everything lines up.

washi tape sign

I then placed a few pieces of double sided tape on to the blank areas of the bottom card stock. This will help keep the two pieces of card stock together.

washi tape sign

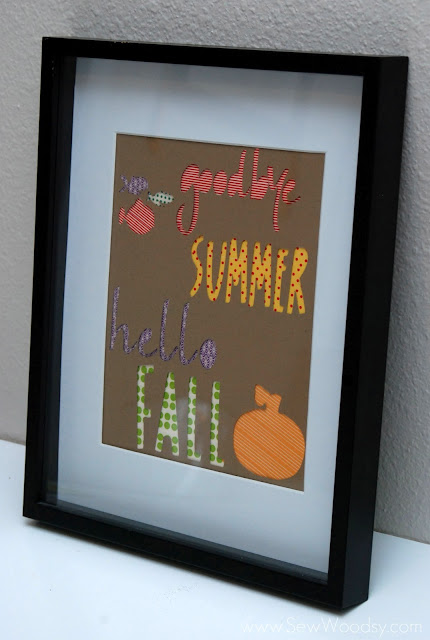
Place your washi tape sign in a frame, display, and enjoy!

I hope you enjoyed our tutorial and visit us over at Sew Woodsy. Don’t forget you can always follow us on Facebook, Twitter, and Pinterest! Thanks again Johnnie, for having me over!

Deco Art Glass Paint; Upcycle Wine Bottles

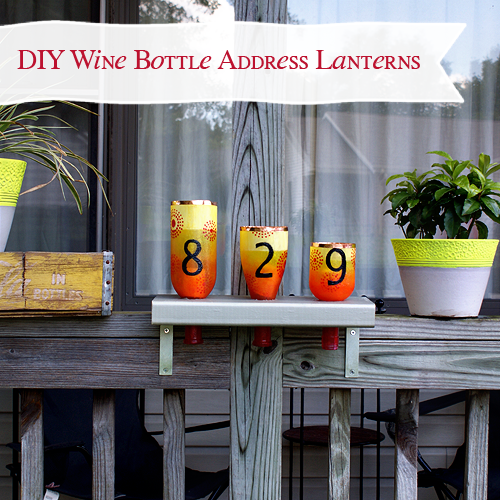
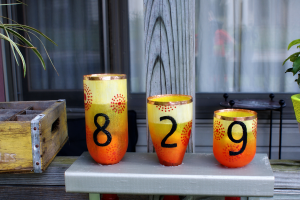
#decoartglasspaint Cut Wine Bottle Address Lanters by savedbylovecreations.com

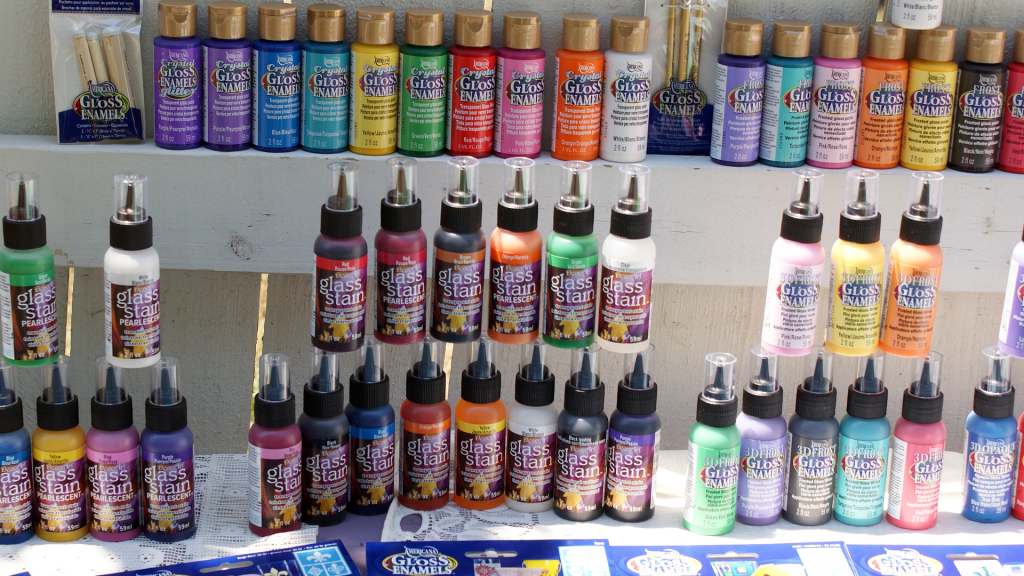
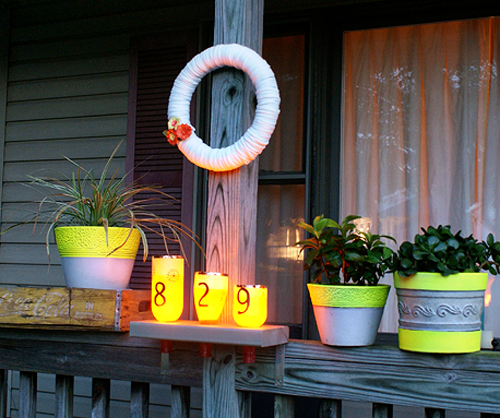
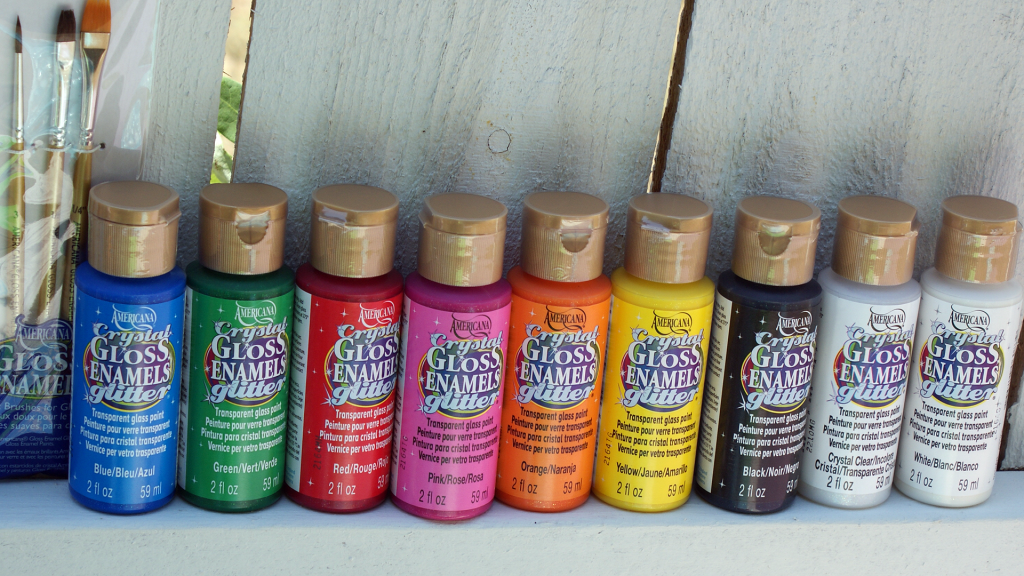
Remember the Deco Art glass paint I showed you not long ago?  Well today is the project reveal.  I focused on the glitter paint, and decided to use the opportunity to bring some warm colors to my porch for fall.  You will see how I used the sparkle filled colors and stencils to create wine bottle address lanterns.  This project does not require experience, but patience is helpful.  You will be cutting wine bottles, and painting several light layers of gloss enamel glitter.  There is some waiting involved, so plan on doing a little each day over several days.  The result is well worth the wait.

Cutting the Bottles

 First step is to cut the wine bottles.  This is accomplished with yarn and acetone in a quick, simple process I showed you in this video:
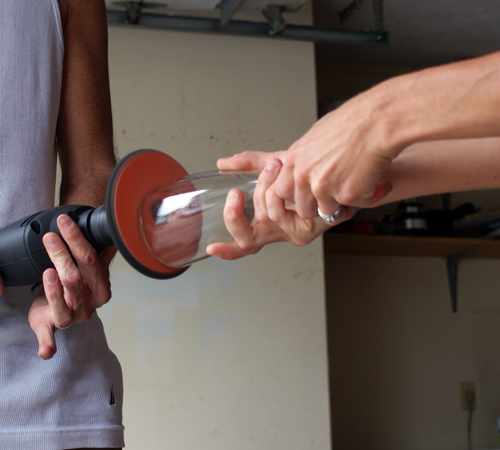
I cut mine at 3 different heights to have a tiered display.    We are working only with the upper piece of bottle in this tutorial, but the lower part makes a great dish, glass or candle holder.  To get the edges smooth, dear husband and I teamed up and used the sander drill attachment with low grit sand paper:
Before you being painting, clean the bottle well.  Use warm, soapy water, pat dry with lent free cloth, then clean entire surface with alcohol.  If you skip this step, oils in fingerprints remain and prevent your paint from grabbing onto the slick surface.  Keep the alcohol nearby to correct any mistakes.

Painting the Glass

NOTES:  I was going for an ombre red-yellow from bottle opening to cut edge.  The effect was created with several layers of Gloss enamel glitter, applied lightly with a cosmetic sponge.  This was after a big, streaky craft fail that I found myself in from applying too heavily with a brush.  The good news is that you can wipe mistakes away easily with damp sponge if paint hasn’t dried.  Even if it has dried some, you should be able to scrape it off if you do so before the 4 days of curing.  Also keep in mind that if it looks a little streaky, this could diminish significantly with overnight drying.

You will see in the photos, I added a segment of gloss enamel frost to the top of my red to yellow gradient for a contrast with the glittery awesomeness.  Always let paint dry between each step.  Put your finger in the mouth of the bottle to avoid touching outside and leaving fingerprints.

#decoartglass painted wine bottle lanter tutorial at savedbylovecreations.com #upcycle #repurpose #recycledcrafts

*NOTE:  When stenciling, work on one side of the glass and let that dry before moving around the glass.  It is super frustrating to mess up your stenciled design, which is  easy to do while positioning stencil/painting in another area.

Cure time is 4 days for these paints.  After that time, you can bake per instructions if the piece needs to be dishwasher safe.  Not the case here.  I built my shelf (see photos) and had my sparkly new address lantern display up 24 hours later.

Making the Shelf/Holder

Deco Art Glass Paint

So, what do you think?  I had a blast with these paints.  My project centered on the glitter finish, but I have been all over the stain and the frost paints, and love them.  There are some stunning projects by my creative cohorts.  See the list below for more inspiration.  You will be tempted to jump in your car and drive to the nearest Michaels Store, where you will find it near the glass products.

**I wrote this post as a part of a paid campaign with DecoArt. All opinions are my own.


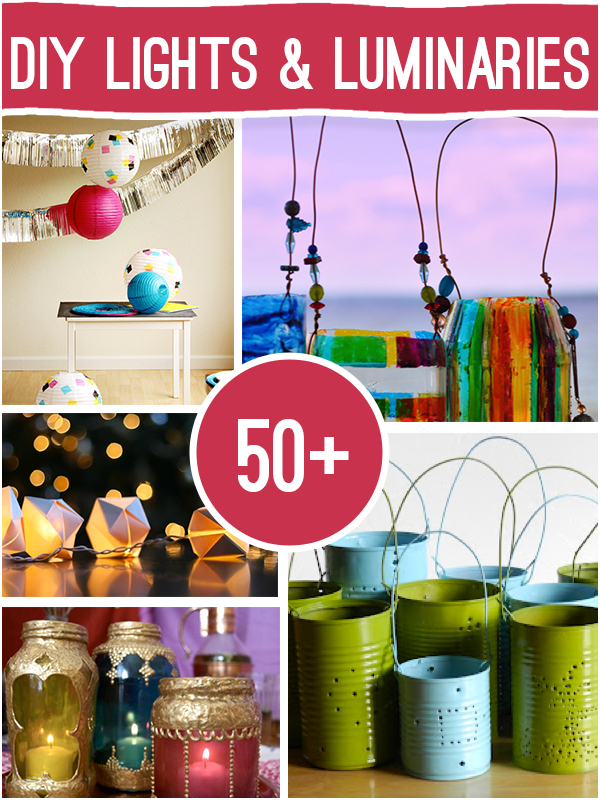
50+ DIY Lights, Lanterns & Luminaries

50+ DIY Luminaries

This week’s 50+ brings you inspiration for DIY illumination of all kinds.  From lanterns, to string lights to interesting lamps, decorative lighting is such a powerful way to create ambiance for whatever the occasion.  I hope you enjoy these ideas, and are moved to light up your world.

[pinit]

0ver 50 DIY Lights and Luminaries to Make @savedbyloves

[pinit]

50+ Recycled Glass Bottle Projects to Make

50+ Glass Bottle Projects
From soda to wine to juice to Frappuccino, glass bottles are abundant. This week’s 50+ will get your wheels spinning on creative ways to upcycle all that glass. Enjoy!!


Monogram Plate Tutorial

Painted Plate

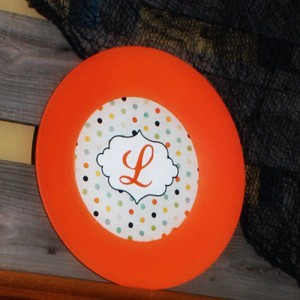
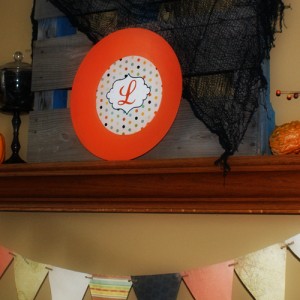
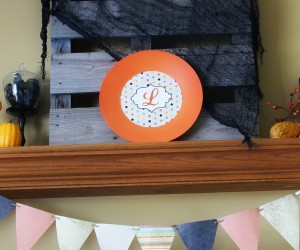
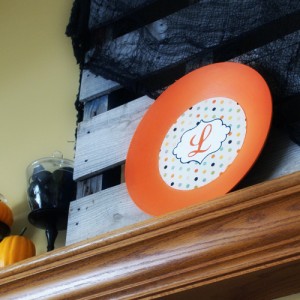
Ready to add a quick splash of color to a room, while celebrating the family name with a lovely monogram?  This project is super simple, and you most likely have all of the supplies on hand.  All you need is a plate or candle holder, a printer, and some craft paint, and you are on your way.

Supplies:

  • Image made in photoshop to fit plate center: Click here to download blank version
  • Super 77
  • Orange craft paint
  • Paint brush

Instructions:

  • Paint plate desired color:  You may want to use a coat of primer.  I used folk art Enamel (color Orange Poppy) paint and just painted the orange directly onto the black plate.  It took 2 coats.

How to paint plate

  • Open the above free download in you favorite editing program and add your monogram letter.  Size to fit your plate, and print on glossy photo paper.
  • Cut out circle and spray Super 77 on back (liberally), then press onto plate.  That is it!

Monogram Decor

Monogram Plate

Monogram Plate

Fall Printable: Keep Calm Count Blessings

Keep Calm Free Printable

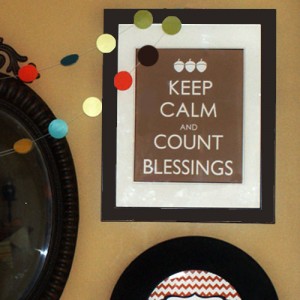
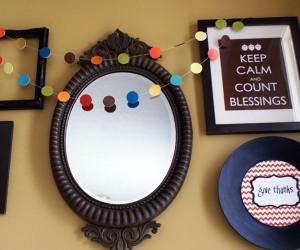
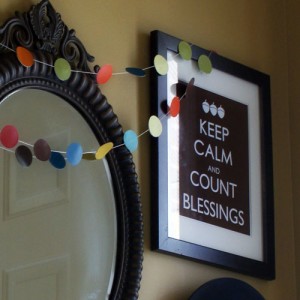
Fall decorating with printables is inexpensive, quick and easy, especially if you can just use your home computer.  This is an 8×10, framed in a garage sale frame that I picked up for a couple of bucks and spray painted black.  Jumping on the “Keep Calm” bandwagon, here is a Thanksgiving themed version for you to print.  I plan to display it until Christmas, and switch it out with a holly jolly version.

Keep Calm Free Printable

To download, Click here and “Save Image As”.

For the chevron “Give Thanks” printable, click here.

Fall Free Printable

I would love to hear about your fall decor!

Privacy Policy