Over 50 DIY Projects Using Old Maps

[pinit]
50 Best DIY Projects to Make Using Old Maps @savedbyloves[pinit]

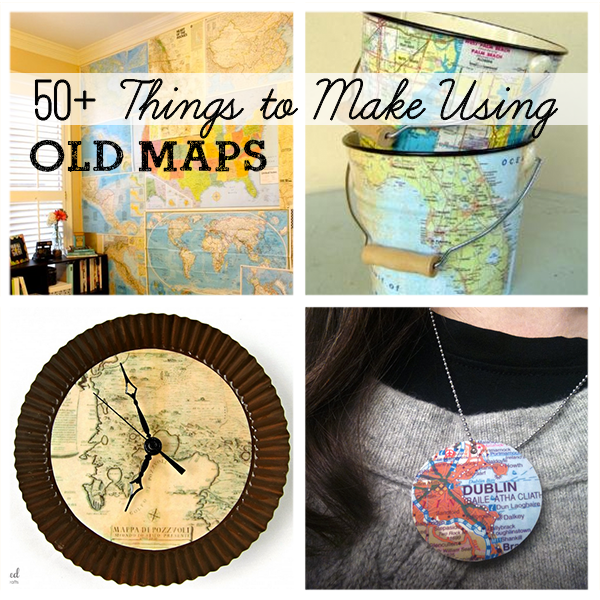
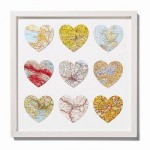
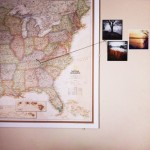
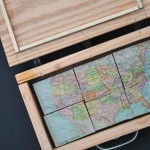
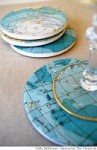
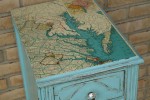
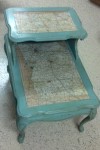
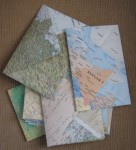
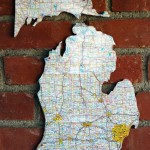
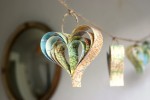
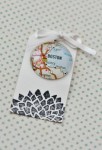
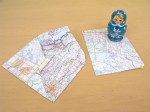
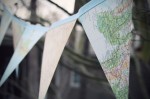
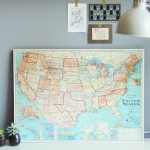
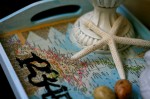
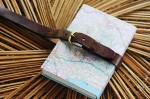
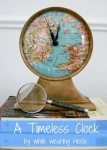
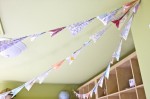
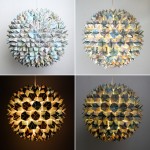
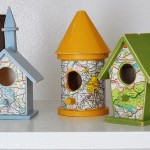
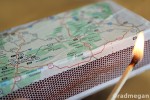
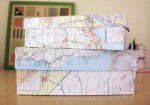
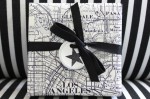
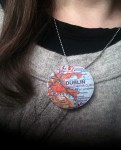
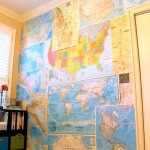
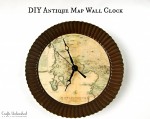
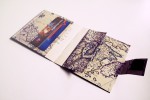
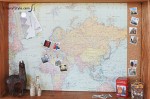
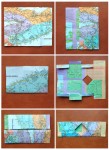
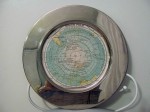
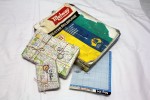
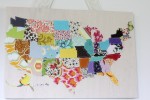
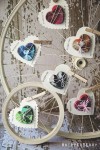
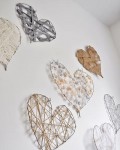
Do you love old maps?  Well if so, today’s round-up is going to make you dance and celebrate.  If not that, you will at least find some inspiration in super cool things to make with old maps.  Here is a collection of over 50 of the best projects “on the map”!  Enjoy, and as always, if you have a tutorial you would like included in the collection, send me the link for consideration.
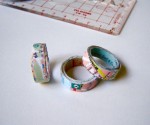
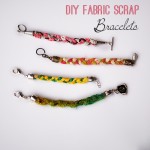
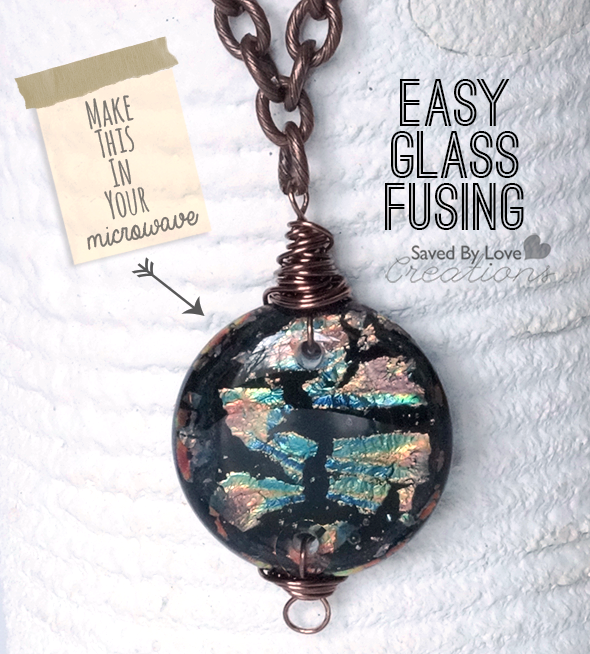
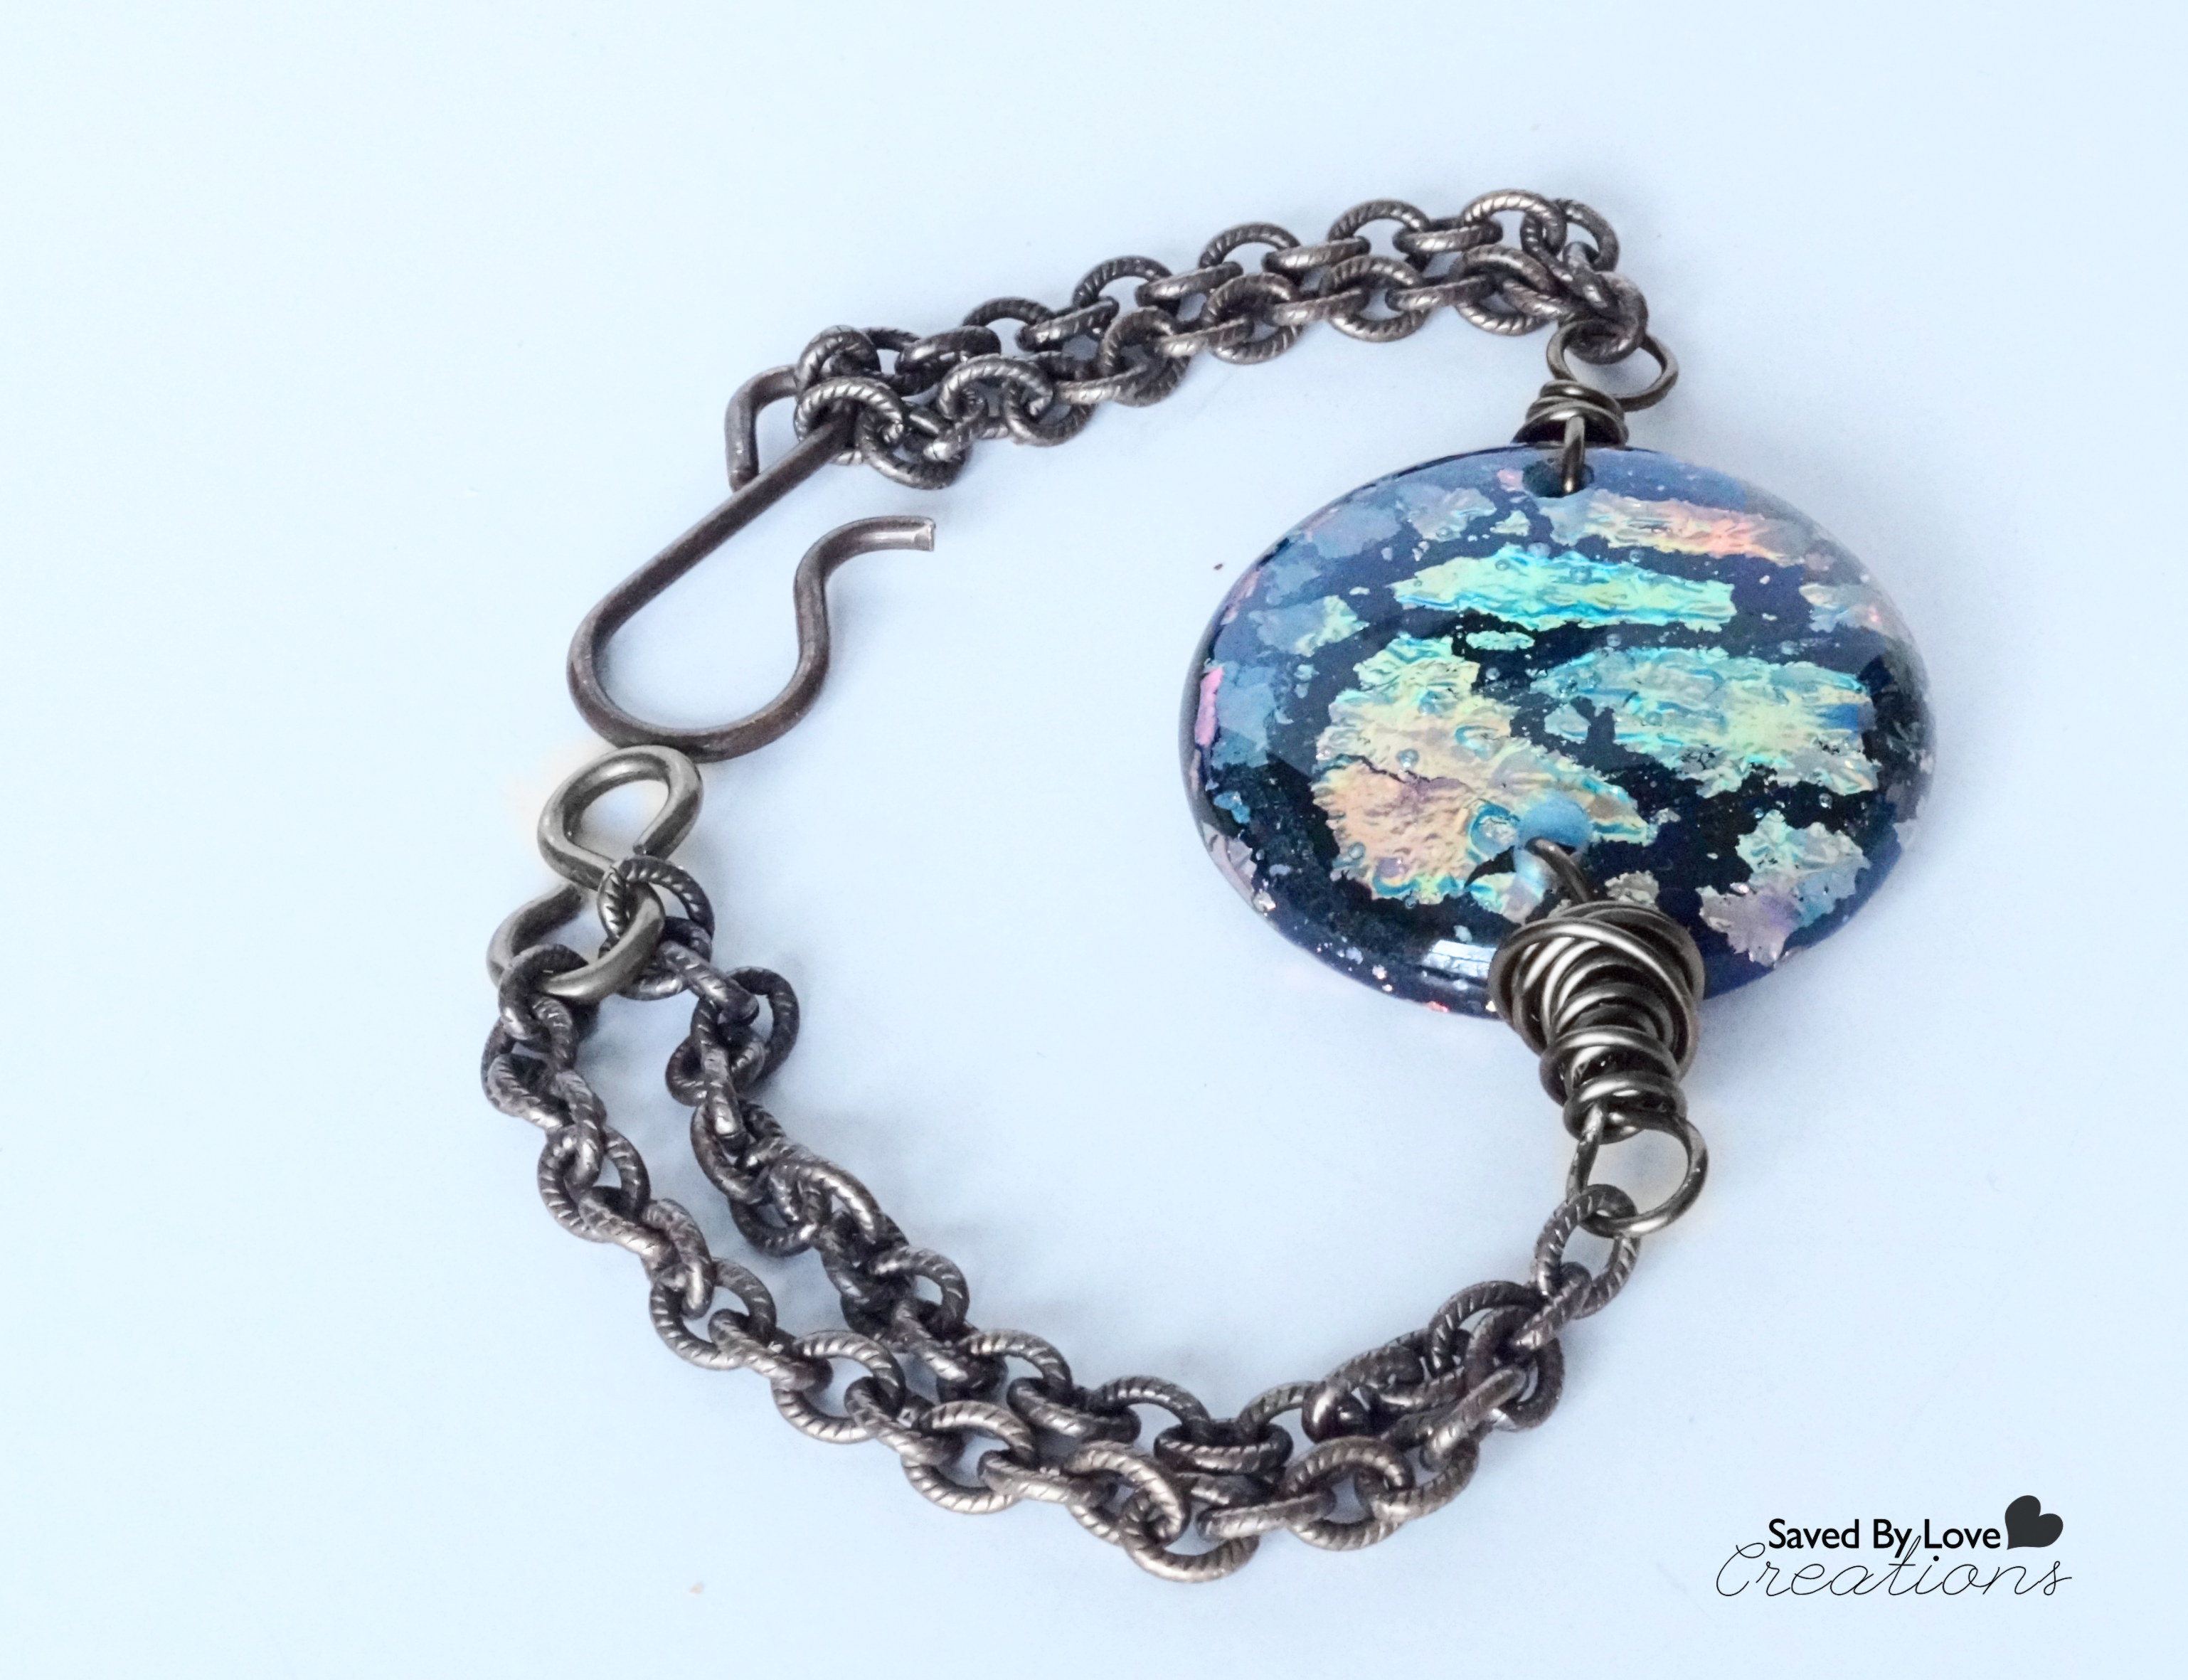

Make Geometric Modern Jewelry With Balsa Wood

Wooden jewelrymaking Tutorial @savedbyloves


Have you ever wondered what you could do with balsa wood?  I mean besides kid school projects?  I inherited a stack of the stuff and it has been stowed away for years, waiting for me to be struck with inspiration.  I saw these cool, modern DIY jewelry pieces from Infinity Blend and now I can’t wait to get started!  You don’t have to have special power tools with this wood, just a craft knife and tiny screw driver you would use on your eyeglasses.

[pinit]

Make DIY Jewelry With Balsa Wood @savedbyloves

[pinit]

Click on the image above for the full tutorial, or go HERE:

How to make handmade wooden jewelry with simple tools

Be sure and thank Maria for sharing with SBLC!

Be sure and check out our other jewelry tutorials here at Saved By Love Creations!

Powered by CGView

Make a DIY Terrarium Necklace

[pinit]DIY Terrarium Necklace Tutorial using Tim Holtz Corked Cloche @savedbyloves[pinit]

This tiny little treasure is easy to make and takes just minutes.  I found a new to me product from Tim Holtz called Corked Domes and knew immediately that I would be making a terrarium pendant with them.  There is glass drilling required, but do not fear.  You can do it, no problem.  I will help you and you will be a pro in no time.  I am warning you now that I used fake plants to make my terrarium.  You can use live plants.  It is way hipper if they are alive, but I have a tendency not to water things, so I went plastic.  If you are honest and you don’t have a PhD in succulentology, you’ve gotta give me that they look like the real deal.

SUPPLIES:

Rotary tool (I use Bead Landing Rotary Tool

Diamond Drill Bits

Tim Holtz Corked Domes

Small container of water and lint free towel

Hot glue/glue gun or Flora Bond if using live plants

Necklace Tutorial

Moss, small stones, mushrooms and whatever you want in your dome

Succulents (live or fake) – I got my fake succulents at Michael’s

20 Gauge copper wire or eye pin

Round Nose jewelry pliers

Flat nose jewelry pliers

Needle nose pliers

 Flush wire cutters

Chain or cord for hanging your pendant

DIY Terrarium Necklace

TUTORIAL:

First you need to drill a hole in the top of your dome for a place to insert wire for hanging the pendant.  Follow the detailed instructions I showed you in this tutorial:  Mason Jar Chimes Tutorial and Drilling in Glass.

NOTE:  These glass domes are very thin.  I tried drilling the hole using my dremel and shattered the first dome I attempted.  I like the rotary tool used in the tutorial linked above because it is way fewer RPMs than my dremel and it has adjustable speed.  Many people swear by their Dremels for drilling glass.  I find my rotary tool way easier and I have success 99% of the time with it.

Make a pendant bail

Either use an eye pin (pictured) or cut a lenght of wire about 4 inches and create a loop in one end with your round nose pliers.

How to Wire Wrap

Insert wire through Dome hole so that loop is on inside, then use flat nose pliers to bend wire to 90° about 1/8-1/4 inch above where it exits the top of the dome.

Jewelry Making Tutorial Terrarium Necklace

Use round nose pliers to grab the a few mm past the bend.  With your free hand, grab the wire end and wrap wire around the pliers to form a loop.  (That gunk on the round nose pliers is Tool Magic – it coats your jewelry making tools so they don’t leave scratches and dents in soft wire).

Handmade Jewelry Tutorial Saved By Love Creations

Wrap the remaining wire starting at the base of the loop down to the top of the dome.  Trim off excess wire with flush cutters and tuck in the end with needle nose pliers.  Now you have your wire bail for hanging your pendant!

Necklace Tutorial

Lay out your goodies and start gluing things into place on the cork.  Flora Bond works with live plants and won’t kill them!  I used hot glue since mine are artificial.

How to make your own jewelry

Once you have everything in place, add the dome and string your chain.  You are now super cool…

How to make a Terrarium Necklace

These would be cute as keychains too.  If you go crazy and your junk won’t fit in the dome, just tear some off and patch up any glue spots showing with moss.  Play around until you are satisfied with how it looks.

Remember last year when I showed you how to make bigger terrariums?

How about our 50+ DIY Terrariums and Creative Planters?

How I Cut Wine Bottles for Perfect Rings

[pinit]How to Cut Wine Bottle Rings for #recycledbottleart #winebottlecrafts @savedbyloves[pinit]

I am cutting the heck out of wine and beer bottles these days as I create recycled bottle art.  There are several ways to approach this task.  You can score the bottle with one of the many bottle cutting jigs available, or you can go the tile saw route.  Today I am going to show you the best wine bottle cutter I have found, and how I  separate the glass cleanly after making the score line.  You will learn the best way to cut a wine bottle, as well as how I make the rings, then fuse them in my kiln to get the smooth “donut” like the one I made for the pictured necklace.

How to make jewelry from wine bottles

Best wine bottle cutter

Creator’s Bottle Cutter

This is the cutter I use.  I love it.  I have tried several, and this one gives me the best score line with the least hassle.

PROS:  It is easy to get an even score line all the way around the bottle since the bottle is supported well and you have both hands free to rotate it.  It is great for cutting several rings of the same height from a bottle because you can easily adjust the blade location an even amount using the ruler on the blade guide.

CONS:  I wish I could cut the bottle neck with this cutter, but sadly, I can’t.  The blade doesn’t reach high enough for that.

This video from Delphi Glass shows you how easy it is to cut with the Creator’s Bottle Cutter.  After making the score line, the video shows heat applied to the score line with a candle.  I started out that way, but then found a quicker way that produces very clean breaks.

Wine Bottle Ring Before Fusing
First make all of the score lines for getting several rings from one bottle.  I like to make my rings 0.5-0.75 inches tall, so I just move the blade that distance for each line.

Best Wine Bottle Cutter

Once the score lines are made, I put the bottle back on the roller and heat the bottom score line.  I hold the torch in my right hand and spin the bottle on the rollers with my left hand on the neck of the bottle.  It is important to keep the bottle moving because applying the torch in one spot for very long will cause the glass to splinter  and shatter.

Sometimes a few rotations with the torch on the score line will be enough to separate the glass.  After 30 seconds of heat if the glass is still intact, I submerge in a bucket of cold water and that does it.  Now the bottom is off of the bottle and I move on to the next score line.  When it breaks, I have my first ring.

Glass fusing kiln

To get the smooth, flat ring shown in the beer bottle necklace, I put my rings in my kiln (I have a Paragon Fusion 14) and run to full fuse.  You could do these one at a time in your a microwave kiln.  That is how I started!

I showed you my first microwave kiln project here:

How to make dichroic glass with microwave kiln

Sea Glass Jewelry; How to Drill Holes in Sea Glass

[pinit]How to Drill Holes in Sea Glass @savedbyloves[pinit]

I have been playing with sea glass that I bought in Florida a couple of years back, and I finally had some success with drilling holes for jewelry.  I had to break several pieces with my Dremel before getting the hang of it.  You don’t have to have a drill press to do this.  I actually find it easier to hold the drill in my hand so I can feel the pressure I am exerting.

Sea Glass Pendant DIY

This video from Marc Horne describes the technique I used for my pieces pictured.


To wire wrap your pieces like I did, visit this DIY Dichroic Fused Glass Pendant I shared with you previously.

How to Drill Holes in Sea Glass

Do you make sea glass jewelry?  What is your preferred drilling method?

The 50 Plus Best Scrap Fabric Project Tutorials

[pinit]

The 50+ Best Scrap Fabric Crafts @savedbyloves[pinit]

If you are anything like me, you have fabric scraps that are so beautiful and you just can part with them.  Well, what to do?  Today I am sharing the 50 best scrap fabric project tutorials my search revealed.  You can make anything from fabric scrap home decor to jewelry, shoes and more.  Many of these are great last minute gift ideas as well.  Happy scrap busting!


Microwave Kiln Fused Dichroic Jewelry DIY

[pinit]How to fuse glass in your microwave; beautiful dichroic focal pieces in minutes @savedbyloves
[pinit]

Can you believe these fused dichroic glass pieces can be made in your microwave in 3 minutes?  I showed you these fused glass dichroic wire wrapped earrings a few weeks back, and I have pretty much been at it ever since.  I have upgraded to an electric kiln for bigger projects, but we won’t get into that right now.  Today I will show you how to stack precut fusible glass to get the dichroic pieces you see here.

Dichroic Bracelet

SUPPLIES:

Fuseworks Microwave Kiln Tutorial

 Fuseworks Beginner’s Microwave Fusing Kiln

Fuseworks Fusible Clear Circles

Fuseworks Fusible Black Circles

Fuseworks Fusible Dichroic Circles

22 gauge copper wire

Jewelry findings of your choice for clasp and chain

Round nose pliers

Flat nose pliers

wire cutter

TUTORIAL:

Microwave kiln for glass fusing tutorial

Stack from bottom to top; black, dichroic (foil side up), clear onto fiber paper in kiln and place in microwave.  You can make 2 of these in the microwave kiln at the same time.   Following instructions, begin microwave and monitor for glow.  Mine took about 3 minutes.  Let cool per instructions.

dichroic glass jewelry diy

Drilling Holes in Glass

Let your piece cool completely, and drill holes as shown in the following quick video from Glass Fusing Made Easy:

Wire Wrapping Your Piece

I used the technique in this video from Beadaholique to wrap my pieces.  The process is simple, even if you have never worked with wire.

I hope you enjoyed.  Please let me know if you have fused glass and what you like to make!

50+ Heart DIY, Crafts and Jewelry Projects to Make

[pinit]

Heart Crafts Valentine's Day Ideas[pinit]

It’s all about hearts today, with this collection of over 50 DIY heart projects you can make. You will spy jewelry, crafts, wall decor, clothing and more, sure to inspire your Valentine’s Day festivities.


Beginner’s Glass Fusing ; Recycled Glass Dichroic Earrings

[pinit]

How to make dichroic glass with microwave kiln

[pinit]

I have had a microwave kiln kit by Fuseworks for at least a year, and have finally gotten around to experimenting with glass fusing for the first time.  This pair of earrings showcase the very first attempt using the kiln!  I love them.  For so many reasons, I love them.  First, fusing in your microwave is super easy and fun.  It takes like 3 minutes for the glass to turn all glowy and molten.  So awesome.  Secondly, you can use recycled glass and you all know how all about repurposing and eco-crafts I am, right?  Once you invest in the kiln, you can break old bottles for your base, and purchase dichroic, fusible glass for not too high a price.  Especially considering how beautiful it makes the pieces.  I got sheets of it at Hobby Lobby for $4.99, and can get at least 10 fused glass focal beads out of that.


How to fuse glass in microwave tutorial

SUPPLIES:

Fuseworks Microwave Kiln Tutorial

I got my Beginner’s fusing kit at Hobby Lobby.  It is cheaper on Amazon; Fuseworks Beginner’s Fusing Kit

Broken beer or wine bottles in colors of your choice

Dichroic and other fusible glass

Glass cutter

Running Pliers

Flush Wire Cutters

Round nose pliers

flat nose pliers

Antiqued Copper Wire 20 Gauge

Bead Landing Jig to make earring findings – you can make them your own way or buy them made, but I love this jig and it saves money to make my own!

TUTORIAL:

Kiln with glass bead layers

I used very imperfect rectangles of wine bottle shards, one slightly larger than the other, and a piece of transparent dichroic glass that came in my Fuseworks kit.  Per the instructions that came with the kit, I placed the include fusing paper on the kiln, then stacked my glass layers on top of that.  It is easiest to do this in the microwave because moving the kiln will cause your pieces to go all over the place and it gets really annoying.  Put it in place in the microwave, then start layering your glass.

The larger green piece went first on top of the kiln paper.  Next the smaller, then the even smaller dichroic shard, with the foil side face down.  The kiln is small, but I did both of my earrings at the same time (not shown in pic).

Microwave kiln for glass fusing tutorial

Place kiln lid and turn on microwave for 2 minutes at first to begin fusing.  Check after two minutes, making sure to wear gloves, by lifting lid.  If your piece is uniformly glowing orange and the edges are rounded and fused together, you are done, but that is unlikely at 2 minutes.  I kept going for 30 second intervals.  The first attempt fused in 4 minutes.  Then remove the kiln from microwave (without removing lid, which can cause rapid cooling and cracking of the glass) and place on heat resistant surface.  I put mine on my stove burner.

Let cool for at least 30 min before removing lid!  Don’t touch glass for 45 min, and even then, be careful!  You can’t tell if it is hot by looking at it.

DIY Dichroic glass jewelry begginers glass fusing

 I left my pieces alone overnight while I decided what to do with them.  Then I wire wrapped them like I showed you in this Bail free, glue free way to hang pendants tutorial.  Or you can glue on a bail.  Those came in the kit too!

I am addicted!  I have had a couple of fails, but mostly just fun creating with a new technique, resulting in beautiful fused glass creations!  I hope you love this medium as much as I do.  Have you tried it before?  Any tips you want to share?

Over 50 Projects to Make Using Twine

[pinit]Over 50 Things to make with Twine #bakerstwine #twinecrafts @savedbyloves[pinit]

About two years ago, I discovered baker’s twine and fell a little in love.  Today I am sharing some of the best twine crafts out there, using all kinds of twine, including my precious baker’s!  You will find home decor, jewelry, paper craft tutorials and more.  If we missed a favorite of yours, let us know!  Enjoy and try *knot* to tie yourself to anything!


Privacy Policy