Upcycling DIY home decor, woodworking and Crafts

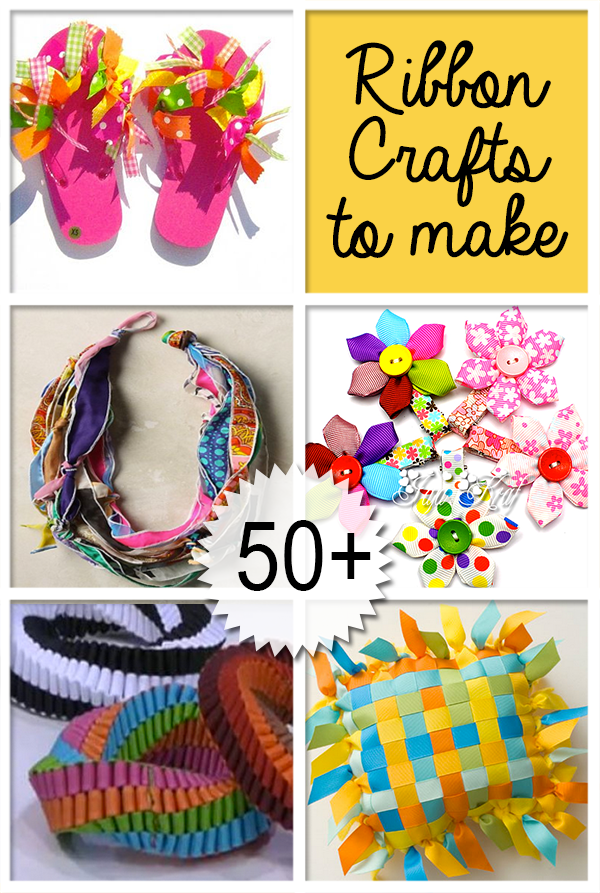 If you are obsessed with ribbons like me, you will love today’s round-up. Read on for over 50 ribbon crafts, including holiday projects, DIY home decor, kids crafts and more! If you want your ribbon project included, leave a link to your tutorial in the comments.
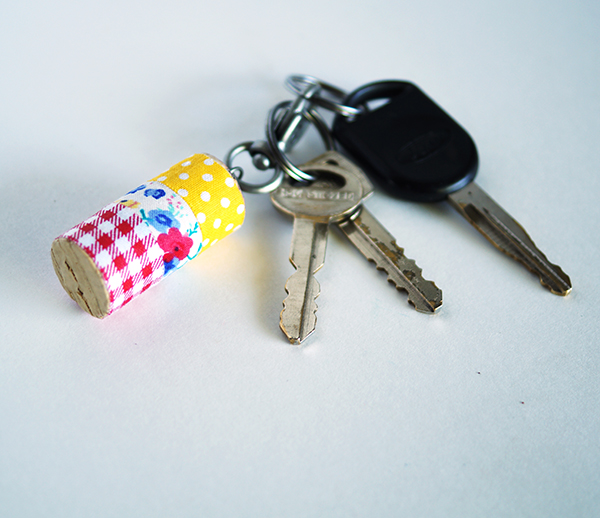
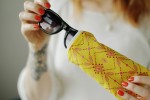
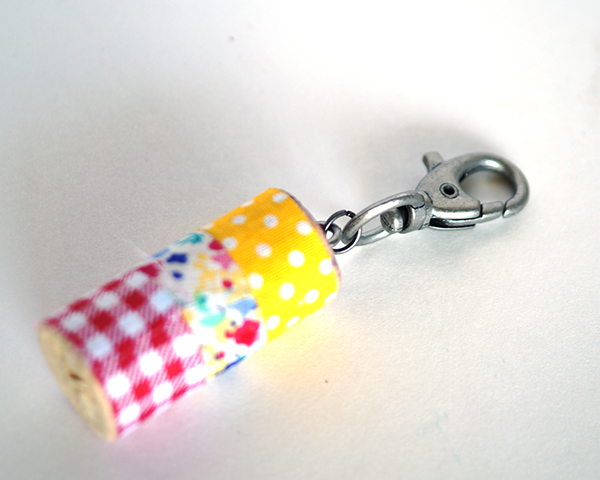
Carry your keys in eco-friendly style with this washi covered wine cork keychain. This project is simple and quick, and makes a great handmade last minute gift or party favor. Decorate with ribbon, paint, stickers and stamps as a variation!
MATERIALS
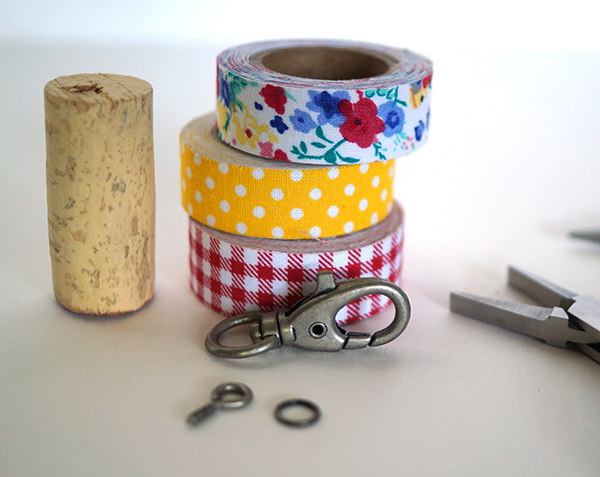
-Cork
-Eye screw
-washi tape
-scissors
-keychain findings
-jump ring
-2 pairs of jewelry pliers
1. Cover cork with strips of washi tape as desired.
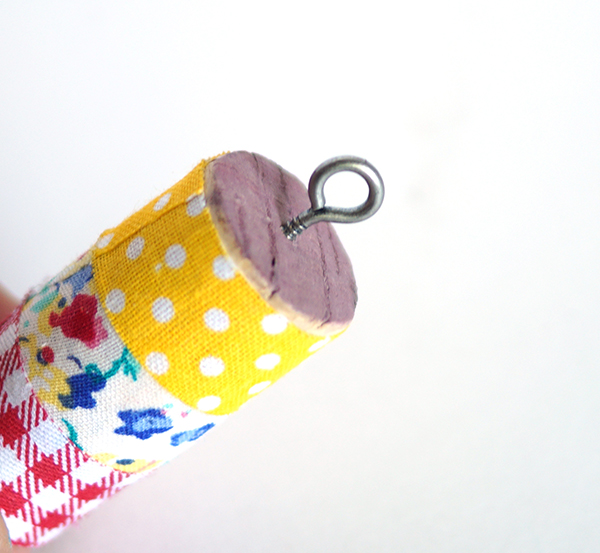
2. Place eye screw in center on one end of the cork.
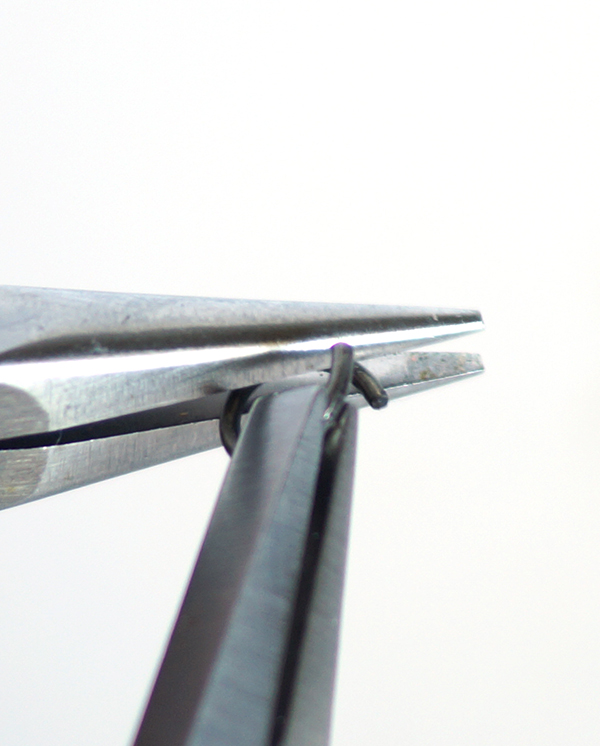
3. Use both pairs of pliers to twist open jump ring as shown.
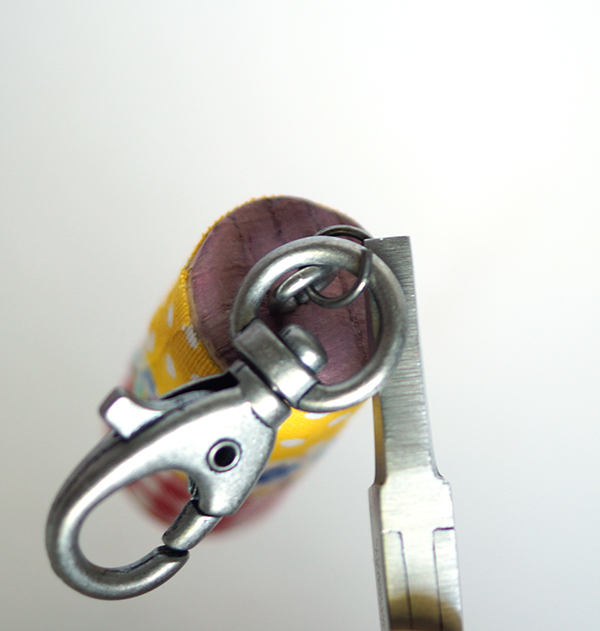
4. attach key ring finding to eye screw with jump ring then close jump ring, using both pairs of pliers to twist it back to the closed position.
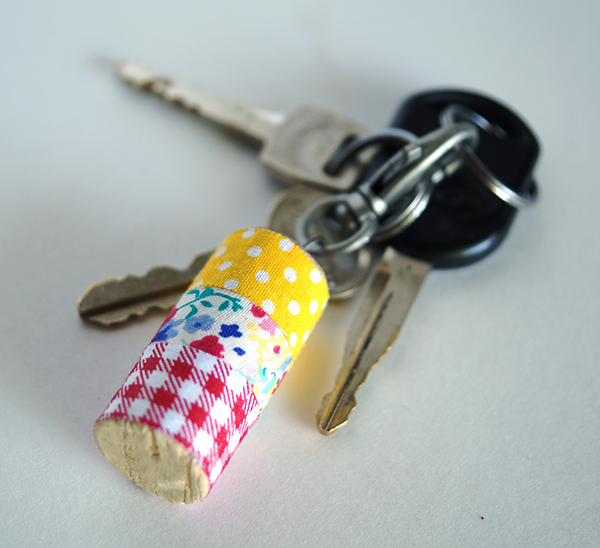
That is it!
And our 50+ Washi Tape Crafts

[pinit]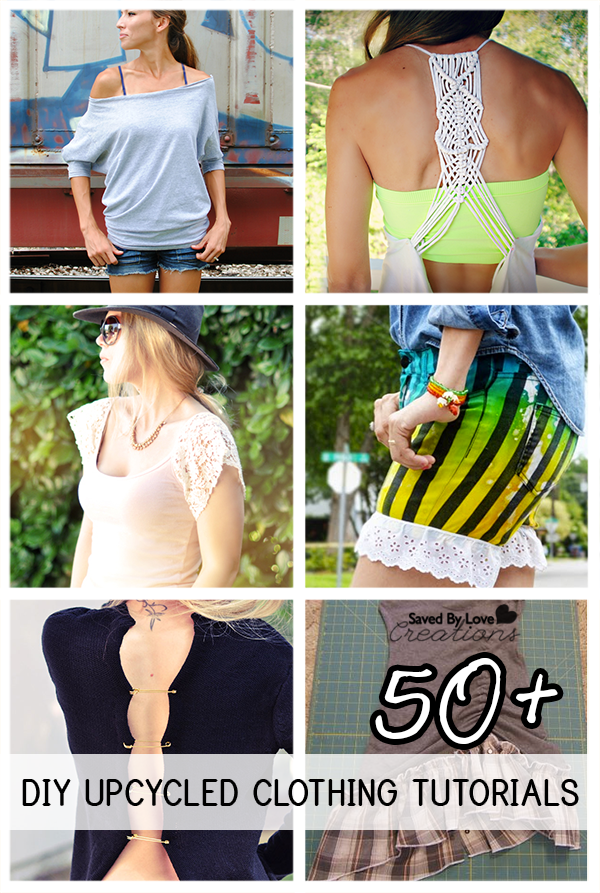 [pinit]
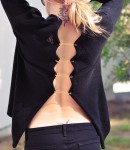
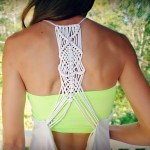
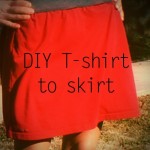
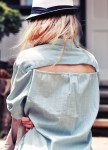
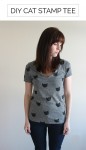
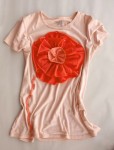
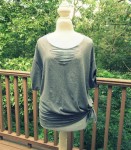
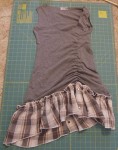
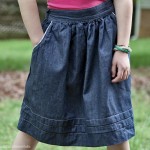
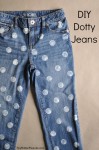
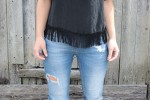
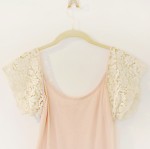
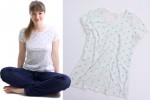
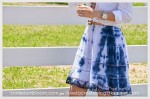
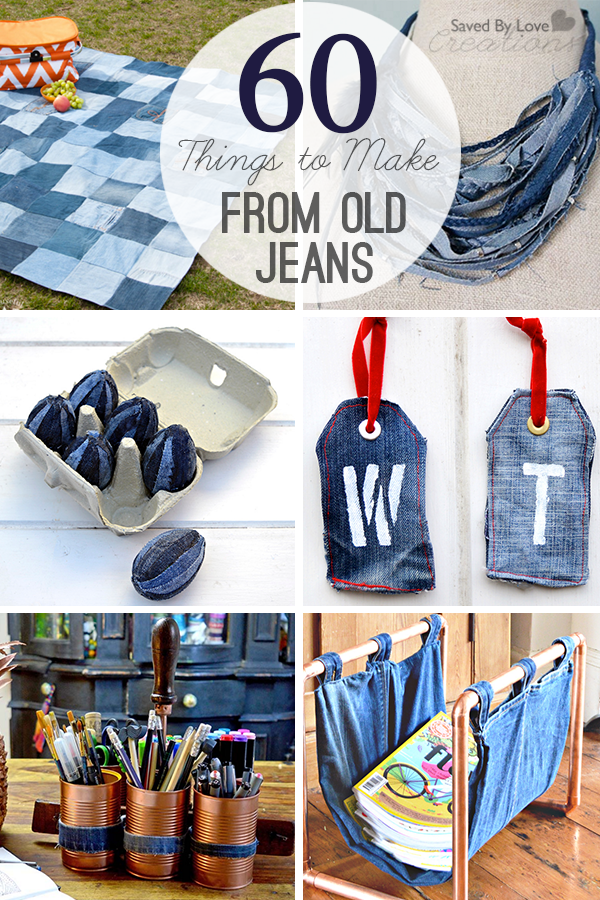
Before you haul that pile of old clothes off to Goodwill, you may want to check out this collection of 50+ awesome upcycled clothing tutorials! Up the style of your wardrobe with some simple and inexpensive creative ideas to refashion those old clothes. Did we miss your favorite? Let us know. We love a good clothing upcycle!
[pinit]
[pinit]
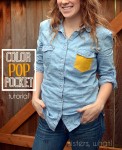
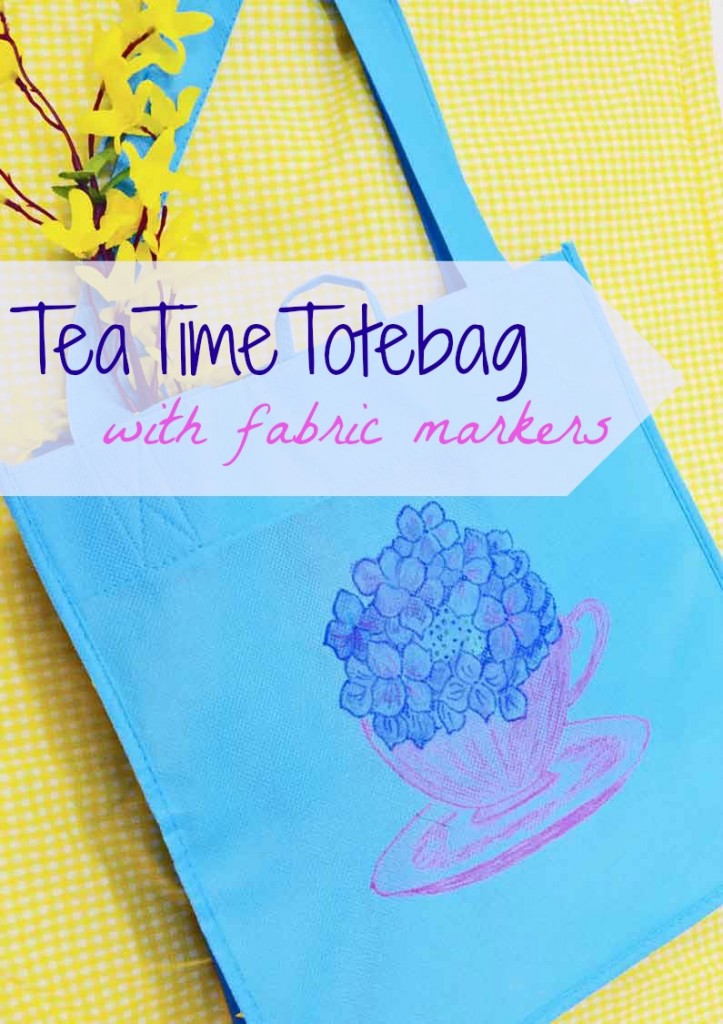
Hello! Colleen here, with a way to decorate a totebag that will make it worthy of gift-giving. You do realize that Mother’s Day is right around the corner, right? I know! With Easter being so late in April, we have to really move fast if we want to give any handmade gifts to the moms in our lives. No worries because this happens to be a fast project. And cute too.

While this tutorial is for a totebag you could also use the markers on almost any fabric. Tee shirts are cute too. However, I made this for my own mother who can always use another totebag.
I’ve provided the Hydrangea in a Teacup pattern for you to download. If you’d like, I have other patterns that are free to download too. Most of them would work fine for this project.

After you print your pattern, place it on top of the cardboard and slide it into the totebag. This prevents the markers from seeping to the backside as well as holds the pattern a little more stable.
You could also iron the pattern onto the shiny side of a piece of freezer paper, then iron that to the tote or tee shirt to prevent slipping. However, make sure you do a test for iron safeness on any shopping bags. The one I used above needed a press cloth between it and the iron.

Now all you need to do is outline the pattern with your choice of colors.

You can mix more than one color too.

This was the finished design after outlining with purple, pink, and a few green dots in the center for the hydrangea buds.

Dampen your paintbrush with a little water and go over the marker lines. The more water you use, the more of the markers will blend. The less water, the more defined the lines will be.

You can do a little of both – leave some outlining and blend other parts. There is no right or wrong way to do this.

You can fill in the pattern completely or leave spaces for the totebag to show thru.
It’s a great kids’ project too. If they’re too young to outline, they would still love to grab a paintbrush and “paint” a present for Mom or Gramma, wouldn’t they?

Isn’t this a great craft for Mother’s Day? Or any other day, actually.
If you use the markers on a shirt, they’re washable after drying 24 hours. To be on the safe side, I think I’d heatset them anyway with an iron, although the instructions don’t mention that.
Have fun with this! I hope you’ll stop by Just Paint It and say hi one of these days. I’m always painting . . . or drawing with markers! You can also find me on Facebook, Google+, Pinterest and Instagram too.
Happy Crafting!


[pinit]

[pinit]
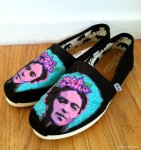
Hi there! I’m excited to share this project with you today for a few reasons – a) it’s ‘wearable art’ and what’s more fun than wearing something you created, and b) it’s a great project for Spring.
I don’t think there’s one of us who isn’t ready for Spring, right?
Seriously. What a winter!
These shoes are a paint-in-an-afternoon project too. Which I happen to love. Instant gratification and all that.

optional: Krylon Matte Spray sealer

Start by penciling the shapes onto the shoes. Just randomly, maybe overlapping a few here and there.
There is no right or wrong to this.

If you’re uneasy about freehanding your shapes, you can cut some templates out of a manila file folder.

Then just trace around them.
I chose these ‘guitar pick’ shapes as the outline for some retro dandelions I saw online. But you could certainly paint any shapes you wanted.

Fill in the shapes, starting with one color. Then move on to the second color. This helps spread the colors around evenly, painting one color at a time.
I didn’t prep the shoes in any way, just painted right on top of them and it worked great. You could, however, basecoat the entire shoe first, if you wanted another color besides white.

After painting the blue and green, take the end of your paint brush, dip it into some paint and ‘dot’ randomly around the shoe.
This not only adds some extra interest, it also keeps you busy while the dandelions are drying.
![]()

Just for fun, add a third color of dots, like Pink Melon. A sunny yellow or bright orange would be cute too, or any other color that feels like Spring.

Once the paint has dried, it’s time to add some little lines and dots with your fine tip marker.

Just little lines with a little dot on the end to look like funky dandelions.
If there’s room, draw some stems for the dandelions too.

You can also draw a little swirl in the dots.

I just added a few swirls here and there.

The marker will dry very quickly and then you’ll have a fresh new pair of kicks for Spring!
Which, hopefully, will be here very, very soon!
One last thing – you can seal the shoes with Krylon Matte sealer, if you choose. I didn’t because acrylic paint is really pretty durable however the sealer would also make them much easier to clean.
Thanks so much for hanging out with me today. I’ll see you again next month with another fun paint project. In the meantime, please drop by Just Paint It and say hi. You can also find me on Facebook, Google+, Pinterest and Instagram too.

[pinit]
 [pinit]
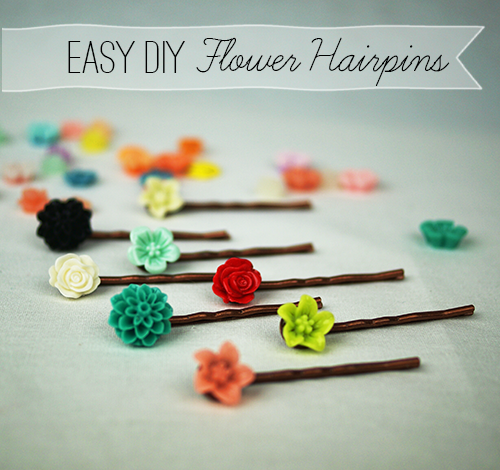
I gotta tell you that I don’t think I will ever outgrow flower cabochon hairpins! I love them to itty bitty pieces. Do I look silly? Maybe. Will that stop me from sporting them. Nope. If you aren’t into them cause you think you are too old, you’ll still love this project for the little ones. Learn how to make these precious pins in just one step!
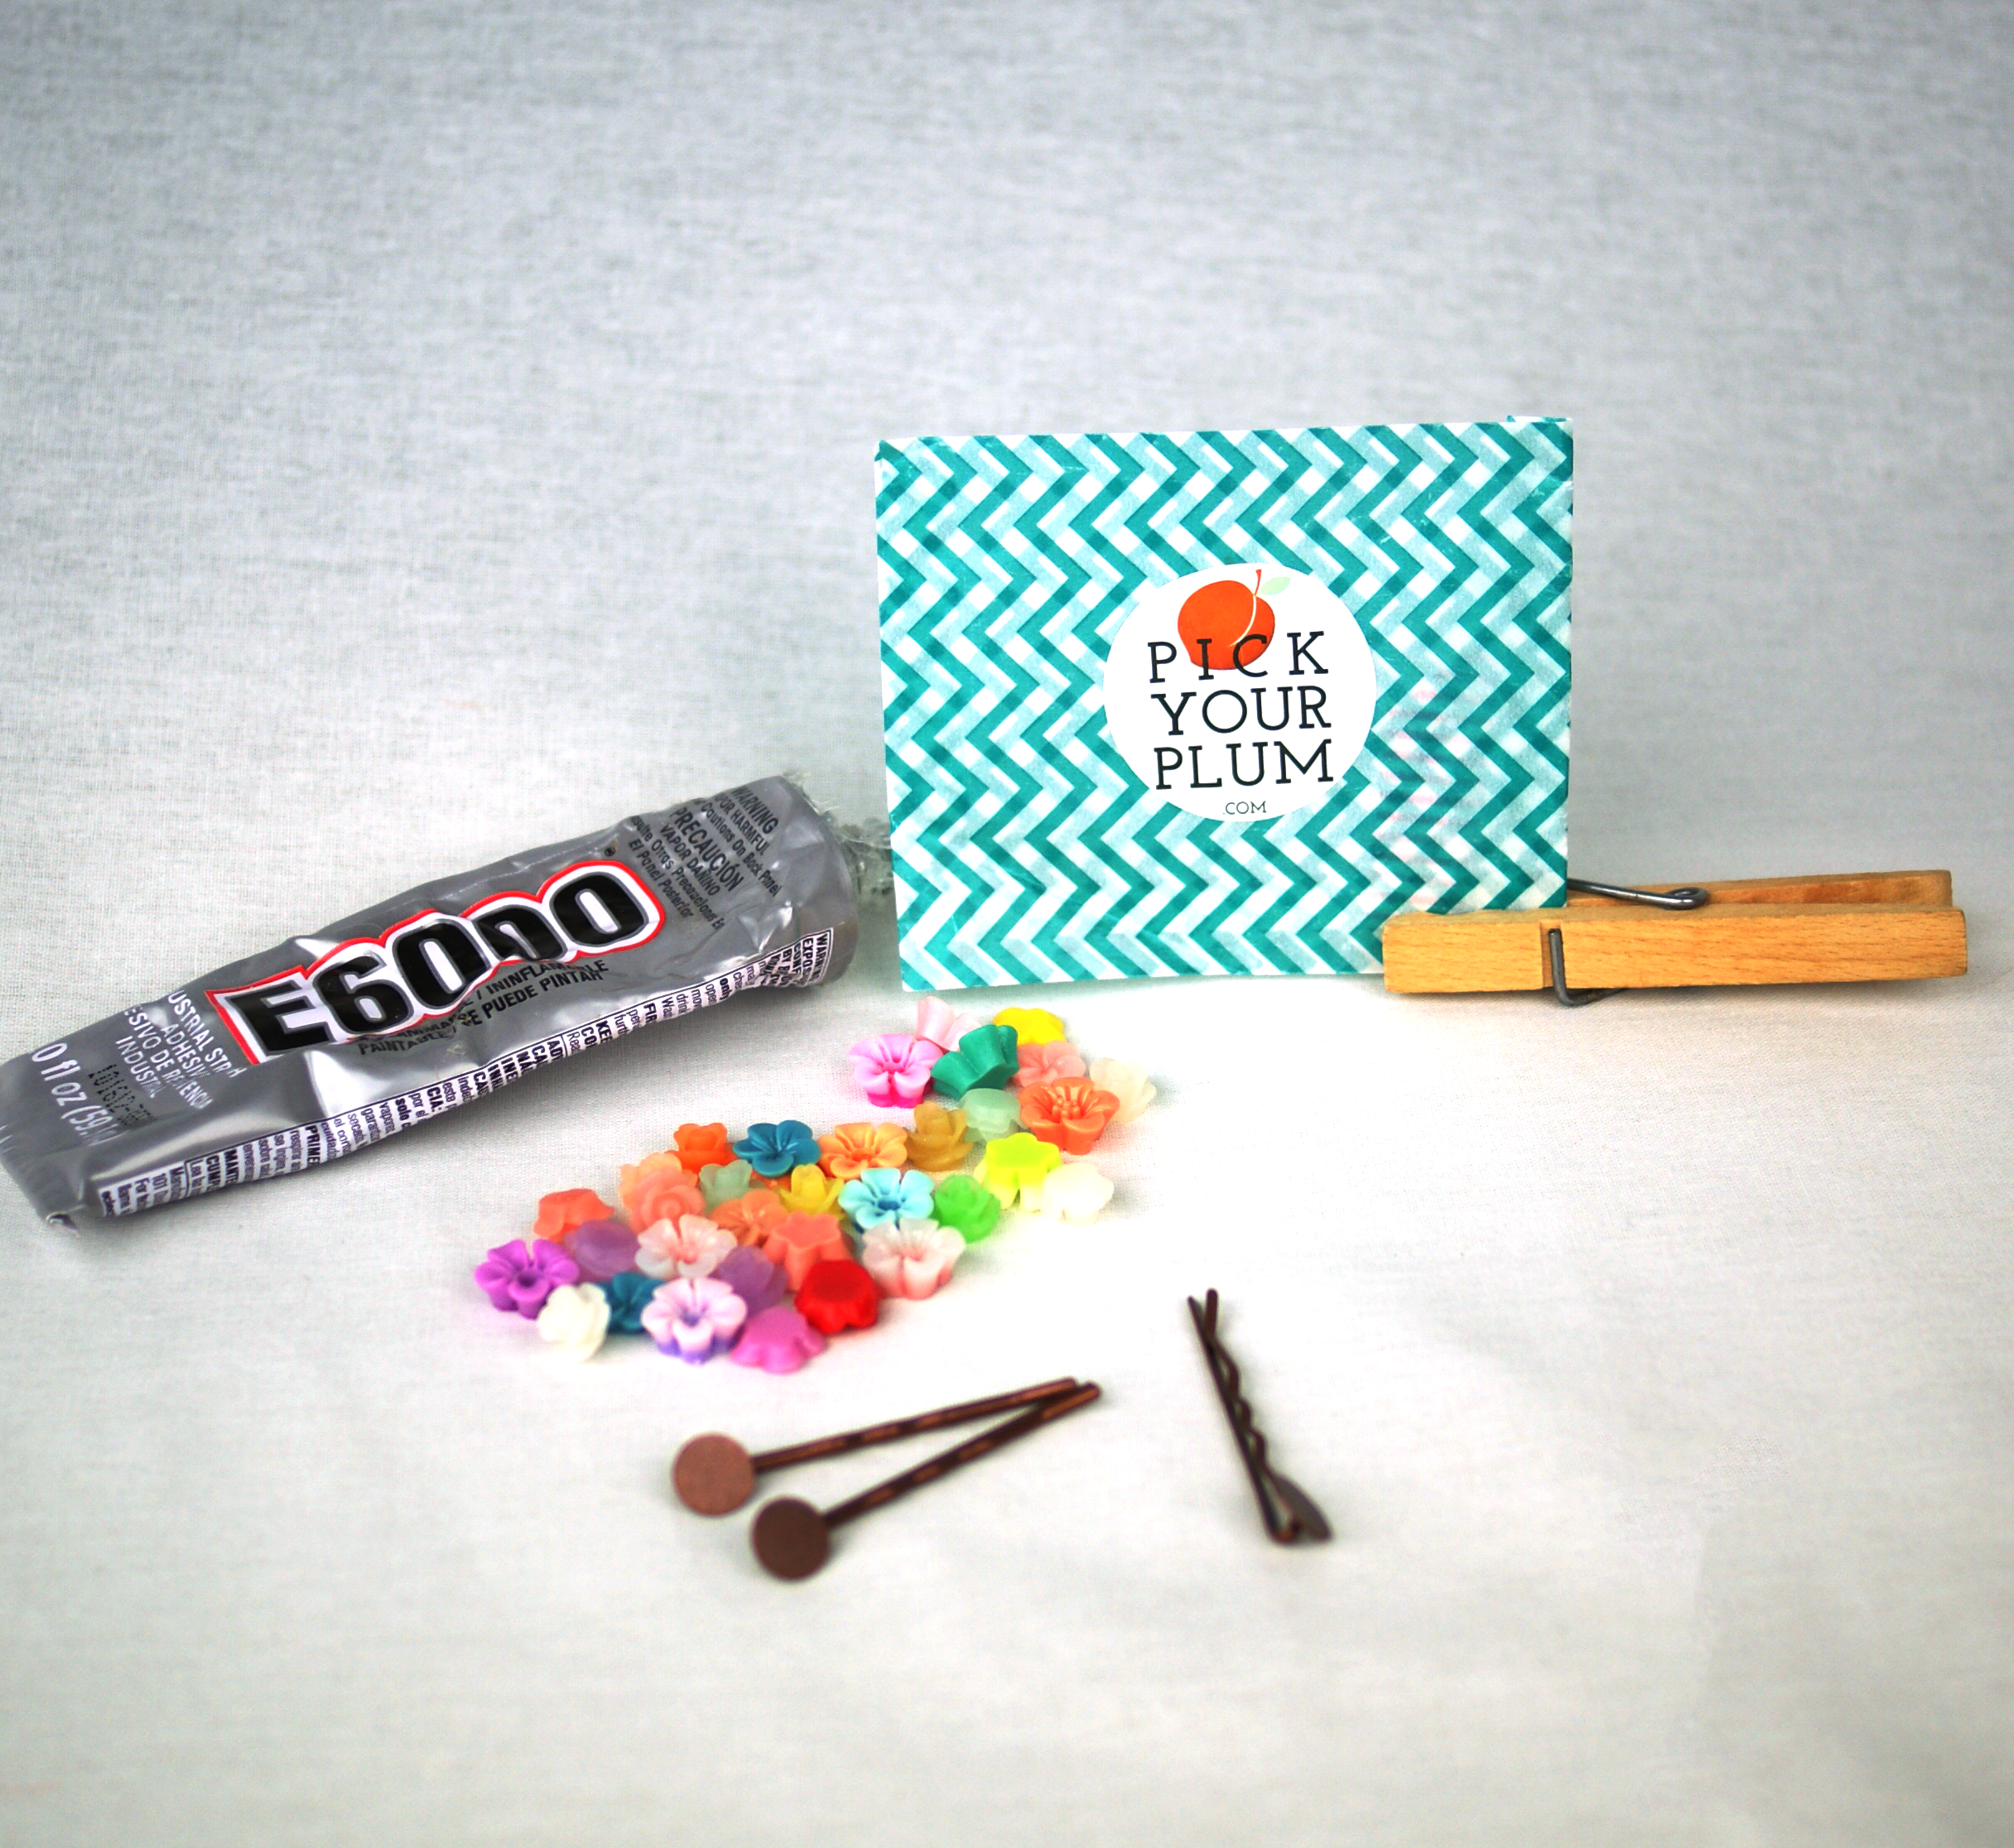
Resin flowers from ( I got mine from Pick Your Plum)
Hairpin blanks
E6000 Glue
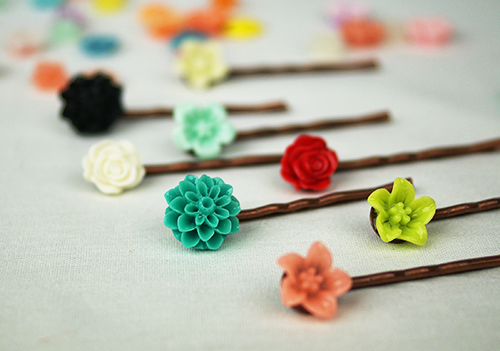
Ready? Place a dab of E6000 on the back of a flower and place on hairpin blank. Ta-dah!
I told you it was the easiest project on the planet.
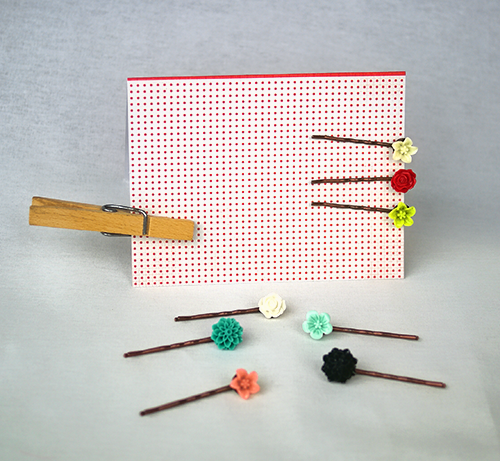
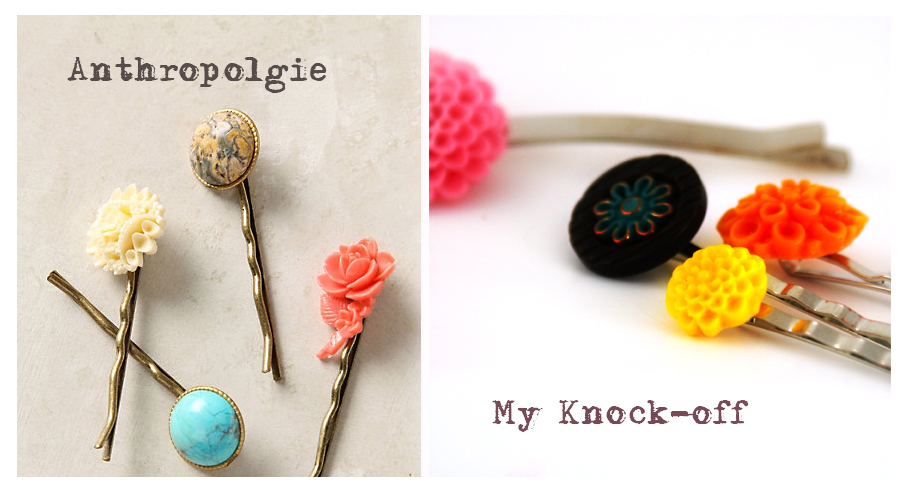
These would make great Mother’s Day, birthday or bridesmaid gifts. Fun for a slumber party craft for the girls too, don’t you think?
What are some of your favorite quick crafts?
[pinit]
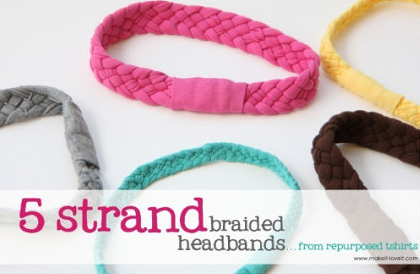 We are back at it today with another easy, inexpensive DIY gift idea. Raid your old t-shirt pile or head to a local thrift store to pick out your favorite colors for these recycled t-shirt braided headbands at Duitang.com.

[pinit]
Winter weather is here, and it is time to start thinking about cowls. Over at Stuff Steph Does, learn how to upcycle your old sweaters into this cozy neck warmer. What a perfect project for a Christmas gift. Grab that pile of sweaters and get going.

[pinit]
I found a cool free infinity scarf pattern at Sweetest Keepsakes that I just had to share. Go see how Desiree takes a couple of yards of knit fabric and creates this beautiful autumn accessory with just a few simple steps!