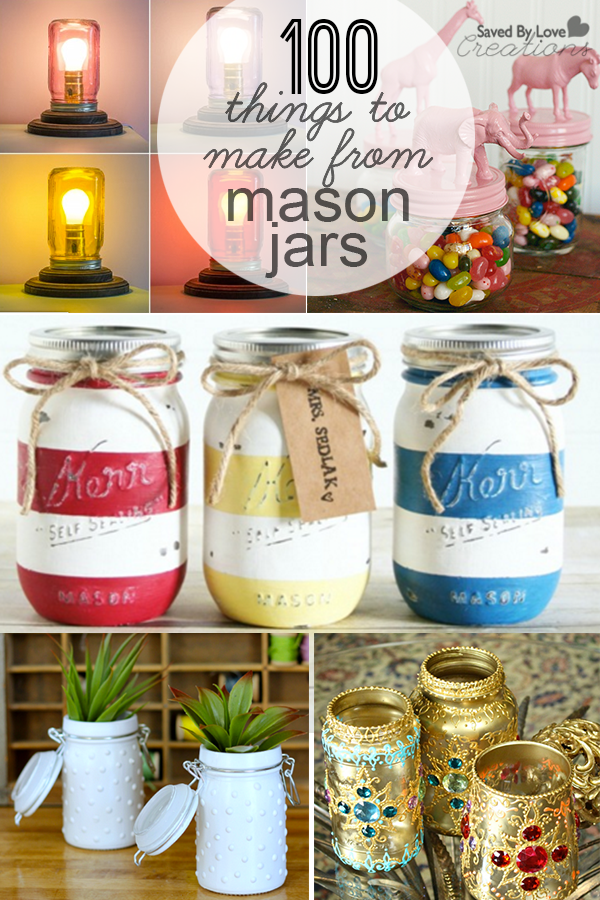
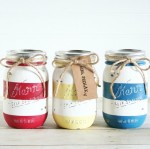
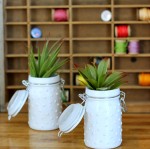
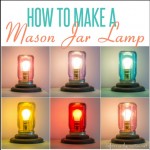
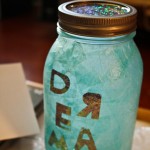
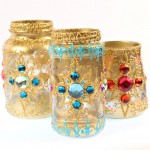
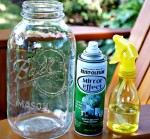
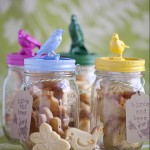
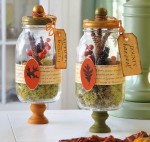
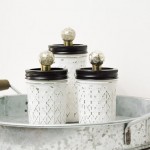
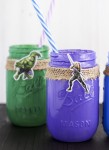
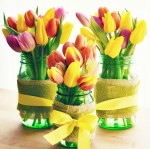
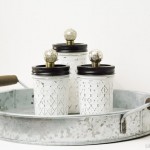
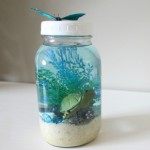
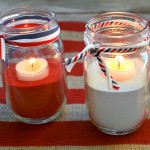
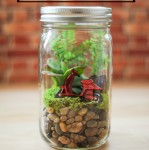
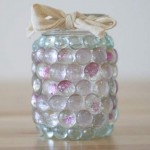
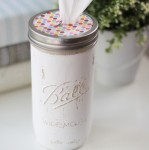
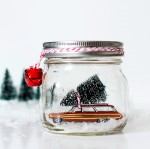
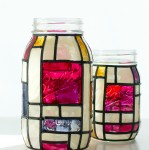
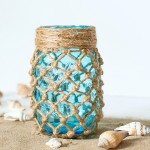
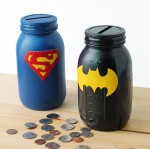
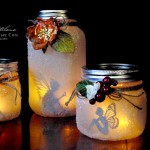
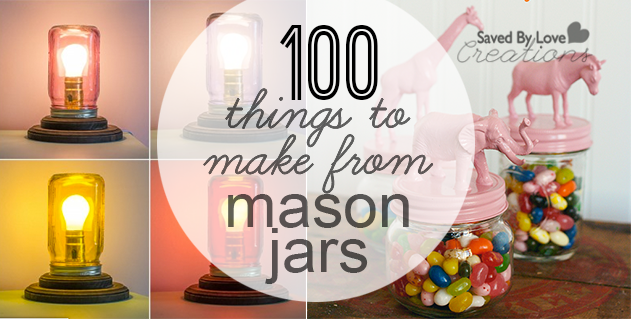
The creative mason jar projects keep rolling in, so we have updated our orignal round-up of jar crafts to include our new favorites. Enjoy!!


Upcycling DIY home decor, woodworking and Crafts

The creative mason jar projects keep rolling in, so we have updated our orignal round-up of jar crafts to include our new favorites. Enjoy!!
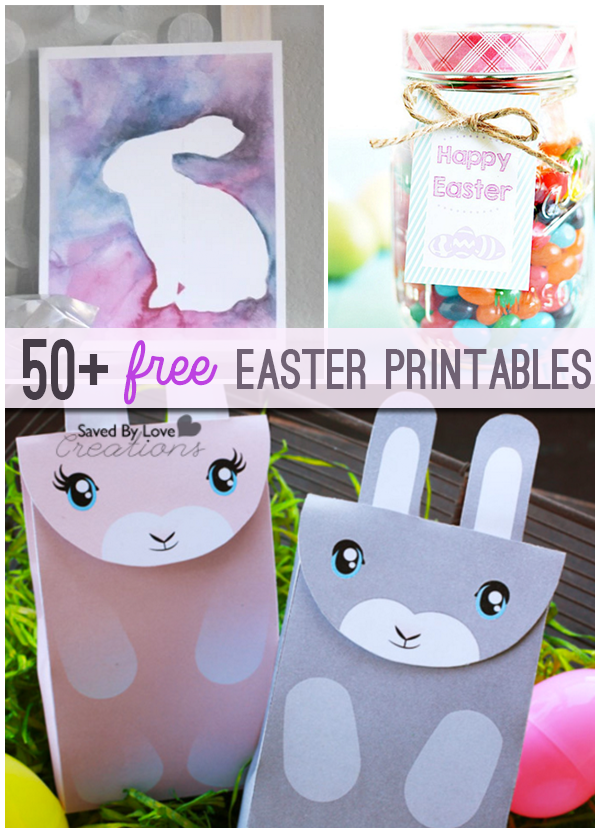
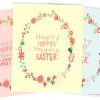
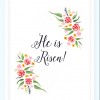
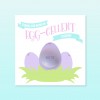
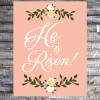
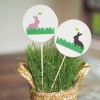
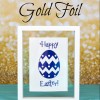
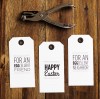
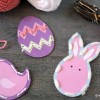
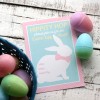
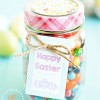
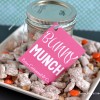
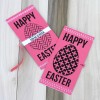
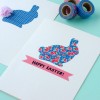
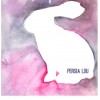
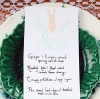
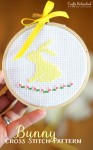
Valentine’s Day is behind us, and Easter is rapidly approaching. Today, we are excited to share our favorite free printables with an Easter theme. You will find bunnies, scripture, flowers, eggs and crosses galore. Refresh those ink cartridges and get ready to spring-ify your crafts and decor, without hurting your pocketbook! As always, if you have a great Easter printable that we missed, leave us a link in the comments so we can include you!
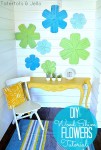
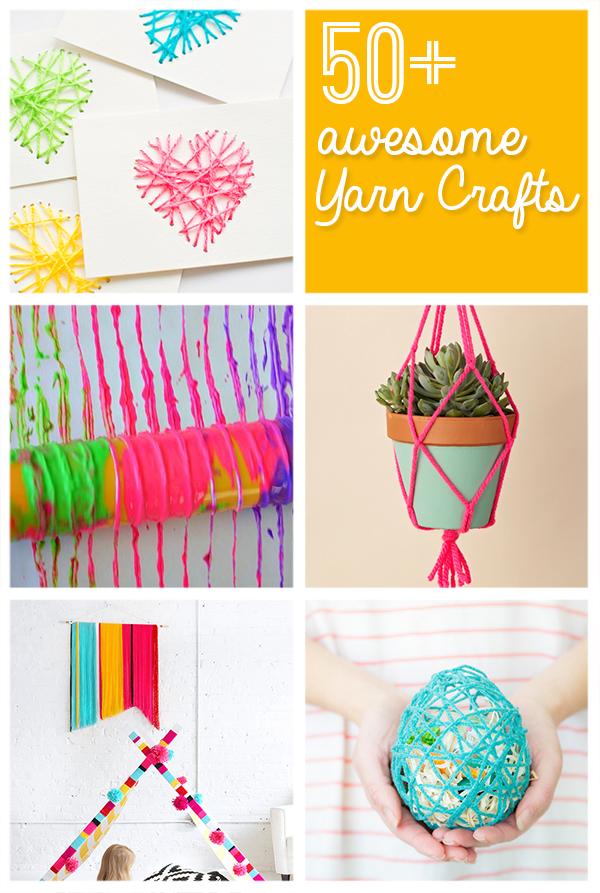 Don’t let the title scare you. For this collection, no crochet or knit skills are needed. This week’s crafty round-up is all about things to make with yarn. You will find all kinds of kids crafts, home decor, paper crafts and more. Enjoy!
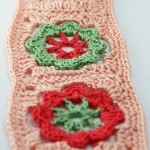
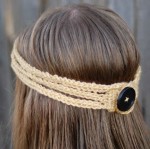
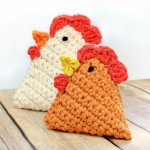
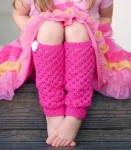
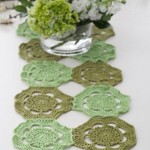
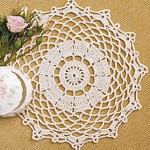
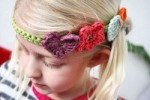
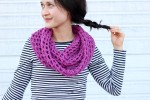
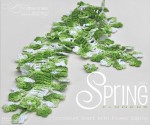
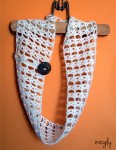
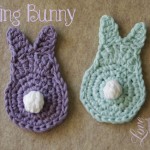
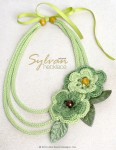
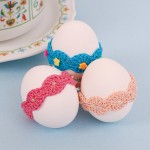
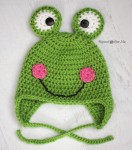
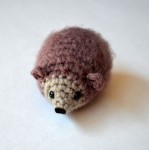
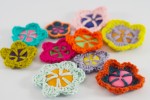
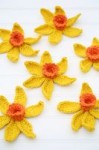
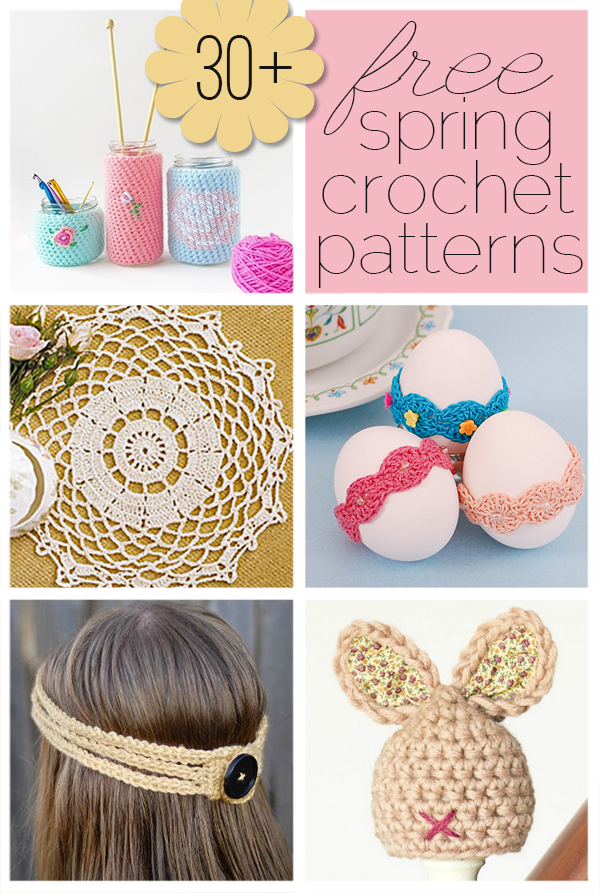 The fact that winter is coming to an end doesn’t mean it’s time to put away the yarn. Today’s round-up is full of beautiful free spring crochet patterns. You’ll find everything from Easter decor to spring scarves and more. Enjoy!
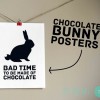
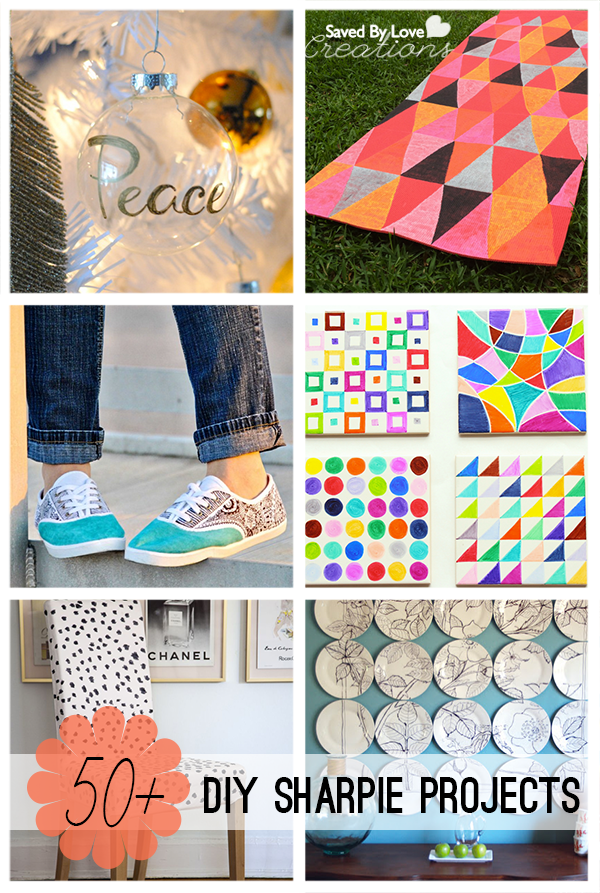 It amazes me that I have yet to curate my favorite Sharpie projects! With all of the 50+ round-ups I have brought to you, seems like I would have covered this by now. You will be blown away at the beautiful DIY home decor projects you can make with these popular markers, and there are loads of handmade gift ideas just in time for the holidays.
[pinit]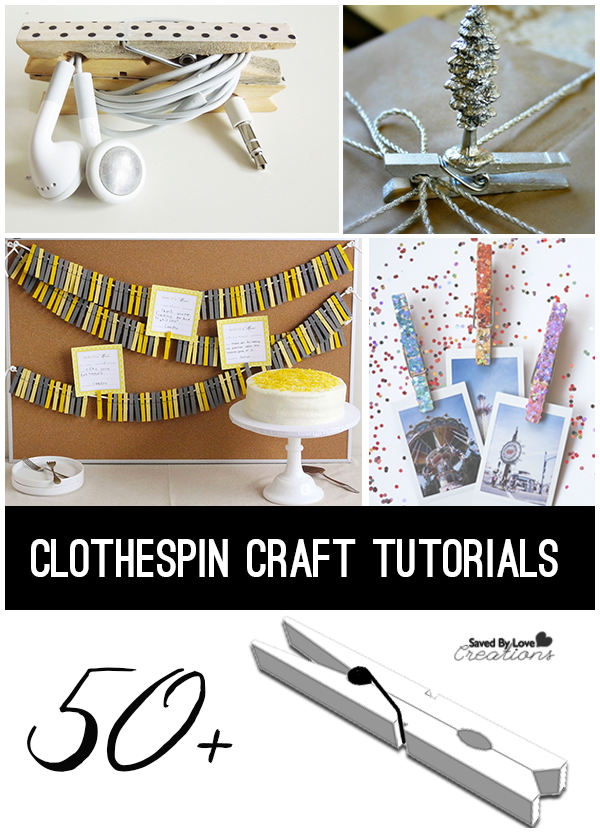 [pinit]
How have we gone this long without sharing a collection of clothespin crafts? It is a mystery. Whether you have the one piece wooden peg, or the two piece wood or plastic version held together with a spring, you can use these simple laundry inventions to make some cool stuff. From home decor, to jewelry, to toys and games for kids, we are all sure to find something we can enjoy in this gallery of things to make from clothespins.
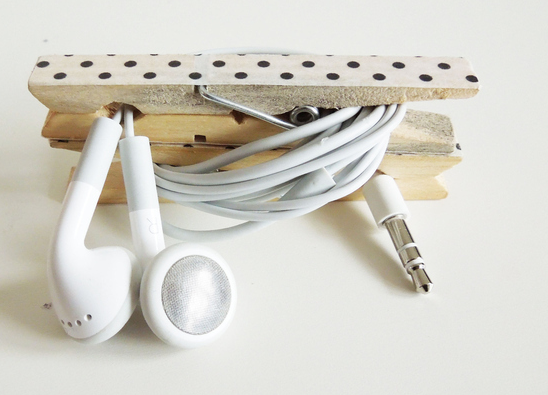
My personal favorite? This headphone cord organizer found at Buzzfeed.
Are you with me on this?
[pinit]
[pinit]
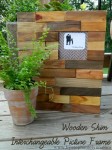
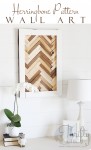
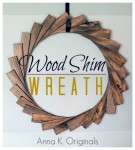
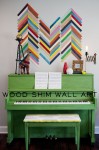
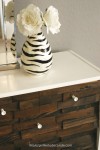
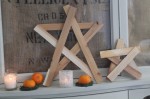
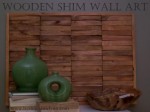
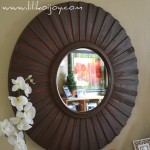
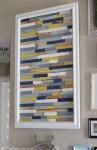
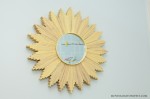
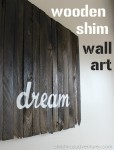
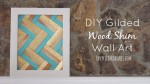
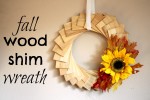
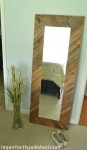
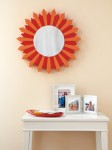
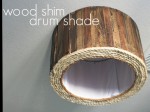
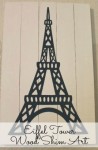
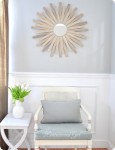
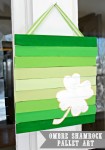
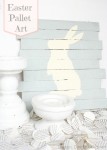
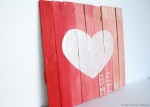
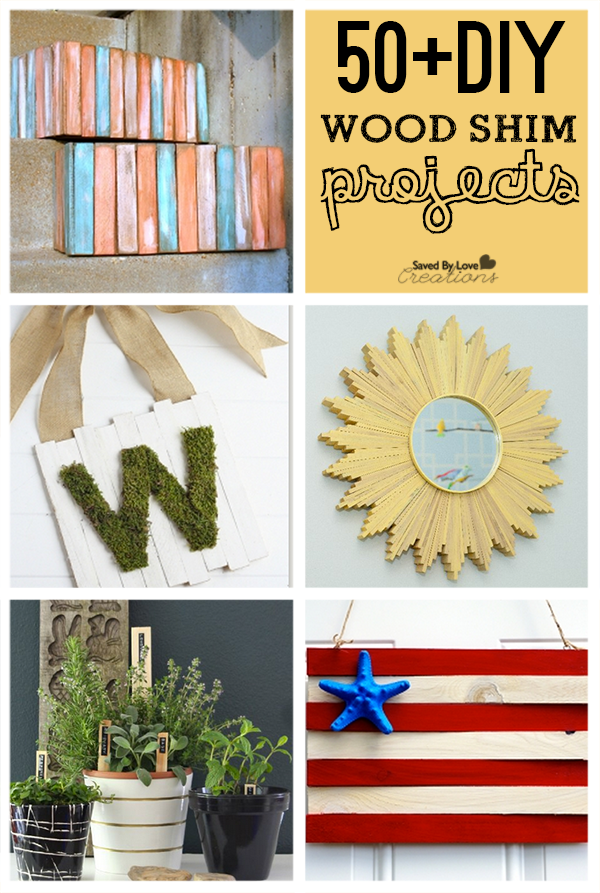
Wood shims are inexpensive and can be used to create gorgeous DIY home decor. Make faux pallet art, cover an ugly thrift store dresser, create a designer starburst mirror on a shoe string budget. Here are 50+ of the best DIY wood shim project tutorials from creatives everywhere. If we missed your project, send us a link so we can include you! Enjoy.
Hi everyone! It is Vidya from†Whats Ur Home Story, a home decor/DIY†blog where I share how our family of 4 is turning a cookie cutter into†a unique and interesting home that tells our story.†
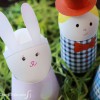
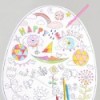
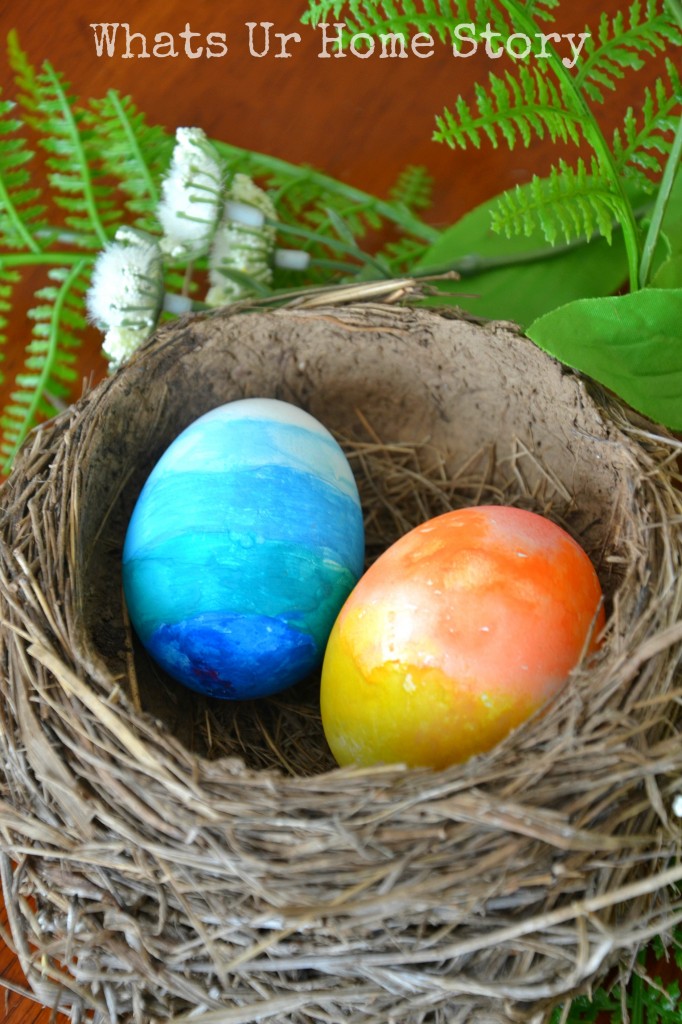
Has the weather gods been nice to you? We are covered in a foot of snow but that is not stopping me from getting started on Easter crafts. Over the weekend my kiddos and I made these pretty watercolor Easter eggs.
[pinit]
[pinit]
They are super easy to make and as I mentioned a perfect craft to get the kids involved. My 8 yr old made the blue ombre one all by herself. All you need are blown out eggs and watercolors. Do keep in mind that†watercolors have chemicals and are not safe to use on eggs that you plan on consuming.

You simply cannot go wrong with these. Here are more that we made;

Tutorial
Blue Ombre Egg – Wait till each layer is dry before you paint the next color.
Orange Ombre Egg – Prop the egg on a skewer and add the horizontal bands before the paint colors dry. Use only very little water on your brush.
Pink Plain Ombre Egg – I just dribbled the paint onto different sides of the egg and let the paints do their thing while propping it on a skewer.

Purple & Gold Egg – Soak a slightly wet paper towel in paint and dab it onto the egg. When dry, paint with gold paint.
Pink Scroll Egg – Same method as the plain pink ombre egg. I just added the scroll with gold craft paint when the water color was dry.

Seal your masterpiece with Mod Podge when done.
Wasn’t that as easy as pie? Have you already started your Easter prep? Happy Easter!
For more easy DIY ideas stop by†Whats Ur Home Story†or follow me via†Facebook,†Pinterest,†Twitter,†G+,†Instagram.

[pinit]
[pinit]
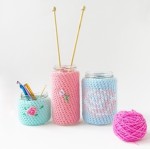
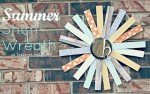
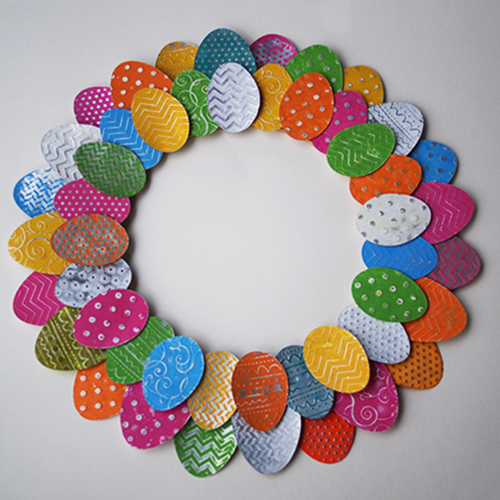
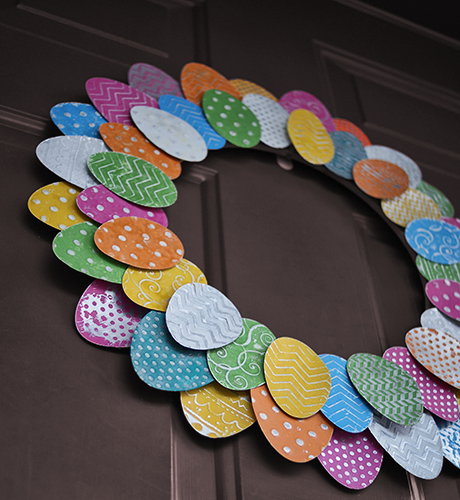
It’s no secret that I love to transform recycled aluminum cans into home decor and jewelry. This aluminum can Easter egg wreath fits that bill. See how I used a new Sizzix die and Tim Holtz Distress Paint for this colorful and unique recycled can spring decoration!
Recycled aluminum cans
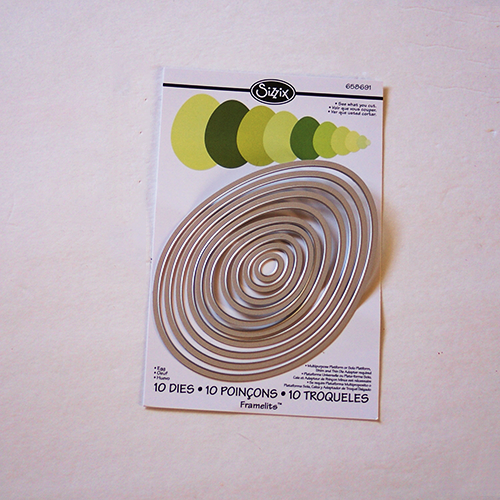
Sizzix Framelits Die Set 10PK – Egg
Embossing folders of your choice
Tim Holtz Distress Paint
Foam Mount Adhesive Squares
Sandpaper
Wreath Form
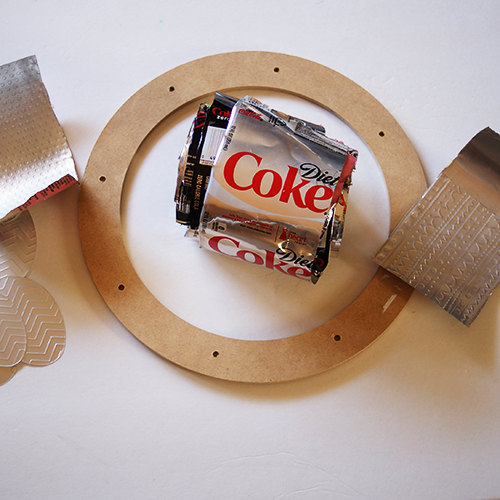
Cut your cans into sheets like I show you in the aluminum can rose pendant video:
Emboss the sheets in your favorite folder, then cut into egg shapes using Sizzix. I cut 2 egg sizes. It doesn’t matter exactly what size, as long as you have one bigger and one smaller size.
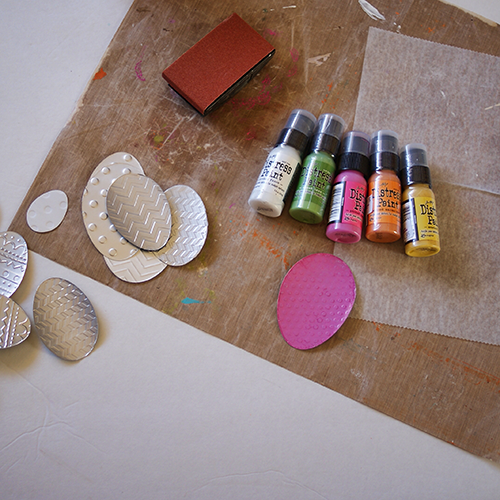
Paint eggs with Tim Holtz Distress Paint. This is the first time I have used this new product. It is pretty awesome. It is great for metal, such as cans! Unlike alcohol inks, which you have seen me use on cans in the past, the distress paint is opaque. I love the color palette too! There is a chalky kind of look to the finish, which is fabulous.
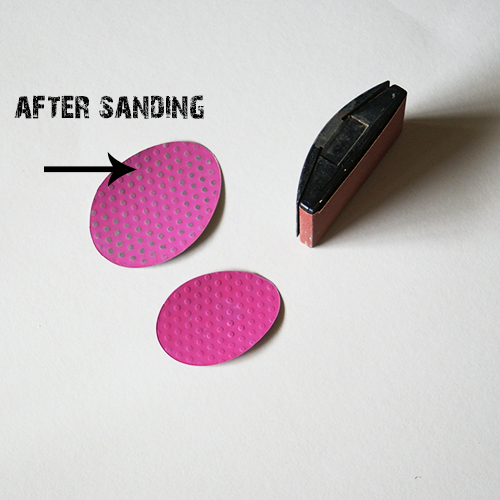
Sand once paint is dry to reveal aluminum can color on raised areas of embossed/painted eggs.
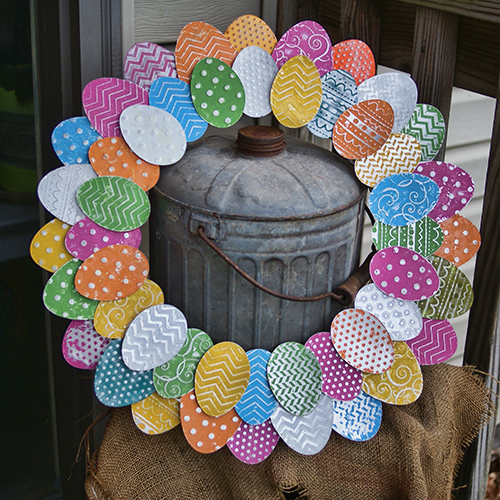
Arrange eggs and adhere to wreath form as shown, using foam adhesives for varying height of eggs compared to one another.

I am loving it! It is staying up until fall.
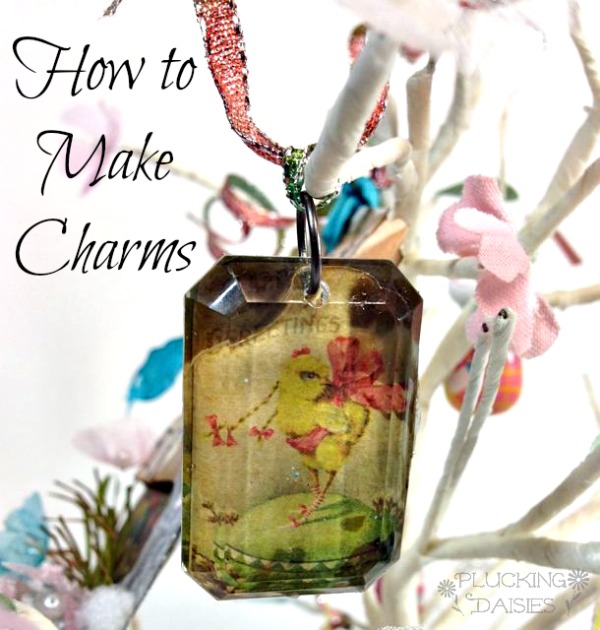
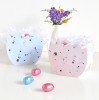
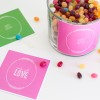
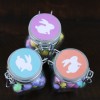
Happy spring time SBLC friends! Amy here from Plucking Daisies to share with you how to make some sweet springtime charms. These charms are super easy to make and use for a variety of crafty ventures! You can use them for custom jewelry pieces, ornaments or even wine charms for your Easter Brunch or spring celebrations!
I used my charms to decorate an Easter Bunny Tree. They are a lovely addition to my spring table decor and oh so charming!

You can make your own charms for adornments, jewelry, gifts and pretty much anything you can dream up. Grab your favorite images and prepare to be “charmed”!
Tim Holtz Idea-ology Facets or Fragments
Glossy Accents
Images or Photos (copies NOT originals)
Ribbon or Chain
Alcohol Ink
Ranger Foil Tape Sheets
You can select any image you like to use when making your charms, a favorite photo (color copy), old greeting cards, a childs artwork…the possibilities are truly endless! For my charms I used these delightful vintage Easter Images from Tim Holtz Seasonal Paper Stash.
STEP 1: Apply Glossy Accents to the back of your charm and press down onto image.
STEP 2: Flip paper over and use a credit card or craft scraper to press out any air bubbles.

STEP 3: Allow to dry for several hours then trim off excess paper.
To finish and complete the look of your custom charms you can easily create a metal backing with Ranger foil tape sheets. Not only will the foil tape enhance the look of your charms, it will also smooth any rough edges and ensure your image stays put.
STEP 1: Ink a sheet of Ranger Foil Tape with Alcohol Ink. I used: Shell Pink – Salmon – Citrus – Aqua

STEP 2: Emboss Alcohol Inked foil tape with Sizzix Embossing Folder. *I used Sizzix Dots and Flowers set A2

STEP 3: Peel away the backing of your embossed foil tape and press cut out charms onto it. Cut around the charm leaving a slight edge all the way around. Fold edges over onto charm to secure your image.
Now that your charms are complete you will need to hang them. Whether you will be using them for jewelry, gift wrap or decor you can customize how you hang them just as easily as you made them!
STEP 1: Add Jump Rings
STEP 2: Reapply Alcohol ink to blending tool and stamp (DON’T swipe) onto Metallic ribbon.

Use your stamped ribbon to create pendants, ornaments or “Charming” gift toppers!
 I hope you enjoyed this little lesson in Charm making and will take what you learned to make some “Charming” gifts, jewelry and decor! Thanks for having me back at SBLC! Until next time…
Have a Charming Day!
Amy*