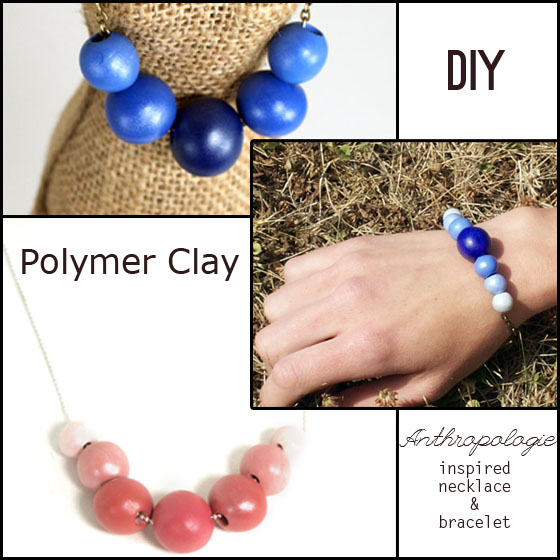
DIY: Polymer Clay Necklace Inspired by Anthropologie

Polymer Clay Bead Necklace Tutorial

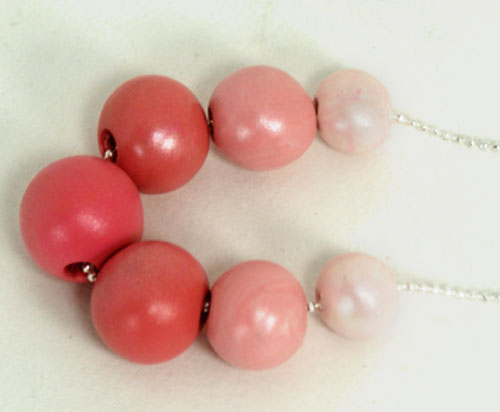
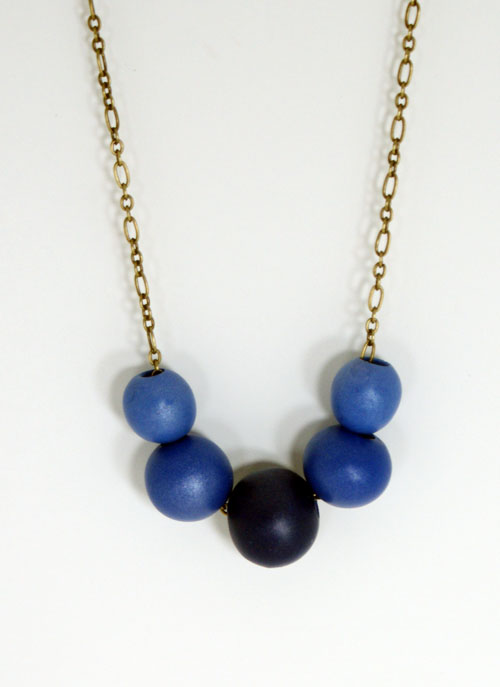
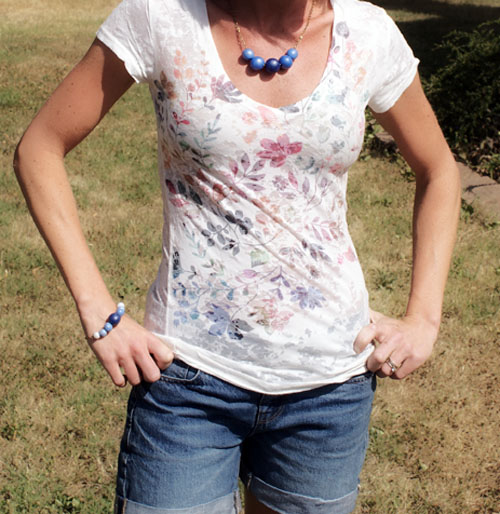
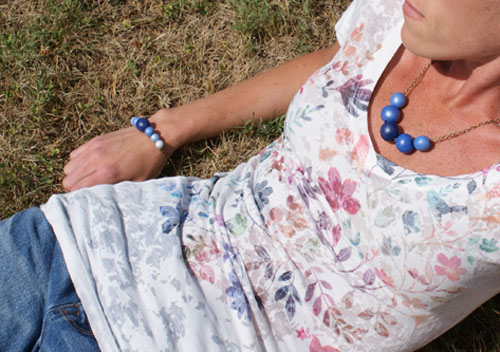
If you have never used polymer clay, this is a great project to get your feet wet.  I love the stuff, and was inspired recently to create these necklaces by the popular Anthropologie ball beaded piece.  I added my own twist of ombre color gradation and bead size gradation.  I also went for a simple chain instead of a ribbon. The pearl finish was accomplished in one easy step that glazes creates the pearl effect, using Mod Podge Pearlized Glaze.

Polymer clay is a perfect medium to create reproducible color gradient beads.  You will see in the tutorial, I just rolled out white and blue (or corral for that version) to the same thickness in my pasta machine.  Then I used a cookie cutter to cut 5 triangles of the main color for the central bead.  The two adjacent beads are a mix of 3 main color and one white triangle.  The next is lighter and smaller still, using 2 triangles of main color and 1 of white.  You can use any recipe you want, just keep track of it, especially if you are making more than one of the bead in that size and color.  This will make more sense when you see pics!

Polymer Clay Gumball Necklace

Supplies:

Pasta machine

Baby wipes (clean hands between handling different colors of clay)

Polymer clay in color and white (I used Fimo Soft)

Cookie cutter

Tile or baking tray

Dremel or other drill

Drill press or rice bags

Mod Podge Pearl Glaze or finish of choice

toothpicks and Styrofoam

Antiqued gold metal chain or cording of choice

Tutorial:

Polymer Clay Necklace Tutorial

For drilling, hold beads steady vice or bags of rice.  Wear protective eye gear!

Anthro Inspired Polymer Clay Necklace

Polymer Clay Ombre Bracelet DIY

Grab some clay and create your own gumball ombre jewelry!

Mod Podge Transfer Instagram Photos to Canvas & Text Embellish

Mod Podge Transfer

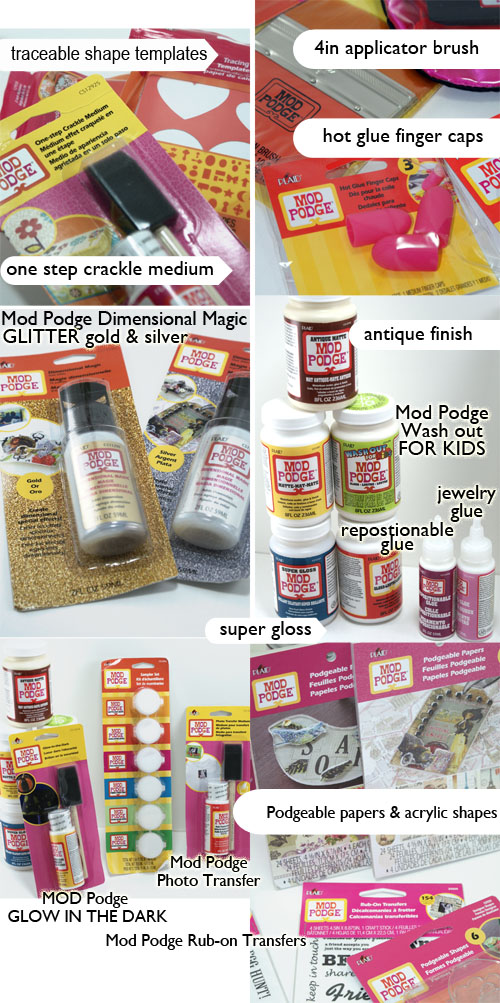
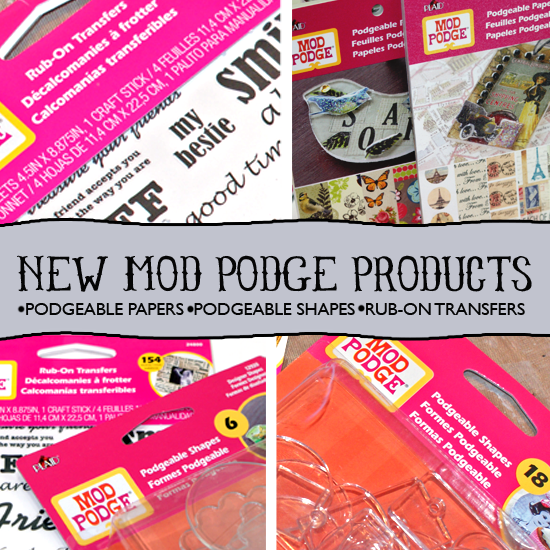
I have been busting at the crafty seams to tell you about this new product line from Mod Podge by Plaid Crafts.  It includes Podgeable collage papers, Podgeable Shapes, a bunch of new Mod Podge formulations, finish sprays and tools!  I could not believe when I opened the box and saw all of the shiny new supplies:

Mod Podge Product Line

Mod Podge Products By Plaid


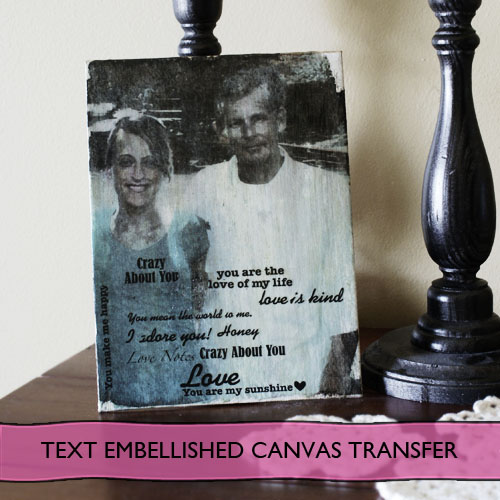
I have used many of the products since getting the package in the mail and will show you a round up at the end of this post.  Today’s project uses the same image transfer to canvas I showed you last week, using Mod Podge Glossy for the transfer and Mod Podge Antique for the finish coat, with a couple of tweaks –   I used Photoshop to create an Instagram effect on the photo before printing it for the transfer.  After the photo transfer, I used Mod Podge Rub-On transfers to embellish the final canvas with text.

You will need:

  • Your photo printed on laser jet
  • Mod Podge Glossy Finish
  • Mod Podge Antique Finish
  • Mod Podge Rub on transfers
  • Foam brush or other paint brush
  • Canvas to fit your print (the print used here is 11×14)
  • Bowl of water
  • Dry towel
  • Mod Podge brayer or squeegee
  • Mod Podge Silicone mat, or other non stick work surface

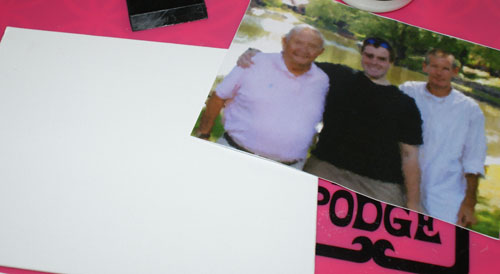
Follow the instructions I showed you previously, using your photo.  I used these free Photoshop actions by Daniel Box to edit my photos with Instagram effects in PS before having them laser printed at my local Office Depot.

Instructions:

  • Cut Photo to fit canvas, and coat canvas and photo with generous layer of glossy Mod Podge.
  • Flip image (print side down) over onto canvas, making sure to center it where you want it before placing, and smooth out any air bubbles with Mod Podge brayer, squeegee or with your hand from the center out.

Transfer instagram photo to canvas

Let that dry for a minimum of 2 hours.  I let mine dry overnight.

Mod Podge Image Transfer

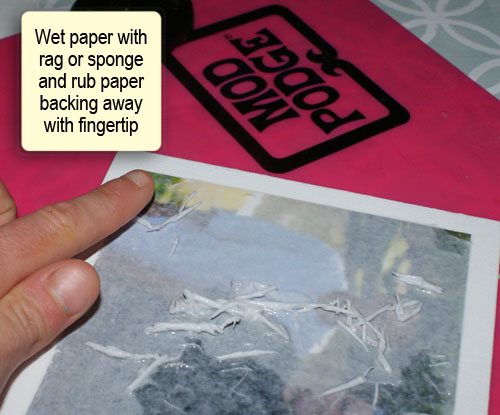
  • You will may need to re-wet with a mister or sponge brush and continue rubbing away paper backing until you are satisfied with the image.  It doesn’t need to be perfect.  You are going for a vintage feel, and you are going to use Mod Podge Antique and rub-ons on top,  so a distressed look is ok.  Just try not to remove too much of your image when you are rubbing away the back.
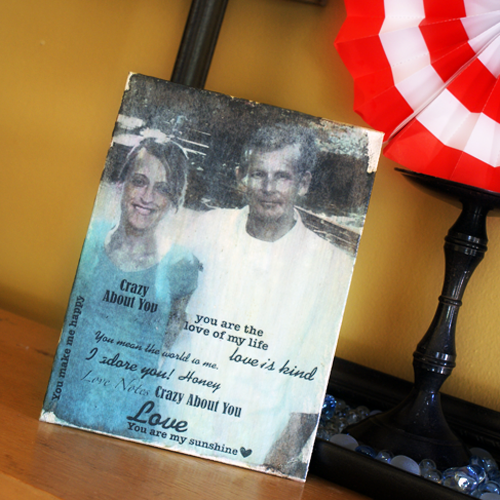
  • Once you are happy with your image, Coat with Mod Podge Antique, as many coats as you need to get the antiqued effect you desire.  Let dry 30 min between each coat. I applied my the text after the first coat of Mod Podge Antique, then coated twice more to lessen the contrast between the rub-on transfers and the image.  Apply Mod Podge rub on transfers per package instructions.

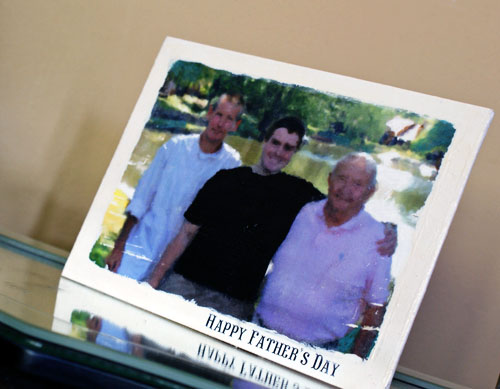
These are fantastic.  They come in phrases for family, love, seasons, holiday, and pretty much anything you can think of.  I used the love theme for the image of my husband and I.  The Father’s Day theme was perfect for the picture of my husband with his father and son.  Application was easy with the included craft stick.

Mod Podge Image Transfer

Mod Podge Image Transfer

Mod Podge Image Transfer

  • Here you can see the image for the Father’s Day Gift I used is slightly smaller than the canvas, giving a white border in my finished piece.  I wanted that look, and I brushed around the edges with white acrylic paint.

Here are all of the projects I have done with the new Mod Podge line, and which product I used in each (click images to go to full photo tutorials):

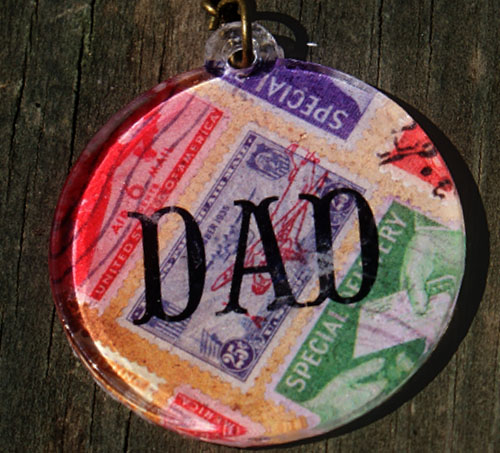
Mod Podge Dad Keychain Using Podgeable Paper and Shapes

PODGEABLE PAPERS AND ACRYLIC SHAPES

MOD PODGE DIMENSIONAL MAGIC

MOD PODGE RUB-ON TRANSFERS

MOD PODGE GLOSS

MOD PODGE GLOSSY

MOD PODGE ANTIQUE

MOD PODGE TRACEABLE SHAPE TEMPLATES

MOD PODGE GLOSSY

MOD PODGE ANTIQUE

MOD PODGE PEARLIZED ACRYLIC SEALER

I am so excited about this line.  Everything I have used has been wonderful.  It is no secret I love me some scrapbook paper jewelry, and the Podgeable Papers are scaled to fit those clear acrylic Podgeable Shapes perfectly.  I have big plans there.  My favorite new product is the Mod Podge Antique.  I love the effect, and that it is produced by a product that also seals. These products are now available at your Michael’s Craft Stores.

If you want to learn step by step how to use all of these different formulations, and be inspired by over 40 how to photo tutorials, make sure you check out Mod Podge Rocks, the book  It is a steal on Amazon.  I have it, love it, refer to it often, and reviewed it here.

Mod Podge Rocks, the book

Join me in keeping up with the exciting products and projects using them by following Plaid Crafts:

Plaid Crafts on Pinterest: http://pinterest.com/plaidcrafts
Plaid on Facebook: http://www.facebook.com/InspiredByPlaid
Plaid on Twitter: http://twitter.com/plaidcrafts/

Disclosure:  I received product and payment for this post.  All opinions expressed in this post are honest and mine.

Check out these amazing projects using this rockin’ line of Mod Podge products!


DIY Quick & Easy Dad Gift

Dad Gift Idea

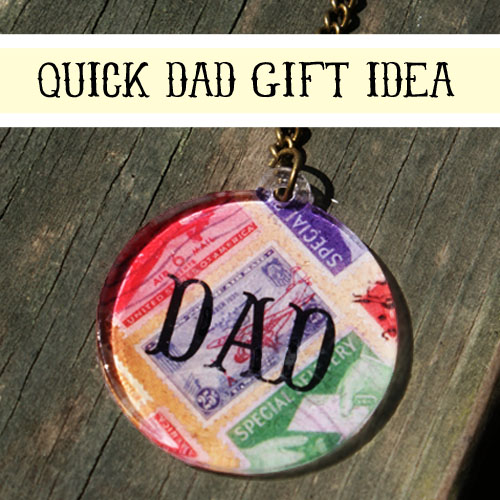
If you need a last minute handmade gift idea for Dad, check out this easy “Dad” keychain you can make in no time.  If you are like me, and you stalk your local Michael’s  store, you may have seen the new, so so so cool product line from Mod Podge.  I will be telling you a lot more about it next week.  For this project, I used some of their new paper craft supplies:

New Mod Podge Products

You will need:

  • Decorative scrapbook paper, with a good guy print (I used the travel themed Podgeable Paper)
  • Acrylic Podgeable Shapes
  • Rub-on transfer, dad themed
  • Mod Podge Dimensional Magic
  • Craft Scissors
  • Key fob and jump ring
  • Sand paper

Handmade gifts for guysDad will love it.

Make a Father's Day Gift

Keep your eyes peeled for upcoming projects using this fun new line all over the craft blog world!


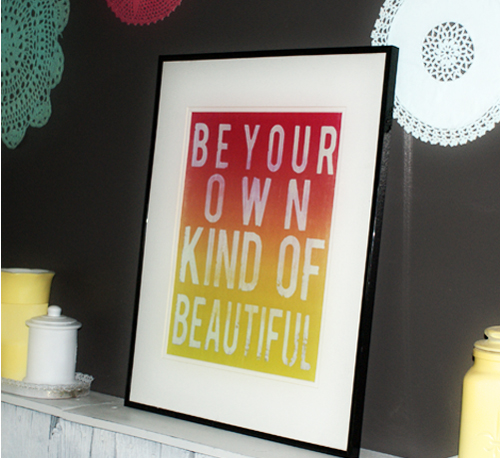
Be Your Own Kind of Beautiful Subway Art

Beautiful Subway Art

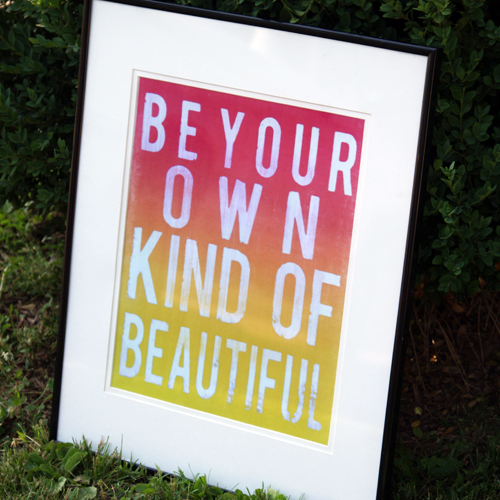
This print is now hanging in my stepdaughter’s bedroom and she loves it!  I made it in Photoshop and you can download the full res 11×14 at Printable Decor; Be Beautiful Subway Art Printable.  I had mine printed on regular paper at Staples for less than $1, and put it in a frame I had on hand.

Be Beautiful Printable

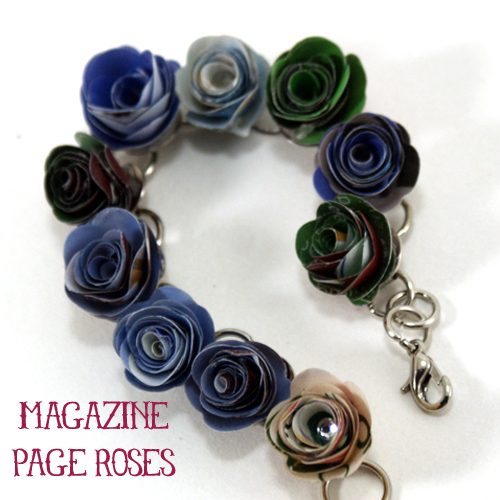
Magazine Page Rose Bracelet

Magazine Page Rose Bracelet

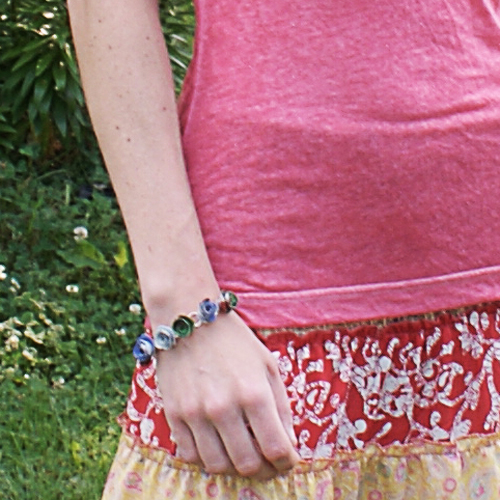
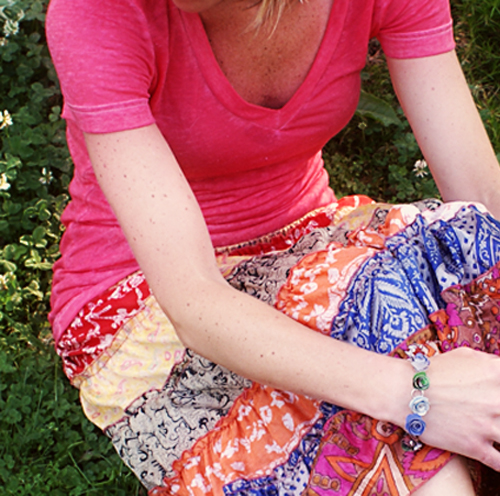
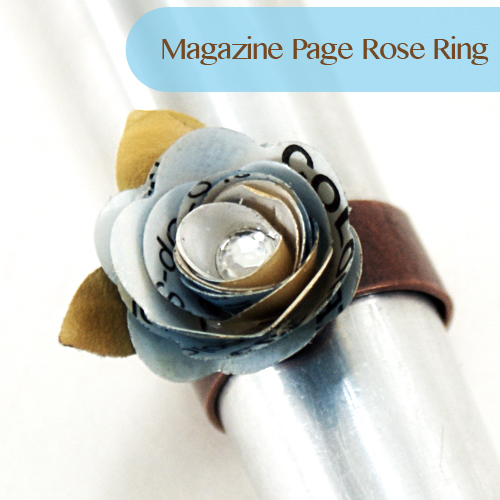
Last week I showed you a ring I made from magazine pages cut with Sizzix 3D rose die.  For this project, I took the same roses I used in the magazine page rose ring tutorial, and adhered them to a bracelet blank.  Easy. cheap, green and cute!

Recycled Paper crafts

Magazine Page Crafts

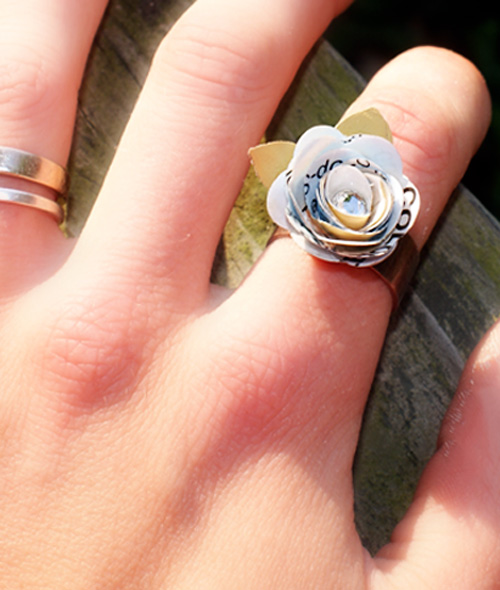
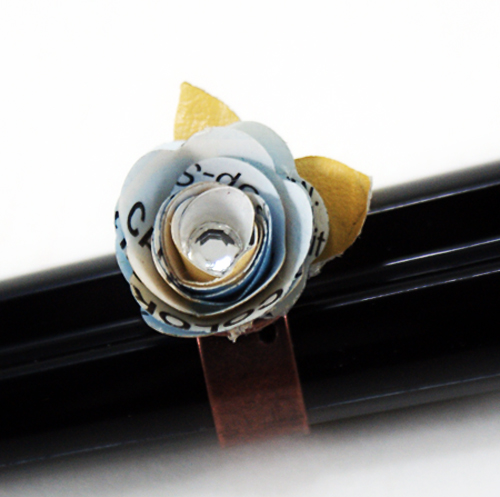
Upcycled: Magazine Page Rose Ring

Magazine Page Jewelry

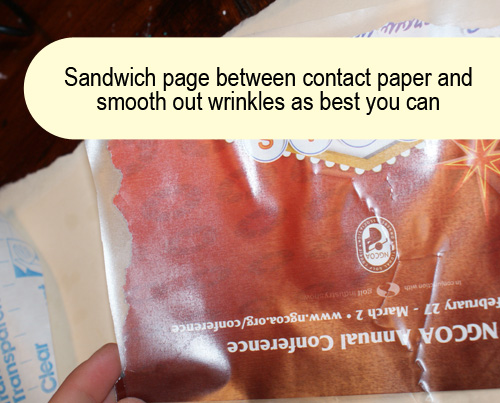
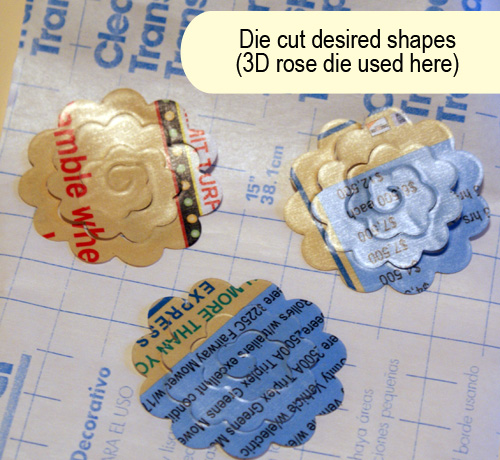
It was only a matter of time before I combined my Sizzix obsession with magazine pages.  I was hesitant because the pages are so easily torn and flimsy if not coated with decoupage medium.  I didn’t really want to run that through my machine.  It hit me that I could laminate the pages with clear contact paper to give strength and durability.  Yay!  Now I can fold, twist and rough up magazine pages about as well as I can heavy cardstock.   This would work well for fragile old book pages and sheet music too.
Recycled Magazine Crafts

Recycled Paper Jewerly

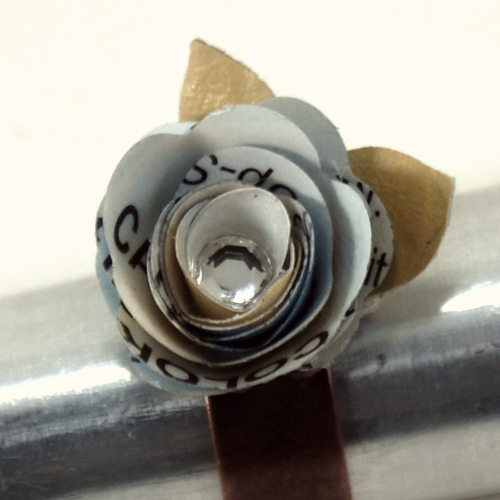
I formed the 3 D rose by coiling the cut strip around a toothpick like the Sizziz 3 D Rose die insert instructs, then I added a jewel to the center of the rose with Mod Podge Dimensional Magic.  I cut some leaf shapes from an old yellow leather purse, and used E6000 to adhere the rose and leaves to the Plaid Ring Bling ring blank.

Recycled Paper Crafts

How to Make Magazine Page Jewelry

Sizzix jewelry tutorial

Tulip Tye Dye

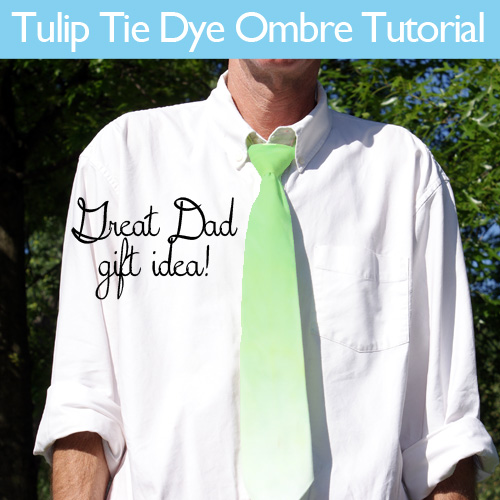
Ombre Tie tutorialTie dye has come a long way in simplicity and technique over the years.  Until this project, I hadn’t played with tie dye since childhood, and I remember it being a huge mess.  Wasn’t there something about boiling water, and dying in the washer?  Isn’t that only for t-shirts?  That is why I was a little skeptical about trying out this product, but I am so glad I participated!

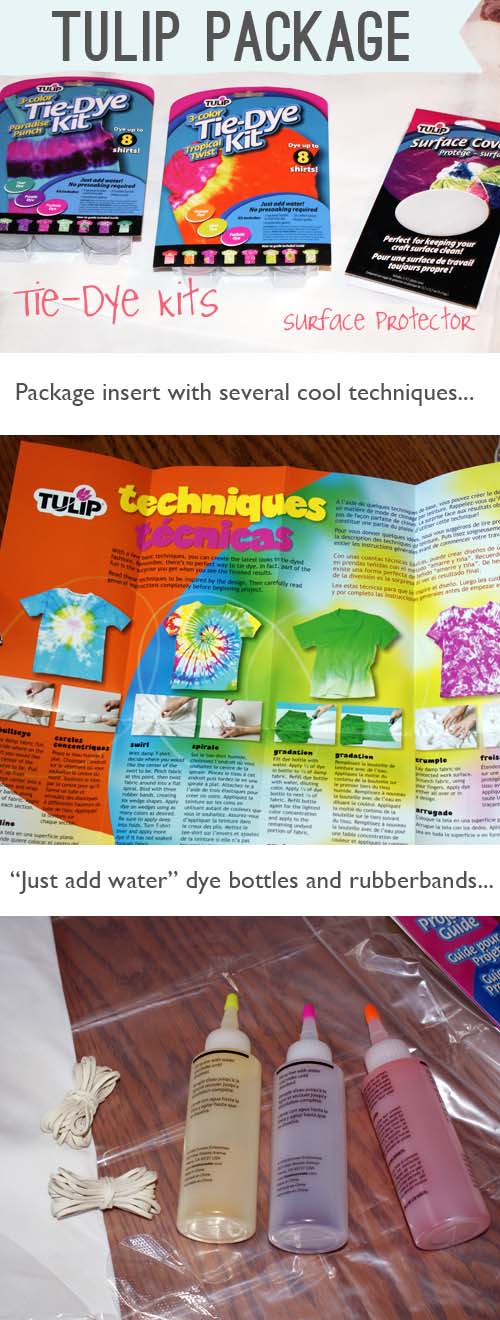
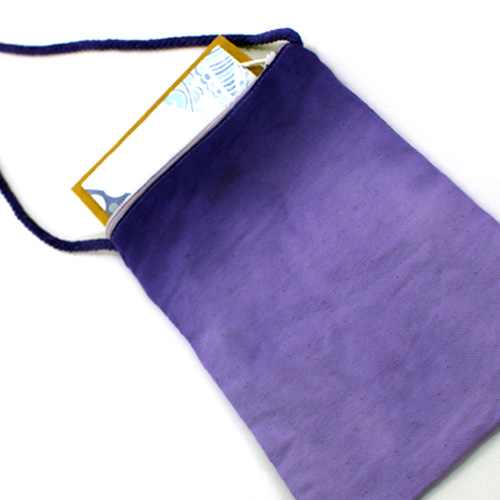
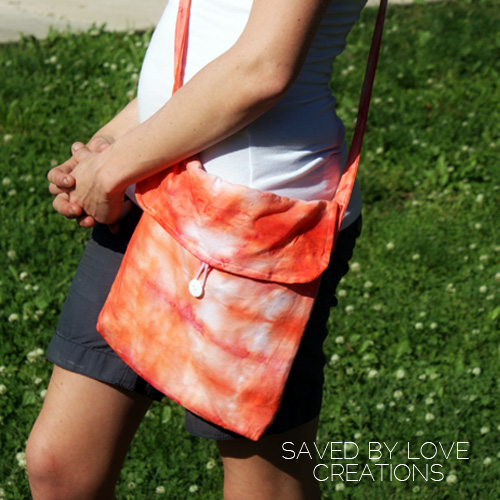
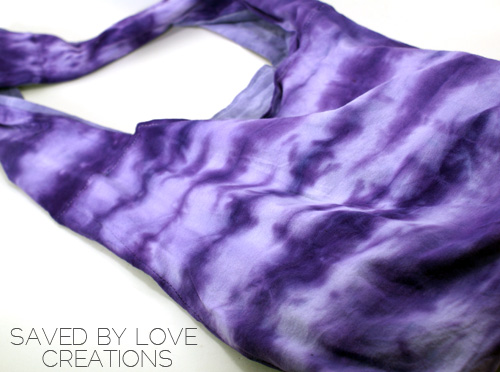
Tulip Tie Dye is a cinch to use, and tie dye is not just for the t-shirt these days.  With the “just add water” applicator bottles, protective gloves included in their kits along with the handy surface protector, cleanup was no hassle.  In my box were two 3-Color Tie-Dye Kits, one Paradise Punch and one Tropical Fruit.  You can see all of the available colors at I Love To Create – One Step Tie Dye Products.  If you don’t see the exact shade  you have in mind, know that these dyes are mixable so you can create custom colors.  I accidentally bled orange and teal together in a hobo purse I dyed, and the effect was a gorgeous burnt sienna agains the vibrant turquoise and orange!  It ended up being my favorite finished piece.

Tulip Tie Dye Kits


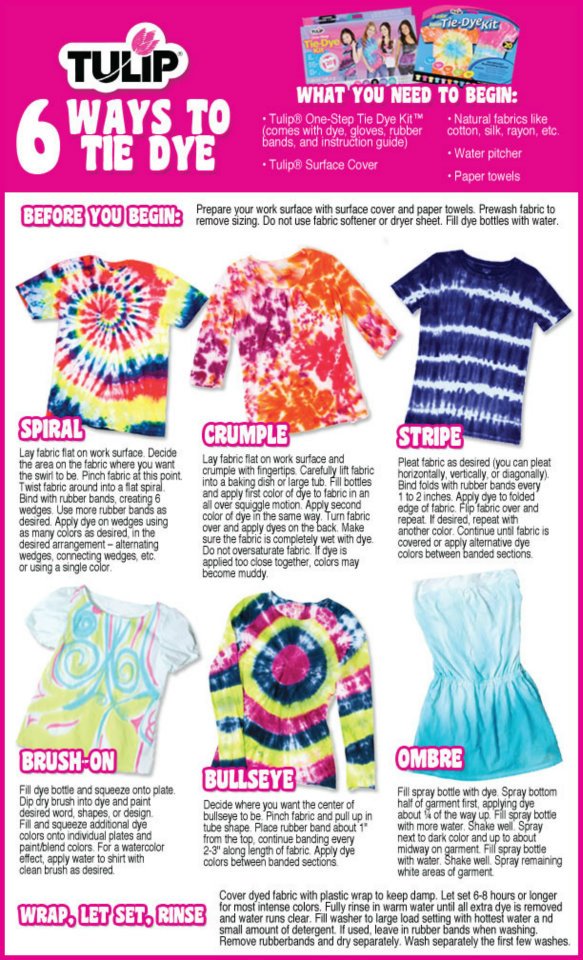
If you think you can’t make a gorgeous tie dyed piece because you have no idea what to do to make those funky designs, fear not.  The product insert (pictured above) has you covered with detailed step by step photo tutorials of illustrating 8 different techniques.  Here are some example techniques you can find over at I Love to Create.

Tie Dye Instructions

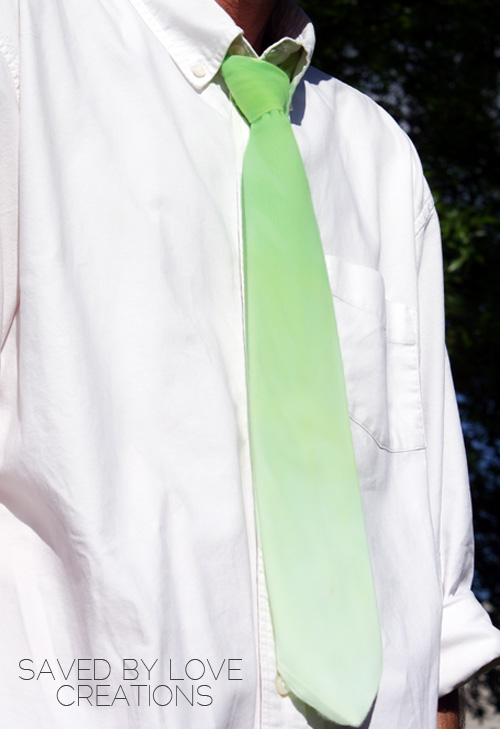
There is something for everyone.  Today, I will show you how I made this ombre neck tie, a perfect Father’s Day gift idea.

  • Following the instructions in the insert, I pre-washed the tie blank (purchased at Michael’s) and let it dry to dampness before beginning.
  • With gloves on and work surface covered,  I filled the bottle with water, shook to mix until the dye powder was dissolved, and applied dye to top 1/3 of damp tie.  The instructions say to use half the bottle, but that was way to much for my lil’ tie, so I poured out the extra liquid into a container for later use.  Left with half the dye, I filled the applicator bottle full with water to dilute the dye for the next segment of the tie.
  • Again, I applied the diluted dye to then next middle segment of the tie, discarded extra dye to leave 1/2 bottle remaining, filled the bottle with more water and applied this to the last segment.

Ombre Tye Dye Tutorial

  • To finish, I covered the tie with the plastic and let it sit for about 5 hours. I then washed by itself in a larger load setting, with a small amount of detergent per package insert.  Line dry… done.

There were so many techniques I wanted to try that I went a little nuts.  Here are some purses I made for graduation gifts this year.  I found the blanks at Joann Fabrics, but you could whip one up yourself in no time.

Ombre purse tutorial

Tye Die Crafts

Tulip Tie Dye Crafts

One more shot of the tie…

Ombre craft ideas

Tulip Tie Dye Kits are available at Walmart, Walmart Canada, Michaels, JoAnn, A.C. Moore, Hobby Lobby, Hancock Fabrics, Meijer. Tie dye kit contents and colors may vary by store.

For more inspiration and updates, be sure and follow ILTC on facebook, Pinterest and Twitter.

Disclosure:  I received product and payment for this post.  All opinions expressed in this post are authentically mine.

Check out these great projects using Tulip Tie Dye:


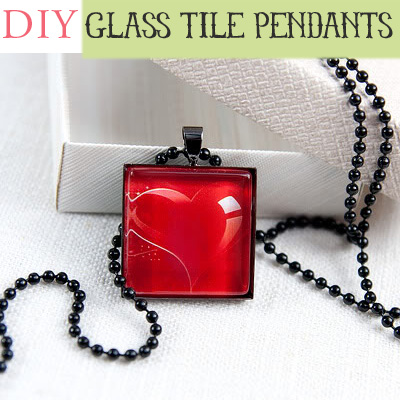
Glass Tile Pendant Tutorial With Tips and Images

Glass Tile Pendant Tutorial

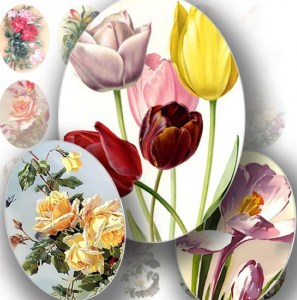
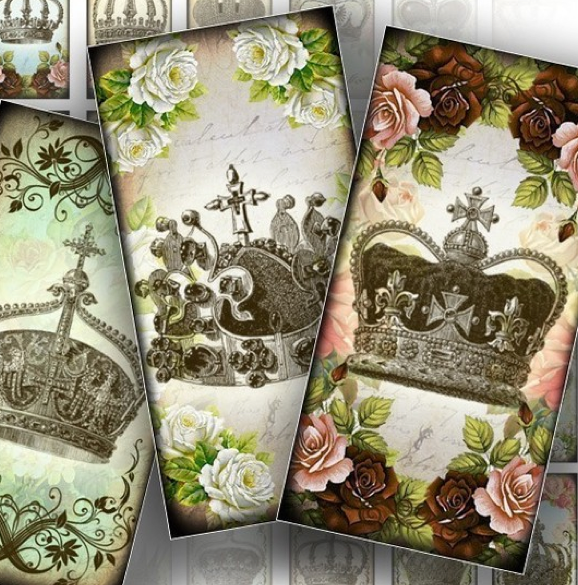
Today, I am happy to share with you a glass tile pendant tutorial from Irina at Irina’s Cute Box.  These tutorials are abundant in the creative blog world.  Irina shares her version incorporating a bezel setting.  She uses the same jewelry component supplier as I do, Sun and Moon Kits on Etsy.  Wonderful prices and service make this my go to shop for all of my wholesale needs.  In addtion, Irina has available some free printable images you can use for the tiles, and digital collage sheets available for purchase in her Etsy store (see examples and links below).

Digital collage sheets for glass tile pendants

TUTORIAL:

You will need –

  • Images
  • Diamond Glaze or other glaze if you prefer
  • Bezel is used in this tutorial – You could also just leave the glass tile as is, seal the back (with Mod Podge or resin) and glue on a bail for attaching to chain.
  • E6000 or superglue

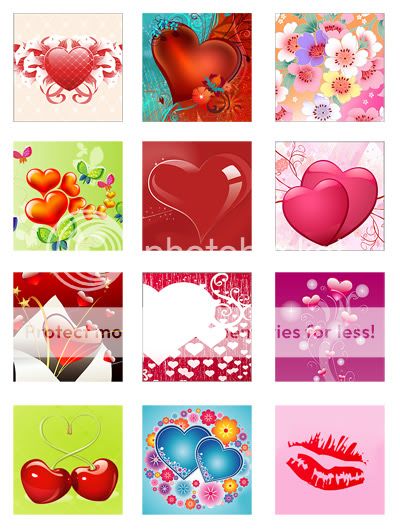
Free digital collage

The collage sheet is 4×6 inches,  containing twelve 1 inch square images perfect for glass tile pendants,  at resolution of 300 dpi.   Print on heavy (80-100 lb) using laser printer.  Laser images are more vivid and less likely to smear than ink jet.
How to make glass tile pendant
Supplies shown are from  SunAndMoonKits shop on Etsy.

To make the pendant

  • First, cut out image with scissors

How to make glass tile pendant

  • Apply small amount of glaze on the back side of the glass tile.

How to make glass tile pendant

  • Spread glaze evenly and pull out any air bubbles with fingertip or toothpick.
  • Place the image with face down on the glaze and gently press it from center to the edges, ensuring no air bubbles remain.   The paper should slide on the glaze when you touch it. This tells you that the right amount of glaze was applied.
  • Let glaze harden for a couple of hours and trim extra paper on the sides.   Use water and a lint free cloth to wipe away any excess glaze on the glass.

How to make glass tile pendant

  • Put a little bit of super glue in the setting.

How to make glass tile pendant

  • Place the glass tile with paper side down.

How to make glass tile pendant

  • Let dry, add chain and you are finished.

Visit Irina’s  blog for other free graphics and her GraphicLand shop on Etsy for  more beautiful and affordable digital collage sheets in a variety of shapes and sizes!

Graphic Land on Etsy

Digital Collage Sheets for Dominoes

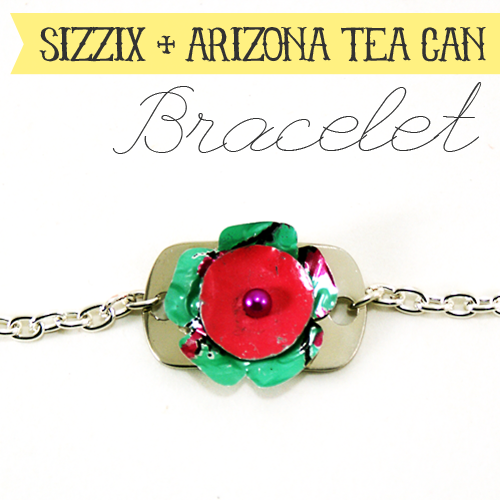
Sizzix Die Cut Can Bracelet

Aluminum Can JewelryThe research put into my recent 60+ Recycled Can Craft Roundup left me collecting all the pretty cans I could find.  Here, I used the well known Arizona Tea can for the flower shape and a garage sale tin for the pink circle.  Making jewelry with Sizzix is so fun.  I am completely obsesses.  No material is safe from being die cut around me. These pieces cost next to nothing, so keep your eyes peeled for interesting cans and old tins while you are out thrifting.

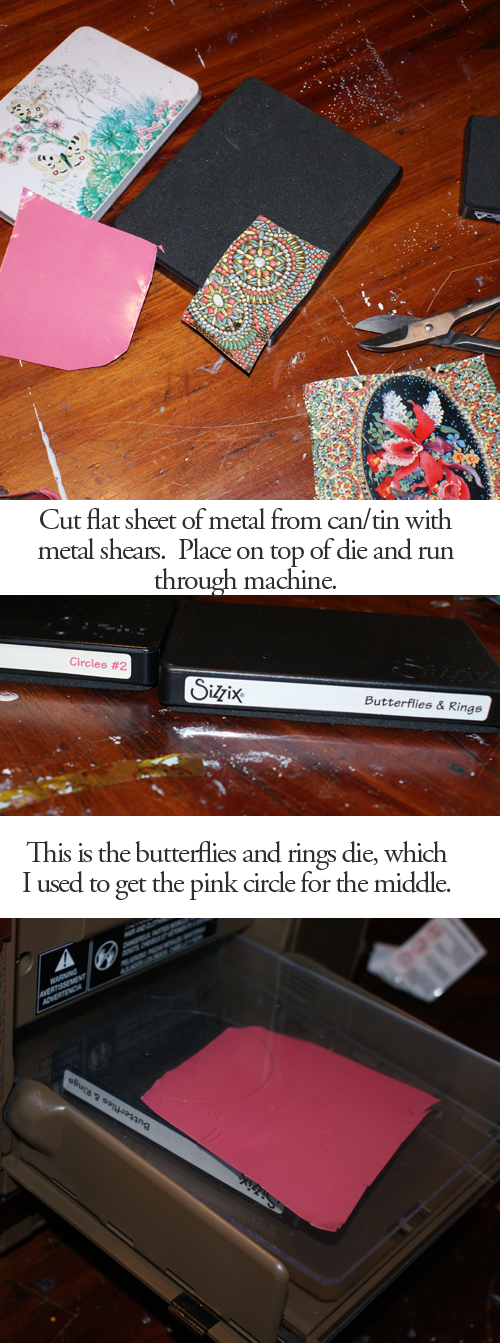
Here is how I cut my shapes:

Die cut jewelry

I used the same process for the arizona tea can, and a layered flower Sizzix die.  Then I marked the center of each of the 3 layers (silver retangular blank, Arizona can flower and pink tin) with a black sharpie, to know where to punch a hole for my rivet.  Using a nail and hammer on a piece of scrap board, I hammered a hole in each piece where the mark was.  No pics of this, but I will get some shots of the process next time. 

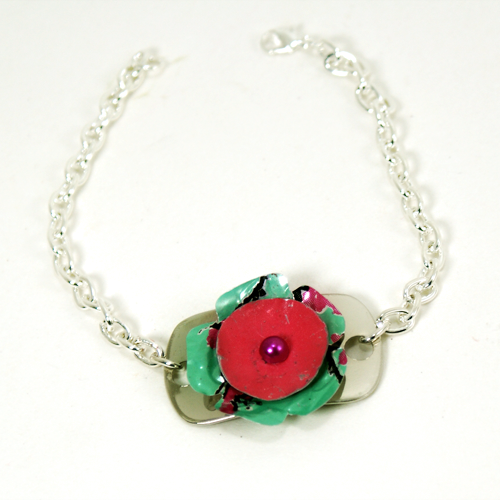
I riveted the pieces together and glued on the pink pearl embellishment using E6000. 

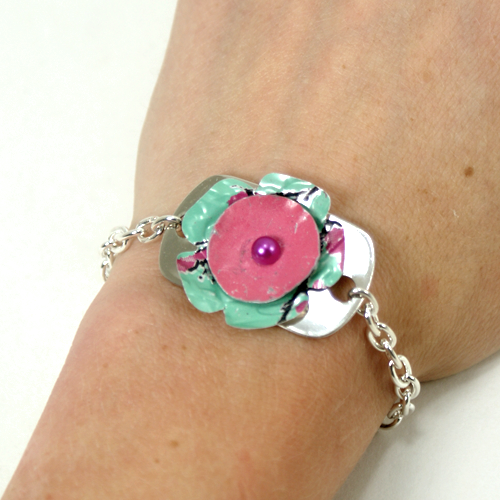
I hole punched the bracelet with my crop-a-dile at each end to add the chain for the bracelet.  That is that.  Upcycled aluminum can jewelry

Recycled can jewelry

I am excited about this book I just ordered on Amazon; Create Colorful Aluminum Jewelry.  Looks like I am not the only one obsessed with this concept!

DIY Name Art Under $10

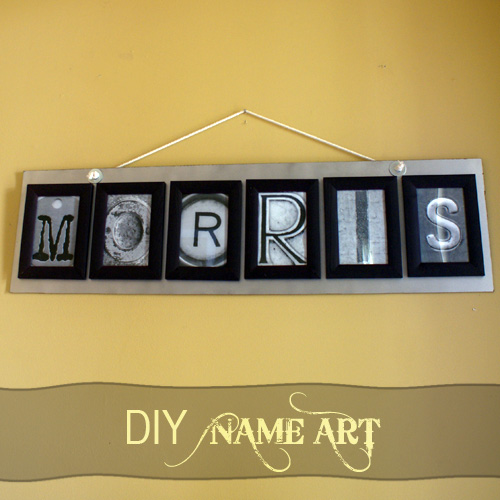
DIY Name Art

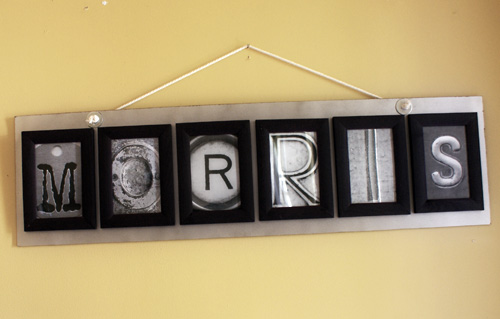
I was asked to make wall art incorporating the name Morris, and I remembered a photo letter art project from around Christmas time by Shanty 2 Chic.  Here is my version, inspired by the lovely tutorial from Whitney!  I made it using a piece of hardboard left over from another project, 6 Dollar Tree frames, some spray paint, E6000, 2 washers and a rope for the hanging mechanism.  The photo letters are available for free on Flickr (thanks Whitney).

Letter Photo Art

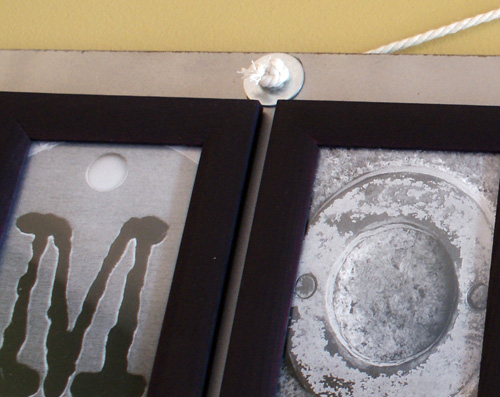
To finish, I drilled 2 holes on top, glued washers over them and ran canvas rope through for the hanging mechanism.  I am digging the industrial look of the final piece.  This is the first time I have ever used the Krylon Stainless Steel spray paint… love it.

Letter Photo Art

Letter Photo Art

Privacy Policy