Browse +
Collaborations
About
Contact
Browse +
Collaborations
About
Contact
Browse +
Collaborations
About
Contact
Browse +
Collaborations
About
Contact
Category: Decoupage
← Back to Crafts
Decoupage
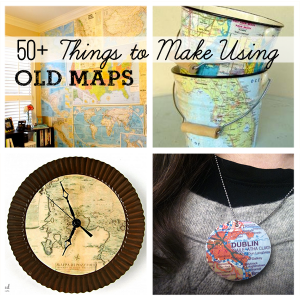
Over 50 DIY Projects Using Old Maps
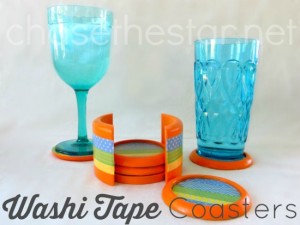
Washi Tape Coasters
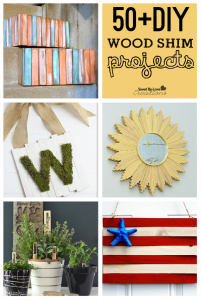
50 Plus Awesome Wood Shim DIY Projects
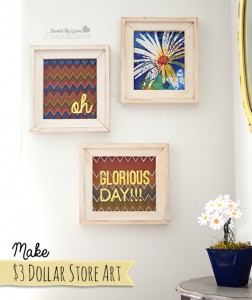
Dollar Store Craft Make $3 Wall Art Trio
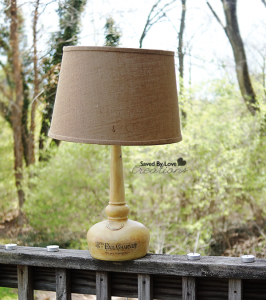
How to Make a Gorgeous French Typography Lamp from a Liquor Bottle
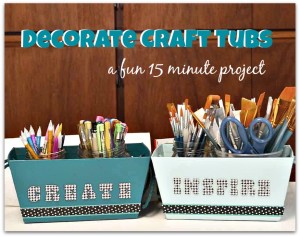
How to Make Your Craft Storage Beautiful
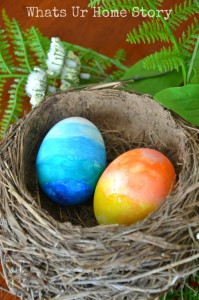
Watercolor Easter Eggs
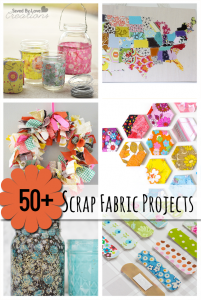
The 50 Plus Best Scrap Fabric Project Tutorials
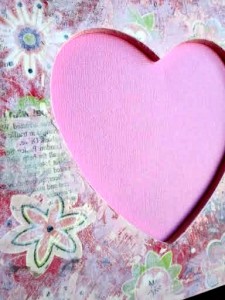
Easy Gift Wrap Image Transfer Valentine’s Day Frame
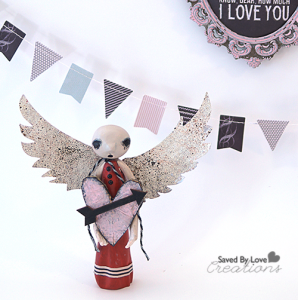
Polymer Clay Valentine’s Angel
Inactive
hello
I’m Johnnie! I am a craft blogger inspired by nature, dogs, running, rock climbing, and all things green and creative.
About me
Collab together
Get in touch
Facebook-f
Instagram
Pinterest
Tiktok
X-twitter
Threads
Inactive
Search
Search
Inactive
follow
weekly
updates
...
la-féminité
Twitter
Facebook
Instagram
Pinterest