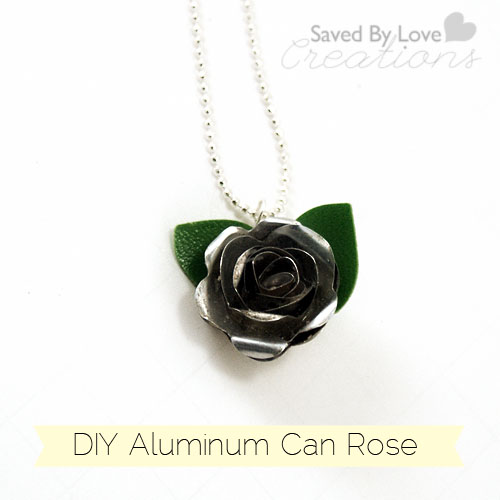
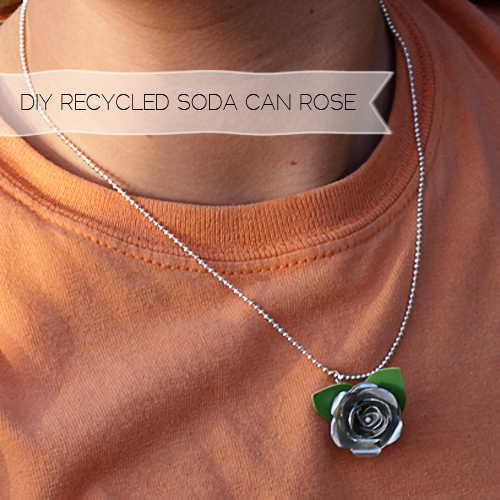
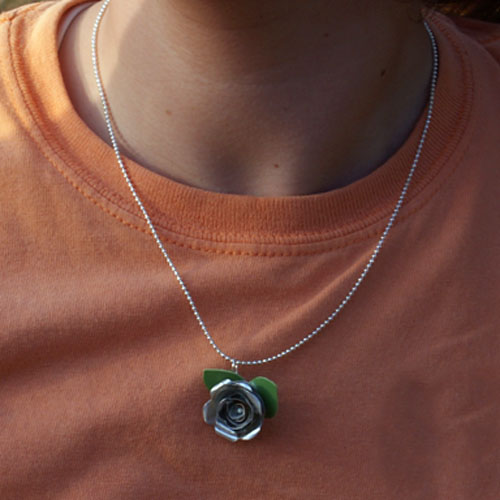
 This video tutorial walks you through the process of using a Sizzix machine to cut an aluminum can that you will use to create the 3D rose pendant. This is super easy, and you know I love it because it is an upcycle! Not to mention how pretty the rose is. You can use it for a charm, card embellishment, rings and all kinds of jewelry and crafts. I opted for the inside of the can so my rose would be aluminum, but you can grab a can in any color you could need for your project.
SUPPLIES:
Sizzix Die Cut Machine
3d Flowers Rose Die
Die with leaves
Soda can
Material to cut leaves (I used a green faux leather case from Goodwill)
Metal snips
Wire Cutter
Chain for stringing pendant
Eye pin
Round nose pliers
Bamboo skewer or toothpick
Needle tool or hammer and nail to punch hole in bottom of rose for eye pin insertion
Super glue or other quick grab glue for aluminum
Material for leaves
VIDEO TUTORIAL:


What a gorgeous pendant! If you didn’t tell me you made this I would have thought it was store bought! gorgeous!
This is incredible. It’s a really gorgeous piece of jewellery and the fact that it’s made from recycle materials is brilliant. It looks really expensive.
I keep seeing projects that require a Sizzix Die Cut Machine and think, “I WANT one of those”. This has pushed me over to “I NEED one of those”!
Thank you for a really great project.
I like this, it is pretty.
I have a tip about getting the top off. Use a hand-held can opener on the top like if opening a sealed can. Then use the sniper to cut the rim off. That way there is less chance of cutting your fingers. I’ve also found normal scissors work just fine on cans, but make them soley for that purpose.
And lovely flowers, by the way. I’m going to try this for a chirstmas for my mother, and this was extremely helpful. 🙂
[…] Great tutorial by Saved By Love Creations. […]