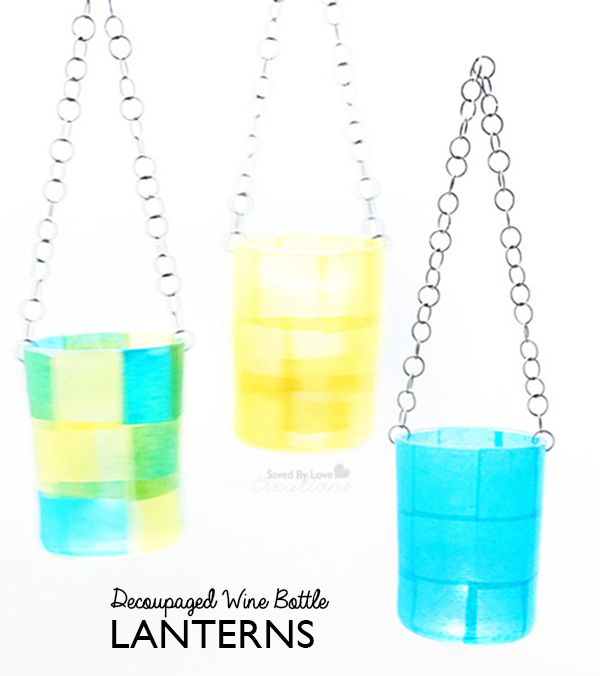
Hanging lanterns in the trees goes a long way towards setting a lovely scene. With some tissue paper squares and a few wine bottles, you are on your way to create beautiful, eco-friendly lighting to add ambiance to your outdoor space or party.
MATERIALS
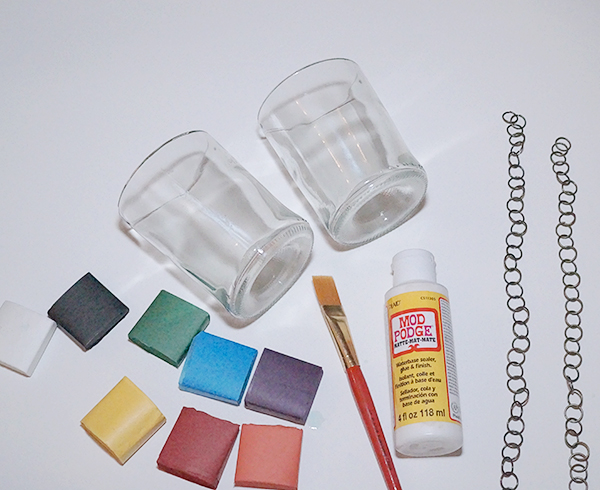
-Clear wine bottles
-Bottle Cutting Supplies (See How to Cut Wine Bottles)
-Tissue squares in a variety of colors
-Glass drilling supplies with 1/8 inch diamond hole bit
-metal chain
-jewelry pliers
-Mod Podge
-Foam brush or flat paint brush
DIRECTIONS
1. Clean bottle and remove any labels.
2. Cut bottles to 4-5 inch height and sand any rough edges (See How to Cut Wine Bottles).
3. Drill 2 holes about 1/8 inch from the top on opposite sides of the bottle (For how to drill in glass, See DIY Mason Jar Chimes).
4. Clean the cut bottles with alcohol or glass cleaner (I put on gloves at this point to avoid fingerprinting the glass).
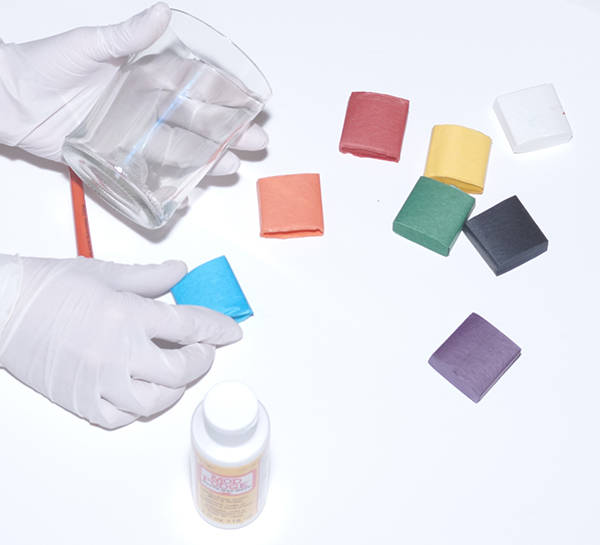

5. Paint a strip of Mod Podge down the side of the glass and add a tissue squares. Overlap them as desired for different effects.
6. Paint layer of Mod Podge over each strip as you finish, smoothing out wrinkles in the paper with your paint brush as you go. Don’t over do it as the paper is easily torn.
7. Once entire glass is covered, go over it with another layer of Mod Podge. You can use the outdoor formula if you are leaving the lanterns outside long term.

8. Add chain by opening link the end link with pliers, inserting it into the hole near the top of the glass and closing it back with the pliers. Insert the other end of chain in hole on the opposite side.
For more inspiration, visit our 50+ Glass Bottle Crafts: