Hi everyone! I’m Laura from Pet
Scribbles, and I’m thrilled to be guest posting for Johnnie
today!
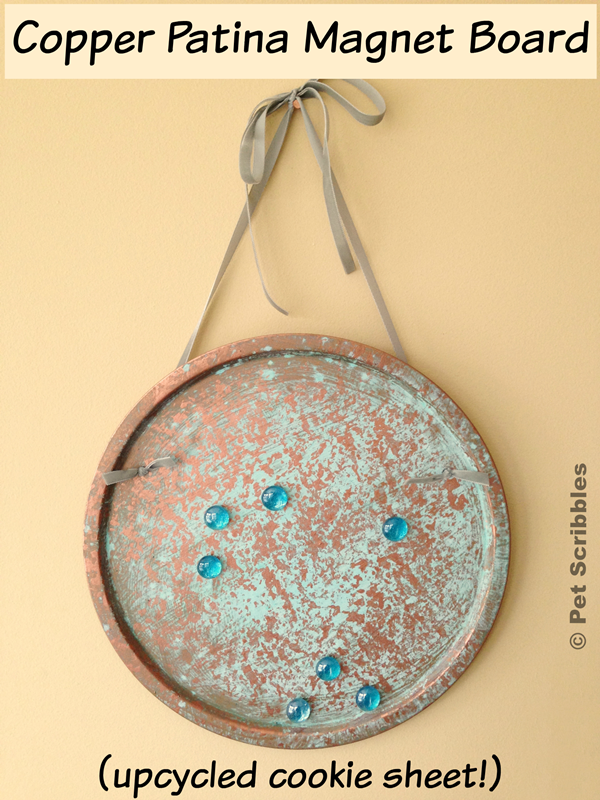
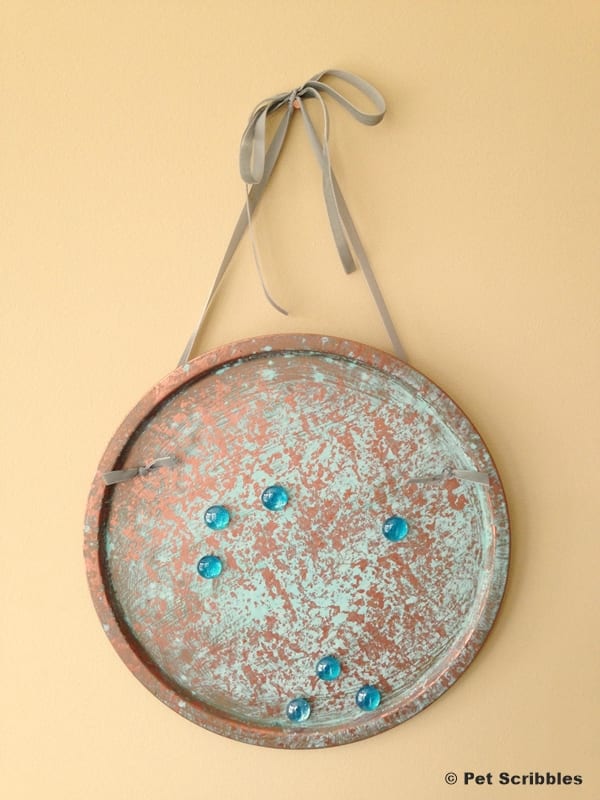
I’ve got a fun DIY project to share: a copper patina magnet
board from an upcycled cookie sheet!
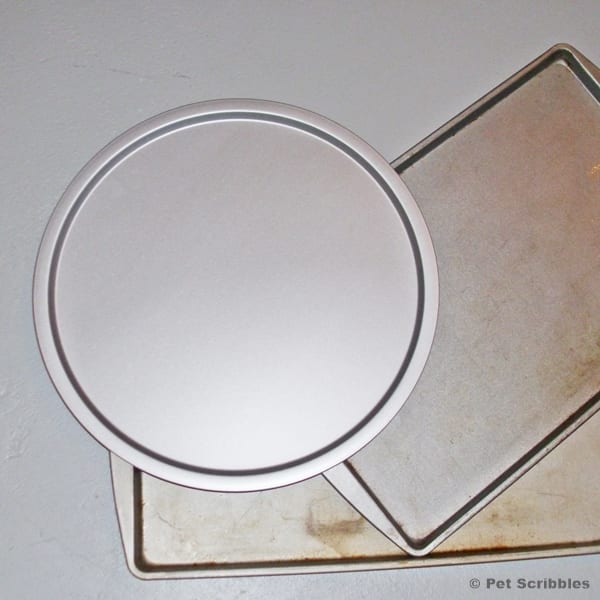
After seeing so many cookie sheet makeovers on Pinterest, I began
collecting some of our older ones. I also bought this new round one at
the dollar store:
As regular readers of my blog know, I love the look of copper and
patina. I’ve made over quite a few pieces using this technique, from
glass
vases made to look like copper pipes to large wooden planter boxes made to look
like metal. In each DIY, the steps are the same but the patina effect is
always different – just like real patina on aging copper.
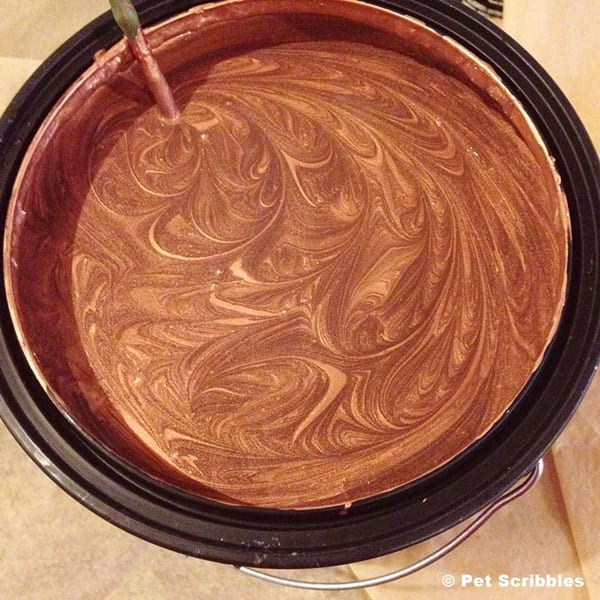
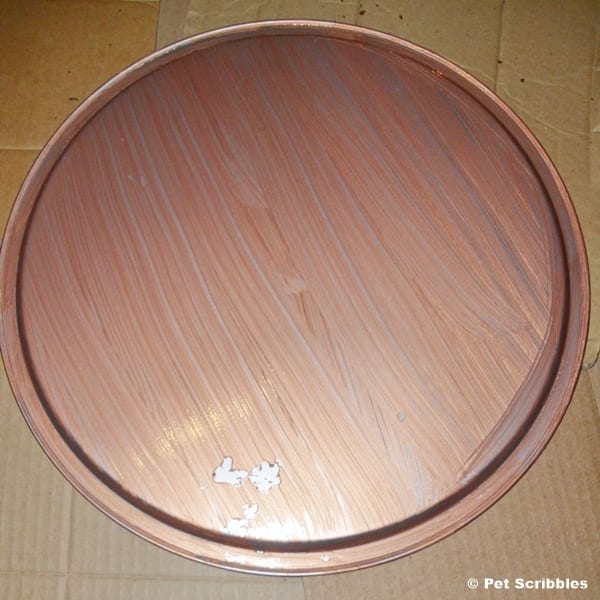
Step One: Apply one coat of Modern Masters Copper Reactive
Metallic Paint to both sides of the cookie sheet. Let dry.
For many surfaces, I use the Metal Effects Primer (also by Modern
Masters) as the first coat. On metal, it isn’t necessary as the first
step. However, as you’ll see in the image below, the first coat of paint
did go on a bit more streaky than I would have liked. (Using a primer
always provides some tooth for any subsequent coats of paint to adhere to.)
Step Two: Apply a second coat of the copper paint to the back
side of the cookie sheet only. Let dry.
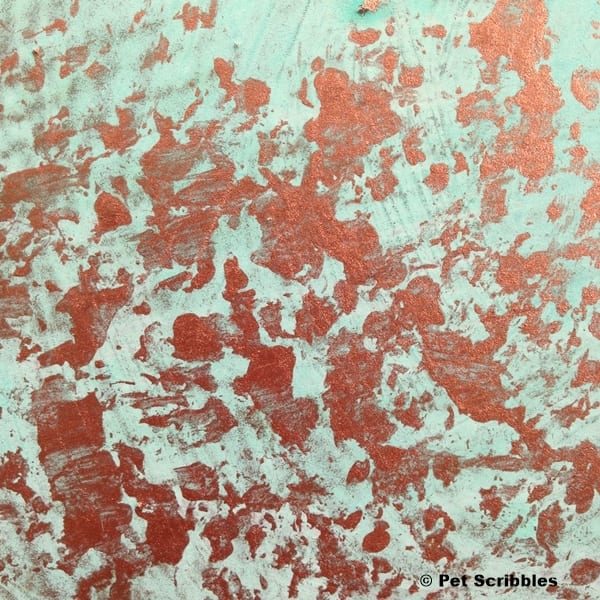
Isn’t the paint gorgeous? There’s real metallic particles in the paint,
which is what reacts with the patina solution that will be added in the
next steps.
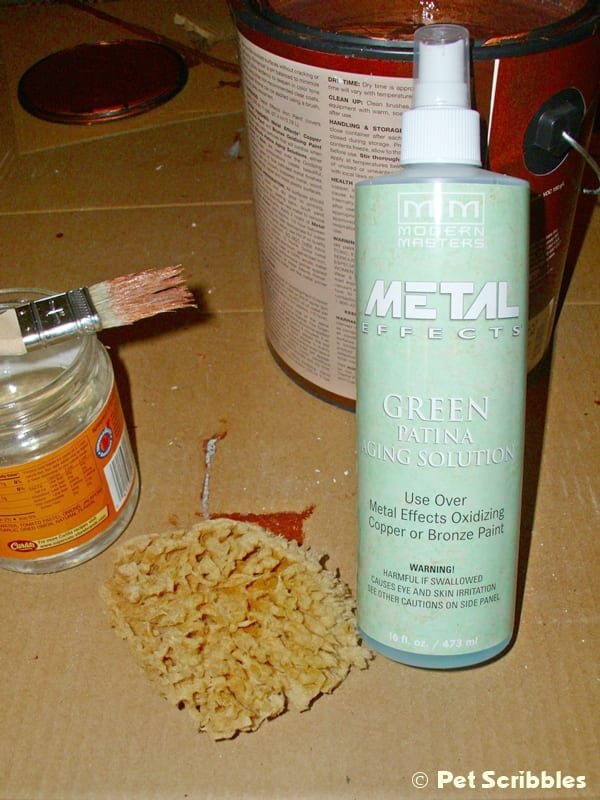
Step Three: Apply a new coat of the copper metallic paint to the
front of the cookie sheet, then immediately spray the patina solution
onto the cookie sheet right over the wet paint. The patina
solution comes in blue and green. I used the green shade:
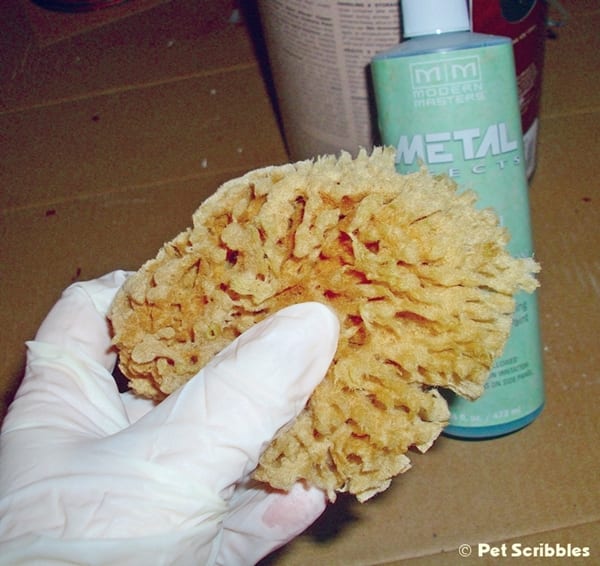
Using a sea sponge, I then played around pouncing the solution on the
cookie sheet, just making random patterns. It isn’t necessary to do
this, but it sure is fun!
Step Four: Add a bit more of the copper paint, if
desired. After everything dried overnight, I used the same sea
sponge and pounced a bit more copper paint here and there onto the front
of the cookie sheet. There’s no right or wrong way to do this, just play
with the look until you love it.
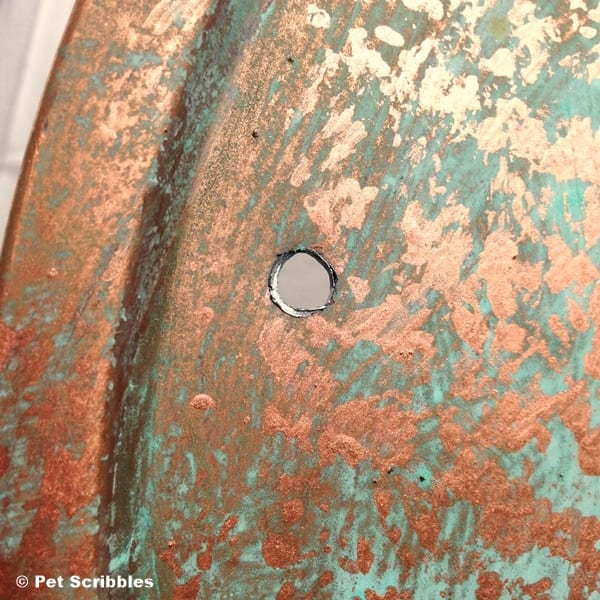
Here’s a close-up of the gorgeous patina finish:
Step Five: Drill two holes into the cookie sheet. These
holes will be where you thread your ribbon through, to make the hanger
for your magnet board.
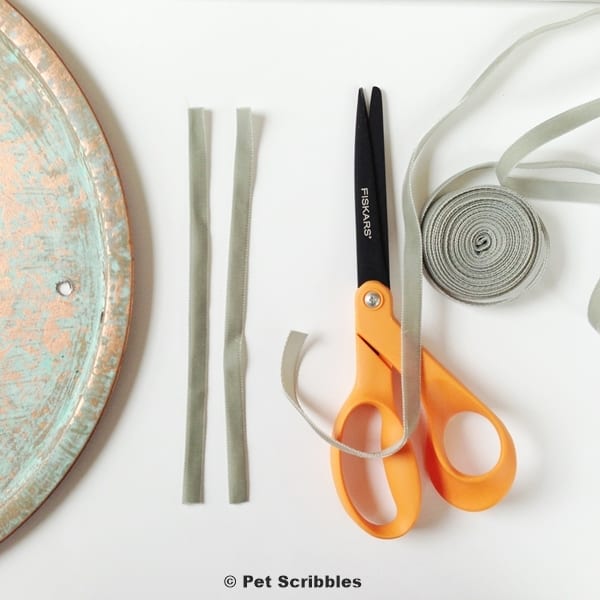
Step Six: Cut two pieces of thin velvet ribbon (or a ribbon of
your choice), which will become small bows on the front of the magnet
board. Cut two longer pieces of the same ribbon, which will be
used to create the hanger. (I didn’t measure my pieces, instead I just
eyeballed it.)
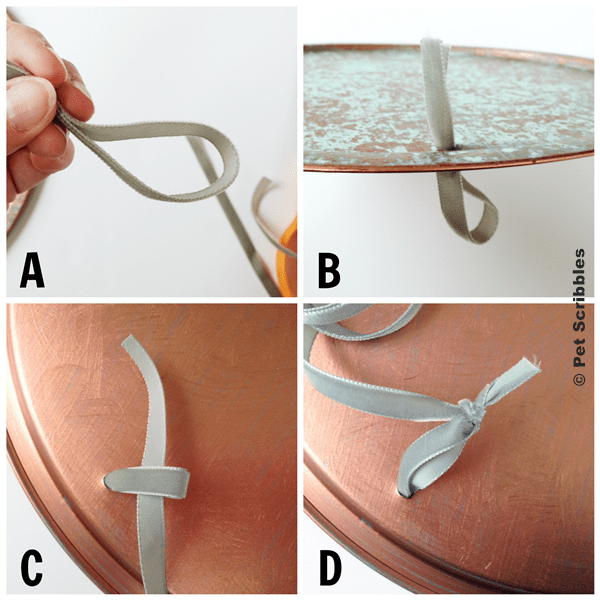
Step Seven: Create the velvet ribbon hanger. Make a
loop with the smaller piece of ribbon (A), then thread
it (B) through the drilled hole, with both ends coming
through to the front. (C) Turn the tray over and slide
one end of the longer ribbon through the loop of the smaller piece.
(D) Tie the longer piece onto that loop with a simple knot.
Repeat this step for the other drilled hole.
Step Eight: Pull the ends of the smaller pieces of ribbon all
the way through the drilled holes. (They will be stopped by the
knots underneath that you made in Step Seven.
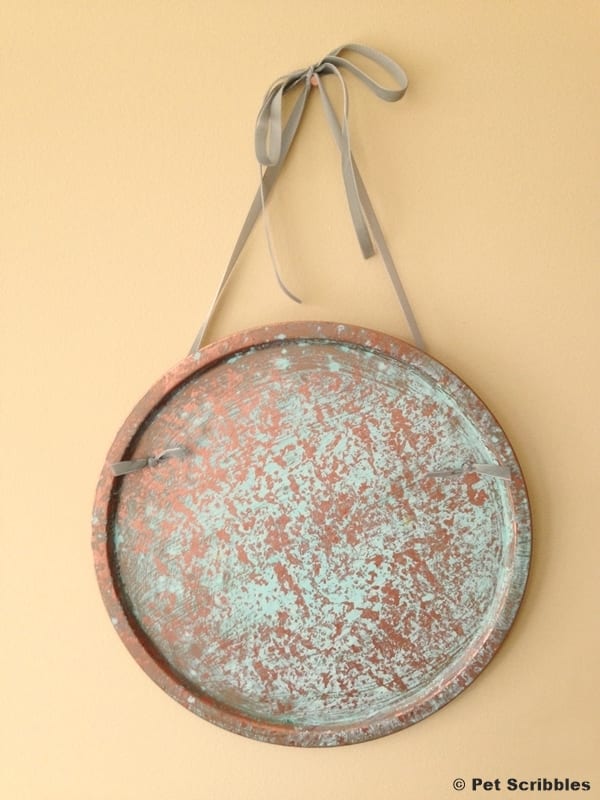
Step Nine: Tie the ends of each ribbon together with a simple
knot, then trim the edges to a length you like. I trimmed mine
so each looks like a very basic bow shape and covers the holes
completely. (See image below.)
Step Ten: Tie the long ends together and make a large, floppy
bow. Hang up on the wall and enjoy!
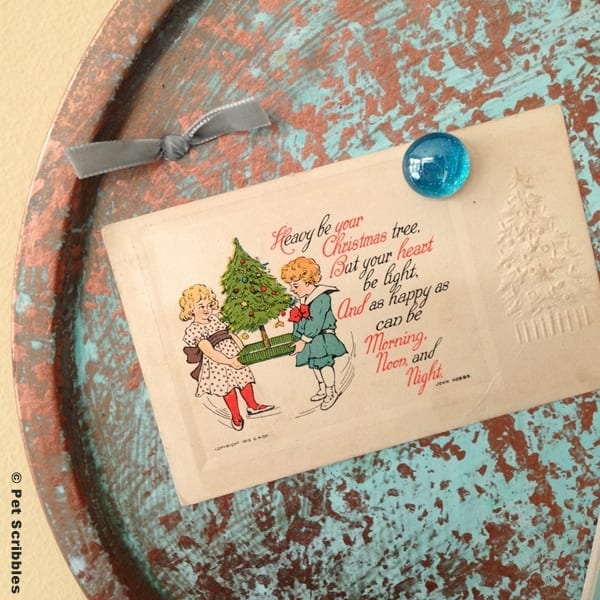
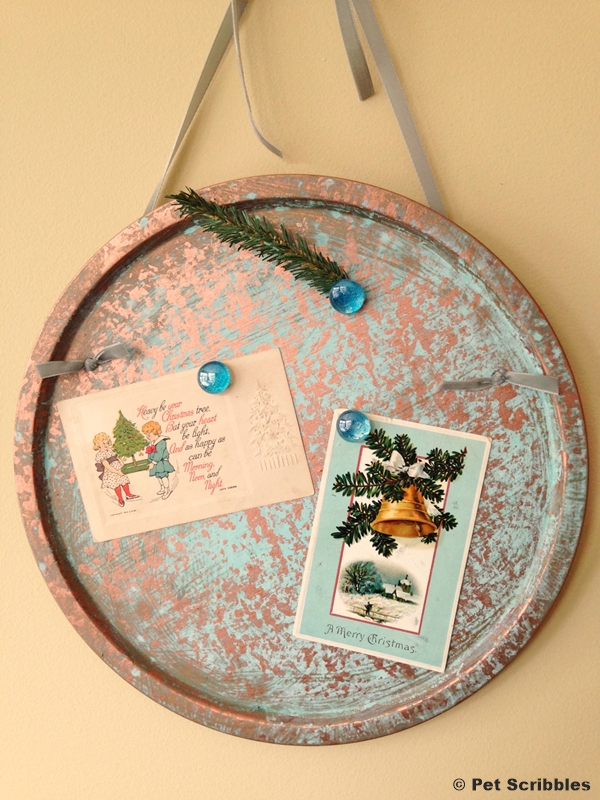
Since it’s Christmas time, I decorated my magnet board with some of my
favorite vintage Christmas postcards. (I also made the glitter marble
magnets, and you can find that tutorial here.)
I added a sprig of a faux pine branch too.
And when the Christmas season is over, my magnet board will be ready to
take on the new year and hopefully keep us more organized! (Unless I
decide to decorate it with more vintage postcards!)
I’ve been a long-time admirer of Johnnie. Whether she’s crafting
bracelets or building furniture, her creativity knows no bounds!
Thanks Johnnie for having me guest post today, and thank you Saved By
Love readers too!
Happy crafting!

