[pinit]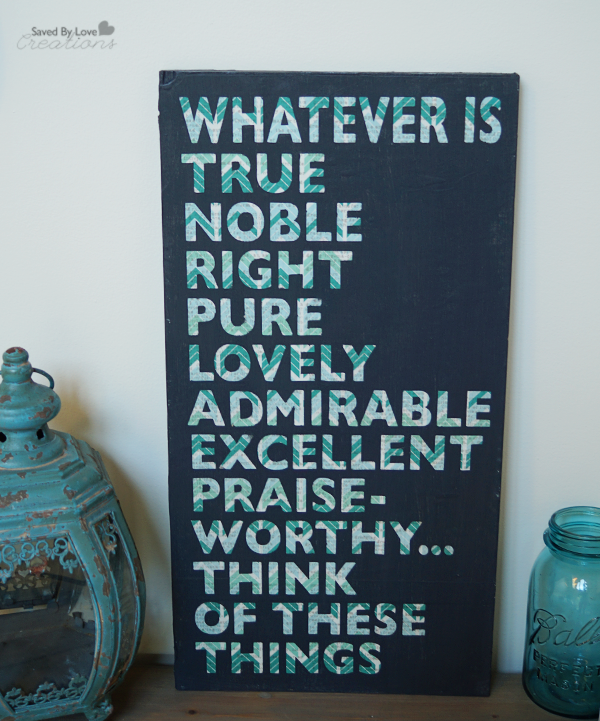 [pinit]
On a recent trip to Michaels, I found Hazel and Ruby tissue paper that just had to come home with me. It is big, comes in super cool prints and is perfect for decoupage projects. I used it to make this scripture word art on reclaimed wood, with a stencil mask technique. Today I will show you how to create your very own. You can use the text provided in a downloadable file below, or bring your own verse to the game. Let’s do this, want to?!
SUPPLIES:
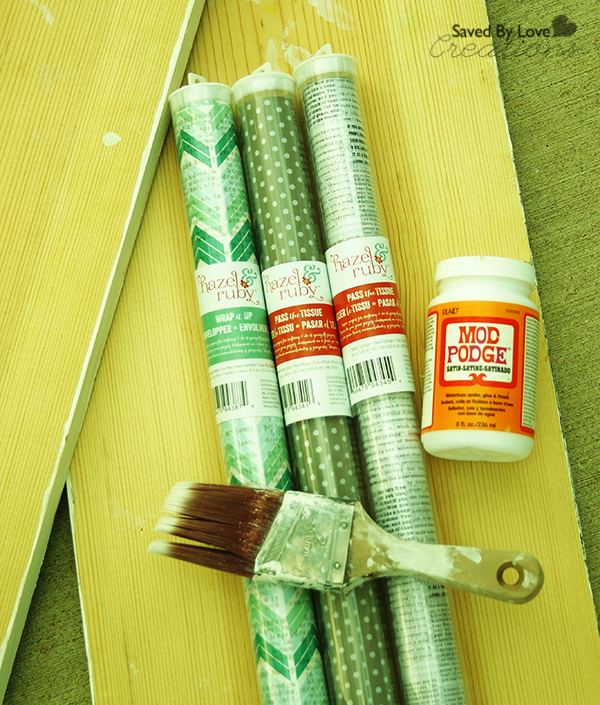
Hazel & Ruby Tissue Paper
Mod Podge
Paint Brush
Wood Surface
Chalky Finish Paint (I used color “Relic”)
Vinyl Sheets and Cricut or Adhesive Word Stencils
TUTORIAL:
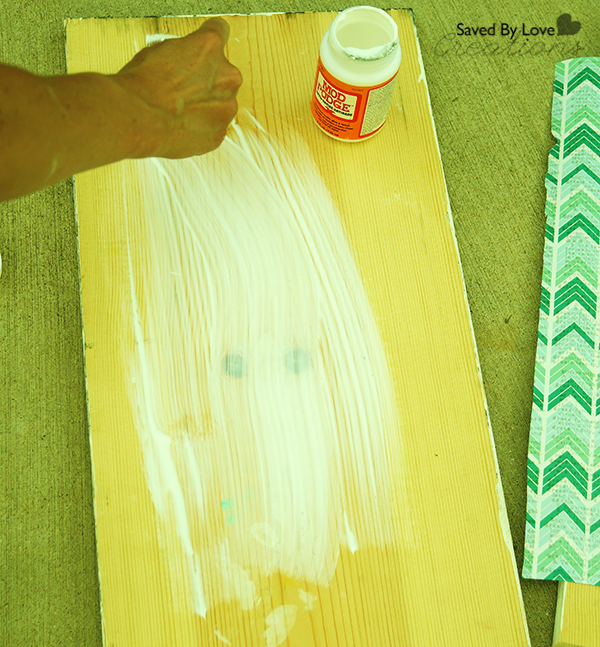
Apply a generous layer of Mod Podge to your wood surface. I am using the back of the art I showed you several years ago here:
DIY Cheap Wall Art Faux Oil Painting
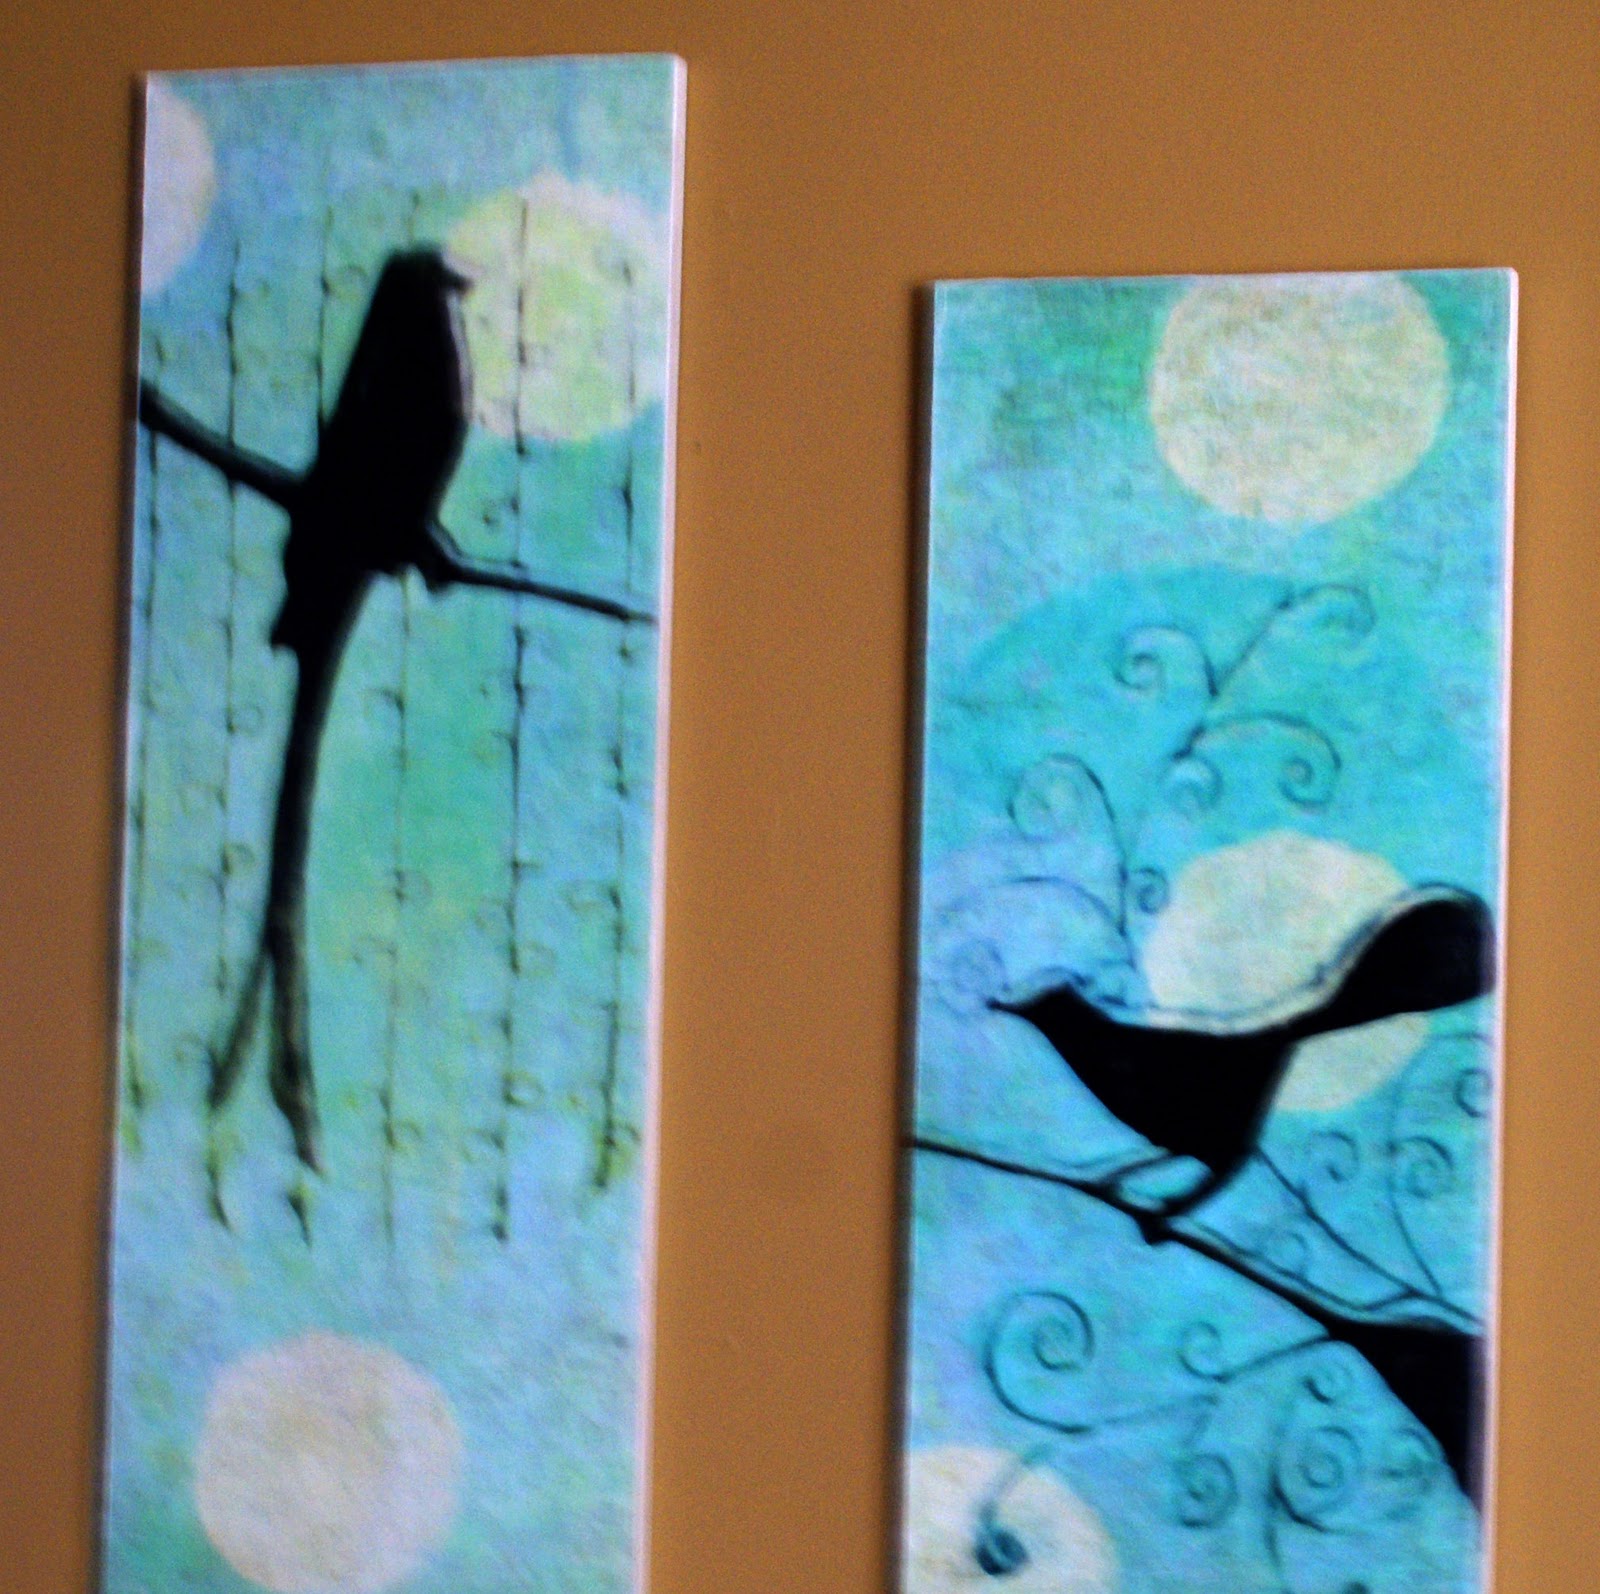
It was time to change this art to fit my new decor!
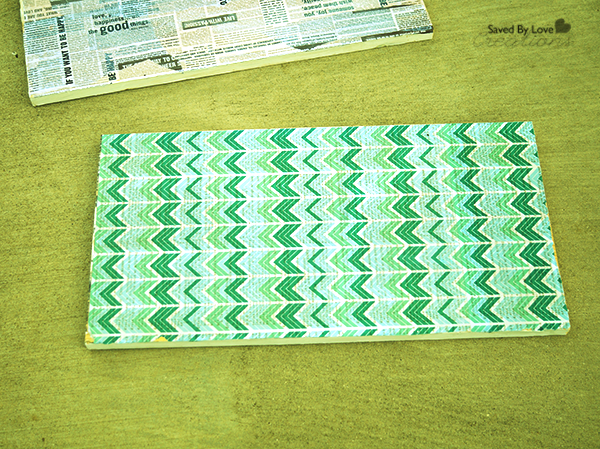
Apply the tissue, smoothing out wrinkles with the palm of your hand. This tissue didn’t really wrinkle, so that was pretty awesome! Apply another layer of Mod Podge to seal the tissue and cut or tear the excess paper from the edges. I actually cut mine to fit the board before applying, so there wasn’t excess. Either way is fine. The edges don’t have to be perfect since you are painting over them in a future step!
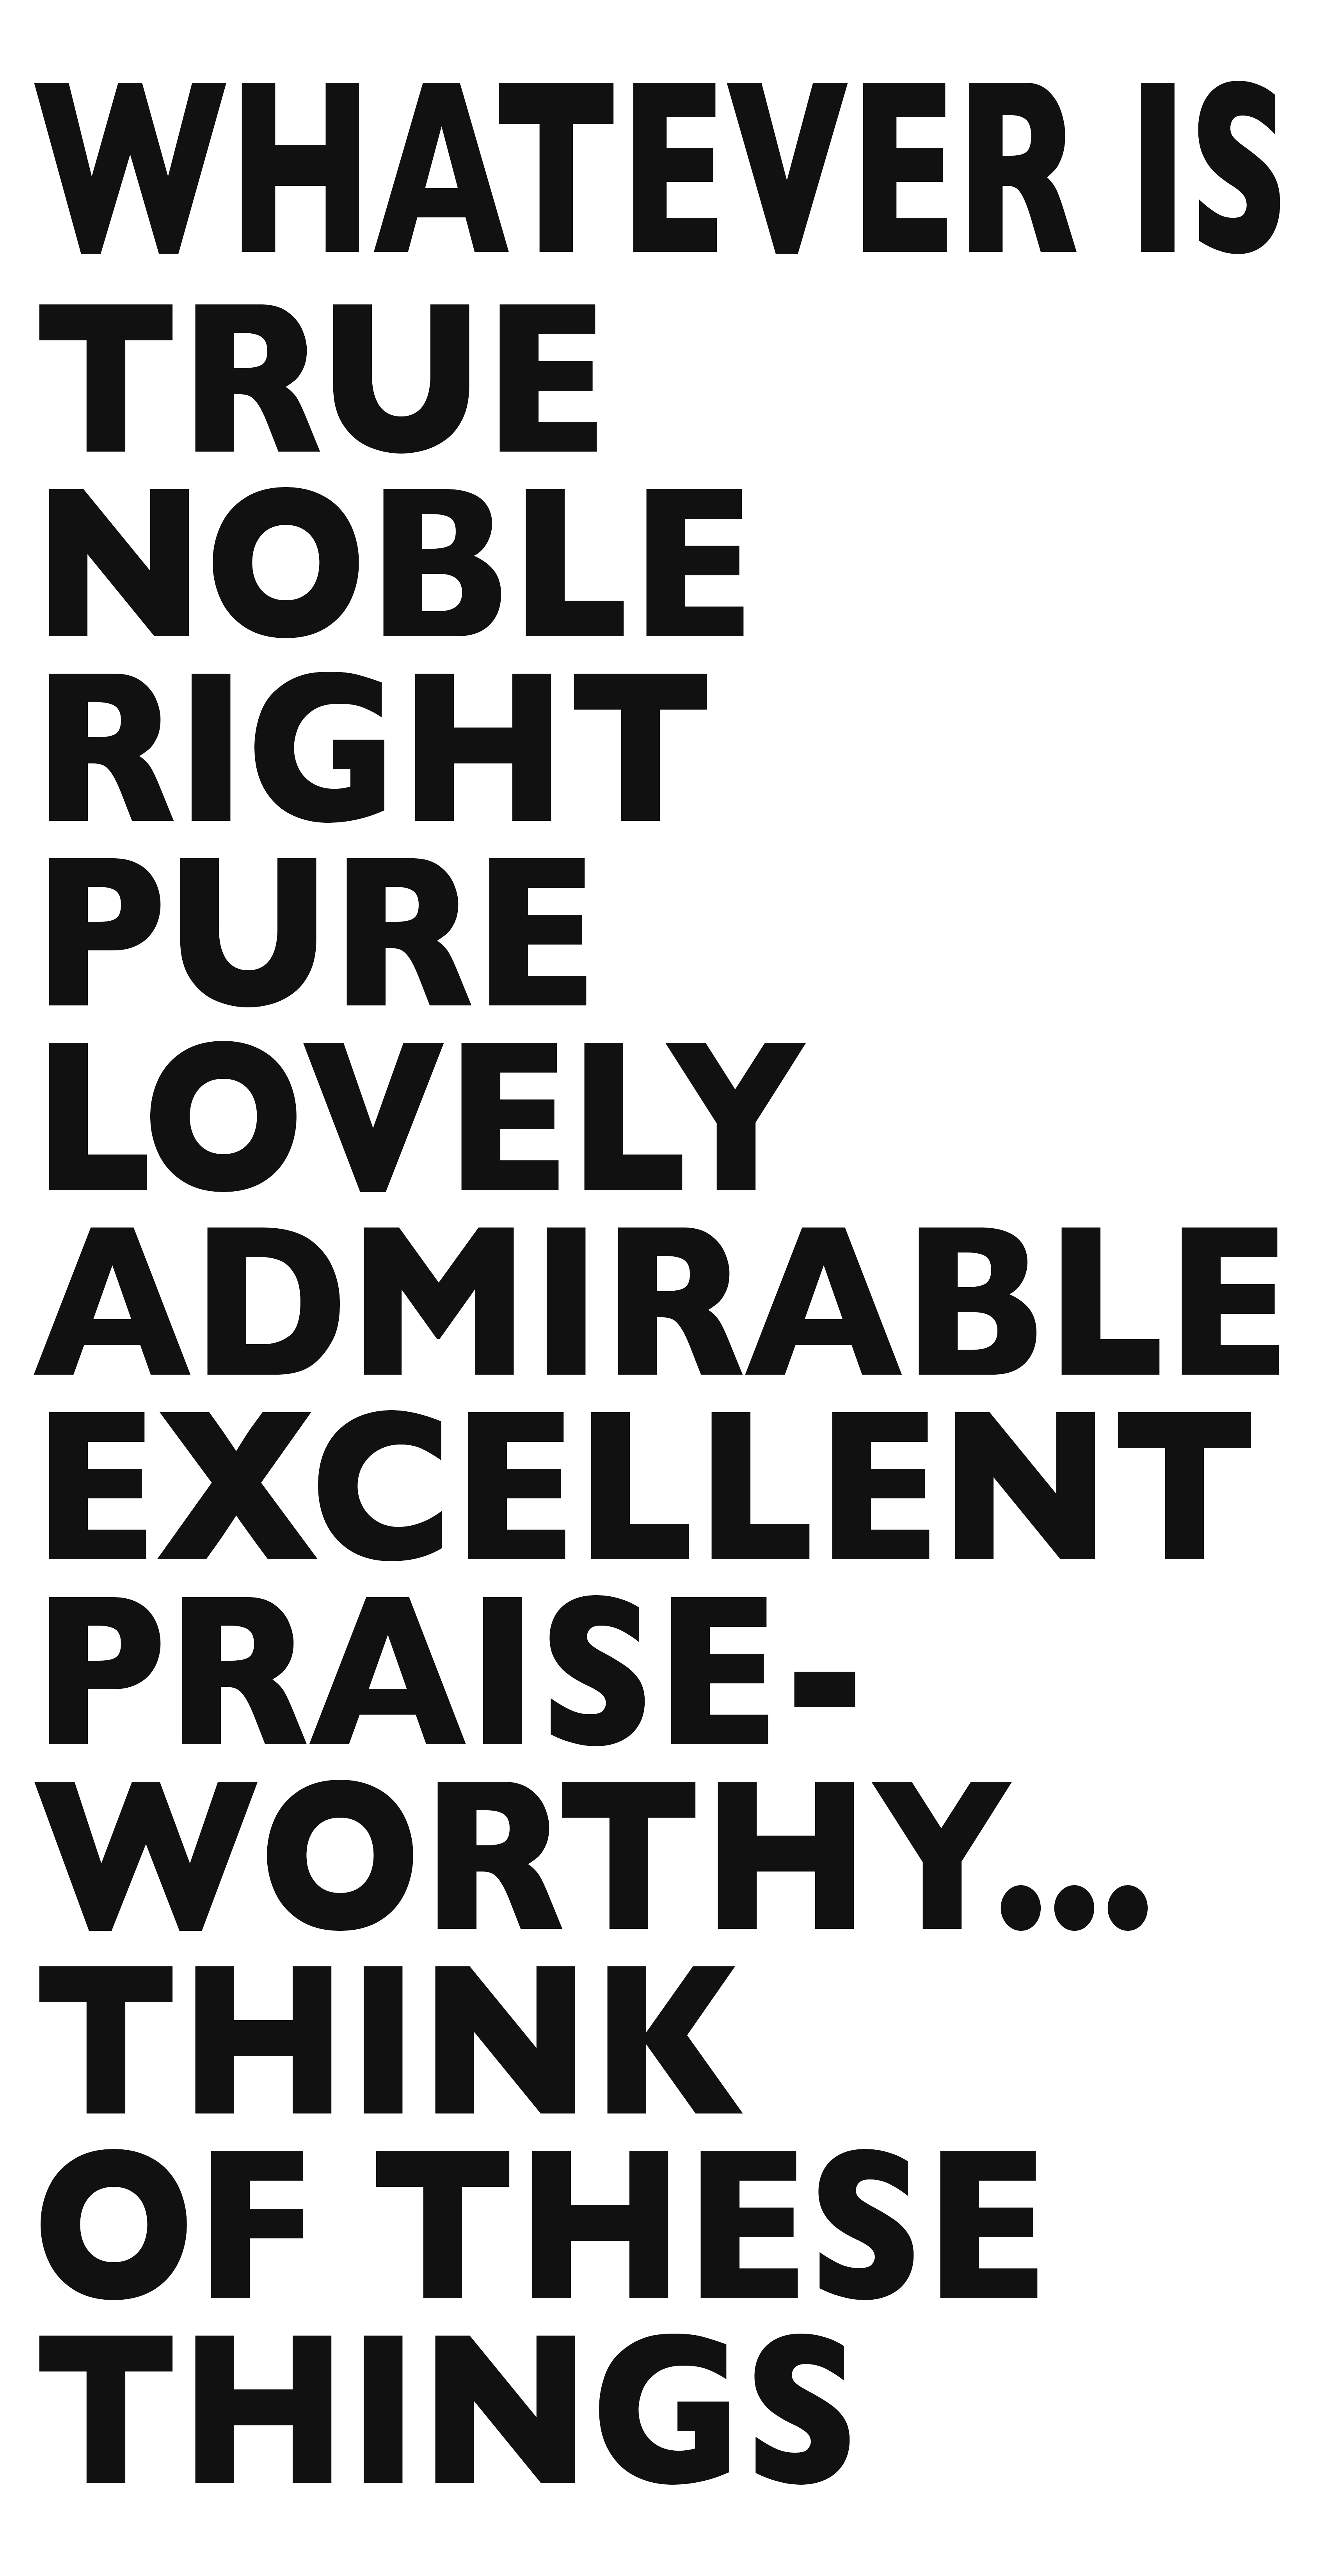
I used the jpg file to cut the text out of adhesive vinyl using my cricut and Sure Cuts Alot. You are free to use this file as well. Just right click the thumbnail to pull up the full resolution version and save to your computer.
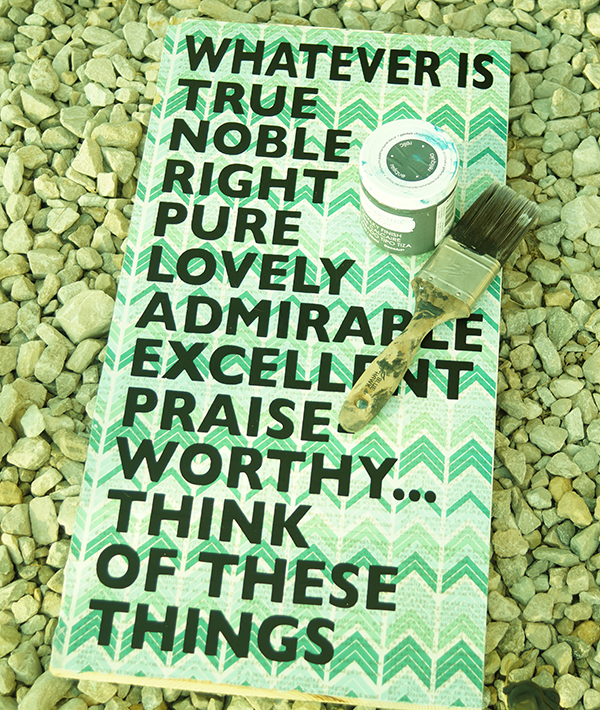
I applied the stencil to the tissue paper after letting the Mod Podge cure overnight. I used Cricut transfer tape to transfer the vinyl words. You can do this by hand, but the transfer tape makes the process way easier, faster and neater.
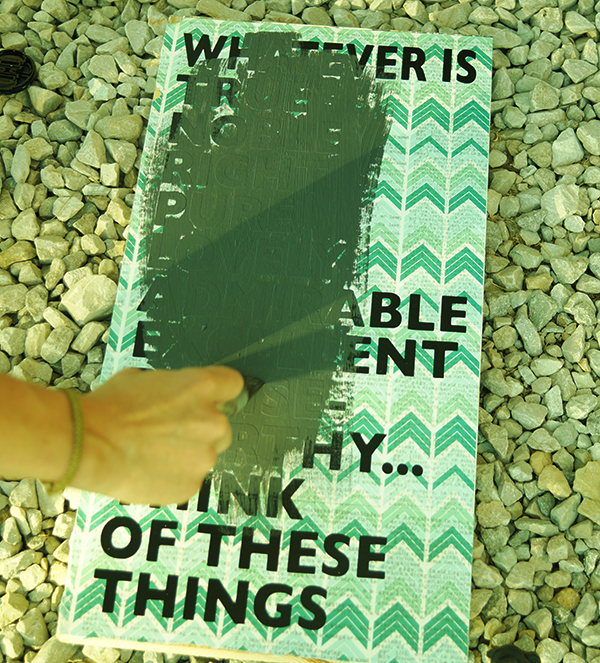
Next I painted over the entire surface with Chalky Finish Paint in “Relic”.
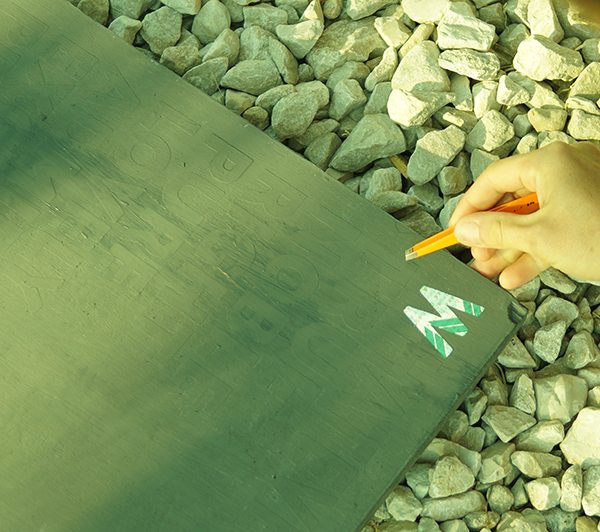
I used tweezers to remove the letters before the paint dried completely.
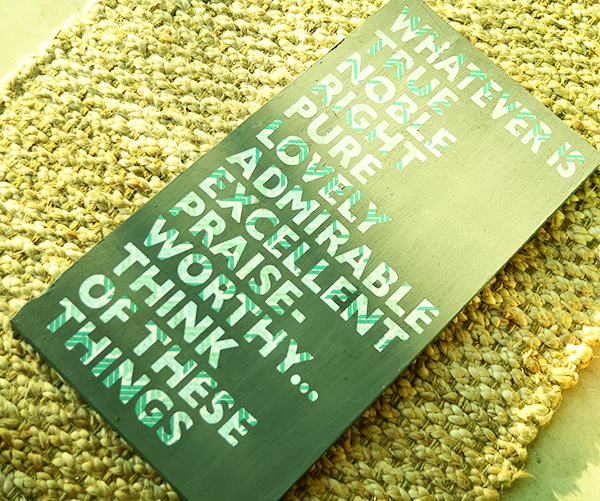
I sealed the piece with Clear Creme Wax to finish.
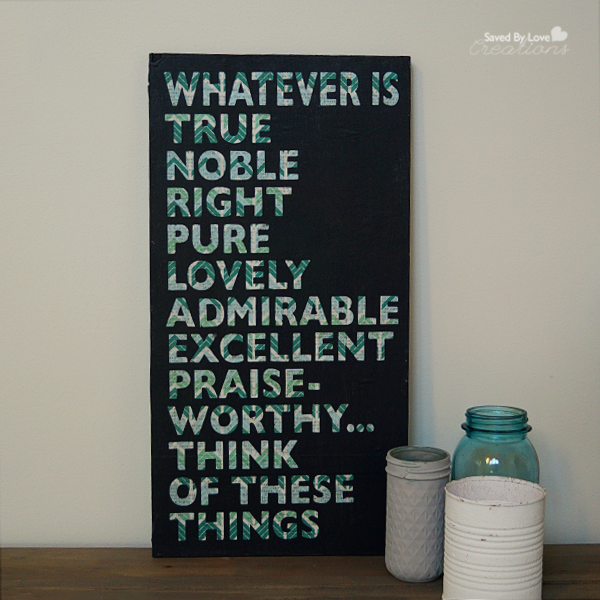
I am super happy with how it turned out!!
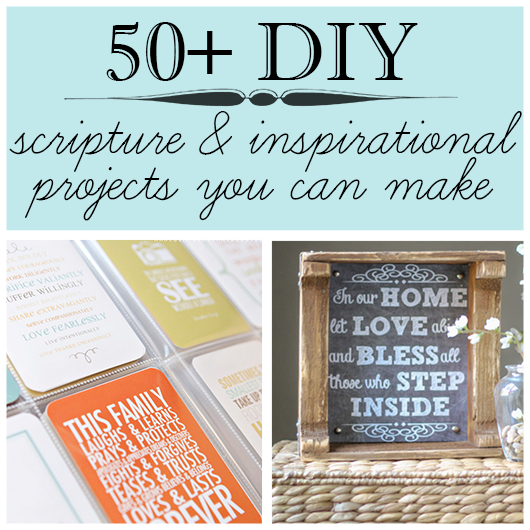
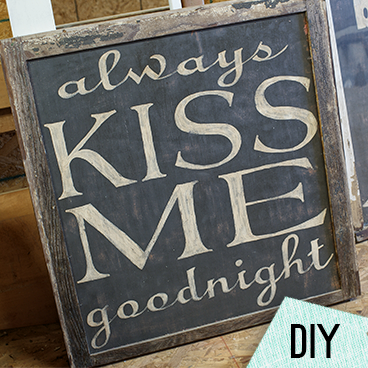
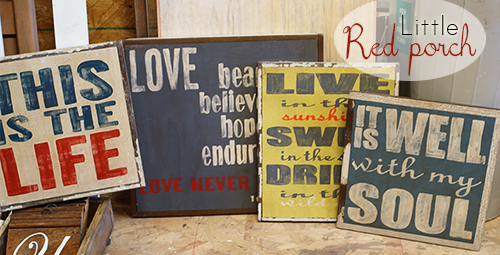
If you like this project, be sure to check out 50+ Scripture Art DIY Tutorials: