Wood Pallet Planter DIY

How to make a reclaimed wood planter from shipping pallets @savedbyloves

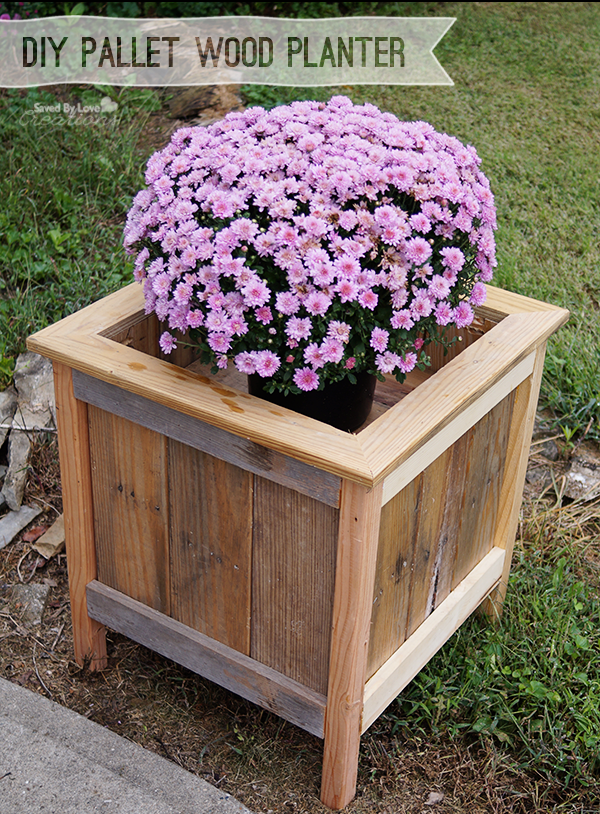
I picked up some mums recently and decided they needed a planter. Using Ana White’s Cedar Planter For Less than $20 Free Plan, I made just a few adjustments and built this planter using pallet wood and 2×4 scraps I had on hand. 

pallet wood project idea

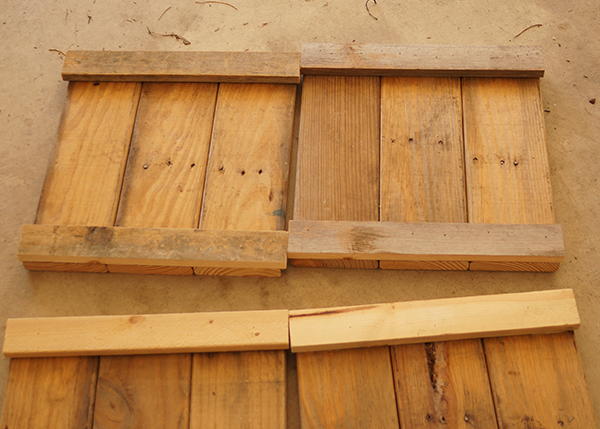
I just grabbed the cut list from Ana’s plan and hit my scrap wood pile to see if I could make things work without having to buy any wood.  I happened to have 5 1/2 inch pallet wood to use in place of the 5 1/2 inch cedar planks.  Perfect!

To make the 2×2 posts for the four legs, I ripped 2×4 scrap wood into 2×2 pieces.  For the 1×2 horizontal supports, I had a few scraps of 1×2 on hand and ripped pallet wood for the rest.

Shipping Pallet to Planter

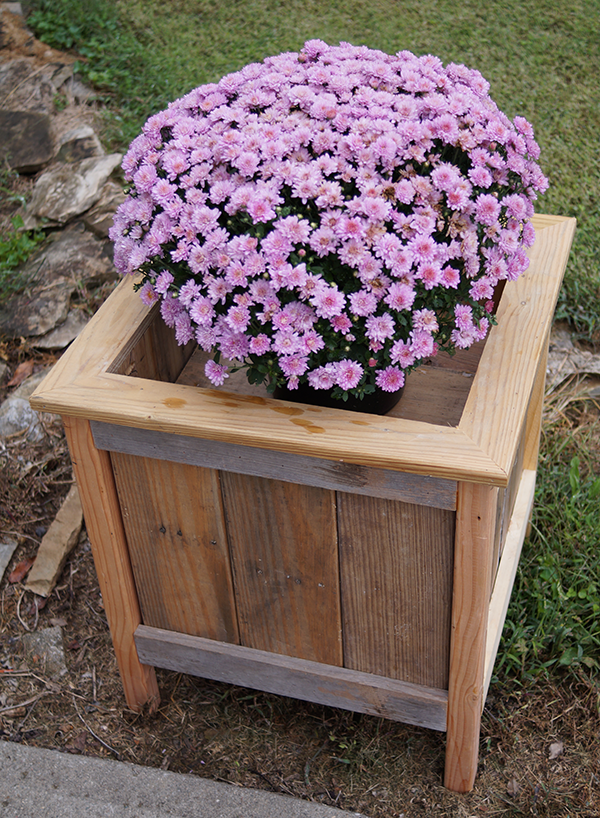
The biggest change from Ana’s plan is that I cut the 2×2 legs to 23 inches instead of 23 3/3.  I attached the legs flush with the top of each panel, and added a “frame” to the top of the planter with 1×3 scrap wood that I mitered to fit.

As for the finish, I am just going to leave as is and seal with Polyurethane.  I love the various raw wood pieces.

Pallet Wood Projects

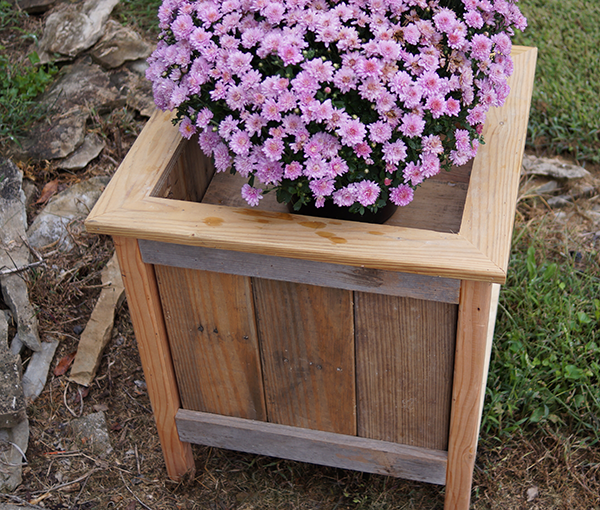
What do you think?  What are you building from pallets these days?

Glow Paint Rocks

#DIY illuminated pathway with rocks and glow paint, @savedloves

[pinit]

If you are looking to create an amazing outdoor space, this illuminated pathway spotted at Sublime Decor is a perfect starting point.  They painted rocks with Rustoleum Glow in the Dark brush on paint.  The sun charges them up during the day so that they shine at night.  How cool, and easy!

Deco Art Glass Paint; Upcycle Wine Bottles

#decoartglasspaint Cut Wine Bottle Address Lanters by savedbylovecreations.com

Remember the Deco Art glass paint I showed you not long ago?  Well today is the project reveal.  I focused on the glitter paint, and decided to use the opportunity to bring some warm colors to my porch for fall.  You will see how I used the sparkle filled colors and stencils to create wine bottle address lanterns.  This project does not require experience, but patience is helpful.  You will be cutting wine bottles, and painting several light layers of gloss enamel glitter.  There is some waiting involved, so plan on doing a little each day over several days.  The result is well worth the wait.

Cutting the Bottles

 First step is to cut the wine bottles.  This is accomplished with yarn and acetone in a quick, simple process I showed you in this video:

I cut mine at 3 different heights to have a tiered display.    We are working only with the upper piece of bottle in this tutorial, but the lower part makes a great dish, glass or candle holder.  To get the edges smooth, dear husband and I teamed up and used the sander drill attachment with low grit sand paper:

Before you being painting, clean the bottle well.  Use warm, soapy water, pat dry with lent free cloth, then clean entire surface with alcohol.  If you skip this step, oils in fingerprints remain and prevent your paint from grabbing onto the slick surface.  Keep the alcohol nearby to correct any mistakes.

Painting the Glass

NOTES:  I was going for an ombre red-yellow from bottle opening to cut edge.  The effect was created with several layers of Gloss enamel glitter, applied lightly with a cosmetic sponge.  This was after a big, streaky craft fail that I found myself in from applying too heavily with a brush.  The good news is that you can wipe mistakes away easily with damp sponge if paint hasn’t dried.  Even if it has dried some, you should be able to scrape it off if you do so before the 4 days of curing.  Also keep in mind that if it looks a little streaky, this could diminish significantly with overnight drying.

You will see in the photos, I added a segment of gloss enamel frost to the top of my red to yellow gradient for a contrast with the glittery awesomeness.  Always let paint dry between each step.  Put your finger in the mouth of the bottle to avoid touching outside and leaving fingerprints.

#decoartglass painted wine bottle lanter tutorial at savedbylovecreations.com #upcycle #repurpose #recycledcrafts

*NOTE:  When stenciling, work on one side of the glass and let that dry before moving around the glass.  It is super frustrating to mess up your stenciled design, which is  easy to do while positioning stencil/painting in another area.

Cure time is 4 days for these paints.  After that time, you can bake per instructions if the piece needs to be dishwasher safe.  Not the case here.  I built my shelf (see photos) and had my sparkly new address lantern display up 24 hours later.

Making the Shelf/Holder

Deco Art Glass Paint

So, what do you think?  I had a blast with these paints.  My project centered on the glitter finish, but I have been all over the stain and the frost paints, and love them.  There are some stunning projects by my creative cohorts.  See the list below for more inspiration.  You will be tempted to jump in your car and drive to the nearest Michaels Store, where you will find it near the glass products.

**I wrote this post as a part of a paid campaign with DecoArt. All opinions are my own.


Privacy Policy