[pinit]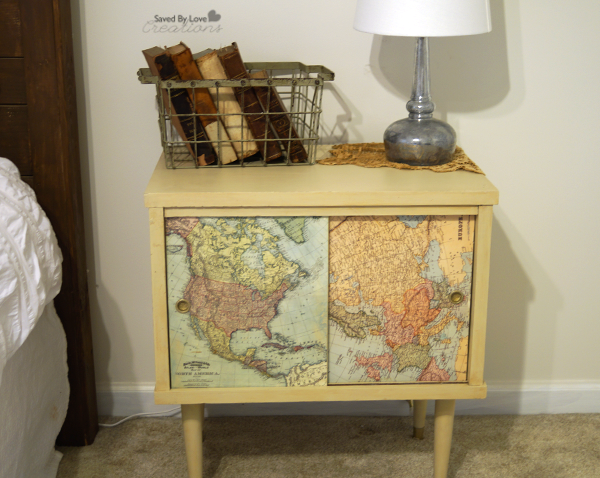 [pinit]
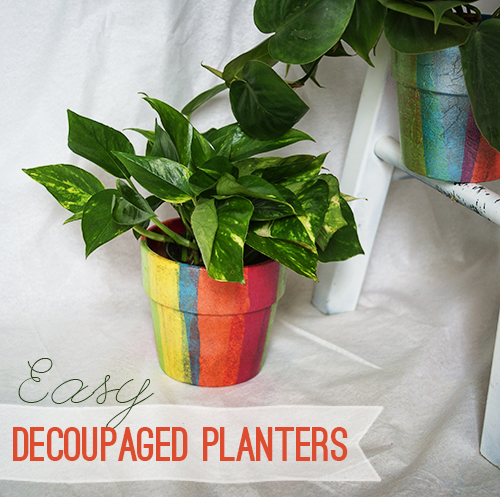
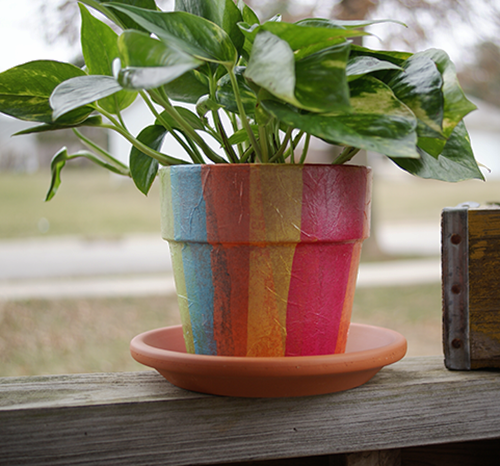
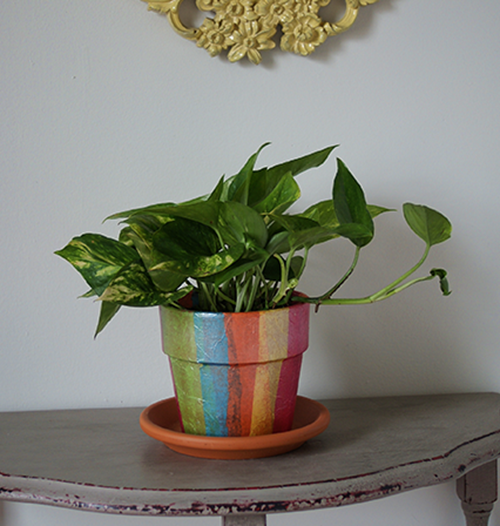
Today I am sharing another furniture flip! We will be taking a retro 50’s side table to a chalk painted, old map bearing, stylish addition to the master bedroom. A little decoupaging and glitter blast add a special touch. Let’s do it!
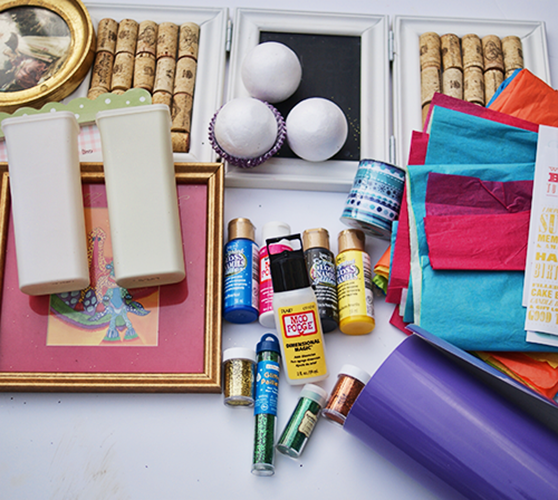
SUPPLIES:
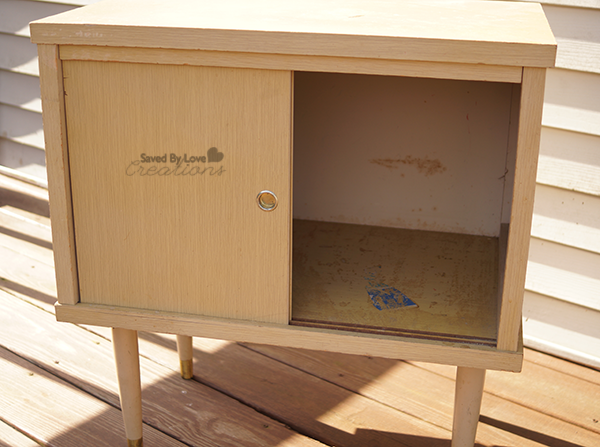
Old table
Mod Podge Satin Finish
Decoupage Map Paper from Martha Stewart or actual old maps
Foam Paint Brush
Pen or pencil
Scissors
Chalky Finish Paint in desired color
Americana Clear Creme Wax
Krylon Gold Glitter Blast
Krylon Glitter Blast Clear Sealer
TUTORIAL:
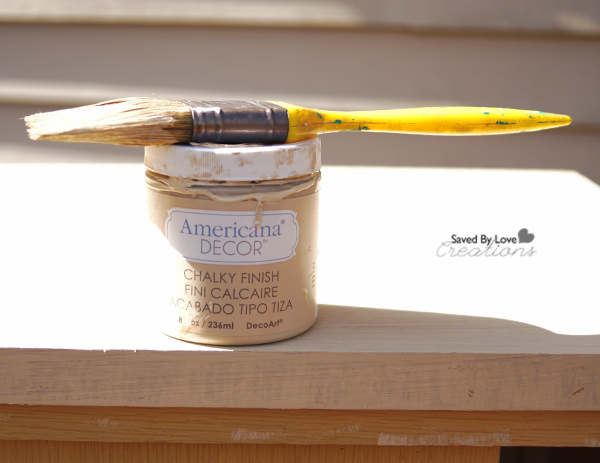
I lightly painted 2 coats of Americana Chalky Finish in Timeless, allowing 20 minutes to dry between each coat.
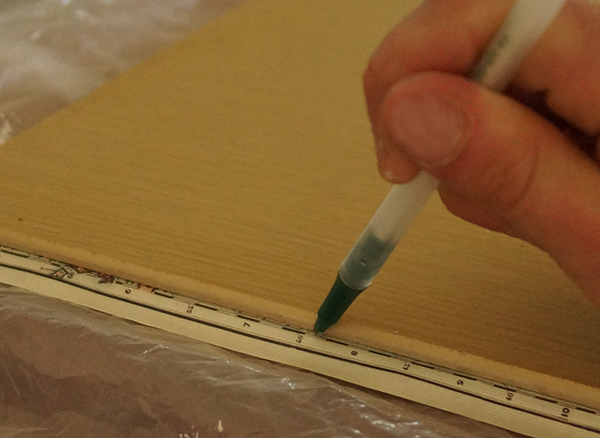
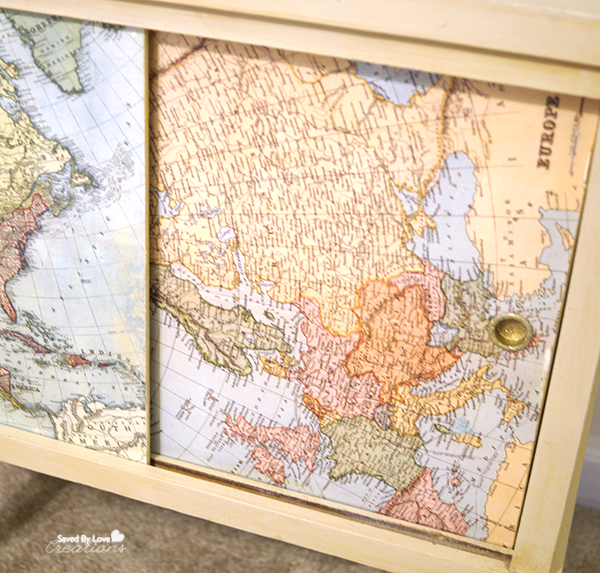
I removed the doors/hardware and outlined them onto my decoupage paper, then cut out the paper to size.
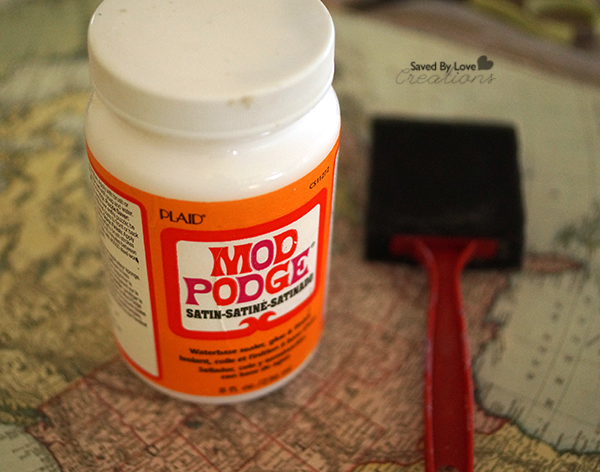
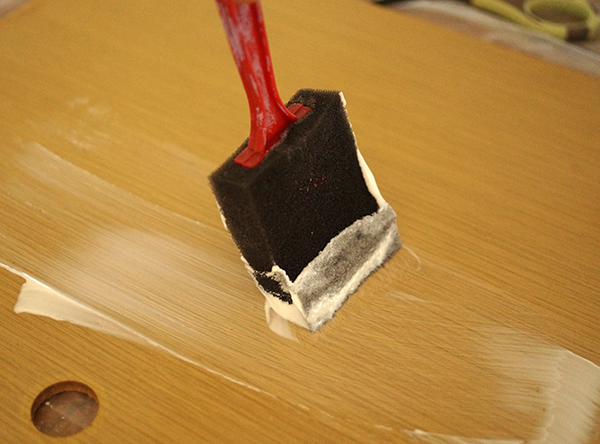
Next I added a layer of Mod Podge to the door surface with a foam brush.
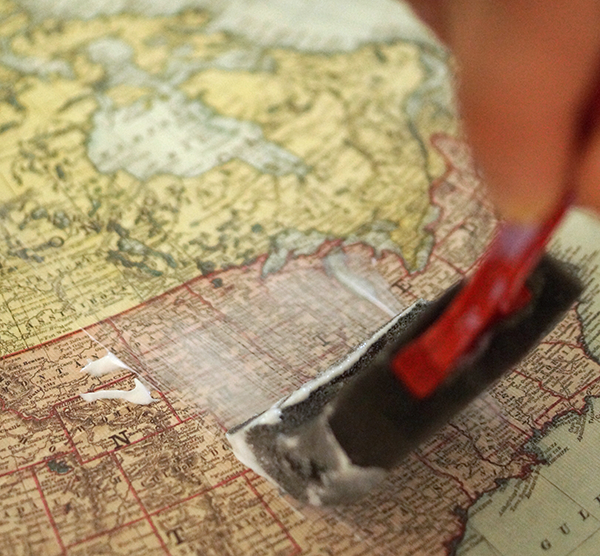
I smoothed wrinkles out from the center with the palm of my hands. A brayer would work too. Then I added a uniform layer of Mod Podge to the top of the map paper to seal everything.
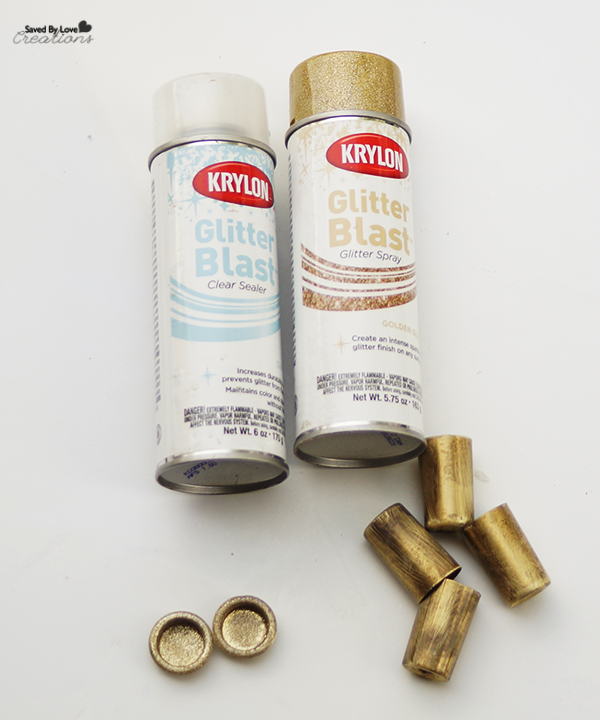
I sprayed the pulls on the door, and the shoes on the table legs with Krylon Gold Glitter Blast.
I applied a coat of Americana Decor Creme Wax in clear to the whole piece and replaced the glittery hardware once everything dried.
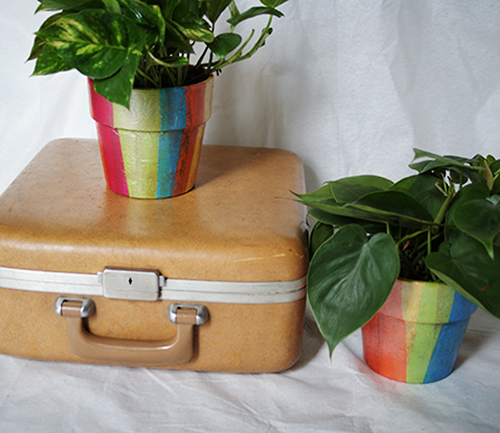
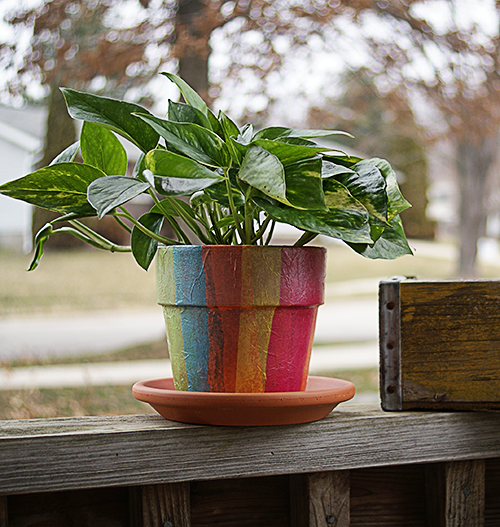
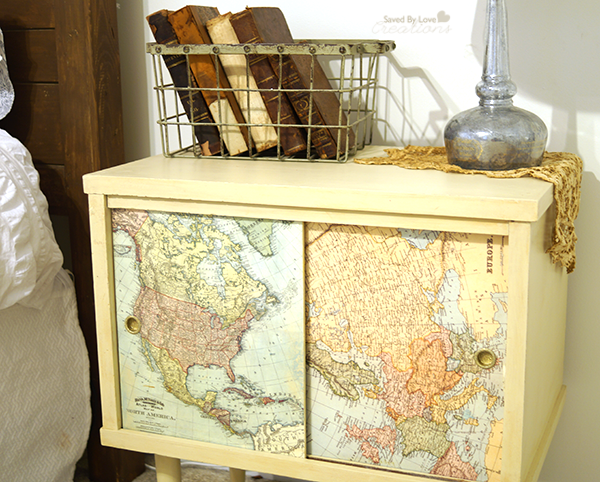
I love our new side table. Just the perfect colors and style for our decor.
I hope you are inspired to get chalky and decoupagey!