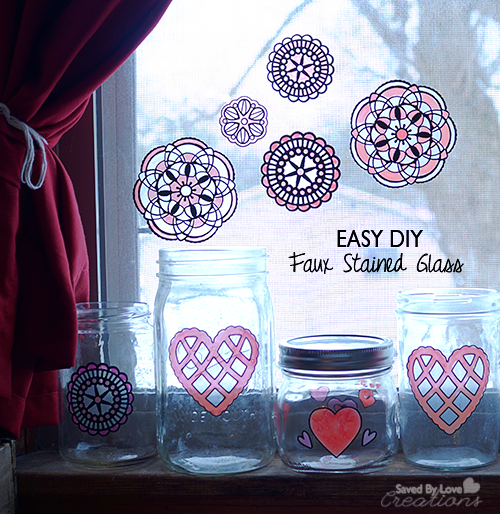
Easy Faux Stained Glass Mason Jars

[pinit]Martha Stewart Clings Faux Stained Glass DIY;  Easy and beautiful effect @savedbyloves[pinit]

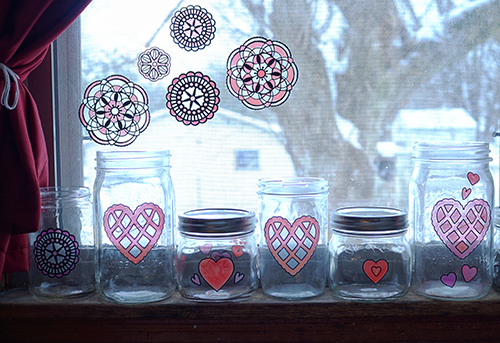
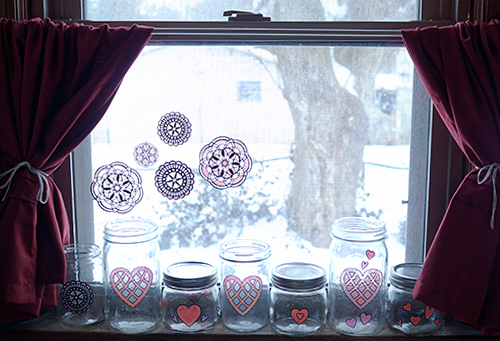
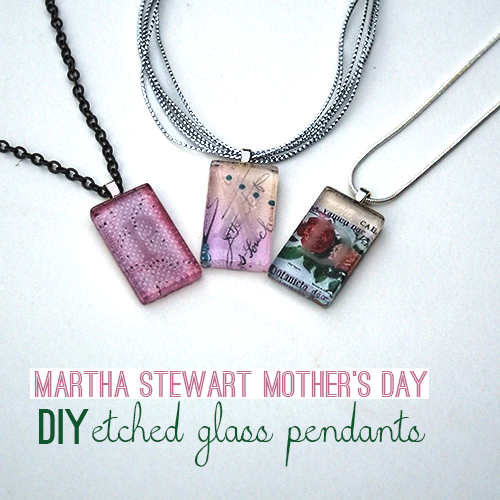
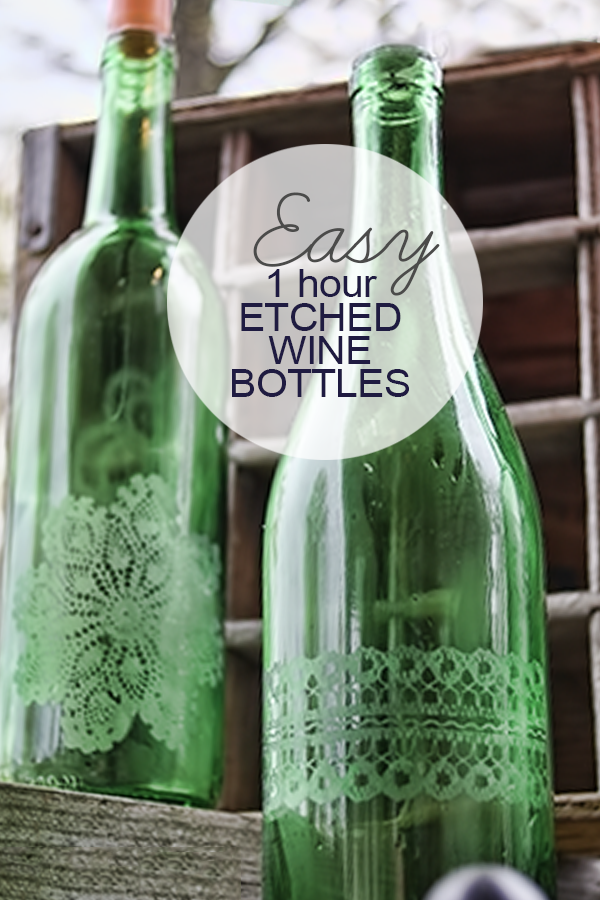
Have you had the chance to use Martha Stewart Paintable Clings?  I have always loved the look of stained glass, and these clings give you that in a few easy steps.  My favorite part is that they are reposition-able, so you can easily remove them and place them on another surface.  Read on to see how to use them for this fun heart themed window scene on mason jars.
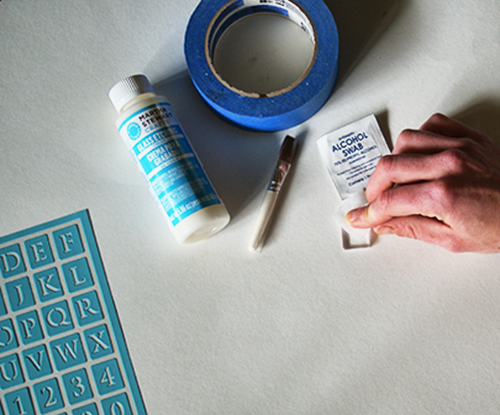
Martha Stewart Clings

SUPPLIES:

Martha Stewart Clings Stained Glass Jars

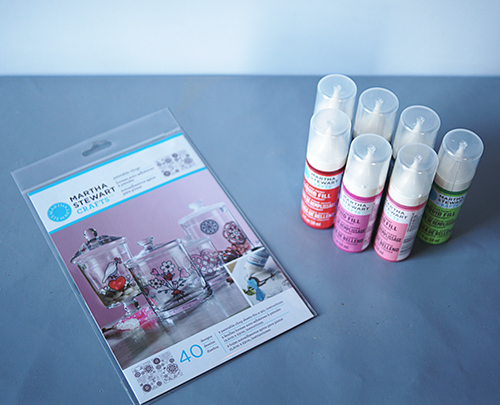
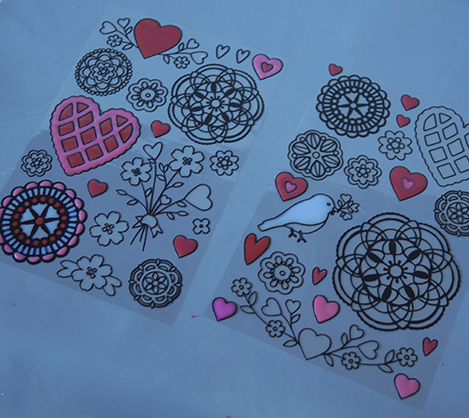
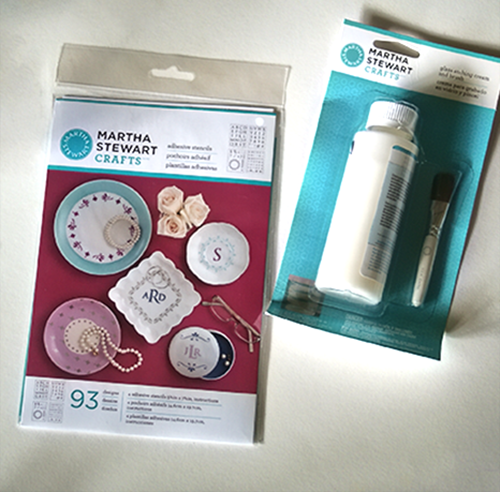
Martha Stewart Paintable Clings Hearts and Flowers

Martha Stewart Liquid Fill in colors of your choice

Glass surface such as windows, mason jars, bottles

Paper towels

TUTORIAL:

Martha Stewart Craft Project Web

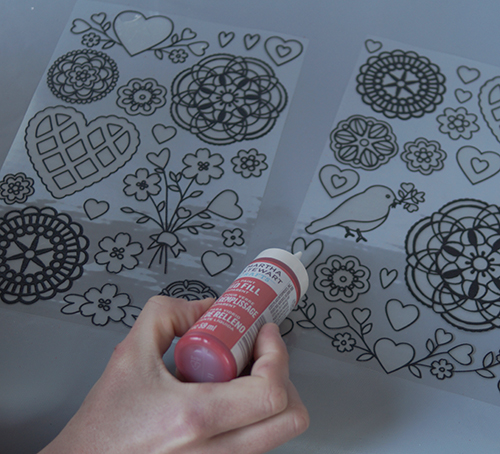
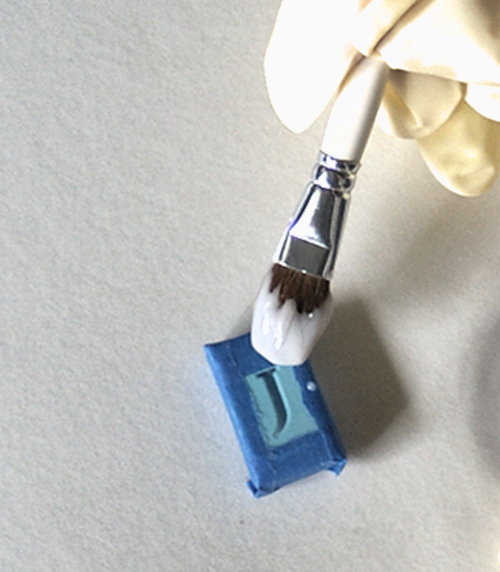
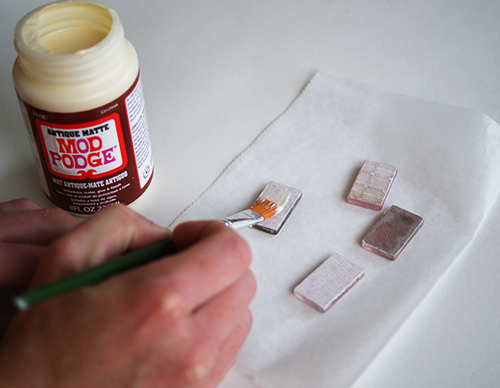
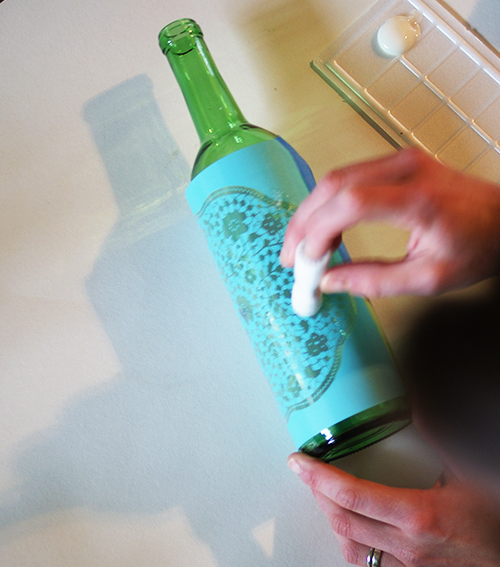
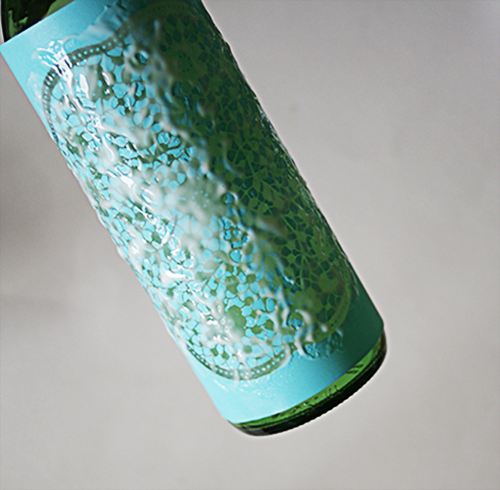
Lay out the clings on a flat surface, leaving them on the clear backing sheet.  Paint in the designs using the transparent fill straight from the bottle.  I got lots of air bubbles, which I popped with my finger and wiped onto a paper towel.

DIY Faux Stained Glass Web

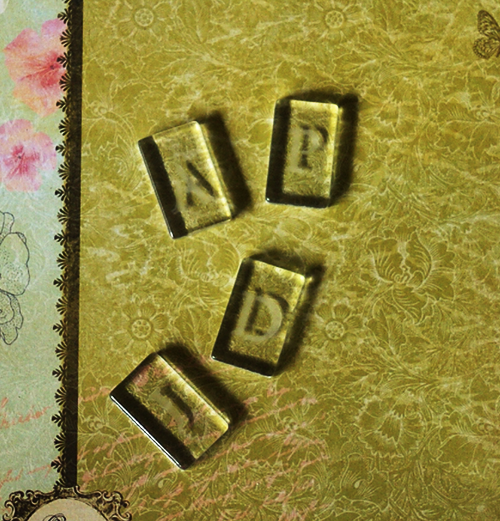
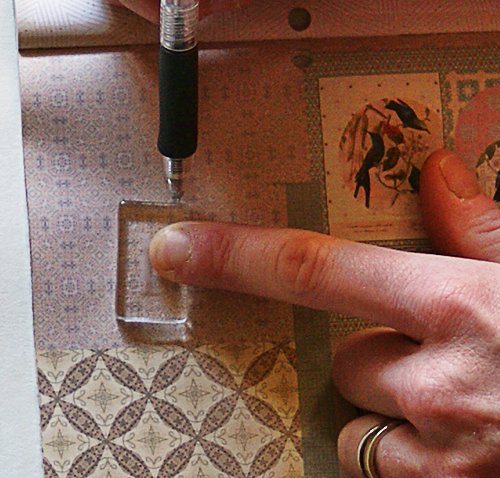
Let dry for several hours.  Clean receiving surface with rubbing alcohol and dry with lint free towel.  Apply cling and that is it!  If you don’t like the placement, you can easily remove and reposition.

DIY Faux Stained Glass Window Clings

Martha Stewart Mother’s Day Etched Glass Pendants

[pinit]
@savedbyloves DIY Etched Glass Tile Pendant #MarthaStewartCrafts #mothersday
[pinit]


Today brings a fun, simple Mother’s Day gift DIY using Martha Stewart Crafts glass etching cream to create customized glass tile pendants!  As I mentioned Monday when I showed you my doily etched wine bottles, this etching cream is simply amazing.  No glass is safe around me now!  Read on to see how to make these lovely pendants in no time!

#marthastewartcrafts #mothersday

SUPPLIES:

#MarthaStewartCrafts

Glass tiles (I ordered mine on Etsy – size 1 7/8 x 7/8 inch

Martha Stewart Etching  Cream and included brush

Martha Stewart Adhesive Stencils

Rubbing alcohol

Pendant Bail (I use aanraku small silver bails from Etsy or Ebay)

Pretty Patterned Paper

Mod Podge Dimensional Magic and Antique (optional)

Sandpaper (150 grit)

E6000

Chain or cord of choice

Masking Tape

Protective gloves

TUTORIAL:

EtchGlassPendants7

Clean glass tiles with rubbing alcohol.

#MarthaStewarCrafts #Mothersday

Place adhesive stencil.

#MarthaStewarCrafts #Mothersday

Tape off area you don’t want etched and apply thick layer of etching cream.

#MarthaStewarCrafts #Mothersday2

Wait 15 minutes and then rinse cream away under faucet.  Make sure to clean stencils well.

#MarthaStewarCrafts #Mothersday3

Find area of paper you want as background.  Trace pendant and cut out paper for backing.  Using double sided paper gives the back of your pendant a pretty, finished look.

#MarthaStewarCrafts #Mothersday4

Use your favorite decoupage medium to adhere backing to tile.

#MarthaStewarCrafts #Mothersday5

When that is dry, sand edges to even things up a bit.

#MarthaStewarCrafts #Mothersday7

Seal paper backing with your favorite medium.  I love the antique Mod Podge.  Apply 2-3 coats, allowing 30 minutes dry time between each.

#MarthaStewarCrafts #Mothersday8

Adhere pendant bail using E6000 or other industrial strength adhesive.

@savedbyloves DIY Etched Glass Tile Pendant #MarthaStewartCrafts #mothersday

Let your bail set overnight and add your chain to finish!

EtchedGlassTilePendant4

I love them!  I made one for my grandma, mom and sister.  What a cool way to add a special touch to customize glass tile pendants.  Use a meaningful photo instead of scrapbook paper as an alternative.  Make them as wedding/anniversary gifts with the couple’s wedding date!  The possibilities are endless.

 Be sure to check out the other Mother’s Day and Father’s Day projects my cohorts are making with Marth Stewart Crafts in the list below this post.

FOLLOW PLAID CRAFTS WITH ME!!

Website :: Facebook :: Twitter :: Pinterest

Disclosure: I wrote this post as part of a sponsored campaign with Plaid and The Blueprint Social.  All opinions are honest and mine!


Easy Doily Etched Wine Bottle Upcycle

[pinit]

Martha StewartEtched Wine Bottle Upcycle #marthastewartcrafts @savedbyloves


[pinit]

You guys know I love to upcycle a wine bottle.  I am always bugging the neighbors for their empties since we aren’t drinkers here.  It is not uncommon for me to raid the local recycling center, where they kindly let me dumpster dive…

There are tons of ways to repurpose bottles, from cutting to painting, making lanterns, vase, candle holders and more.  Today I am excited to share with you how to easily etch intricate designs into your bottles and glass of all kinds.

How to upcycle wine bottles

This process is soooo easy.  Just clean your wine bottles with soap and water, vinegar water if the labels are being stubborn.  Clean off all adhesive and debris. Wipe clean bottle with rubbing alcohol.

Marth Stewart Glass Etching Cream

Adhere stencil or silkscreen to bottle and tape off with masking tape to prevent etching cream from ending up where you don’t want it.  Use dauber or sponge to generously apply etching cream.

Martha Stewart Glass Etching Tutorial

I love the doily adhesive silkscreen from Martha Stewart!

Martha Stewart Glass Etching Tutorial

You want a very thick layer of the etching cream.  Let it sit 15 minutes, then rinse away under faucet.  Remove and clean stencils or silkscreen.

silkscreen from Martha Stewart3

Can you believe the detail?

Easy One Hour Etched Wine Bottles

I saw other people’s projects using this etching cream and decided they must just be really skilled.  I was judging based on my experience with a cream in the past.  I can’t remember the brand, but it came in a white and purple bottle and I got it at Michaels.  It didn’t work even a little.  I was so frustrated because I had a project I really wanted to complete and I finally gave up.

How thrilled was I at the ease of use and effectiveness I found with Martha’s version?!

VERY!

I sat down to do a Mother’s Day project (which I will be showing you next week) and ended up glass etching all day.  So fun and simple (did I mention it was easy?)…

Stay tuned for what is going to end up being a glass etching week around here 🙂

Don’t forget to check out my other Adventures in Wine Bottle Repurposing:

How to cut wine bottles

HOW TO CUT WINE BOTTLES – VIDEO TUTORIAL

Over 50 Wine Bottle Projects to Make

50+ WINE BOTTLE PROJECTS TO MAKE

DIY wine bottle repurpose

MAKE WINE BOTTLE ADDRESS LANTERNS

Ombre wine bottle tutorial

PAINT OMBRE WINE BOTTLE – TUTORIAL

Things to make from wine corks

Lets not forget those corks – PROJECTS TO MAKE FROM CORKS

Privacy Policy