DIY Starburst Dollar Store Pencil Wreath With @Floracraft

[pinit]DIY Starburst Christmas Wreath with Dollar store supplies and @FloraCraft @savedbyloves[pinit]

I am a member of the Make It: Fun® Team. This DIY Starburst Christmas Wreath is sponsored FloraCraft® Make It: Fun® Foam. All opinions are honest and mine, like always.

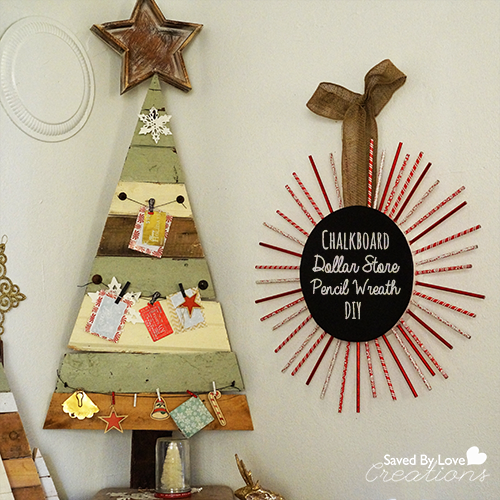
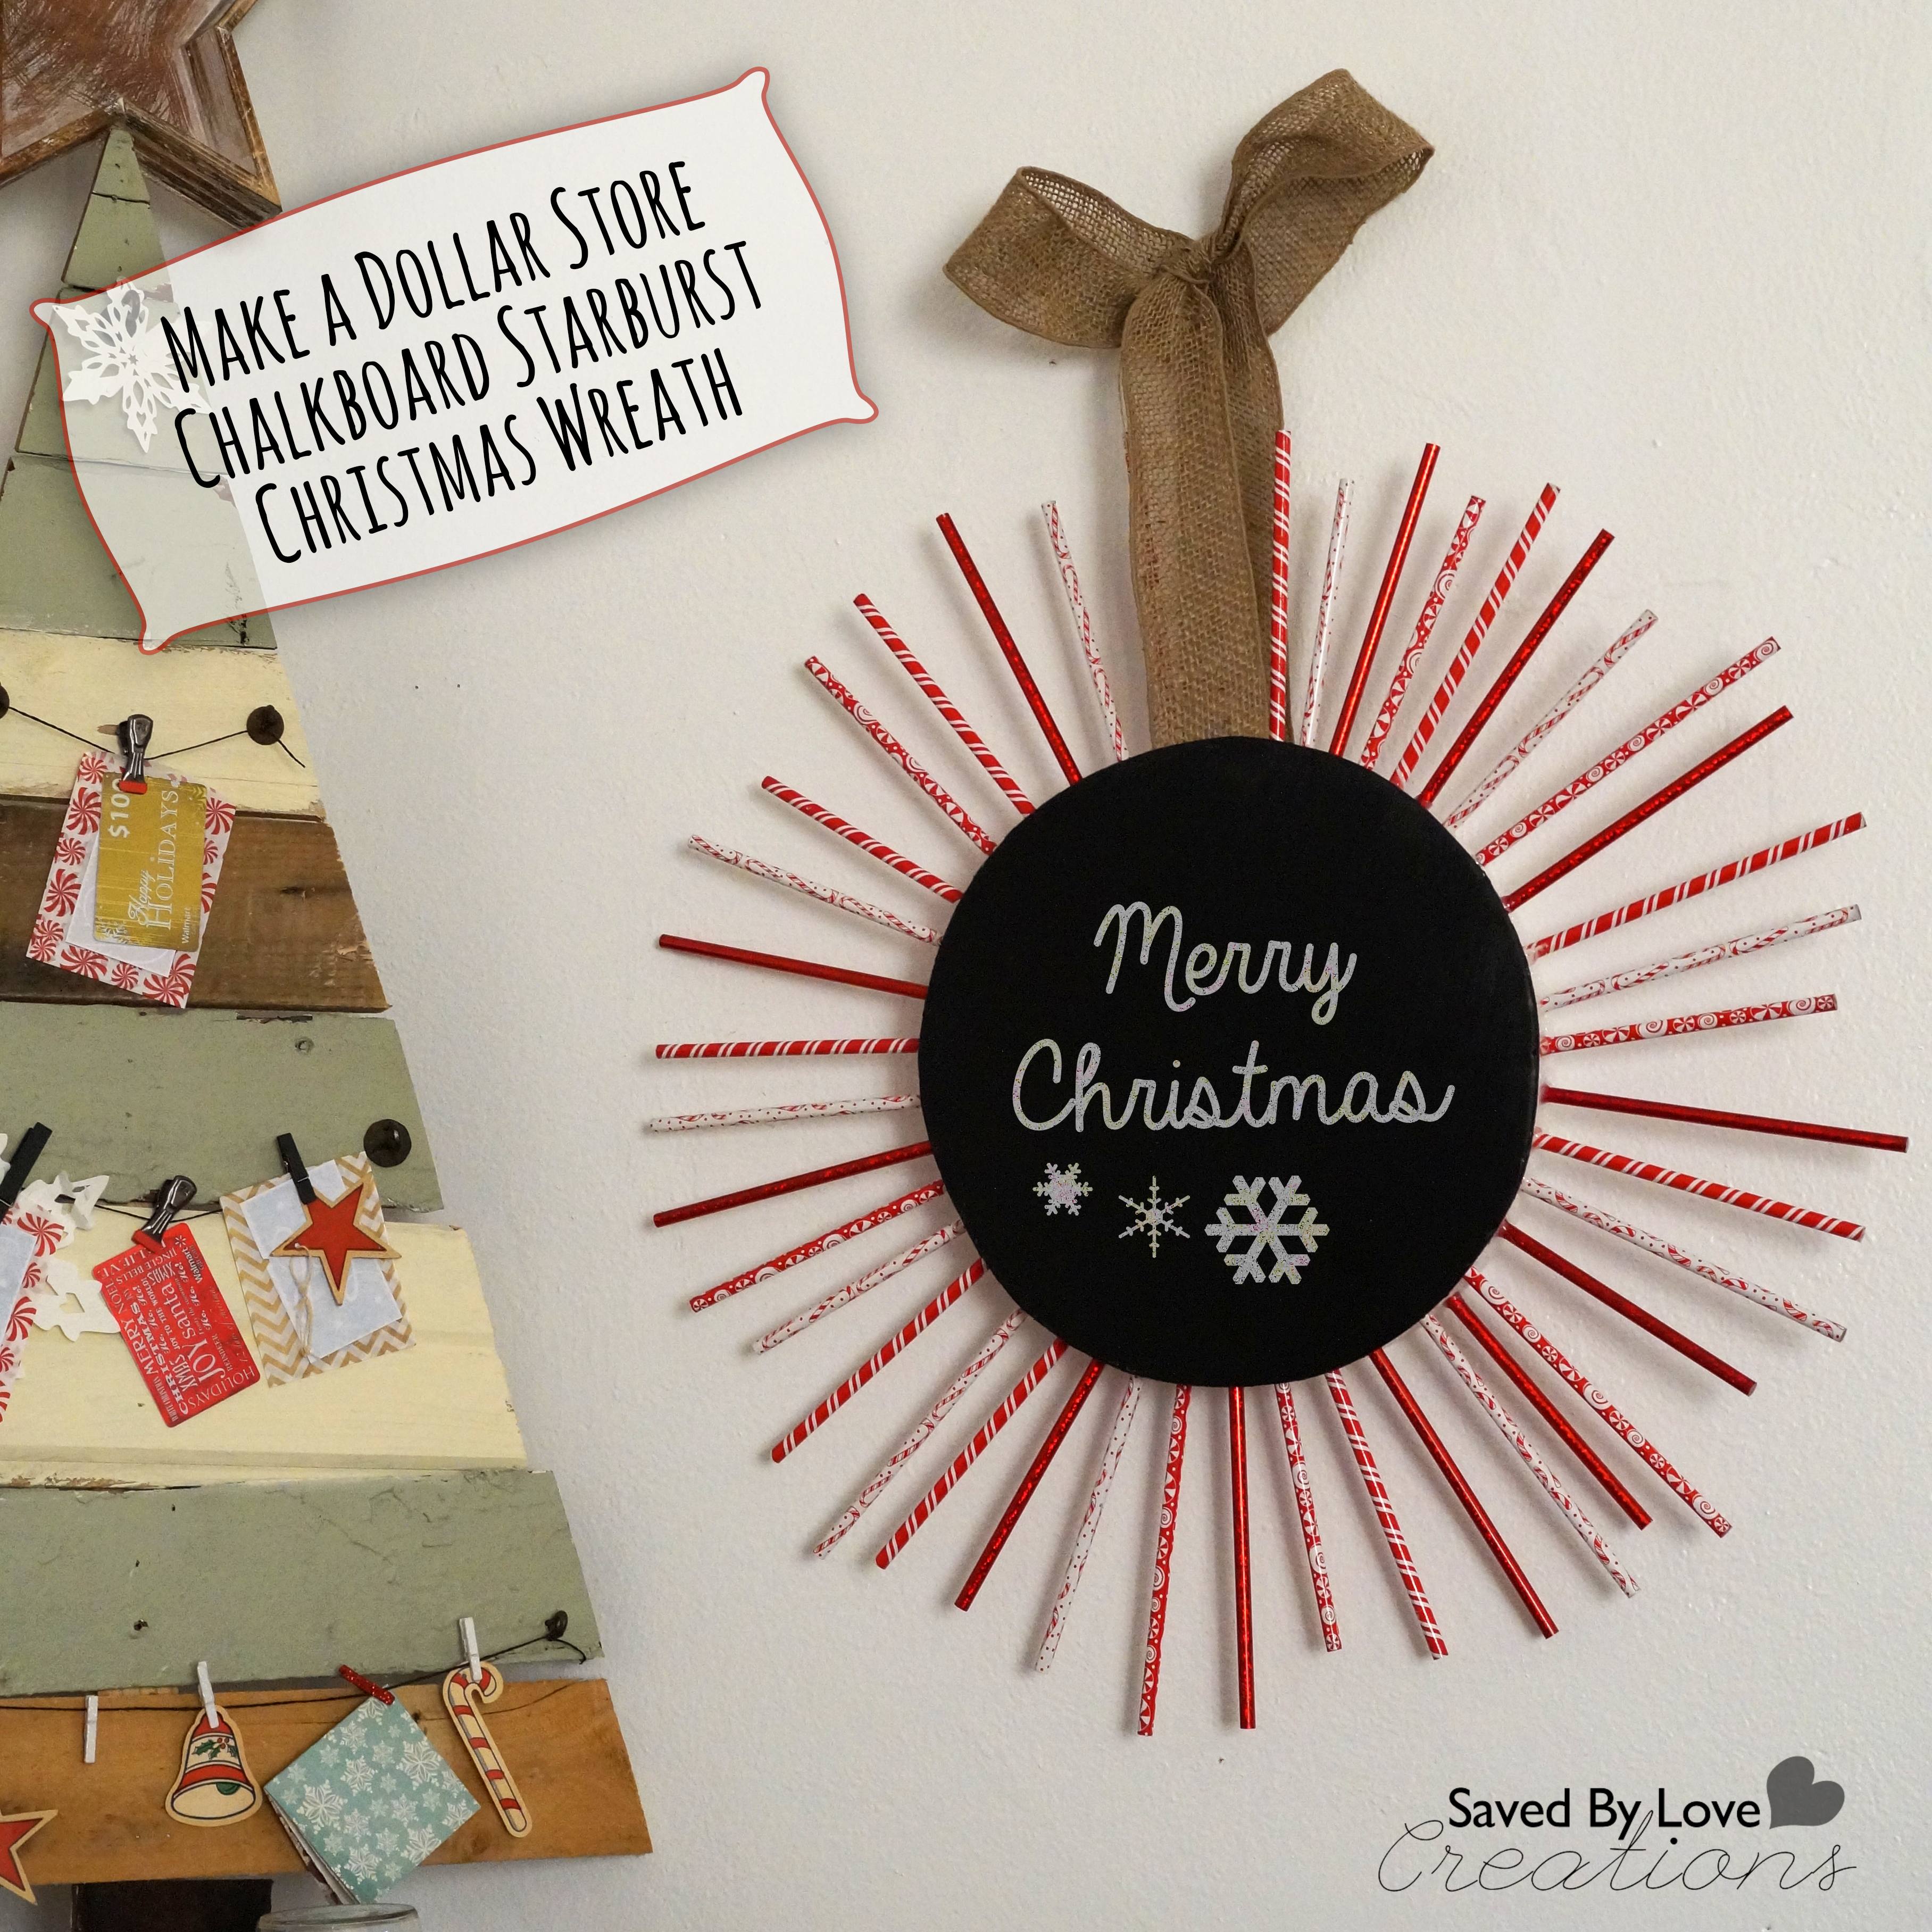
Incorporate the chalkboard craze into a fun starburst Christmas wreath made with dollar store Christmas patterned pencils and a FloraCraft® Make It: Fun® Foam wreath form!  This project is easy, quick and cheap.  Use it for gift lists, holiday greetings or a letter for santa!

SUPPLIES:

Flora Craft Dollar Store Christmas Wreath DIY


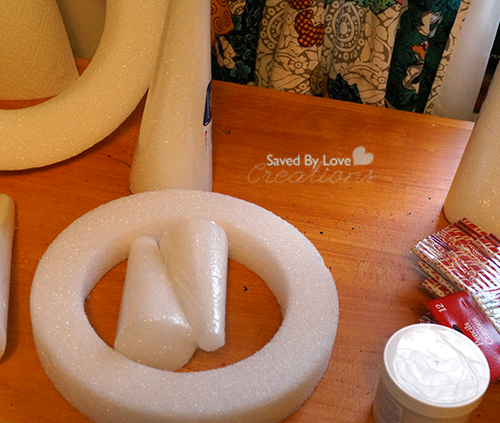
FloraCraft® Make It: Fun® Foam wreath form

Dollar Tree Christmas Pencils

Hot Glue Gun and Sticks

Cardboard cut in a circle the size you want your chalkboard

Burlap Wire Ribbon

Black chalkboard paint

one inch foam or paint brush

TUTORIAL:

How to make a Christmas Wreath

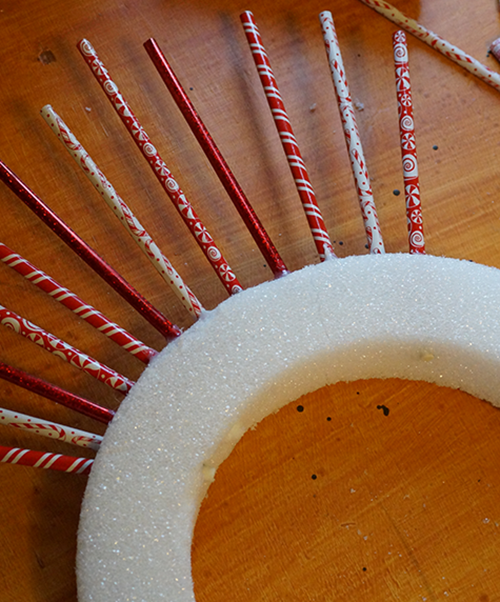
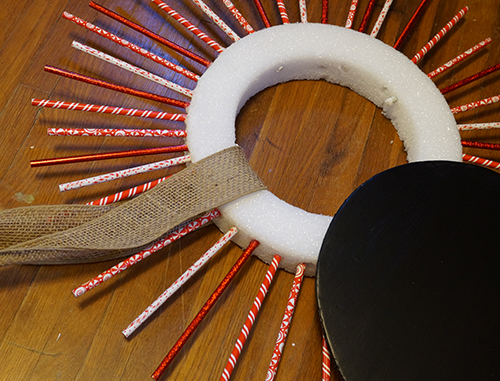
 Put a dab of hot glue on the end of the pencils and shove them into wreath at varying depths.  It doesn’t matter if the eraser comes through to the center of the wreath because you are covering the hole with your chalkboard later.

Make a starburst wreath

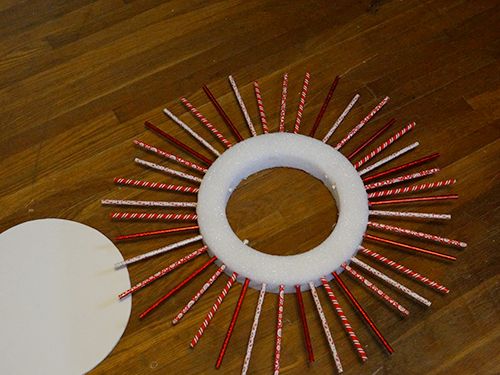
Continue all the way around the wreath.

Make a Chalkboard Wreath

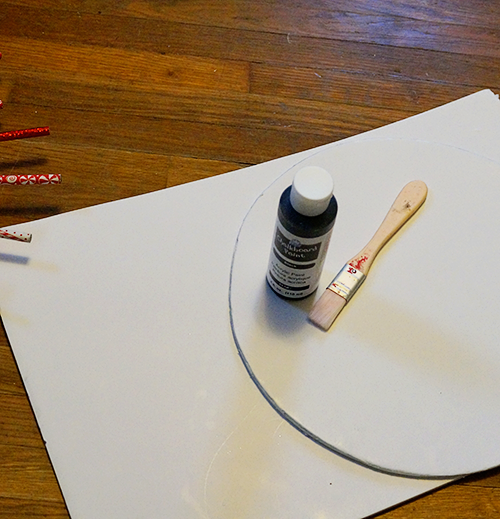
Paint your cardboard with chalkboard paint and let dry.  I did 2 coats, sanding lightly between.

How to make a chalkboard Christmas Wreath

Tie your burlap ribbon in place, then hot glue your chalkboard circle.  Hang and enjoy!

Dollar Store @FloraCraft Starburst Wreath DIY

For more inspiration on creating with FloraCraft® Make It: Fun® Foam, please also check out Crafts n’ Coffee or follow the hashtag #MakeitFunCrafts.

Make a Felt Poinsettia Wreath

[pinit]

#Felt #Poinsettia #Wreath #DIY #ChristmasDecor @savedbyloves #Sizzix

[pinit]

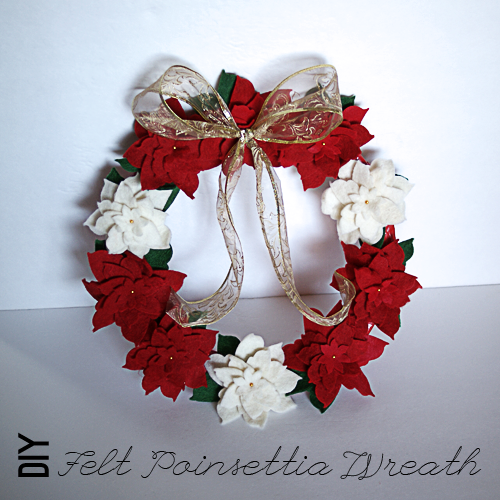
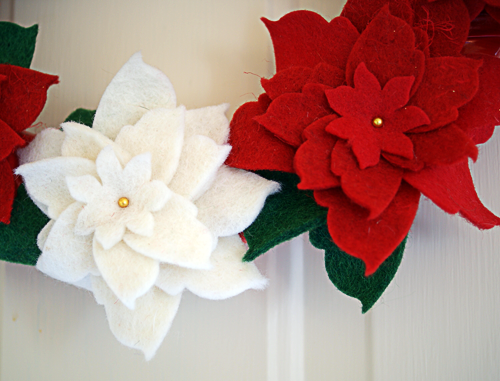
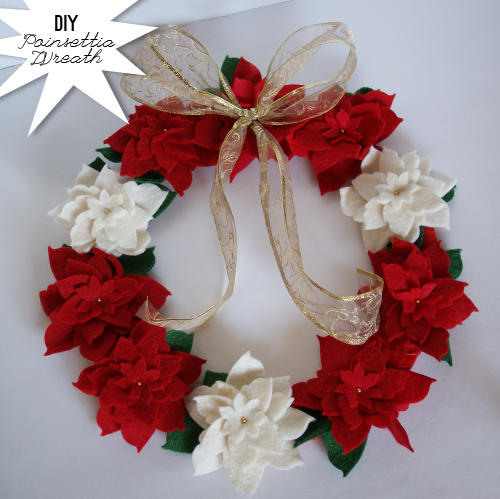
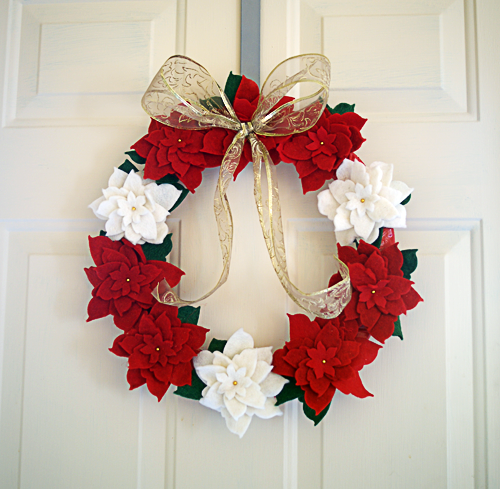
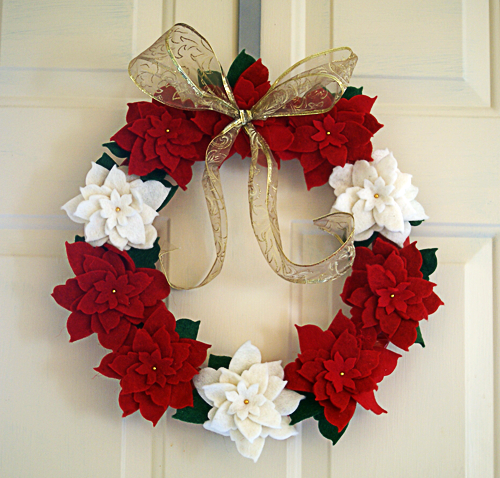
This Sizzix Poinsettia petals die has gotten quite the workout from me lately.  I love the paper and the aluminum can version, but there is nothing quite like a felt flower wreath, in my opinion.  For this project, I did the same thing I showed you for the paper poinsettia wreath, except instead of gluing the petal layers, I stuck a pearl head pin through them to hold the flower together.

#Felt #Poinsettia #Wreath #DIY #ChristmasDecor @savedbyloves #Sizzix

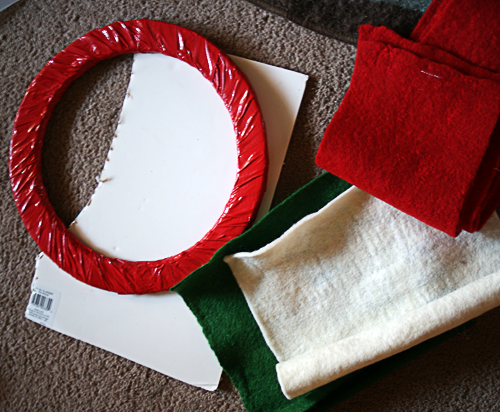
I didn’t have another styrofoam wreath form, so I traced a small plate inside a large plate onto some foam board and cut out a DIY wreath form.  I wrapped it in duct tape for strength and durability.

#Felt #Poinsettia #Wreath #DIY #ChristmasDecor @savedbyloves #Sizzix

I used wire cutters to trim the excess pin from the flower center that stuck through the back of the wreath.

#Felt #Poinsettia #Wreath #DIY #ChristmasDecor @savedbyloves #Sizzix

#Felt #Poinsettia #Wreath #DIY #ChristmasDecor @savedbyloves #Sizzix

I used a gold wired ribbon to create the bow, and stuck it on with hot glue.

#Felt #Poinsettia #Wreath #DIY #ChristmasDecor @savedbyloves #Sizzix

This one is currently in a box, on it’s way to spread holiday cheer to a home in Texas!  I will miss it.

Make a Paper Poinsettia Wreath

[pinit]

#PaperCraft Poinsetta #Wreath #DIY #ChristmasDecor #Sizzix @savedbyloves

[pinit]

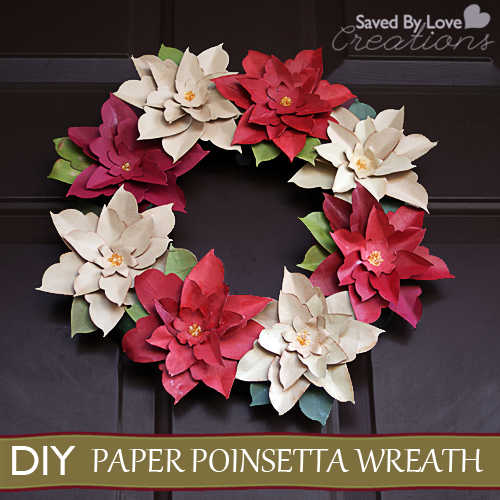
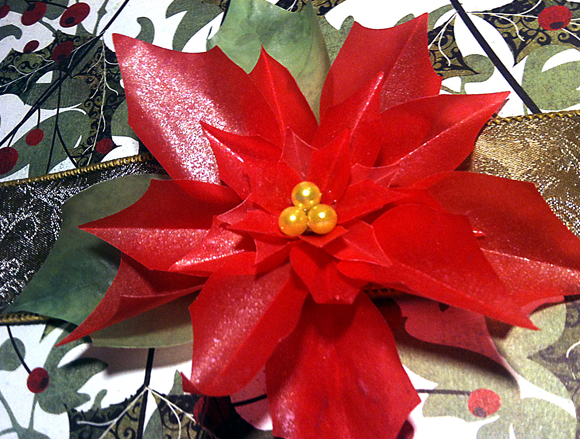
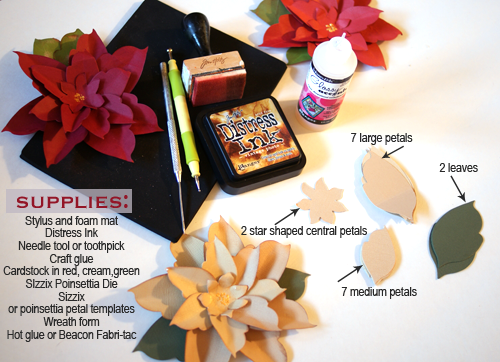
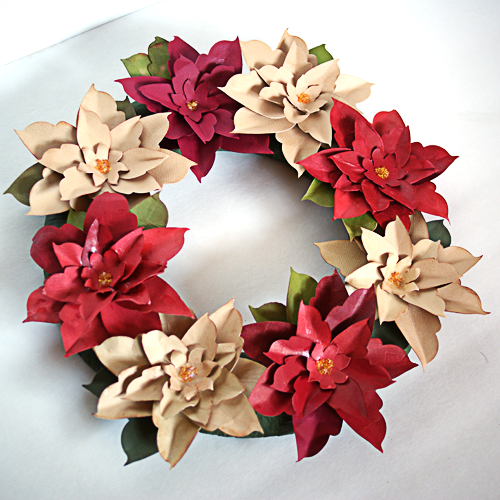
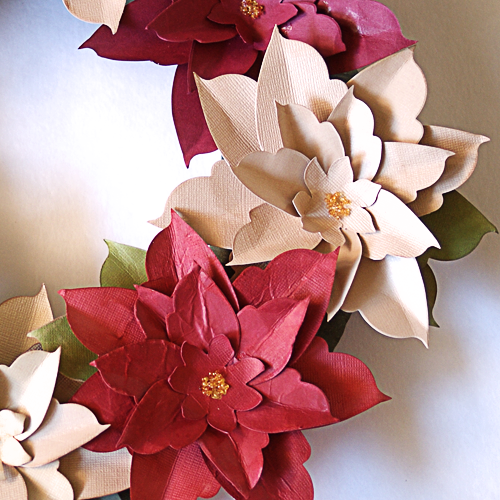
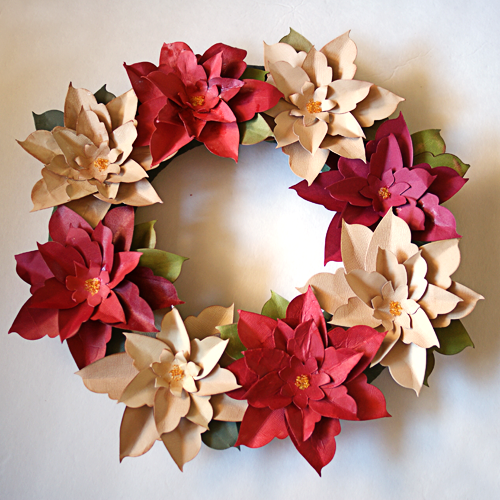
It doesn’t get much more Christmas than poinsettias, right?  My grandmother has loved this flower since she was a young girl.  She gets sad when they die, so I thought a paper poinsettia wreath would be just the Christmas gift for her this year.  I made this in about 2.5 hours using the Sizzix Originals poinsettia die.  You could go for the Sizzix Tim Holtz Poinsettia Die if you prefer layers over individual petals (guess what I just ordered).  You could also use a different die cut machine, or heaven forbid, cut the leaves out by hand from a free poinsettia petal template like this one, used to create the flower below.  The look is beautiful.  No die machine necessary!

#PaperCraft Poinsetta #Wreath #DIY #ChristmasDecor #Sizzix @savedbyloves

I love the red and green vellum!

However you get your petals, see how to assemble and shape them, then finish the wreath with me.  This will bring classic beauty to your holiday decor.

#PaperCraft Poinsetta #Wreath #DIY #ChristmasDecor #Sizzix @savedbyloves

You can use any paper you want, but I prefer Kraft Core by Coordinations.  This stuff is by far my favorite flower paper.  You can fold, wrinkle, crease, sand and beat it down, and it comes through beautifully.  I like to ink the edges of my flowers with Kraft Core by Coordinations and the blending tool.

#PaperCraft Poinsetta #Wreath #DIY #ChristmasDecor #Sizzix @savedbyloves

TUTORIAL

#PaperCraft Poinsetta #Wreath #DIY #ChristmasDecor #Sizzix @savedbyloves

For the center of the flower, I used yellow seed beads, super duper tiny ones.  To glue them in place, I put a few dots of Mod Podge Jewel Glue.  I love this because it dries clear, grabs fast, and comes in a container that has a twisty lid and doesn’t clog.  This is key.  If you are using another glue that clogs, like… all of the time, and you squeeze impatiently over the center of your flower, the entire glossy bottle contents may just ooze out all over your precious paper masterpiece.  Ask me how I know #CanYouFindTheGlossyPoinsettia.  This is another testament to Kraft Core.  I literally washed – under the faucet, with soap – my paper flower, determined to save it.  Once I got off as much of the glossy accident that I could, I took my heat tool to my soggy poinsetta, reshaped it, and it is good to go.  Amazing.

#PaperCraft Poinsetta #Wreath #DIY #ChristmasDecor #Sizzix @savedbyloves

#PaperCraft Poinsetta #Wreath #DIY #ChristmasDecor #Sizzix @savedbyloves

Privacy Policy