
[pinit]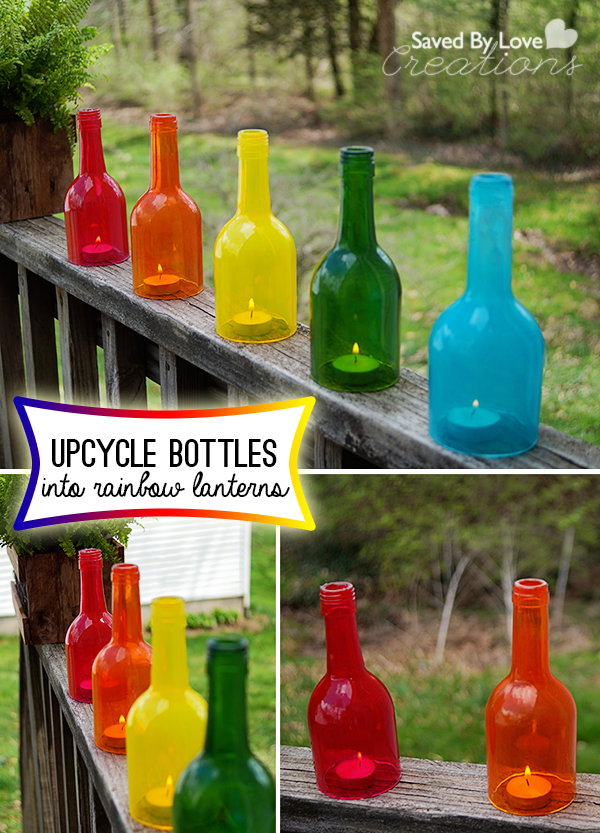 [pinit]
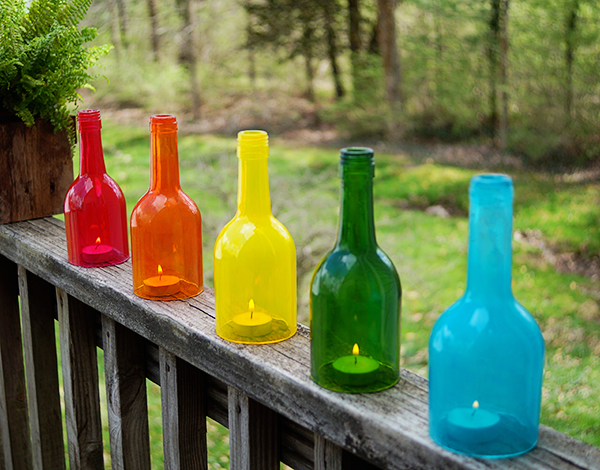
Who doesn’t love a good rainbow theme decorated space? This project is that, and so much more. For little to no cost, you can create gorgeous rainbow lanterns for your next party, or for every day spring and summer decor! Upcycle wine bottles by cutting them, pouring in some tinted Mod Podge, letting them dry and putting them over tea light candles. I am just the DIY blogger to show you how to pull it off, so lets go!
SUPPLIES:
Wine bottles cut to the size you want (I have showed you how to cut theme HERE: How to Cut Wine Bottles)
Tea light candles (I used flammable, but battery operated will work as well)
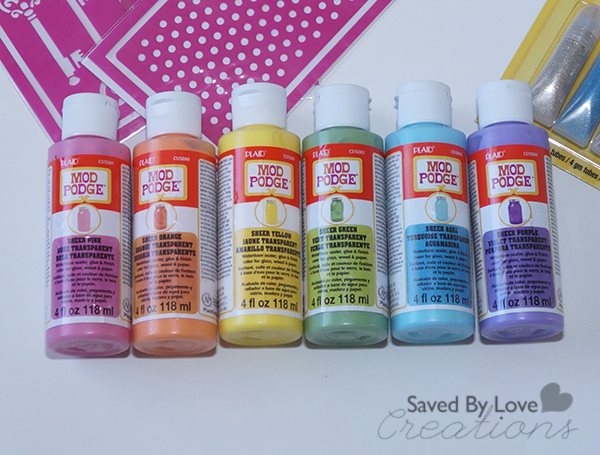
Mod Podge Sheer Colors
Wax paper or non stick craft mat
TUTORIAL:
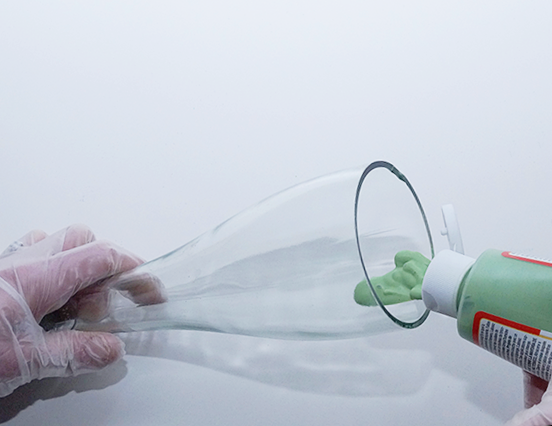
Squeeze a generous amount of Mod Podge Sheer Colors into the cut end of your bottle.
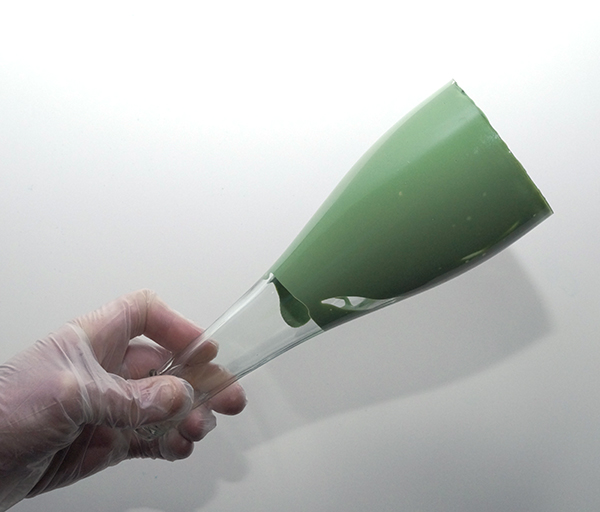
Twirl Bottle to disperse color all over the inside of the bottle.
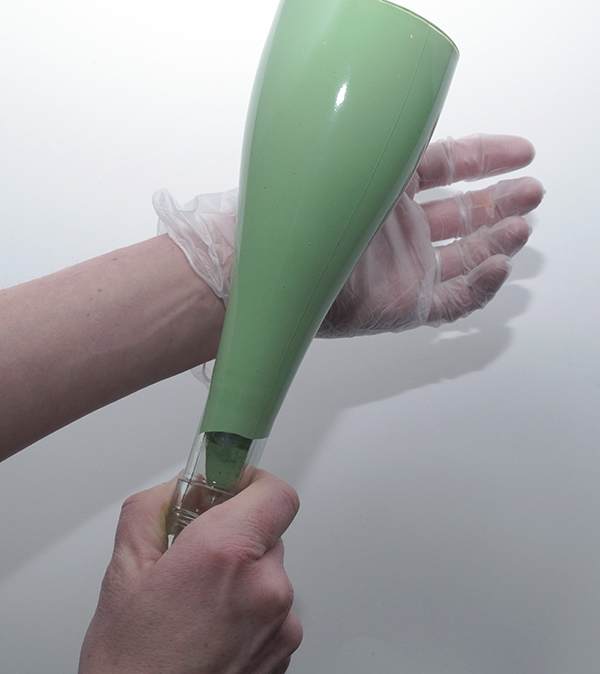
If you are having a hard time getting it to flow, you can tap the bottle against your wrist as shown.
Let the excess Mod Podge drip into back into the product bottle to save as much as possible for your next project!
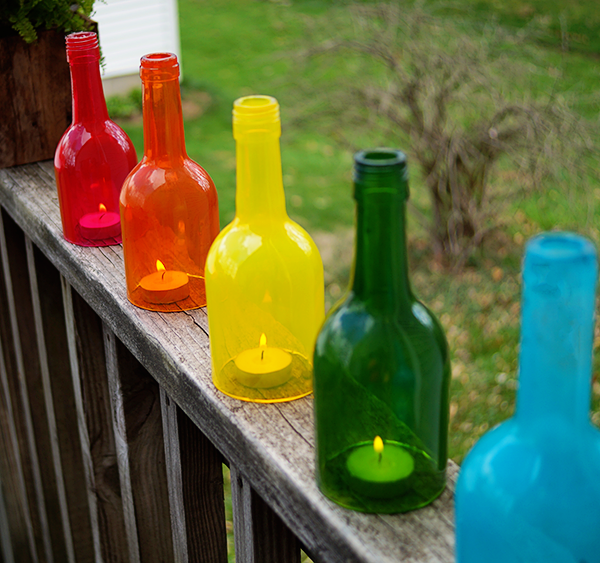
I placed my bottles on my kitchen table, on a non stick craft sheet, with the ceiling fan on. Place them with the mouth down so they dry faster.
The color will be opaque in spots, and you may get discouraged, but fear not. They will dry beautifully. Once they do, you can cut any of color over the mouth of the bottle with a craft knife to open the bottle top.
Place over your tea lights and enjoy your gorgeous rainbow!


