DIY Recycled Can & Plastic Bag Flower Pendant

[pinit]
Make #upcycledjewelry from #recycledaluminumcans &#plasticBagCraft @savedbyloves

 [pinit]

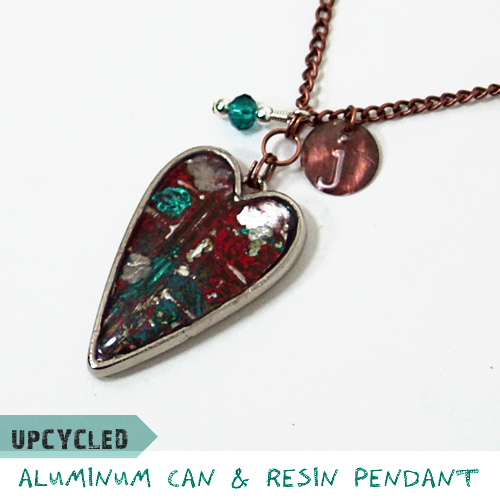
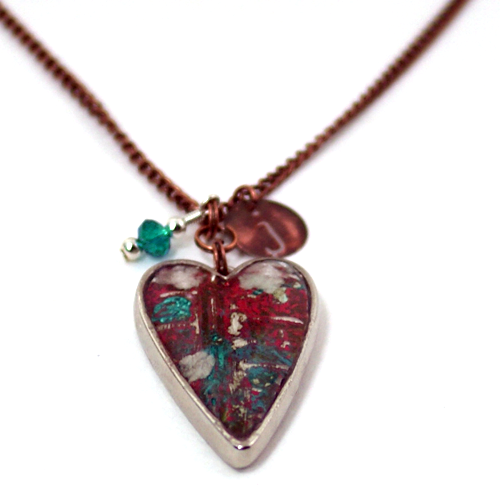
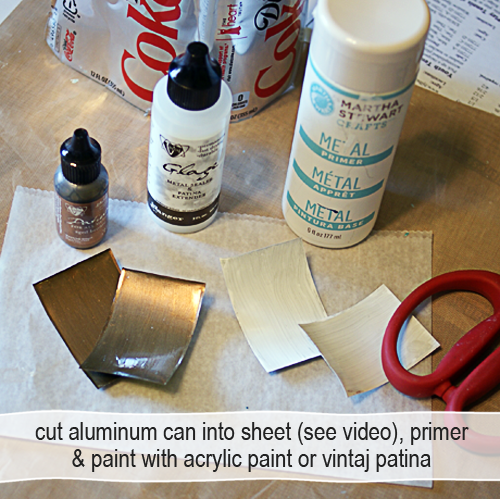
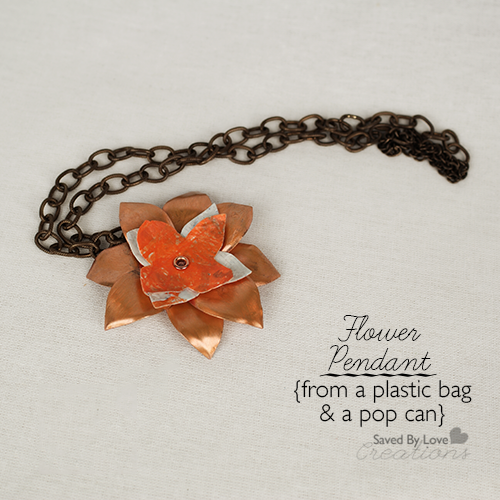
Recycled crafts are a favorite of mine, especially upcycled jewelry.  Today’s project brings these together in flower pendant made from recycled aluminum cans and plastic bags.  It’s true.  I used a combination of techniques I have shown you in the past; dissecting aluminum cans and fusing plastic bags, both to be die cut with my Sizzix.  This project is fast, simple, eco friendly, and pretty awesome.

SUPPLIES:

Sizzix Die Cut Machine

Flower Layers #2 Die

Soda can

Metal snips

Chain for stringing pendant

Hole punch or hammer and nail to punch hole

Eylet and Eylet setter – I use Crop-a-dile

Paint for petals or you can use the color of the can – I used Vintaj Patina Antiqued Copper

Plastic Bags

Copy paper

Iron

Ironing board

2 pairs of chain nose pliers

Aluminum Can Crafts #recycledcrafts #upcycledjewelry Pendant tutorial

TUTORIAL:

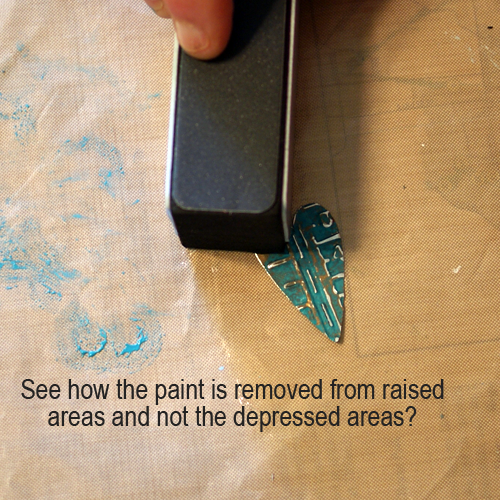
The following video shows how to prepare the can and die cut the flower petals.  You will use the Flower layers die instead of the rose die in the video.

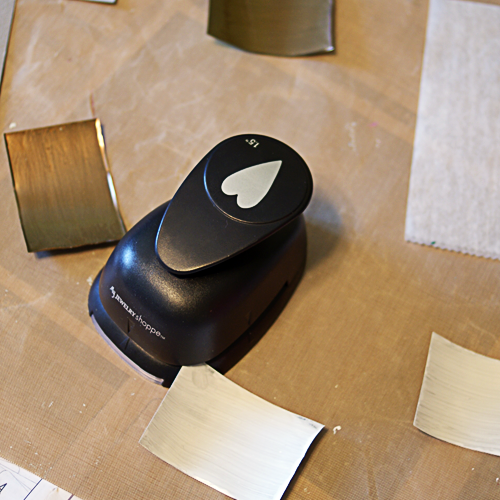
*If you don’t have a Sizzix, you can still cut the can with paper punches like I showed you in this

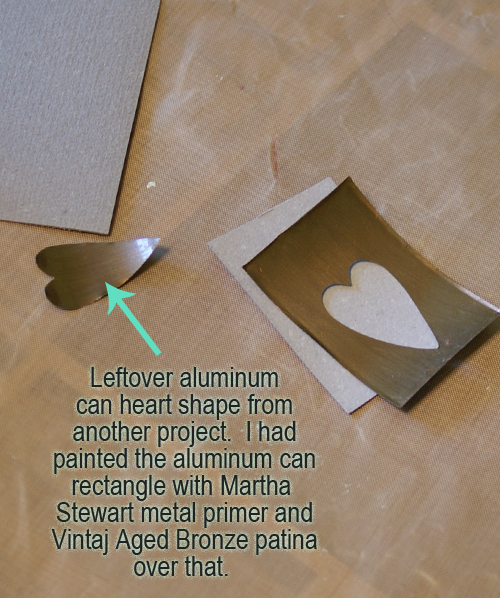
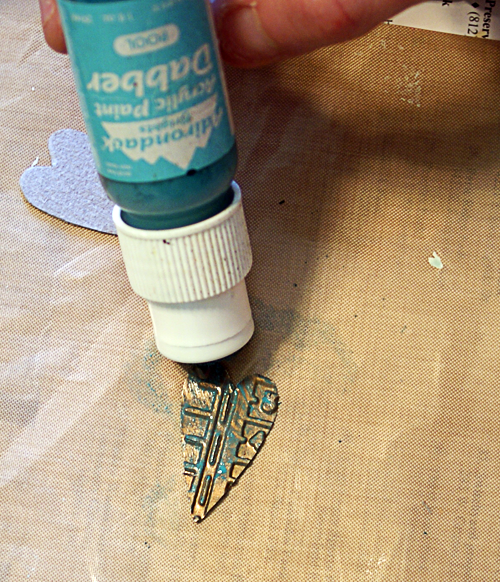
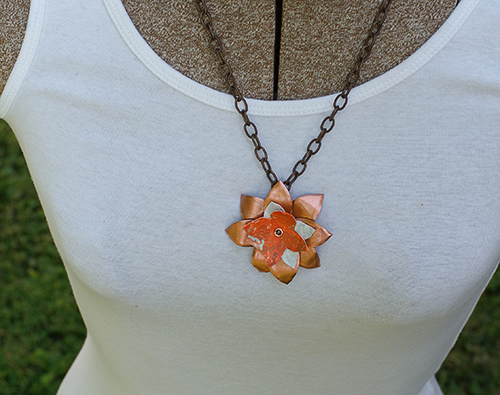
As you can see in the pendant photo, you need 2 of the larger petal layer cut from aluminum cans.  Paint them if you are going to.  It would look cool with a fun color/patterned can too!  If you are painting them, use alcohol inks, Vintaj patina or spray paint for metal.  Acrylic paint won’t stay put.

Now to cut prepare the plastic bags for cutting with the Sizzix, you need to fuse them as I showed you in this Recycled Plastic Bag Bracelet Tutorial

Die cut the two smaller flowers from your fused plastic bag material.

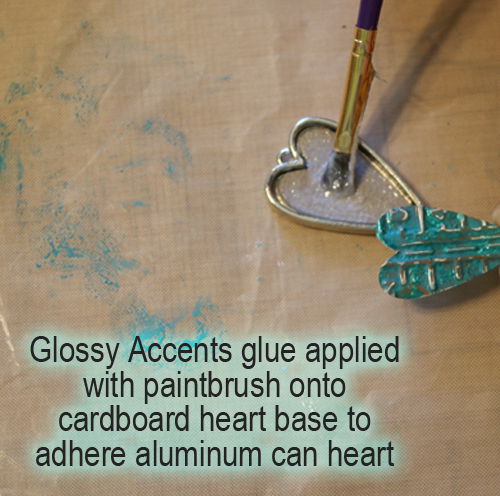
Now you are ready to layer your petals.  Hole punch the center of all 4 layers then, arrange them in a staggered fashion and insert and set eyelet.

Shape the aluminum petals with round nose pliers or a bamboo stick for dimension.  The plastic you can just fold into position with your fingers.  It won’t bend and hold shapes like the aluminum, but you can cup it some.

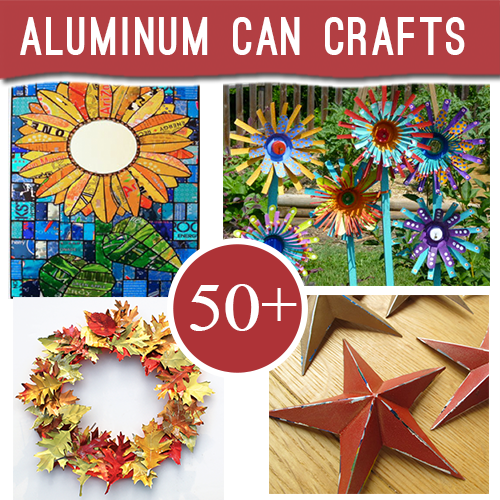
CHECK OUT 50+ MORE ALUMINUM CAN CRAFTS WHILE YOU ARE AT IT:

Aluminum can crafts

DIY Upcycled Pop Can & Resin Heart Pendant

[pinit]#Recycle aluminum cans into gorgeous jewelry #Resin #Upcycle @savedbyloves #DIY @Crafts

Do you have a pile of aluminum cans in recycling bin purgatory?  Well, if you have been around here long, you know I love to cut my cans and form them into various upcycled jewelry pieces.  Today, I am going to show you how I used a coke can, a bezel and some resin to create this fun, one of a kind heart pendant.  It would make a lovely gift for many occasions, and especially the rapidly approaching Valentine’s Day Holiday.  I made it for a gift and personalized it with a monogram stamped charm.  You don’t need a lot of expensive supplies and equipment to one of these yourself.  Here is how…

SUPPLIES

Empty Soda Can, rinsed with warm soapy water

Jewelry Shoppe Heart Bezel and corresponding heart paper punch (got mine at Hobby Lobby)

Resin Jewelry Tutorial, Upcycled Jewelry Tutorial

-OR-

Any heart shape bezel and a sharpie or other permanent marker

Glossy Accents or other metal glue

Grungeboard or scrap cardboard

Embossing folder and machine

Perfect Pearls

3 colors of acrylic paint

Metal paint primer (I used Martha Stewart’s)

Vintaj Sanding Block

Magic Glos Resin

INSTRUCTIONS

#Upcycled Recycled aluminum can jewelry #DIY #Craft tutorial @savedbyloves [pinit]

This project came about as I was doing another project that I haven’t shared with you yet.  There was a leftover aluminum can punched heart shape, and I remembered I had the corresponding bezel.  I found the bezel and paper punch at Hobby Lobby (by My Jewelry Shoppe) a couple of months back.  I decided to emboss the heart and add some acrylic paint and Liquid Pearls for a cool effect.

#Recycle aluminum cans into gorgeous jewelry #Resin #Upcycle @savedbyloves #DIY @Crafts

For the other project, I needed rectangles with a heart cut out in the middle.  If you just want the heart shape used in this tutorial, you don’t have to worry about cutting perfect rectangles.  Just primer and paint your can sheet and punch the heart shape from it.  I showed you how to cut the cans into a sheet in the video here…

Make an aluminum can pendant
Trace the heart twice onto grungeboard, thick cardstock or cardboard and cut out inside the outlines with scissors.  Glue the cardboard hearts together, then glue to bezel.  Use clothespin to apply pressure for good adhesion.  This gives thickness to the thin can top layer.
Emboss your painted and primed can heart.  I used Tim Holtz Texture Fades embossing folder – Pattern and Stitches Set and my Sizzix Vagabond.  It you don’t have an embossing machine, you can hand emboss, or use the folder and a rolling pin like in this video by Sarah Hamer:

Now apply a second paint color over your base (Ranger Paint Dauber color Pool used here).

Ranger Paint Daubbers Pool

Ranger Paint Daubbers Pool

Let dry and and sand with sanding block to distress as desired.  Not shown here, but in my final pendant, I added a third paint color.  The red made the pendant pop.  If you sand away too much paint, it’s ok.  Just paint again and sand until you are happy with your piece.  The raised areas will lose color when you sand, while the depressed areas hold color.  The embossed design is enhanced by the contrast.  So fun!

How to emboss metal jewelry

How to emboss metal jewelry

When you are happy with your paint job, glue heart into pendant bezel on top of cardboard base as shown.  Hold in place with clothespin while glue dries.

How to emboss metal jewelry2

How to use Magic Glos resin

Let glue dry completely, then apply Magic Glos resin like I showed you in this Plaid Ring Bling tutorial.

You can use any resin you want.  I just had this on hand, and love the fact that it cures in minutes vs. the hours it takes 2 part resins to cure.  Maybe you are more patient than me!

Add chain and charms as desired and you are done!

#Upcycled Recycled aluminum can jewelry #DIY #Craft tutorial @savedbyloves

HeartBezelPendantDIY8

Aluminum Can Flower Bracelets

How to Make Jewelry From Aluminum Cans

A few weeks back, I mentioned a book I had ordered on Amazon called Create Colorful Aluminum Jewelry.  There is a simple flower bracelet project inside that inspired me to create my own versions.  This project is inexpensive, green, quick, easy, and you will love the outcome!

Aluminum Can Jewelry Tutorial

You will need:

  • metal shears
  • Aluminum cans in desired colors, empty, washed with soapy warm water, rinsed and dried
  • E6000
  • Small Craft Punches in flower shapes
  • Metal hole punch, or hammer with nail and small scrap of wood
  • 5 or 6 mm jump rings, flat or chain nose pliers, 2 pairs
  • Clasp for closure
  • Sizzix and embossing folder, or embosser of your choice

Here is what to do:

  • Carefully cut a flat sheet to fit emboss folder from can.  You may want to wear gloves for this part as the shear cut edges of the aluminum can may be sharp (I have yet to cut myself, but it does look scary)
  • Run flat sheet through embossing machine
  • Use paper punch to punch out shapes from desired areas of can.  You will have to cut away the negative area as you go to get to un-punched, colored areas of the can on occasion


Recycled can flowers

  • I like my bracelets to be double sided, so I punch out double the amount I need for desired bracelet length, and glue shapes back to back with E6000.  Use the same can or an entirely different can to have a reversible bracelet (the purple and yellow bracelets pictured are one reversible bracelet)
  • When double sided pieces are dry, you are ready to punch holes for jumprings.  I use a hand held metal punch, but you can use a simple hammer and nail on a block of scrap wood to create the hole as well
  • Attach jump rings and closure and you are finished

Upcycled jewelry

***For the orange one, I attached 2 jump rings to each flower

Aluminum Can Jewelry

What do you think?  Are you using your cans in creative ways?  In case you missed it:

60+ Recycled Can Projects

Privacy Policy