[pinit]
[pinit]
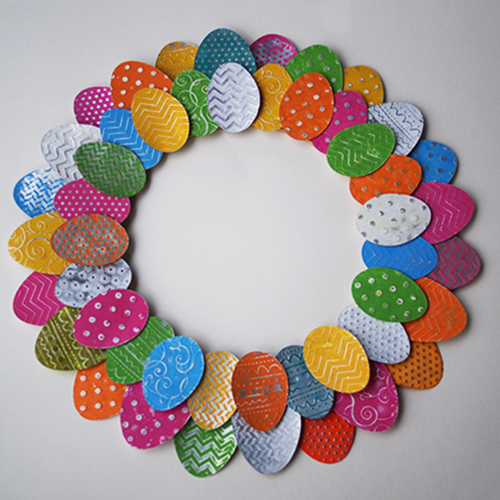
It’s no secret that I love to transform recycled aluminum cans into home decor and jewelry. This aluminum can Easter egg wreath fits that bill. See how I used a new Sizzix die and Tim Holtz Distress Paint for this colorful and unique recycled can spring decoration!
SUPPLIES:
Recycled aluminum cans
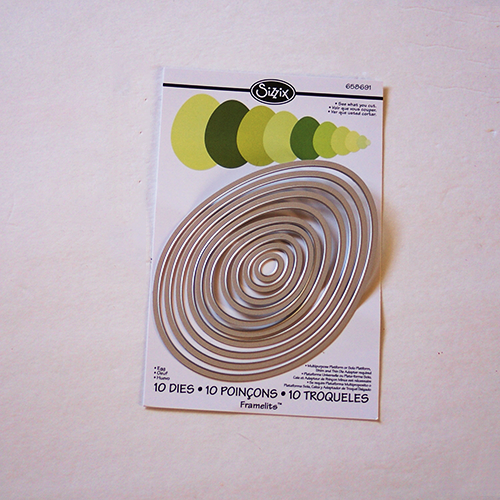
Sizzix Framelits Die Set 10PK – Egg
Embossing folders of your choice
Tim Holtz Distress Paint
Foam Mount Adhesive Squares
Sandpaper
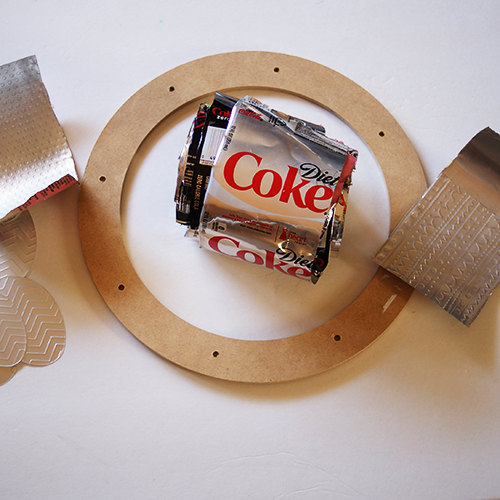
Wreath Form
TUTORIAL:
Cut your cans into sheets like I show you in the aluminum can rose pendant video:
Emboss the sheets in your favorite folder, then cut into egg shapes using Sizzix. I cut 2 egg sizes. It doesn’t matter exactly what size, as long as you have one bigger and one smaller size.
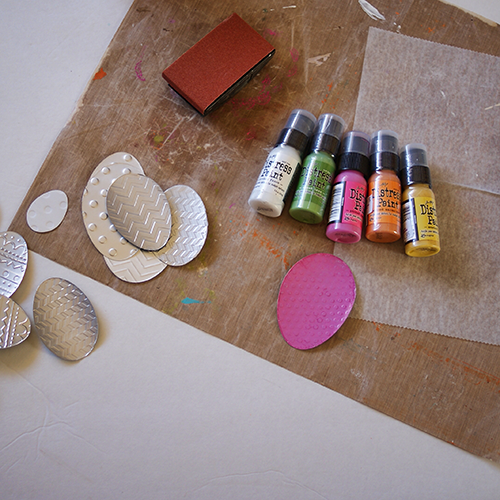
Paint eggs with Tim Holtz Distress Paint. This is the first time I have used this new product. It is pretty awesome. It is great for metal, such as cans! Unlike alcohol inks, which you have seen me use on cans in the past, the distress paint is opaque. I love the color palette too! There is a chalky kind of look to the finish, which is fabulous.
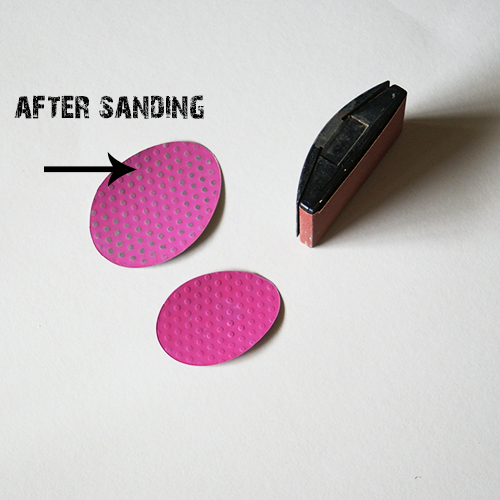
Sand once paint is dry to reveal aluminum can color on raised areas of embossed/painted eggs.
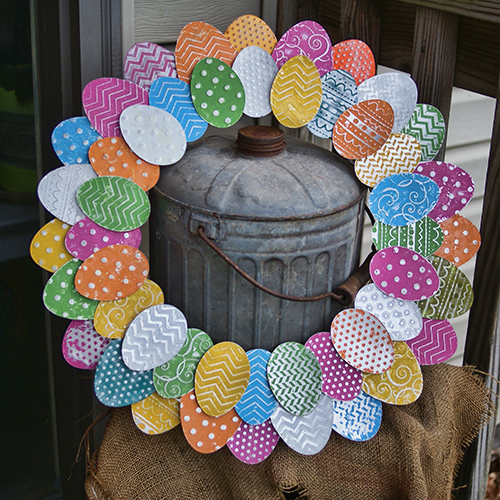
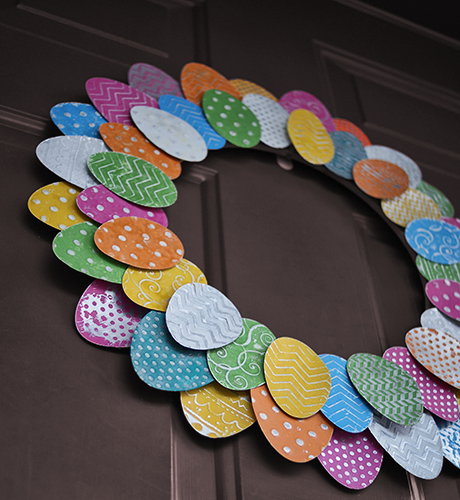
Arrange eggs and adhere to wreath form as shown, using foam adhesives for varying height of eggs compared to one another.

I am loving it! It is staying up until fall.