
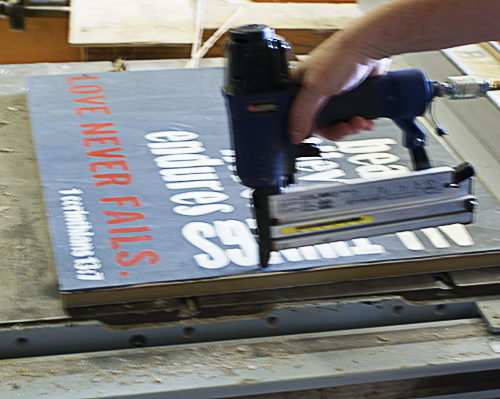
Next she used her nailer and half inch nails to attach the wood strips to the back of the sign. No glue! She is braver (and much faster) than I, and she has never had a sign come apart. The purpose of the wood on the back of the sign is to give the strips in the next step something to attach too since the plywood is only 1/4 inch thick. If you were going to frame a pallet sign using this technique, you could bypass this step and move on to the next.
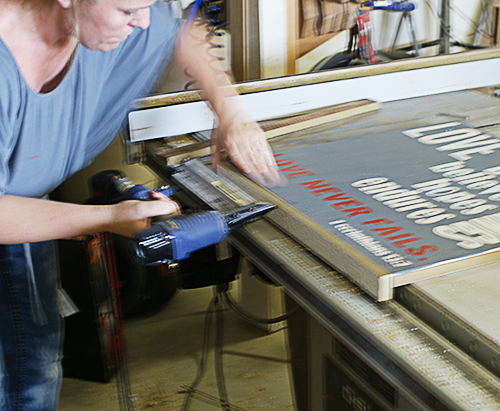
She measured her strips the same way as for the back ones, just putting them up against the sign and marking. She likes to make the top and bottom frame strips the exact width of the top and bottom of the sign, then have the side strips long enough to extend to cover the edges of them.
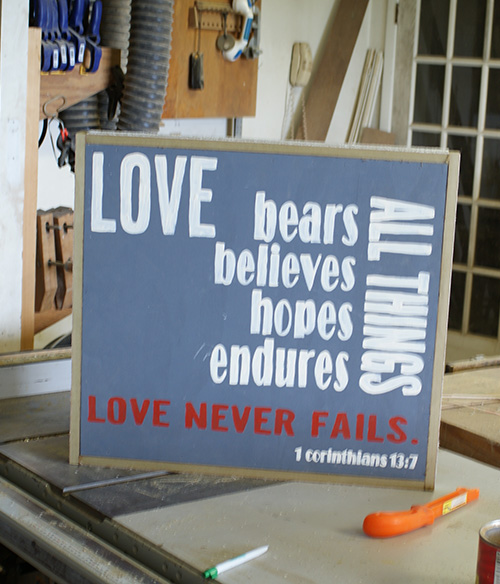
See?
DISTRESSING AND SEALING YOUR SIGN
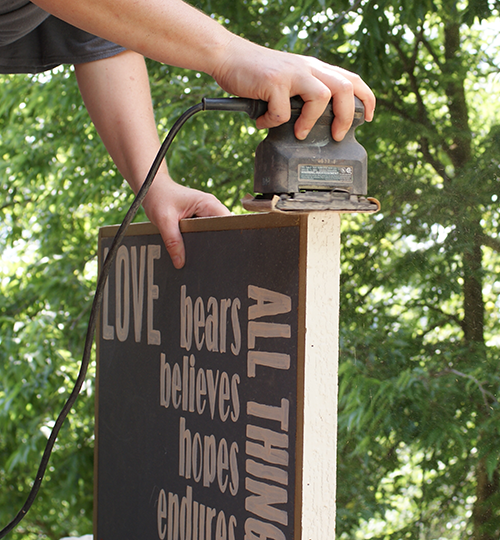
In a well ventilated area, she now sands the frame and evens out the edges where necessary, using medium grit paper. It’s not a lot of finish sanding since she is going for a rustic look.
CLICK HERE TO CONTINUE TO NEXT STEP
CLICK HERE TO GO BACK TO PREVIOUS STEP
