How to Break Down Wood Pallets Video Tutorial


How to Break Down Wood Pallets Video DIY@savedbyloves

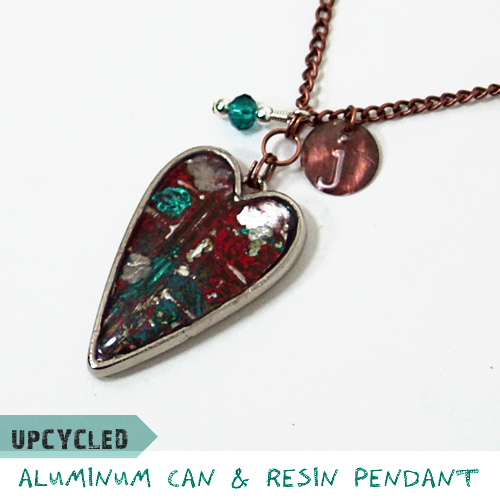
It is no secret that I love to create all kinds of things with wood pallets. Why wouldn’t I?  They are readily available and usually one their way to landfills or bon fires by the time I get my hands on them.  Lumber can be expensive, so why not use pallet wood for your projects to save some cash and help the planet in the process?  I have gotten several questions on how I break down my pallets, so I made a quick video of the process to share with you.

YOU WILL NEED:

Crowbar

Hammer

Reciprocating Saw

Safety Goggles

Wood Pallet

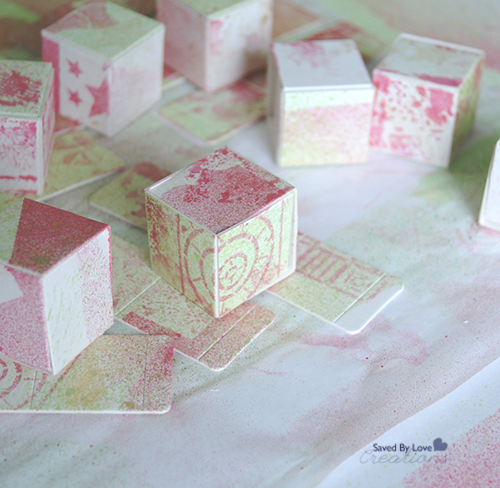
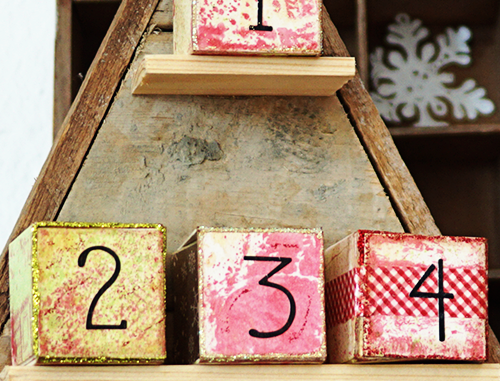
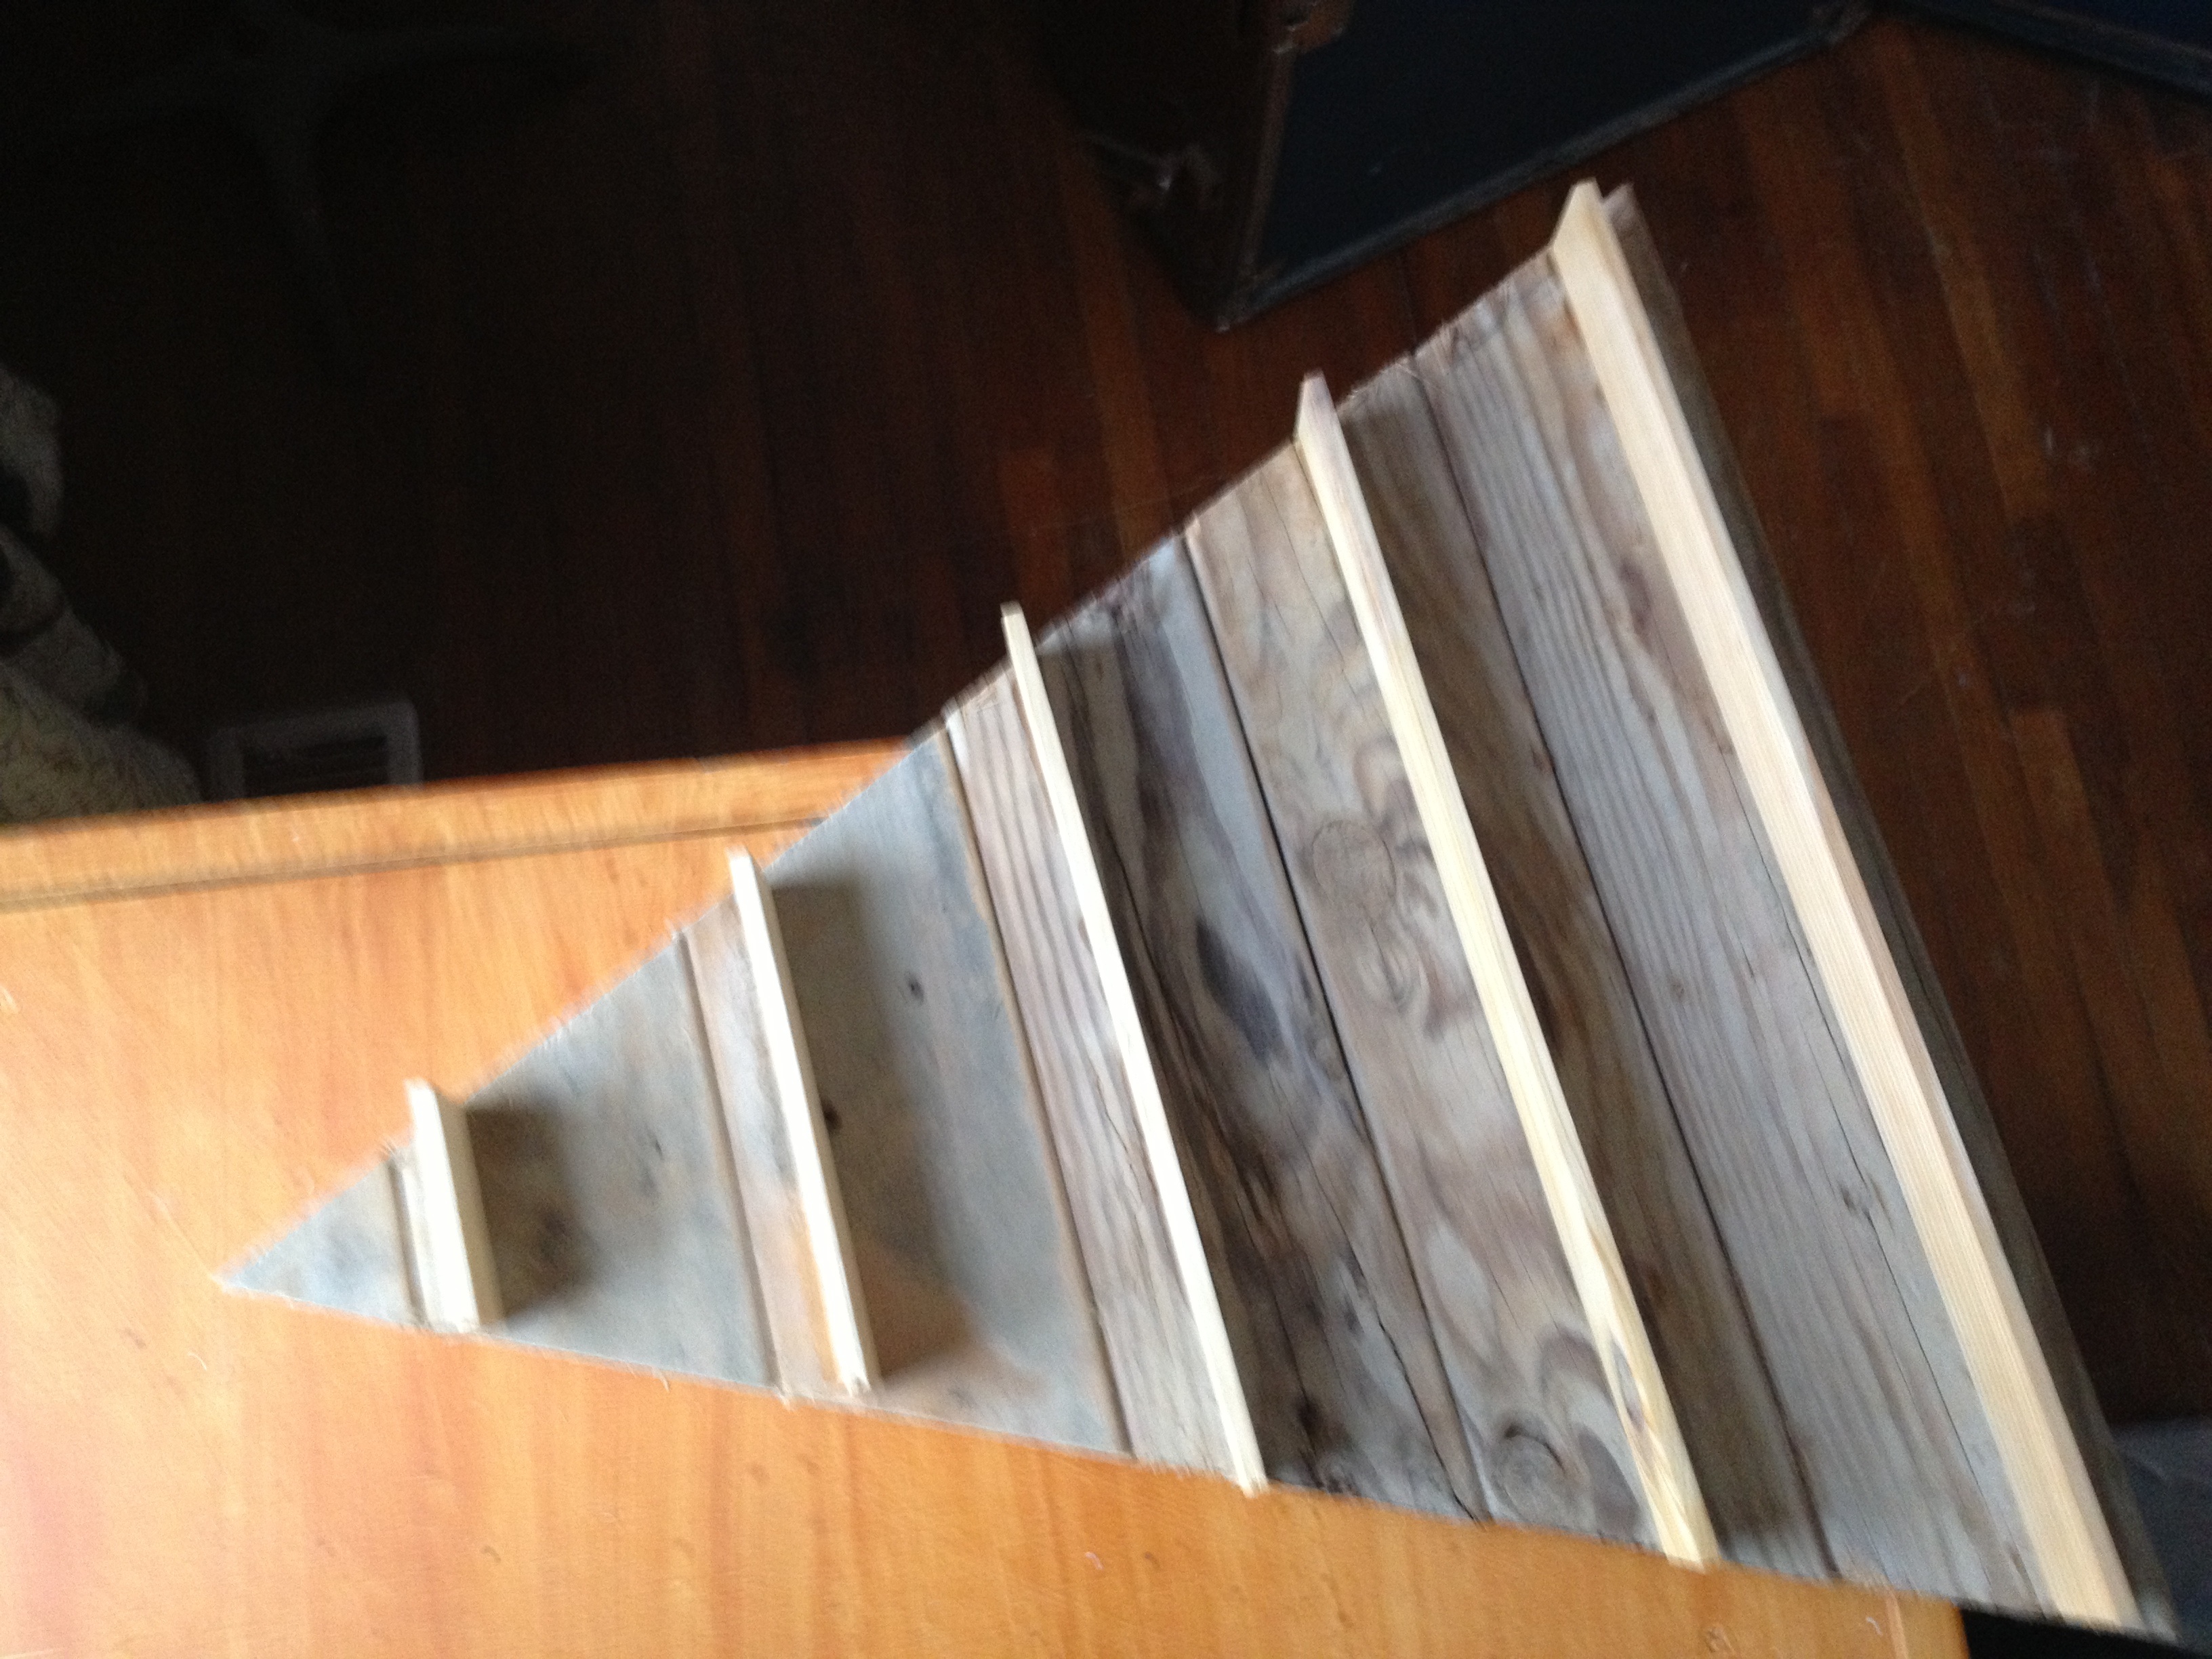
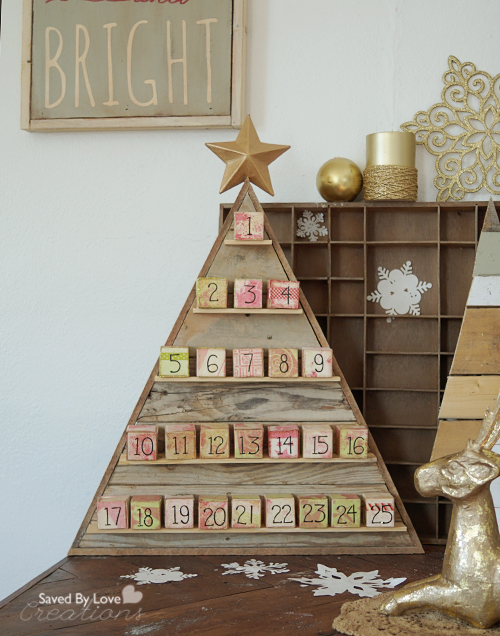
Now that you have your pallet broken down, you are ready to build.  Here are some ideas:


Woodworking Project Gallery Page

Powered by CGView

Sea Glass Jewelry; How to Drill Holes in Sea Glass

[pinit]How to Drill Holes in Sea Glass @savedbyloves[pinit]

I have been playing with sea glass that I bought in Florida a couple of years back, and I finally had some success with drilling holes for jewelry.  I had to break several pieces with my Dremel before getting the hang of it.  You don’t have to have a drill press to do this.  I actually find it easier to hold the drill in my hand so I can feel the pressure I am exerting.

Sea Glass Pendant DIY

This video from Marc Horne describes the technique I used for my pieces pictured.


To wire wrap your pieces like I did, visit this DIY Dichroic Fused Glass Pendant I shared with you previously.

How to Drill Holes in Sea Glass

Do you make sea glass jewelry?  What is your preferred drilling method?

DIY Reclaimed Wood Christmas Tree and Advent Artist Blocks

[pinit]DIY Advent Calendar Reclaimed Wood Tree #stencilGirl #Christmas with @eileenhull @artistsontheblock @Sizzix_US @savedbyloves[pinit]
Make a Reclaimed Wood Advent Calendar Christmas Tree

Today’s project is a rustic, reclaimed wood Christmas tree advent calendar that you can make for little to no cost!  Building from salvaged wood and paper crafting all in one project! I created the blocks using Eileen Hull’s (soon to be released) Scoreboards Block dies.  The die makes blocks in three sizes, for tons of creative potential.  Think about artist trading cards, but 3-D!  Last Christmas I showed you how to make an advent calendar from wooden blocks, and that is the first thing I thought of when I saw this die.  Read on to see how I used stencils from Stencil Girl, spray ink, number stickers and washi tape to decorate my mat board cubes.  Watch the video to make your own tree, or display your blocks freestanding.  These would make great Christmas gifts and decor for your holiday get togethers.

How to Make a Reclaimed Wood Advent Calendar

SUPPLIES:

For the Blocks

Mat Board

Heidi Swapp Spray ink Gold, Green, Red

Stickles in red, green, gold

Washi Tape in Christmas Patterns

Stencils (I used Stencil Girl)

Mod Podge Antique

For the Tree

Scrap wood

Mitre Saw

Nailer or hammer and nails

Wood Glue

E6000

5 gallon paint stirrers

TUTORIAL:

ADVENT BLOCKS

You may want to decorate your cubes before assembling them into the 3D shape.  First I will show you assembly, then how I decorated my cubes.

Artists on the Block


I chose the smallest of the three cubes for my calendar.  This is what the mat board looks like after it is cut with Eileen’s awesome new die!

Paper Craft DIY Christmas

Fold cubes along score lines.  Two of the scored rectangles are needed for each cube.  Place them together to form the cube.  You can glue the tabs in place if you would like, but I didn’t find it necessary with the mat board.  I haven’t tried other paper.

Stencil Girl Stencils

Place stencils over blocks and spray.

How to Make an Advent Calendar

Clean up excess ink that’s on the stencils for a reverse image on the blocks, and you waste less ink!

How to make Paper Advent Calendar

I used red, gold and green sprays, allowing about 10 minutes dry time between each color.

Mixed media Artist Blocks

Once that dried, I adhered washi tape to some blocks, the black sticker numbers and coated with the front surface with Mod Podge Antique for an aged look.  I thought it needed some sparkle, so I added stickles in red, green and gold.

RECLAIMED WOOD CHRISTMAS TREE

I made the tree like I showed you in this  DIY wood pallet Christmas Tree post, and in the video at the end of this post.  The only difference is I used chippy, weathered 2×4 scrap wood I found at a demolition site.  I determined the dimensions of my tree based on the 1.5 inch advent cubes.  The base is 19 inches, and the height is 20 inches without the frame.

I made the five shelves from paint stirrers, cutting them with the mitre saw to lengths that allowed 2 inches for each block.  So the first one is 2 inches, then 6 inches and so on, 10 inches, 14 inches and finally 18 inches for the bottom shelf.  I laid the tree flat and added a thin line of E6000 to the back of the paint stirrer and placed them on the tree where I wanted the shelves.

DIY Advent Blocks Pallet Christmas Tree

I decided to use scrap wood strips to frame the tree, just cutting to length with my mitre saw and using my Ryobi nailer to attach.

I hope you enjoyed the project and the blocks as much as I did!  Visit Artists on the Block for more news, updates and projects as artist trading blocks take over the mixed media community!

Be sure and visit other projects using the blocks in the Stencil Girl and Sizzix Artist Trading Blocks Hop

Blog Hop Order

SGSIZZIXBLOGHOP

Video Tutorial – DIY Gorgeous Soldered Pendants + GIVEAWAY

[pinit}

how to make a vintage soldered pendant

[pinit]

UPDATE:  WE HAVE A WINNER!  Do you love the look of soldered jewelry, but feel totally intimidated by that hot freaking iron and molten metal?  My creative friend Hope is here to break it down for us in a detailed How to Solder Jewelry video that demystifies the process and will have you making jaw dropping pieces lickity split!  As if that isn’t enough, Hope has teamed up with Saved By Love Creations to give you lovely readers a chance to win your choice of 3 gorgeous pendants!

Soldering Tips for Jewelry

Hope invited me in to record her process!  Before jumping into the video, I want to let you know the supplies you see will being used are from GlassSupplies on Etsy, a shop owned by Robin Ramsden.

Foil Tape For Soldering

This tape used in the video is 3/8 inch wide copper backed foil tape, which you can get at the linked store and probably elsewhere.  Hope recommends black backed foil tape for most simple projects since it holds the pieces together better and is just strong/less frustrating for us newbies!  She was out of it or we would have been using it for sure.  It is available in the linked shop above (GlassSupplies on Etsy).

Obviously if you are using thicker glass pieces than we did, you may need wider tape.  You will have to experiment.

More info on supplies is found below and in the video tutorial.

I did a soldered pendant experiment and shared it with you here:

I took my pendants to Hope’s with me and she helped me figure out how to make them more what I was going for.  I learned so much from hanging out with her that I haven’t seen elsewhere.  It turns out I wasn’t using near enough solder, and oh yeah, my soldering iron tip is disintegrating.   There is a solution for that, and many soldering woes.  This woman solders A LOT and is a wonderful resource!  She is also super sweet, so if something isn’t covered that you want to know about, you can find her on Facebook:  Hope Ellington.  She even takes custom orders, although she is pretty swamped with them right now from what I have seen so hurry if you are interested.

There were so many tips and tricks that I had to break the video up into 2 parts, and they are still long.  You will learn a ton, and if you are like me, your soldering will be vastly improved.  I made a pendant this morning and love it!  Don’t worry, you will see it soon.

SUPPLIES (the video goes over specific brands Hope loves):

Supplies for Soldering Jewelry

Jewelry Soldering Techniques

VIDEO TUTORIAL Parts 1 & 2:

GIVEAWAY

Now for the best part.  You get a chance to win a free handmade soldered pendant from Hope’s Bloomington Indiana Shop, Girlfriends on the Farm!

Pendant 1 – A fancy pants, blinged out vintage ephemeral piece

how to make a vintage soldered pendant

Pendant 2 – A message in a bottle “LOVE”

Jewelry Soldering Techniques

Pendant 3 – Vintage Lace under beveled glass

Soldered Doily Pendant

a Rafflecopter giveaway

Easy Wire Wrap Bird Nest Pendant DIY Video

  [pinit]Make a fast, easy wire and bead bird nest/egg pendant with Video DIY by beadaholique @savedbyloves

[pinit]

I have wanted to make one of these cute bead and wire bird nest with eggs pendants since I first saw one a couple of years ago.  Finally I sat down to do it as a gift for my sweet sister for Mother’s Day.  Can I just say she loved it?!  There is an egg for each of her three children.  It was super fast and easy to create.  I made it with materials I had on hand.  All you need are a few beads, some wire and some basic jewelry supplies.

Jewelry Making Video DIY Wire wrap bird nest pendant

VIDEO DIY TUTORIAL

Jewelry Making Video DIY Wire wrap bird nest pendant by @savedbyloves

I by no means came up with this idea.  Here is the Beadaholique video I followed.  I used thicker gauge wire (16 aluminum copper colored) and didn’t make the bail like in the video.  As you can see, I just threaded the chain through the nest where the wire made a nice opening.

DIY Upcycled Pop Can & Resin Heart Pendant

[pinit]#Recycle aluminum cans into gorgeous jewelry #Resin #Upcycle @savedbyloves #DIY @Crafts

Do you have a pile of aluminum cans in recycling bin purgatory?  Well, if you have been around here long, you know I love to cut my cans and form them into various upcycled jewelry pieces.  Today, I am going to show you how I used a coke can, a bezel and some resin to create this fun, one of a kind heart pendant.  It would make a lovely gift for many occasions, and especially the rapidly approaching Valentine’s Day Holiday.  I made it for a gift and personalized it with a monogram stamped charm.  You don’t need a lot of expensive supplies and equipment to one of these yourself.  Here is how…

SUPPLIES

Empty Soda Can, rinsed with warm soapy water

Jewelry Shoppe Heart Bezel and corresponding heart paper punch (got mine at Hobby Lobby)

Resin Jewelry Tutorial, Upcycled Jewelry Tutorial

-OR-

Any heart shape bezel and a sharpie or other permanent marker

Glossy Accents or other metal glue

Grungeboard or scrap cardboard

Embossing folder and machine

Perfect Pearls

3 colors of acrylic paint

Metal paint primer (I used Martha Stewart’s)

Vintaj Sanding Block

Magic Glos Resin

INSTRUCTIONS

#Upcycled Recycled aluminum can jewelry #DIY #Craft tutorial @savedbyloves [pinit]

This project came about as I was doing another project that I haven’t shared with you yet.  There was a leftover aluminum can punched heart shape, and I remembered I had the corresponding bezel.  I found the bezel and paper punch at Hobby Lobby (by My Jewelry Shoppe) a couple of months back.  I decided to emboss the heart and add some acrylic paint and Liquid Pearls for a cool effect.

#Recycle aluminum cans into gorgeous jewelry #Resin #Upcycle @savedbyloves #DIY @Crafts

For the other project, I needed rectangles with a heart cut out in the middle.  If you just want the heart shape used in this tutorial, you don’t have to worry about cutting perfect rectangles.  Just primer and paint your can sheet and punch the heart shape from it.  I showed you how to cut the cans into a sheet in the video here…

Make an aluminum can pendant
Trace the heart twice onto grungeboard, thick cardstock or cardboard and cut out inside the outlines with scissors.  Glue the cardboard hearts together, then glue to bezel.  Use clothespin to apply pressure for good adhesion.  This gives thickness to the thin can top layer.
Emboss your painted and primed can heart.  I used Tim Holtz Texture Fades embossing folder – Pattern and Stitches Set and my Sizzix Vagabond.  It you don’t have an embossing machine, you can hand emboss, or use the folder and a rolling pin like in this video by Sarah Hamer:

Now apply a second paint color over your base (Ranger Paint Dauber color Pool used here).

Ranger Paint Daubbers Pool

Ranger Paint Daubbers Pool

Let dry and and sand with sanding block to distress as desired.  Not shown here, but in my final pendant, I added a third paint color.  The red made the pendant pop.  If you sand away too much paint, it’s ok.  Just paint again and sand until you are happy with your piece.  The raised areas will lose color when you sand, while the depressed areas hold color.  The embossed design is enhanced by the contrast.  So fun!

How to emboss metal jewelry

How to emboss metal jewelry

When you are happy with your paint job, glue heart into pendant bezel on top of cardboard base as shown.  Hold in place with clothespin while glue dries.

How to emboss metal jewelry2

How to use Magic Glos resin

Let glue dry completely, then apply Magic Glos resin like I showed you in this Plaid Ring Bling tutorial.

You can use any resin you want.  I just had this on hand, and love the fact that it cures in minutes vs. the hours it takes 2 part resins to cure.  Maybe you are more patient than me!

Add chain and charms as desired and you are done!

#Upcycled Recycled aluminum can jewelry #DIY #Craft tutorial @savedbyloves

HeartBezelPendantDIY8

Make a Halloween Bouquet

[pinit]

HalloweenBouquetCG

[pinit]

How to Make a Halloween Bouquet Tissue Paper Flowers Tutorial @savedbyloves #Sizzix

This project involves four of my favorite things; Sizzix, Halloween decor, paper flowers and upcycling!  Learn how to make these poofy pom-pom flowers from tissue paper and book pages.  I used Sizzix 3D flower #2 to cut my petals, but you can easily do this project with a scalloped circle paper punch, or with good ol’ scissors and a scalloped circle template.  Each “petal” is a scalloped circle folded in half and then in half again.

How to Make a Halloween Bouquet Tissue Paper Flowers Tutorial @savedbyloves #Sizzix

SUPPLIES:

Tissue paper in orange and black

Old book pages

Green floral wire

Sizzix 3D Flowers #2, or scallop circle punch, or scallop circle template and scissors

Vase or other container for your flowers

Ribbon

TUTORIAL:

Cut your circles using the Sizzix 3D Flowers #2 die.  Here is a quick video showing the die and the various flowers you can make.  For the bouquet shown here, I used both the large and small scallops for 2 different pom pom variations.

How to Make a Halloween Bouquet Tissue Paper Flowers Tutorial @savedbyloves #Sizzix


How to Make a Halloween Bouquet Tissue Paper Flowers Tutorial @savedbyloves #Sizzix

How to Make a Halloween Bouquet Tissue Paper Flowers Tutorial @savedbyloves #Sizzix

How to Make a Halloween Bouquet Tissue Paper Flowers Tutorial @savedbyloves #Sizzix

Make Kumihimo Braided Cord Jewelry

How to Make Bracelets using Kumihimo foam disk @savedbyloves #jewelry #DIY #crafts

 Kumihimo is a Japanese braiding technique used to make long decorative strands, beautiful for bracelets and necklaces.  I picked up the method on a recent trip to Colorado, and have had the foam loom in my hand ever since.  This is not at all difficult to learn.  You will have a finished piece in no time, regardless of your level of experience.  Here you will see how to make an 8 strand braided cord, and how to beautifully, professionally finish your piece with bead cones, wire and a toggle clasp.

How to Make Bracelets using Kumihimo foam disk @savedbyloves #jewelry #DIY #crafts

How to Make Bracelets using Kumihimo foam disk @savedbyloves #jewelry #DIY #crafts

How to Make Bracelets using Kumihimo foam disk @savedbyloves #jewelry #DIY #crafts

This project is great for all kinds of cording; hemp, embroidery floss, eyelash yard, ribbon, satin and more.  You can mix different thicknesses of floss and yarn for interesting effects within the same cord.  I personally love the eyelash yarn like I used in the above bracelet.  Multiple colors can be used, however the spiral effect is best seen if you use 2-3 colors.

SUPPLIES FOR KUMIHIMO BRAIDED BRACELET:

How to Make Bracelets using Kumihimo foam disk @savedbyloves #jewelry #DIY #crafts

Bracelet 1:  20 inch strands – 1 gray embroidery floss, 2 cream rattail, 2 golden rattail, 2 black hemp, 1 brown eyelash yarn

Bracelet 2:  Kumihimo satin rattail 2mm – 2 strands 20 inches of white, green,  light blue and aqua

Bracelet 3:  4 strands each of hemp cord in white and brown (20 inches)

Kumihimo 32 slot foam round loom

Metal cone beads

Metal cone beads

Jewelry Glue or super glue

20 gauge wire in finish to match toggle and cones

Wire cutters

 Flat nose pliers

Round nose pliers

TUTORIAL:

Gather your 8 strands and tie an overhand knot at one end.  Arrange the 8 strands on the loom as shown, with the knot in the hole in the middle.  I keep similar colors in pairs, but play with your string arrangement for different effects.  There are tons of online patterns for free as well.

How to make a friendship bracelet

Weave as I show you in this quick video:

When cord is an inch or so longer than the final size you want, bind off each end like below.  Before removing braid from loom, bind with thread like in the first step.

How to Make Bracelets using Kumihimo foam disk @savedbyloves #jewelry #DIY #crafts

What do you think?  I have been playing with necklaces using this technique, which you will be seeing soon.  In the meantime, try it out.  I think you’ll love it.  It is meditative and simple, with endless design possibilities.  What better stash buster is there?

How to Make Bracelets using Kumihimo foam disk @savedbyloves #jewelry #DIY #crafts

For tons more bracelets, see our tutorials page, and of course our 50+ bracelet round-up!

Upcycled Aluminum Can Fall Wreath DIY

Aluminum Can Leaf Wreath Tutorial at savedbylovecreations.com #fall #wreath #upcycle #repurpose #recycledCrafts

This is one of my favorite projects ever.  I cost pennies to create, I absolutely love fall decorating and crafting, and upcycling is my thing.  To make this wreath, I used my Sizzix and Tim Holtz leaf die, but if you don’t have a die cutter, you could do this part by hand with a leaf template, or use leaf shaped paper punches.  They work great on aluminum cans. Let’s get started on this vibrant, eco-friendly autumn leaf wreath!

Aluminum Can Leaf Wreath Tutorial at savedbylovecreations.com #fall #wreath #upcycle #repurpose #recycledCrafts

SUPPLIES:

Tim Holtz Tattered Leaves die

Sizzix

Ranger Alcohol Inks in your fave fall colors; Check out my friend Amy’s awesome color palate for fall, and how she used the inks on a shower curtain cut with the leaf die

Felt applicator for alcohol inks

Straw

Aluminum cans

Metal snips

Cardboard

Circle shapes to trace for inner and outer diameter of wreath

Pen

Scissors

3D Foam Mounts

Duct tape (optional, but recommended if you are putting your wreath outside)

Non stick craft mat

Aluminum Can Leaf Wreath Tutorial at savedbylovecreations.com #fall #wreath #upcycle #repurpose #recycledCrafts

TUTORIAL:

Rinse out your cans with soapy water and cut them into sheets like my aluminum can rose video:

Aluminum Can Leaf Wreath Tutorial at savedbylovecreations.com #fall #wreath #upcycle #repurpose #recycledCrafts
Metal snips
What do you think?  Do you want to make one yourself?  What are your favorite fall decor projects?

DIY Cardboard Loom and Woven Bracelet Video

How to make a loom woven braided bracelet

Today I am sharing with you a loom woven bracelet video tutorial.  I mentioned it in my Dollar Store Wrapped Bangle Bracelet Tutorial since I was on a mason line bracelet kick.   In the video you will see how to make the loom from a piece of cardboard (yay!! – recycled craft project) and how to use your cardboard loom to make a 7 stranded braid bracelet using mason line.  You can use any cording you want, that is just what I used in the video because I have tons of it and I love the colors. The smaller, multicolored bracelet pictured was made using the exact same technique with embroidery floss in 7 fall shades.

How to Make a Loom From Cardboard and weave your own #friendshipBracelet from it #Jewelry at savedbylovecreations.com #video

SUPPLIES:

Cording (I used this mason line)

Scissors

Cardboard

Small Plate or other circle to trace (about 4 inches in diameter)

Pen or pencil

Lighter to melt end of mason line knot together

How to Make a Loom From Cardboard and weave your own #friendshipBracelet from it #Jewelry at savedbylovecreations.com #video

VIDEO TUTORIAL:


If you love bracelets, see our 50+ Bracelet Roundup:


Privacy Policy