[pinit]
![]() [pinit]
[pinit]
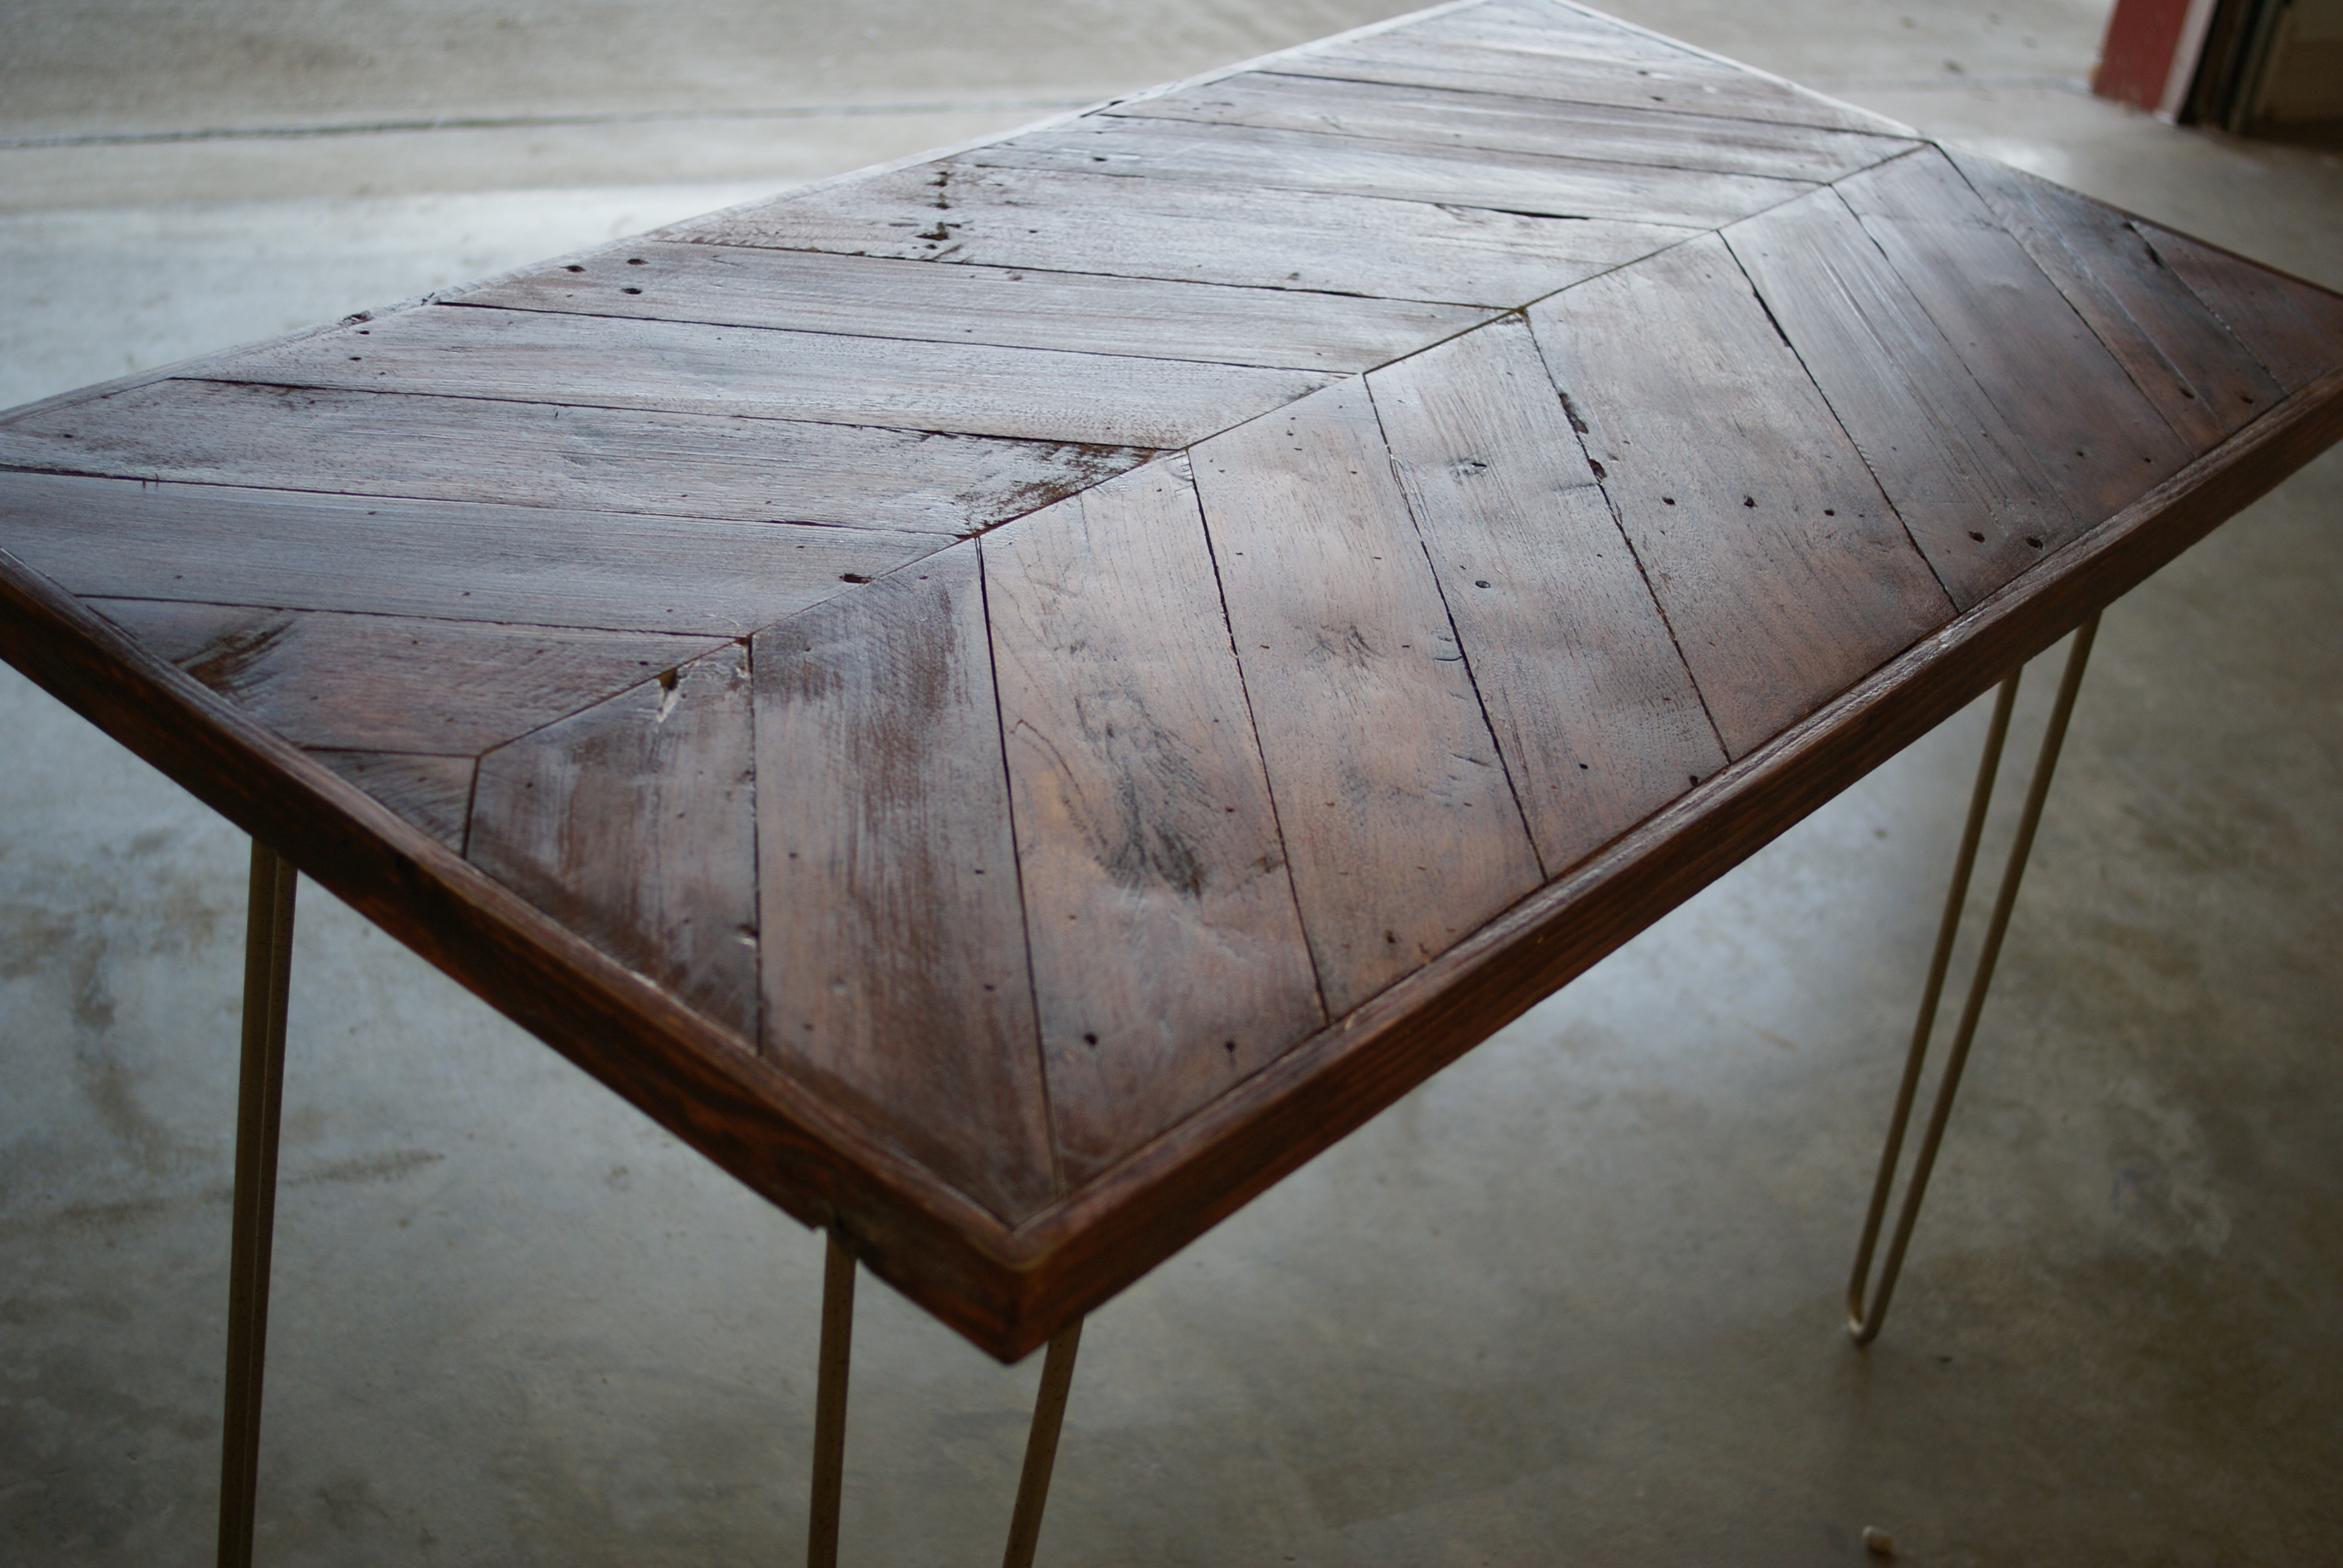
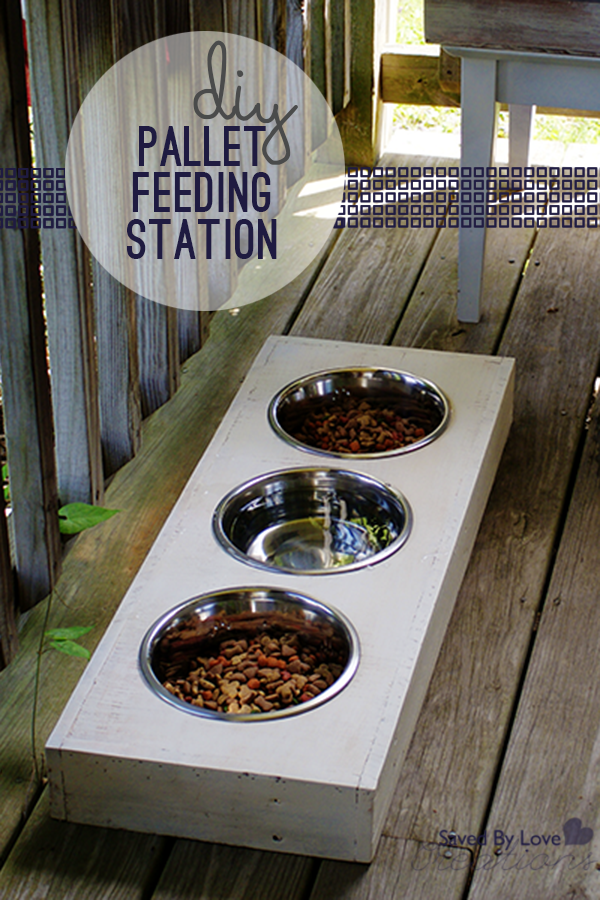
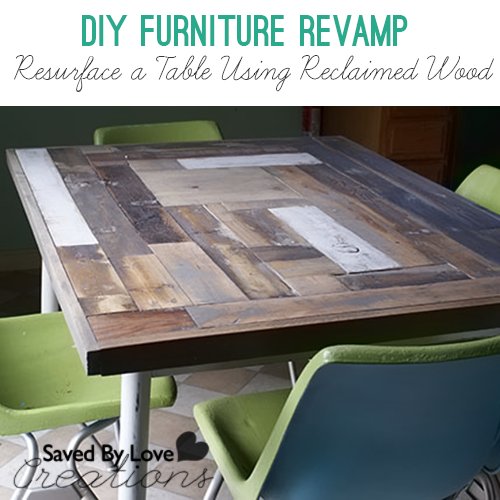
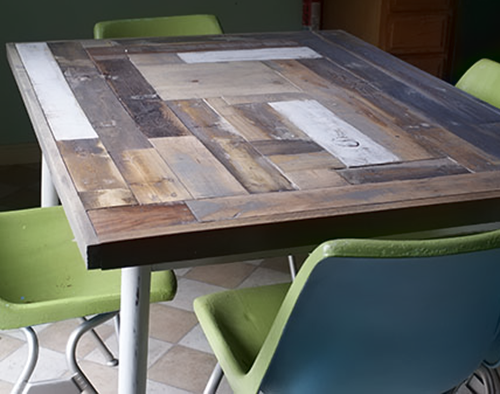
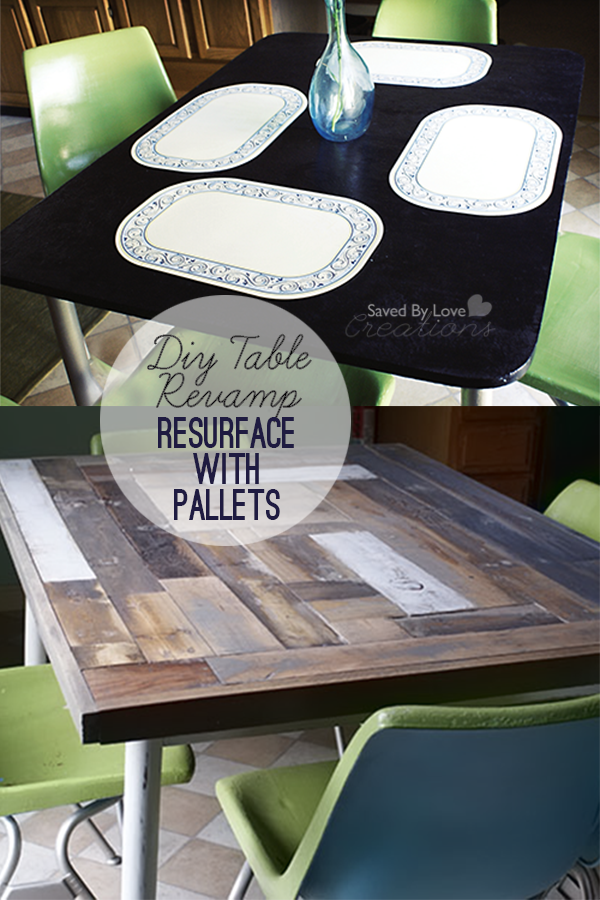
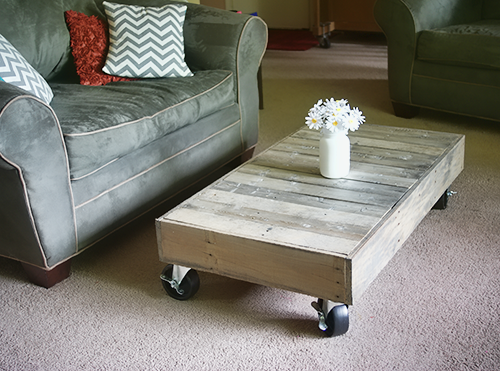
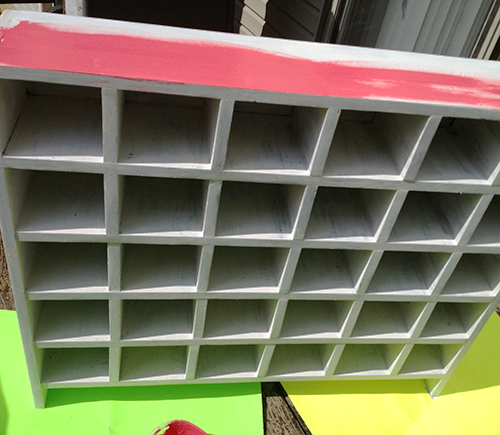
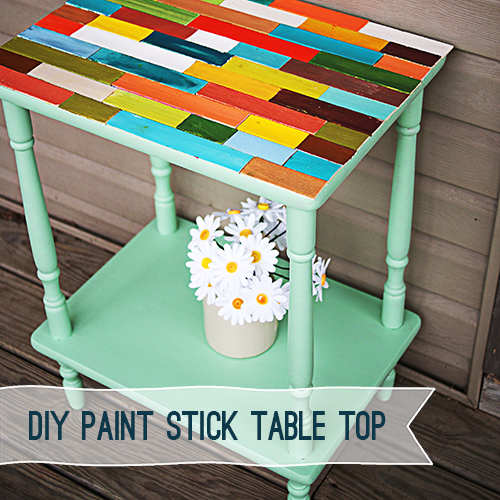
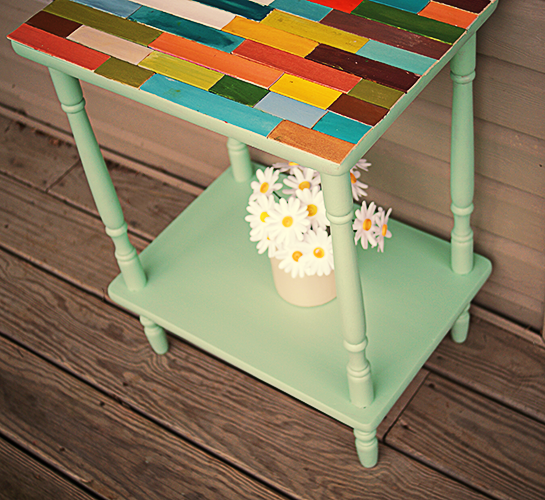
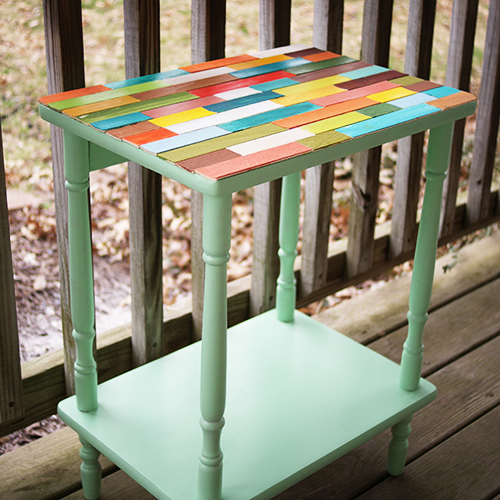
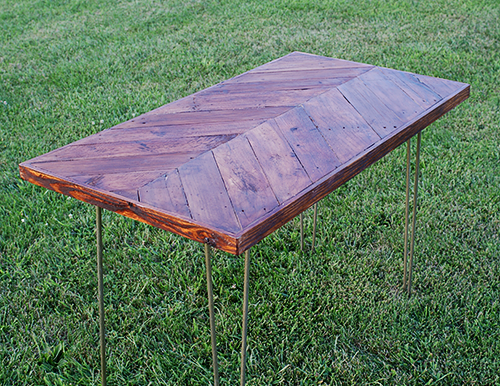
I am a little smitten with today’s project, which is made from shipping pallets and a $5 table I picked up at Habitat Restore. Reclaimed wood projects are here to stay, folks – at least for this DIYer. This modern chevron wood plank table took an afternoon to create, but will be enjoyed indefinitely!
![]()
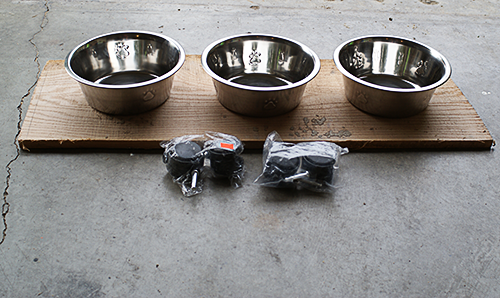
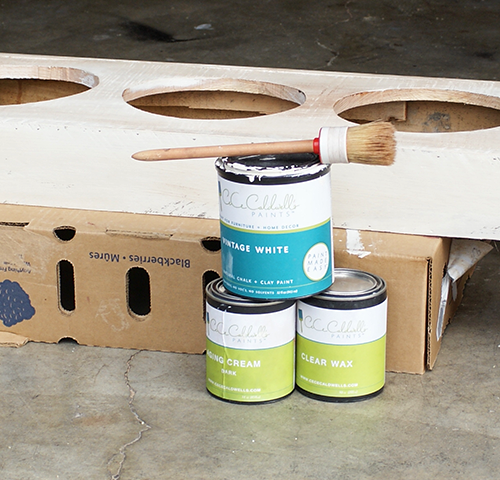
SUPPLIES:
Pallet wood
Ryobi AirStrike Nailer
1 3/4 inch 18 gauge brad nails
Wood Glue
Circluar Saw
Mitre Saw
Wood Clamps
Random Orbital Sander
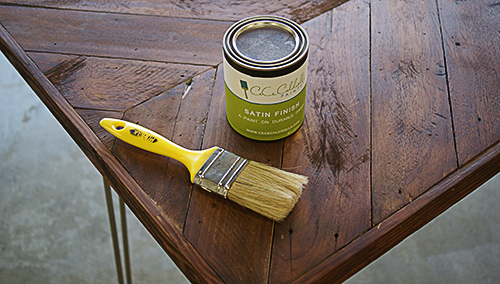
Rustoleum Wood Stain Dark Walnut
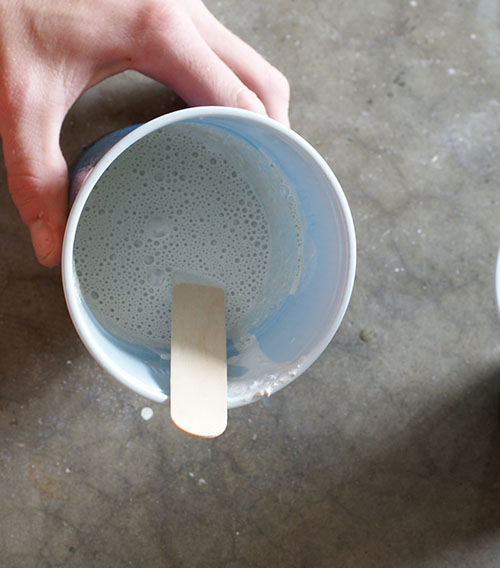
CeCe Caldwell Satin Finish
Lent free cloth
Paint brush
Tack cloth
Yard stick
Pencil
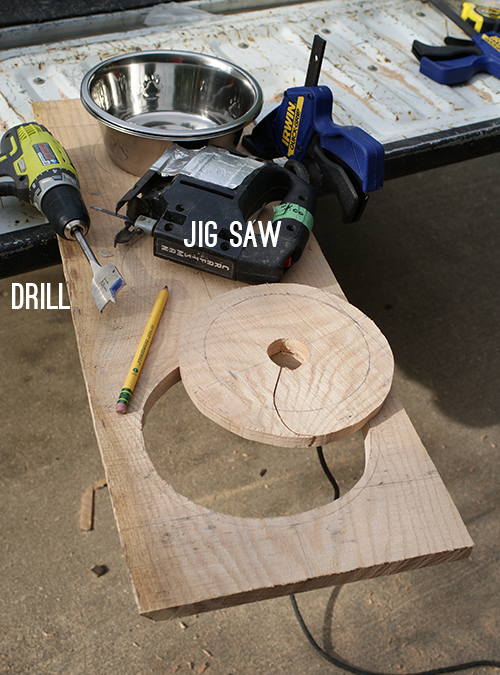
TUTORIAL:
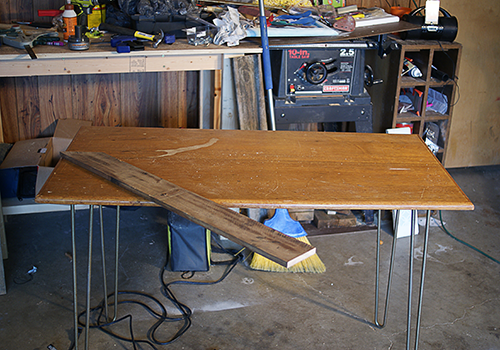
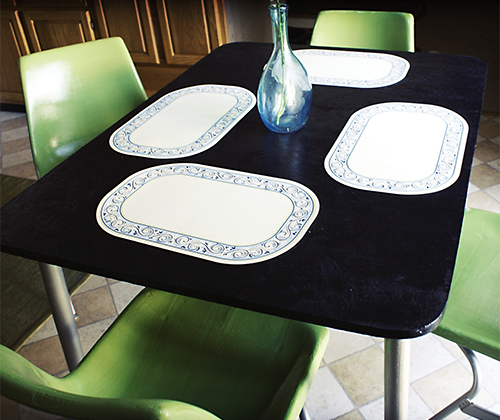
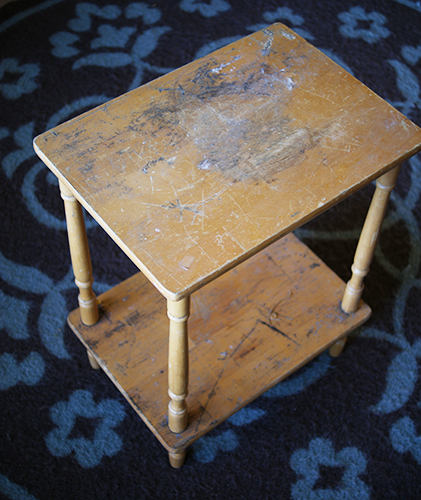
Find a really awesome hairpin leg table for $5 at Habitat Restore and tackle anyone in the way of you and it. Bring it home.
![]()
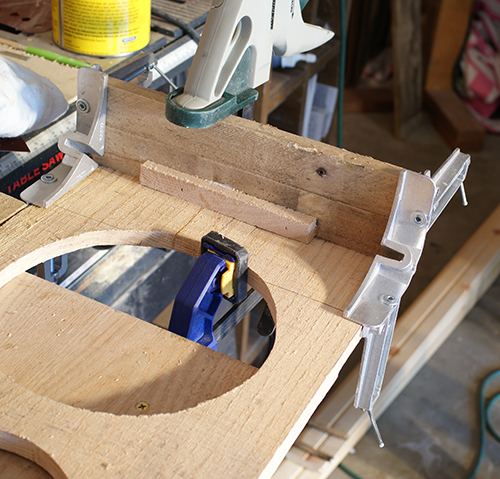
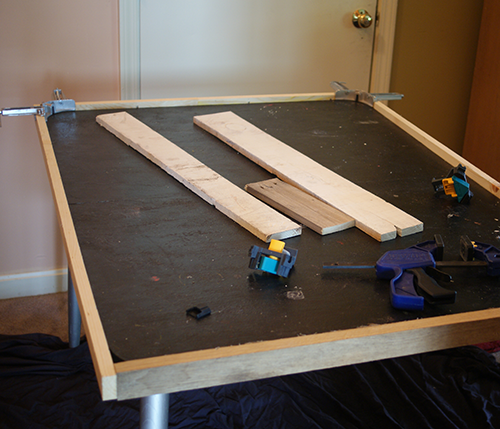
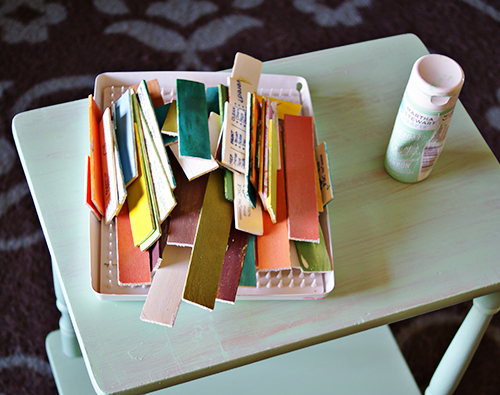
Cut pallet wood to 45° angles using mitre saw. Meet wood in center to form 90° angles(I drew a line down center of table with pencil using a yardstick).
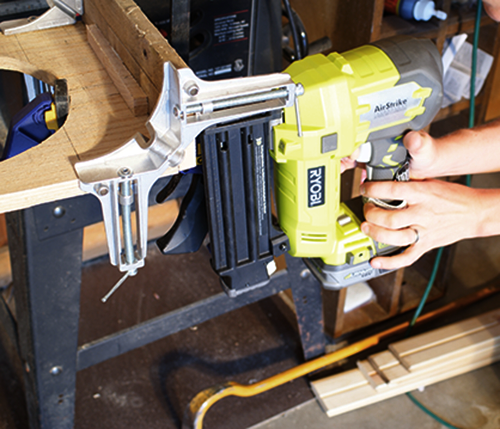
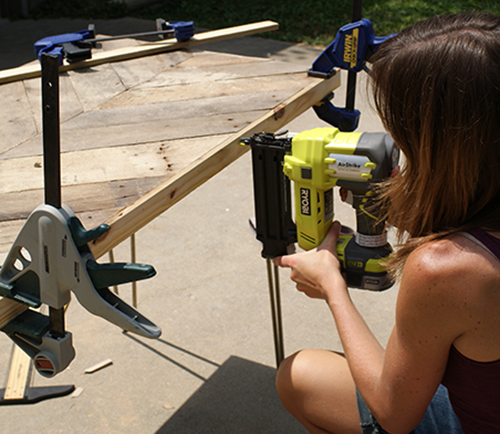
Glue and nail down with air nailer or hammer and finishing nails. This is where I use my Ryobi AirStrike brad nailer. The thing is amazing. I can’t believe how powerful, lightweight and inexpensive it is. I use it in all of my reclaimed pallet wood projects and it makes my life worth living, or at least way easier when building.
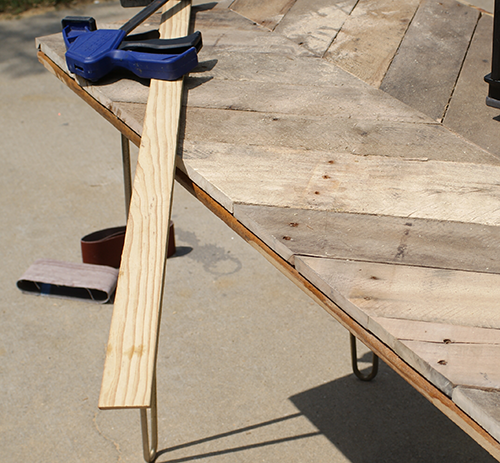
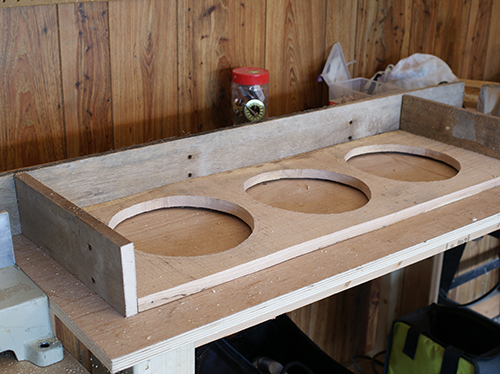
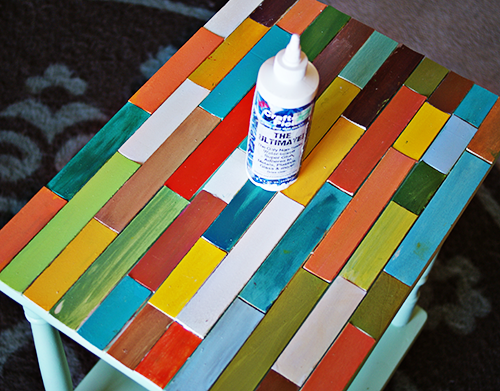
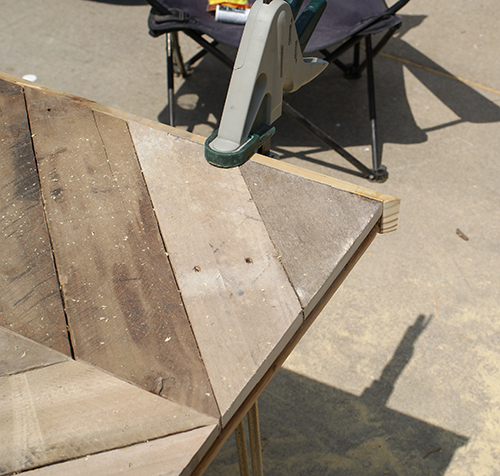
Use the circular saw to cut off excess wood extending over edge of original table top. This is way easier than cutting each individual plank to size. Way. Easier. And. Faster. Trim with 1x2s or rips from 2x8s like i did. I mitered the edges to 45° for a more finished look.
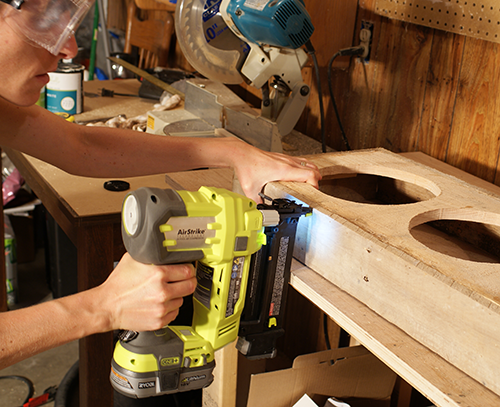
Again with awesome nailer (this is not a Ryobi sponsored post, btw) – glue and nail the trim in place.
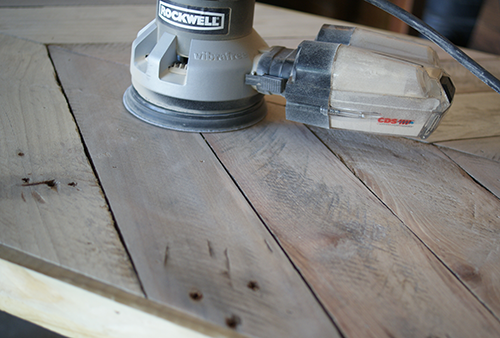
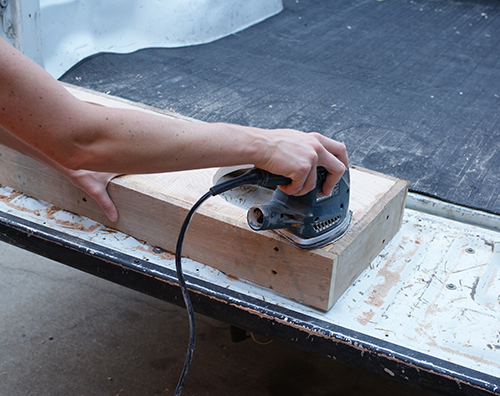
Sand with orbital sander.
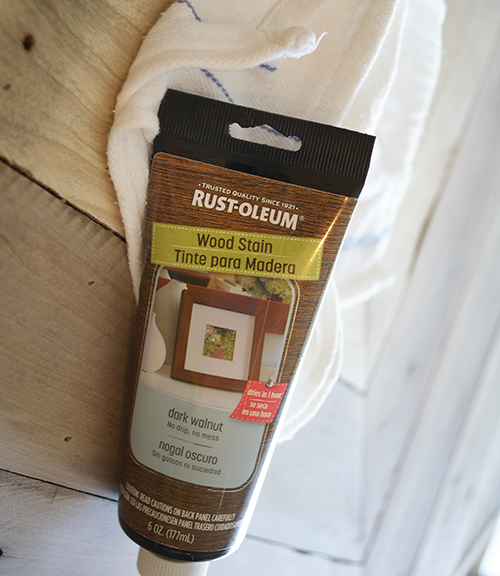
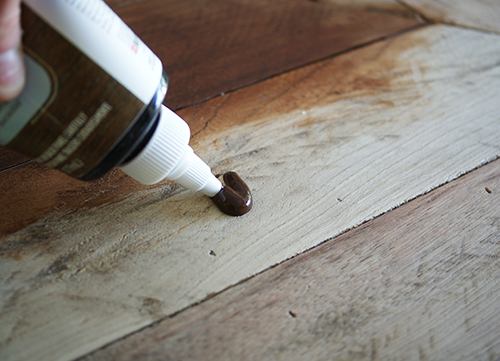
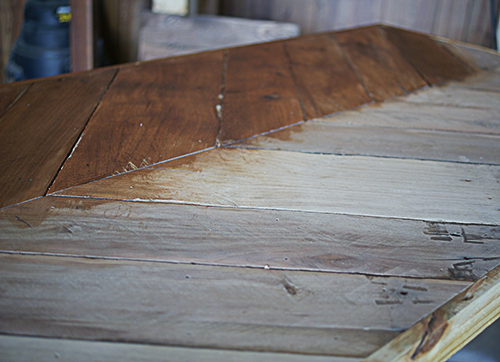
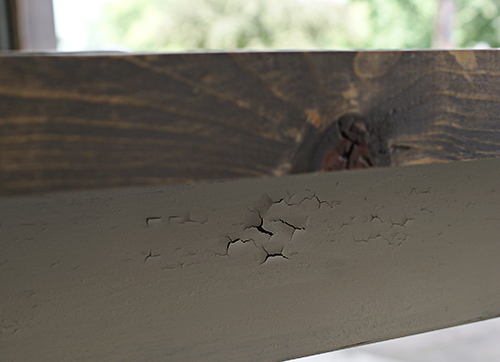
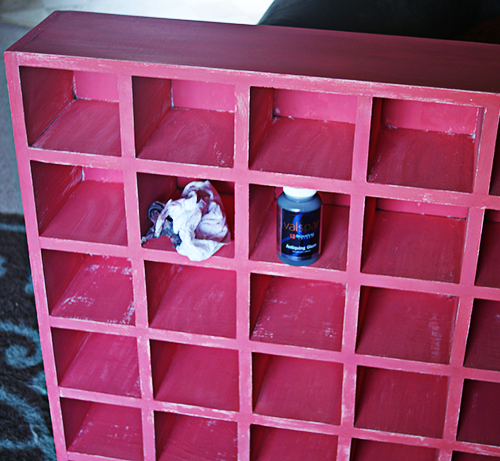
Wipe on Stain per directions, with the wood grain. This is the first time I have used this Rustoleum stain and I love it. Gorgeous color, easy to use, what is not to love?