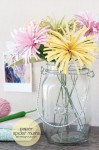
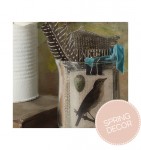
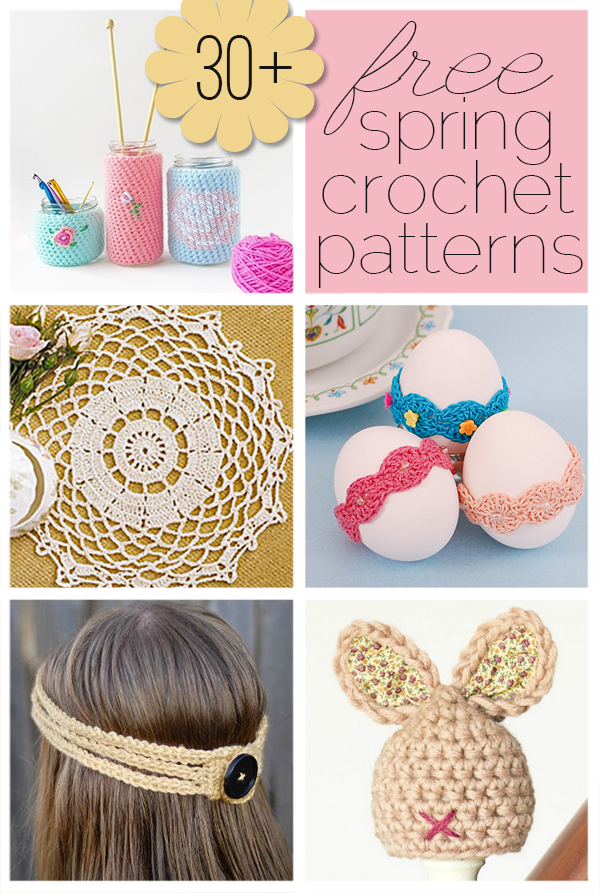
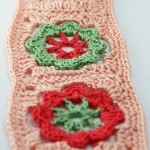
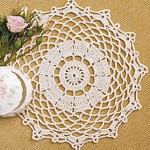
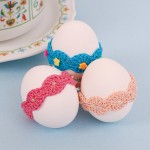
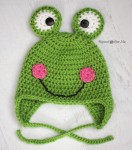
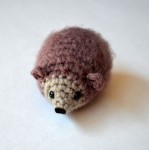
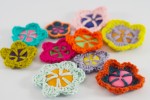
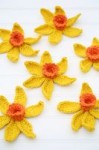
 The fact that winter is coming to an end doesn’t mean it’s time to put away the yarn. Today’s round-up is full of beautiful free spring crochet patterns. You’ll find everything from Easter decor to spring scarves and more. Enjoy!


Upcycling DIY home decor, woodworking and Crafts

The fact that winter is coming to an end doesn’t mean it’s time to put away the yarn. Today’s round-up is full of beautiful free spring crochet patterns. You’ll find everything from Easter decor to spring scarves and more. Enjoy!
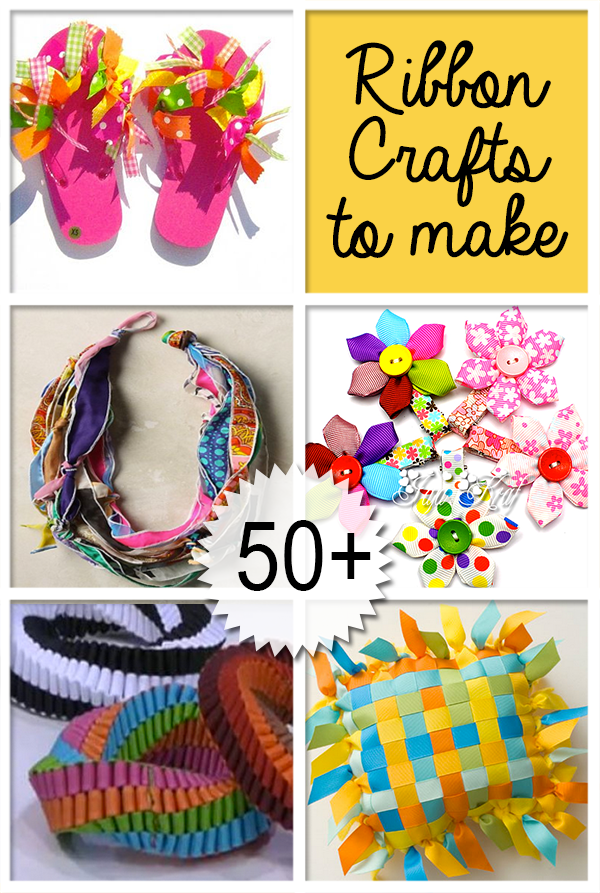 If you are obsessed with ribbons like me, you will love today’s round-up. Read on for over 50 ribbon crafts, including holiday projects, DIY home decor, kids crafts and more! If you want your ribbon project included, leave a link to your tutorial in the comments.
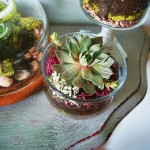
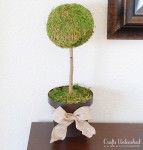
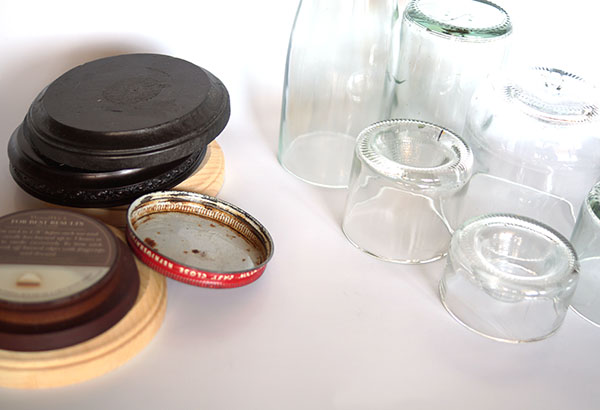
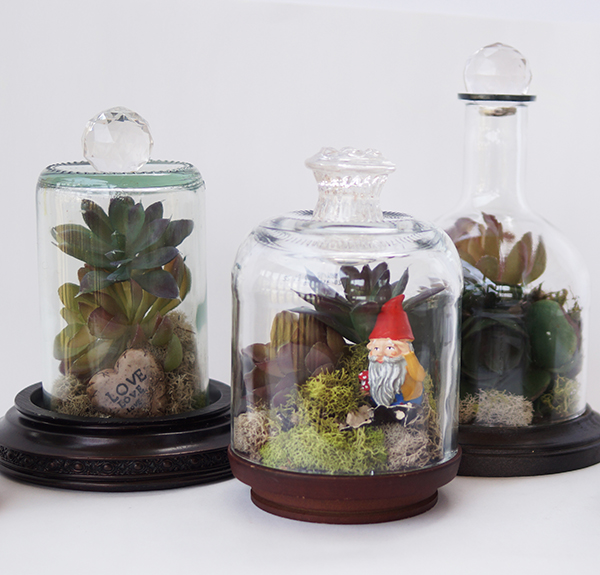
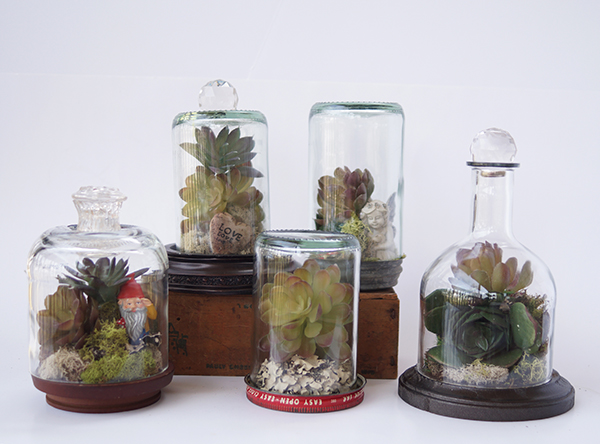
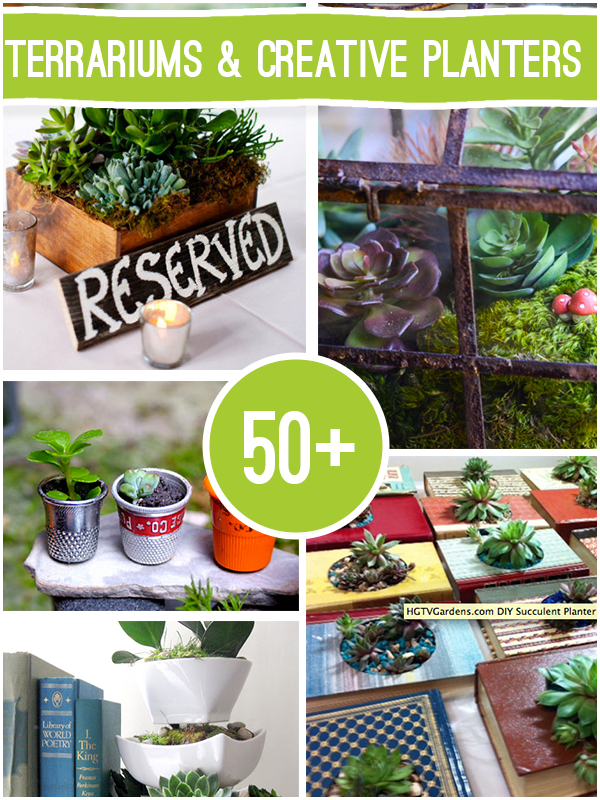
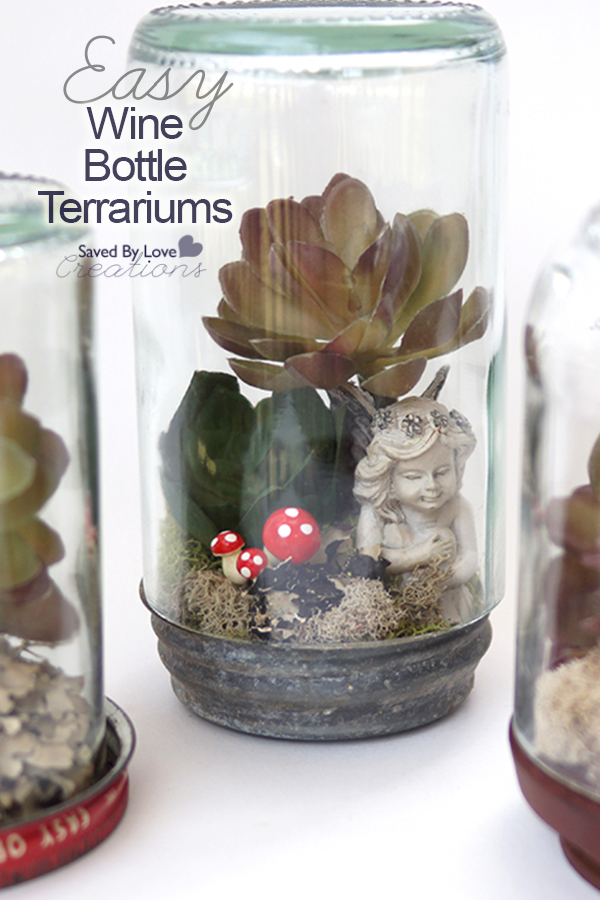 Do you love eco-friendly crafts? How about succulent plants? Combine the two by creating your own whimsical land of tiny garden fairies, mushrooms, moss and more with this DIY terrarium wine bottle world. This project is simple is completed using artificial moss and succulents for those of us with less than a green thumb. What great gifts, home décor and centerpieces for your woodland themed birthday party these would make!
-Cut wine bottles with varying heights (See How to Cut Wine Bottles)
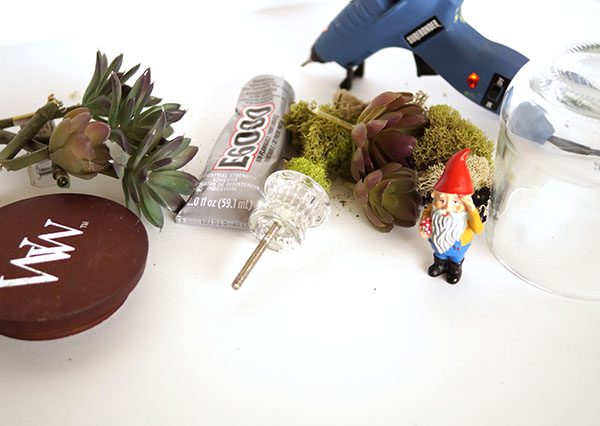
-Artificial Moss
-Various artificial succulents
-Hot glue gun and sticks
-mini mushrooms, fairies and gnomes (found in most hobby stores for doll houses and miniature trains)
-Glass knobs or big glass prism or crystal beads
-E6000
-Latex or nylon gloves are optional
-Various round objects for the base of your wine bottle cloches; jar lids, candle lids, etc.
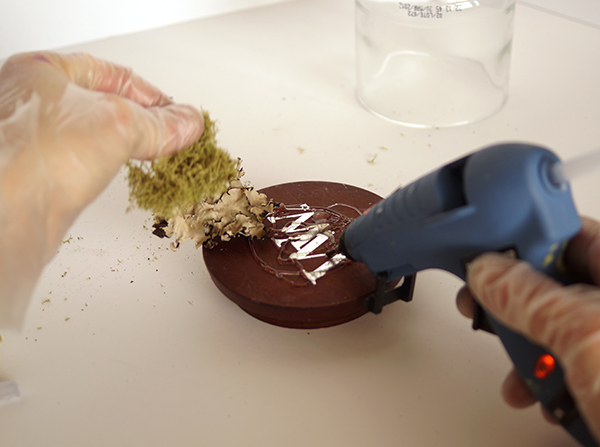
Clean the surface of your cloche base and begin hot gluing your moss and filler.

Build with layers, adding miniatures and succulents.
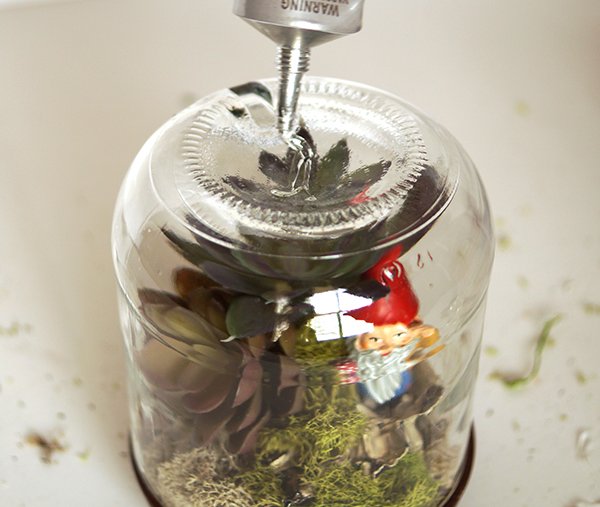
When you are satisfied with your scene, place your cut wine bottle cloche top over the tiny world you created. You can glue this if you would like. I left mine removable so I could change things later.
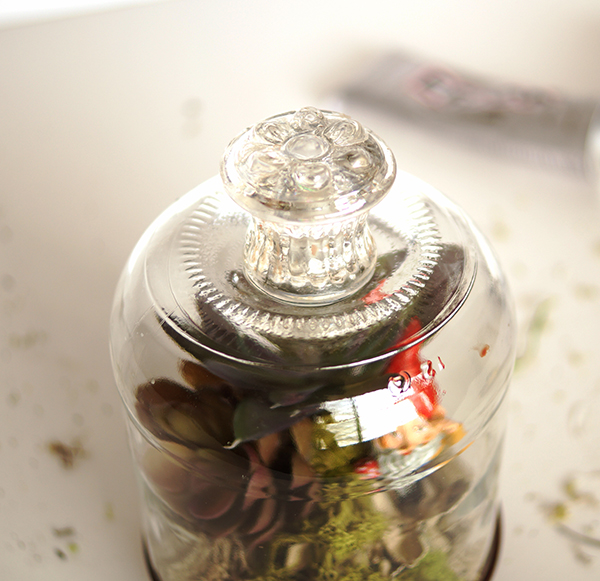
To add a special touch, use E6000 to glue a knob or glass bead to the top.
EXTRA TIPS
○ Cut the metal threading off of antique flea market drawer pull using bolt cutters, for a flat surface you can glue onto the top of your cloche.
If you like this post, you don’t want to miss:
50+ Wine Bottle Crafts to Make
[pinit]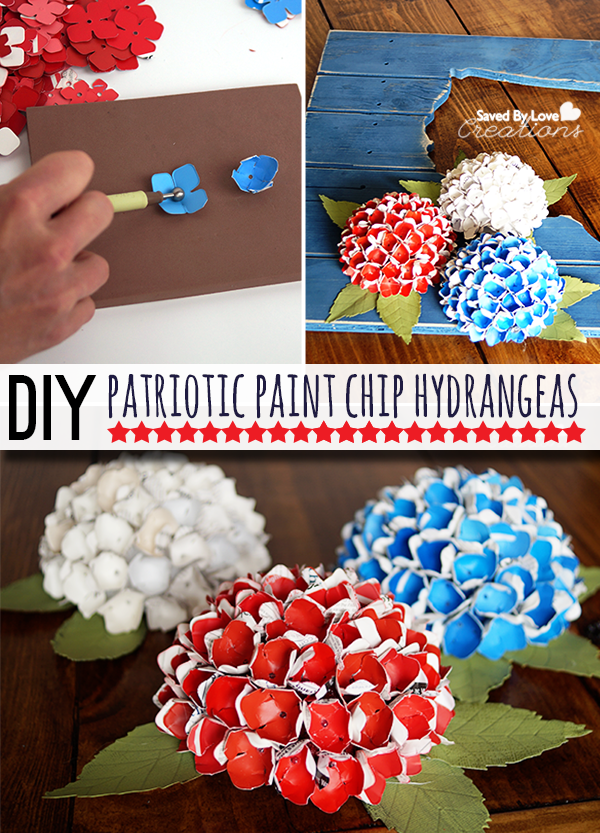 [pinit]
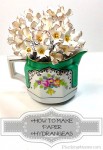
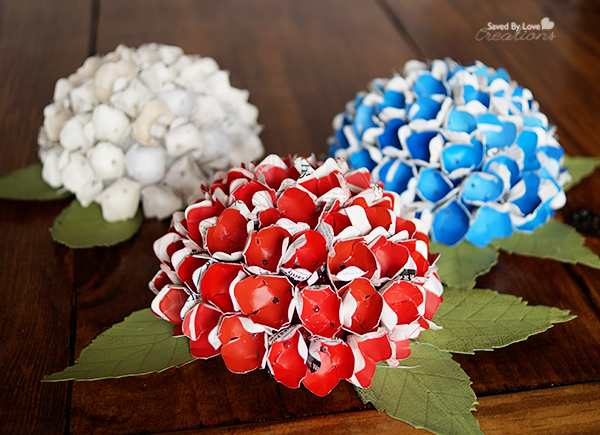
Show your American, upcycling spirit with this patriotic paint chip hydrangea craft! These make a lovely centerpiece for your summer festivities and Fourth of July party tablescape. This is a craft the kids can help with for some creative family time during school break.
[pinit]
 [pinit]
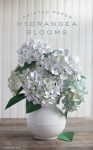
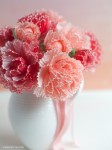
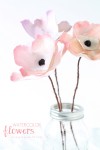
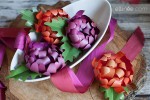
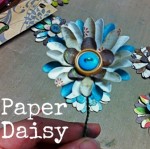
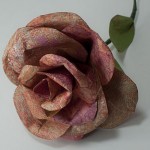
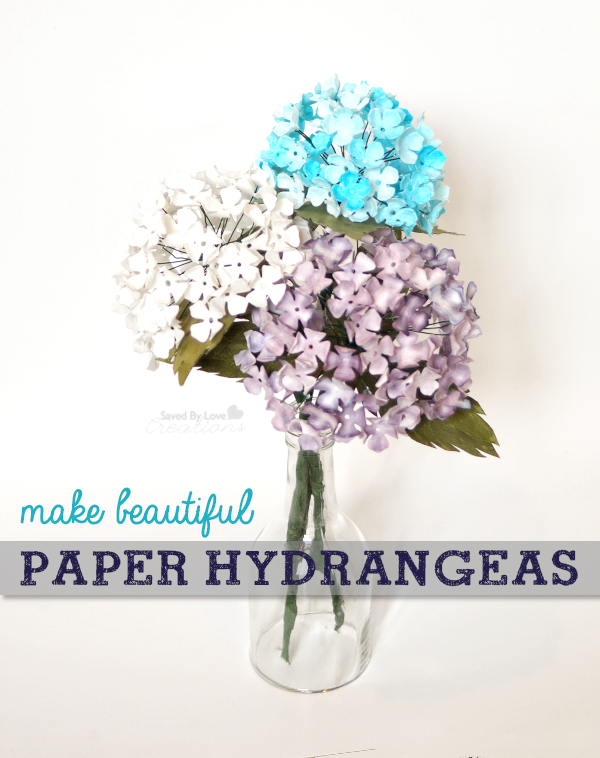
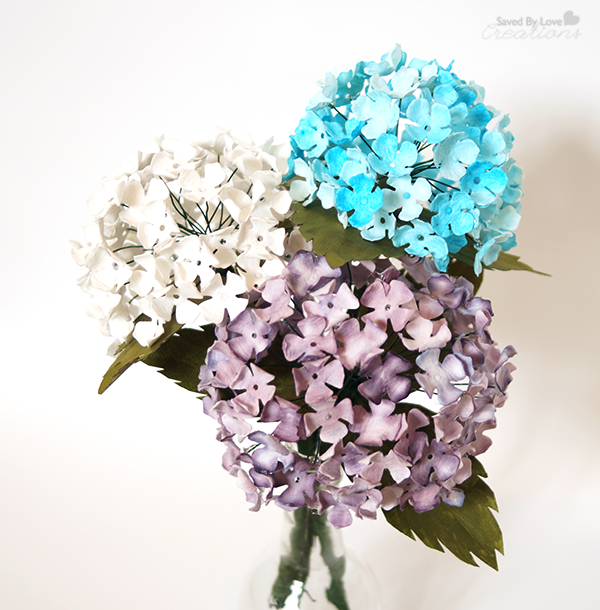
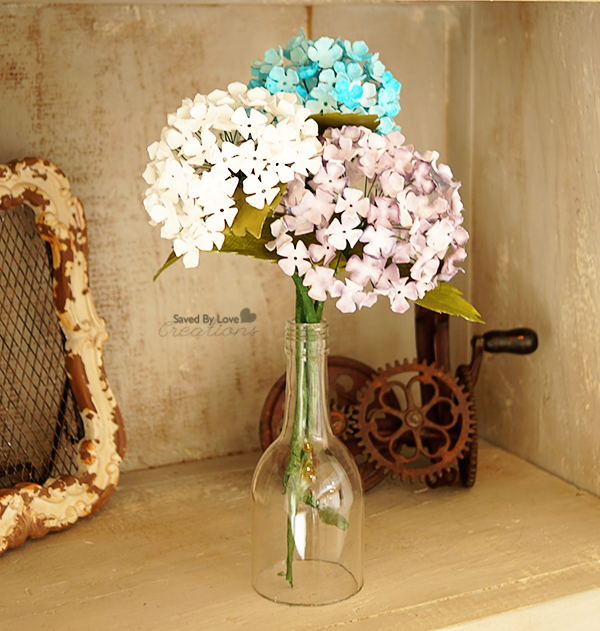
What is better than a bouquet of fresh hydrangeas? A bouquet of paper hydrangeas that don’t ever wilt! Today I am sharing with you this easy, however time consuming, paper hydrangea tutorial. I am going to be upfront here… this project to me way longer than I expected. That said, it is a perfect way to keep creative while chilling in front of your favorite t.v. series. I used a Sizzix die for my project, but Lia Griffith has a great Paper Hydrangea Printable Template and DIY that I featured at Printable Decor recently.
I used wonderful filter paper that I got from Materials for the Arts in Bloomington. If you are a crafter/artist and don’t have a relationship with your local recycling center, you could be missing out big time!
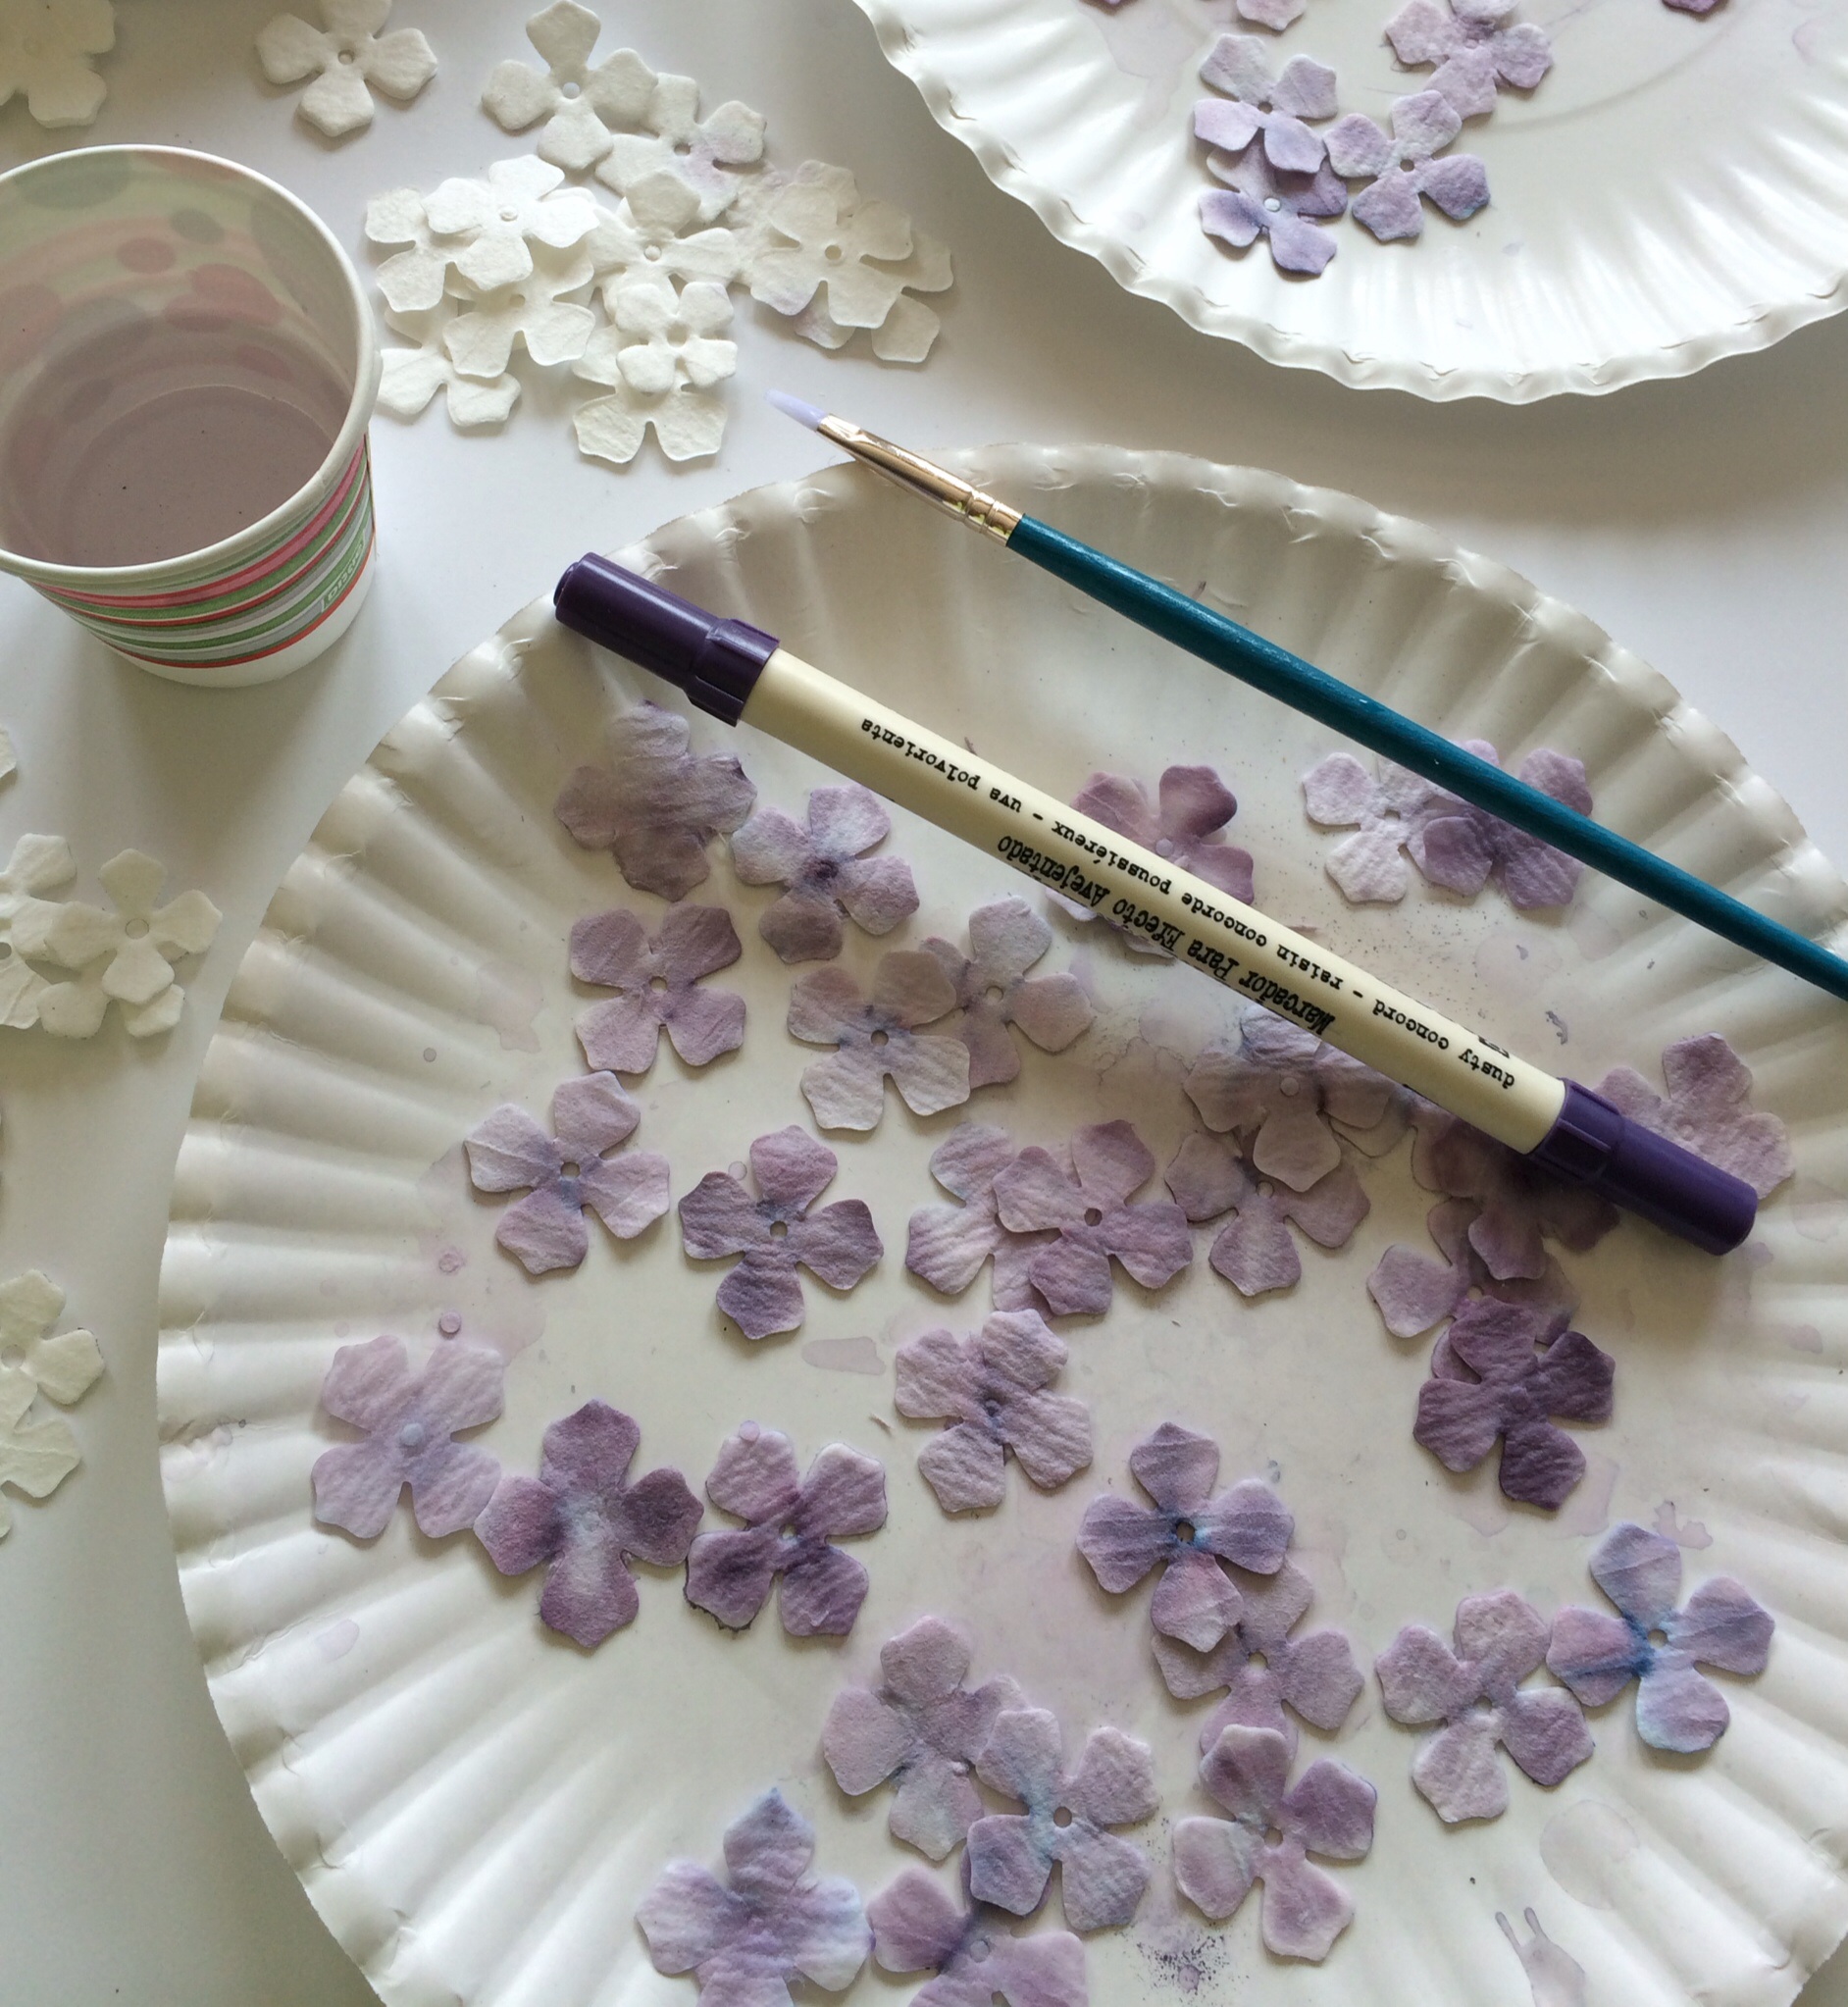
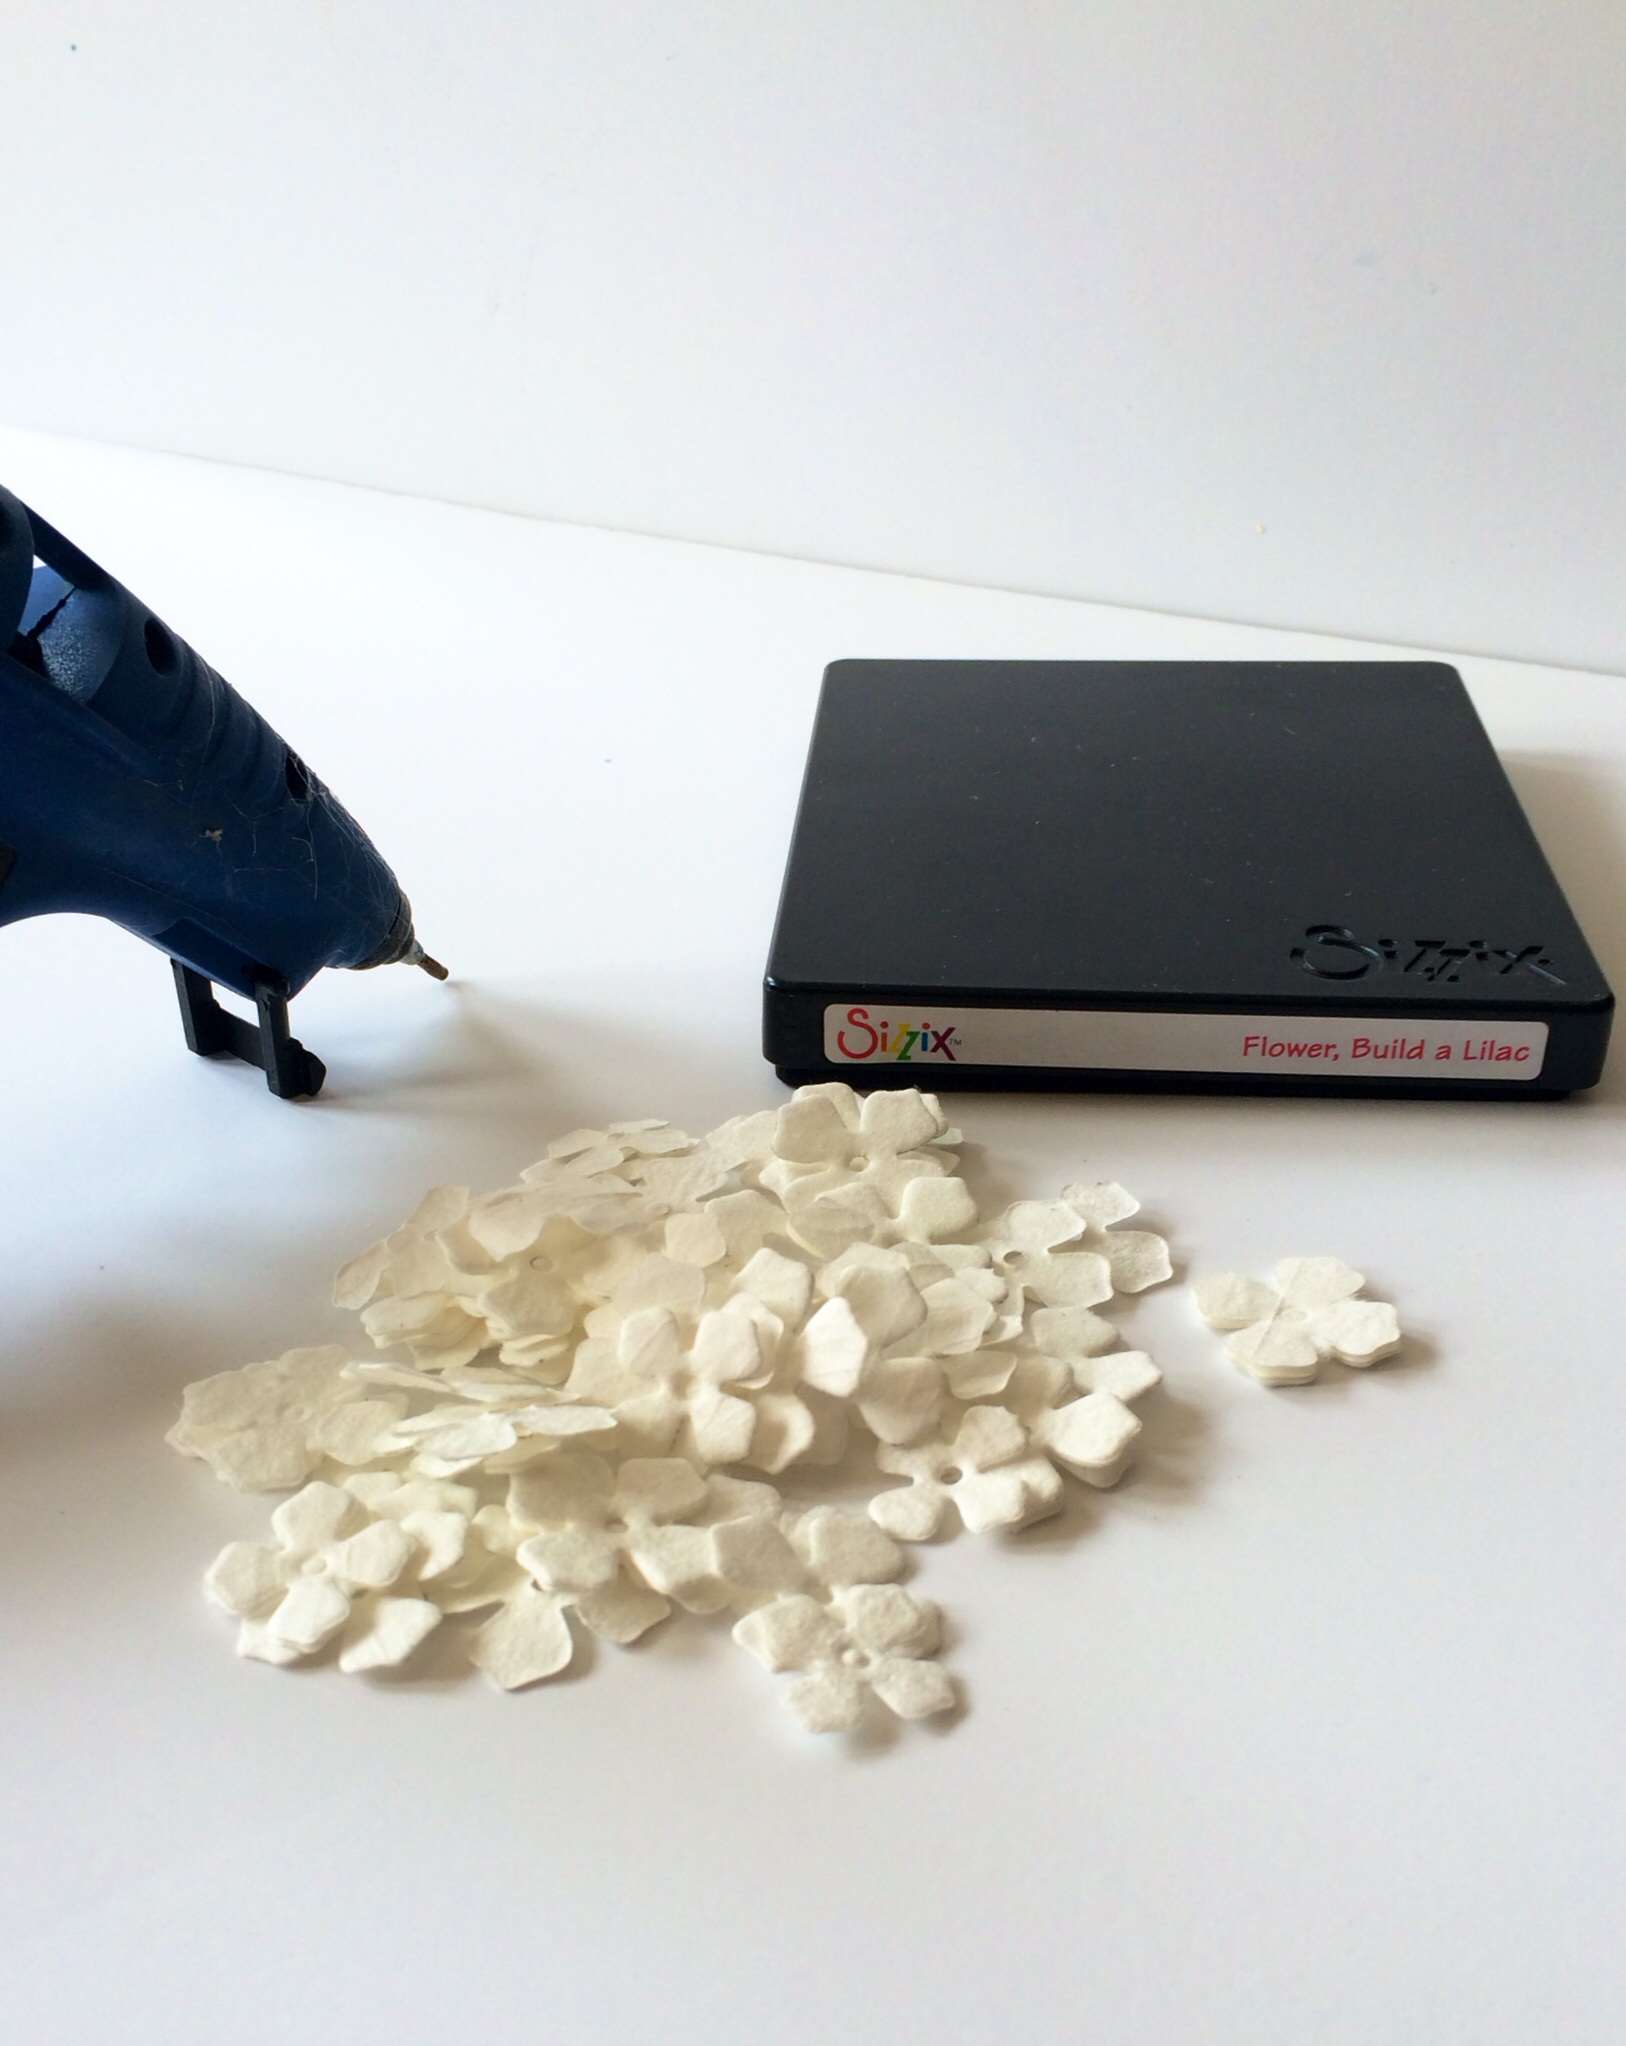 I die cut the petals with my Sizzix Lilac Die and colored them with distress markers. For a watercolor effect I painted over the marker with a wet paintbrush. You could use watercolor or acrylics too.
I followed Lia’s tutorial linked above to assemble my flowers. Holy ninjas, that took forever. It was totally worth it though.
[pinit]
[pinit]
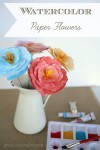
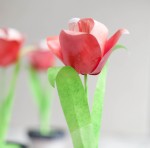
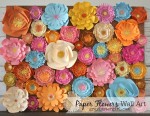
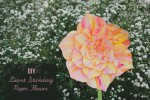
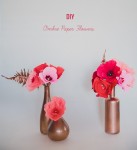
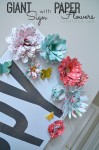
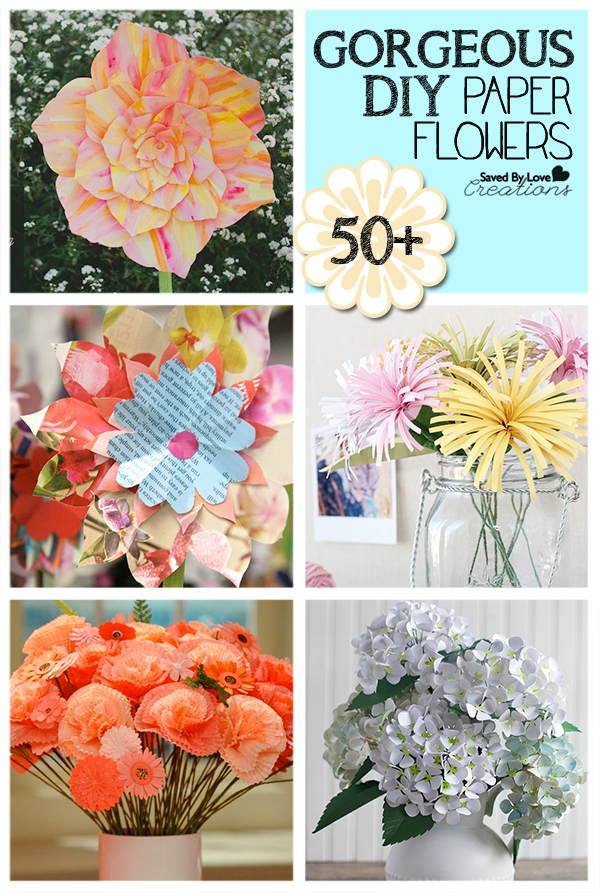
Whether you are decorating for a DIY Wedding, spring our summer party, or simply want to make your space more beautiful, this roundup of DIY paper flower tutorials is a great place to start! We have gathered our 50+ favorite handmade paper flowers from all around, and you are sure to find what you need to add some zero maintenance, everlasting floral decor to any occasion. Enjoy!
[pinit]
[pinit]
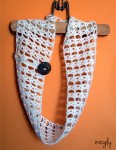
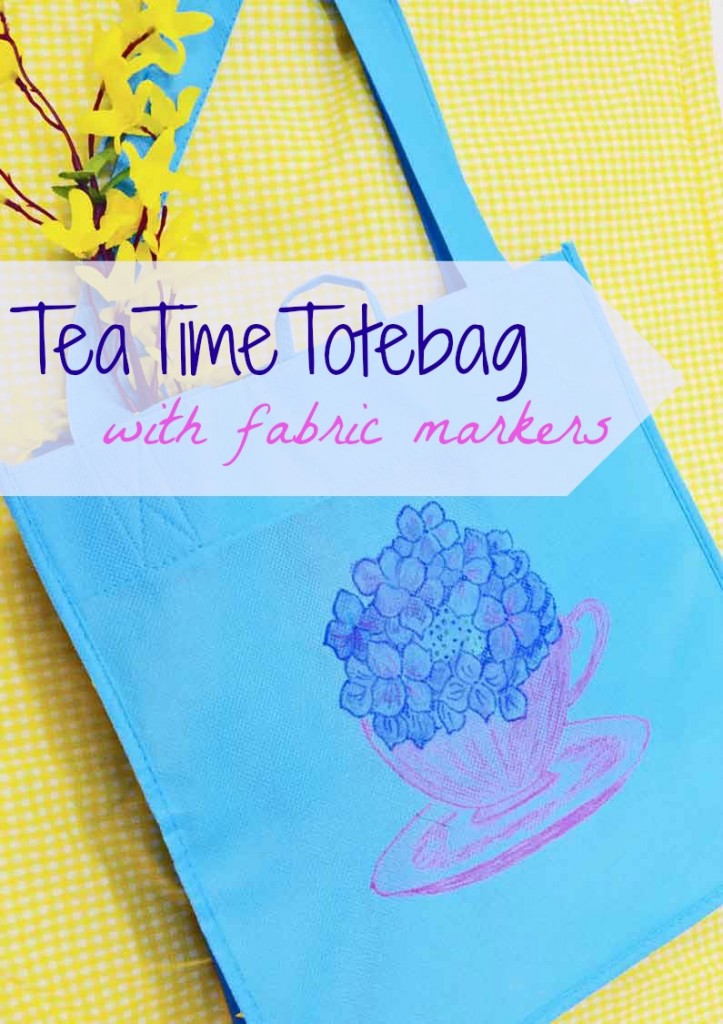
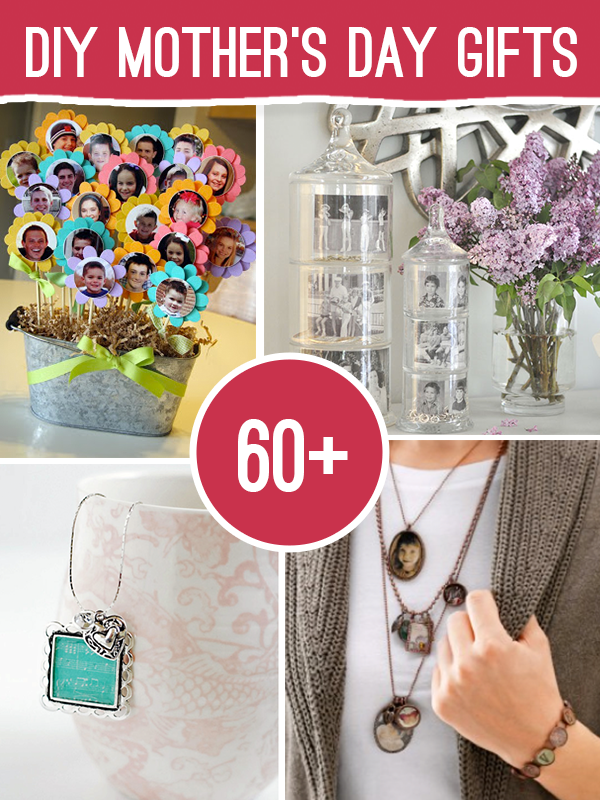
Hello! Colleen here, with a way to decorate a totebag that will make it worthy of gift-giving. You do realize that Mother’s Day is right around the corner, right? I know! With Easter being so late in April, we have to really move fast if we want to give any handmade gifts to the moms in our lives. No worries because this happens to be a fast project. And cute too.

While this tutorial is for a totebag you could also use the markers on almost any fabric. Tee shirts are cute too. However, I made this for my own mother who can always use another totebag.
I’ve provided the Hydrangea in a Teacup pattern for you to download. If you’d like, I have other patterns that are free to download too. Most of them would work fine for this project.

After you print your pattern, place it on top of the cardboard and slide it into the totebag. This prevents the markers from seeping to the backside as well as holds the pattern a little more stable.
You could also iron the pattern onto the shiny side of a piece of freezer paper, then iron that to the tote or tee shirt to prevent slipping. However, make sure you do a test for iron safeness on any shopping bags. The one I used above needed a press cloth between it and the iron.

Now all you need to do is outline the pattern with your choice of colors.

You can mix more than one color too.

This was the finished design after outlining with purple, pink, and a few green dots in the center for the hydrangea buds.

Dampen your paintbrush with a little water and go over the marker lines. The more water you use, the more of the markers will blend. The less water, the more defined the lines will be.

You can do a little of both – leave some outlining and blend other parts. There is no right or wrong way to do this.

You can fill in the pattern completely or leave spaces for the totebag to show thru.
It’s a great kids’ project too. If they’re too young to outline, they would still love to grab a paintbrush and “paint” a present for Mom or Gramma, wouldn’t they?

Isn’t this a great craft for Mother’s Day? Or any other day, actually.
If you use the markers on a shirt, they’re washable after drying 24 hours. To be on the safe side, I think I’d heatset them anyway with an iron, although the instructions don’t mention that.
Have fun with this! I hope you’ll stop by Just Paint It and say hi one of these days. I’m always painting . . . or drawing with markers! You can also find me on Facebook, Google+, Pinterest and Instagram too.
Happy Crafting!


[pinit]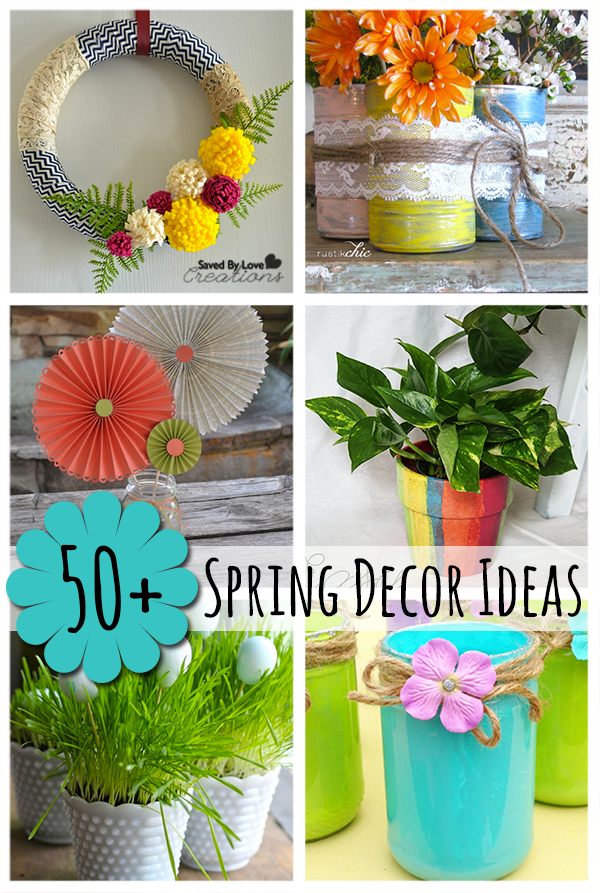 [pinit]
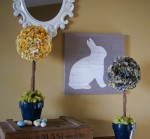
This has been one long, cold and snowy winter. Are you ready for spring? Today I am sharing 50 of the best DIY spring decorating projects out there. I hope you are inspired to usher in the spring. It is coming, truly!
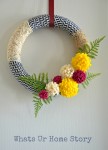
Hi everyone! It’s Vidya from Whats Ur Home Story. Great to back here sharing an exciting project!
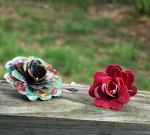
Don’t know about y’all but after all the cold and snow this winter I’m so ready for Spring! I know we have got over a month to go but no harm in pretending that it is already Spring around here especially when you have this bright and cheery wreath made out of fabric scraps and felt flowers hanging on your front door.
[pinit]

[pinit]
Other than buying a fake fern sprig from Micheals I didn’t spend a penny to make this beauty. The chevron fabric scraps are from a chair makeover while the vintage lace I salvaged from a neighbor’s trash. The yellow felt strips for the flowers are leftovers from my felt circles pillow, †the other pieces of felt from my handmade Christmas ornament project. The wreath frame is the same one I used to make my Magnolia wreath.
Materials
Foam Wreath form
Fake Greenery
Fabric Scraps
Felt flowers (I made them using this tutorial.)
Hot Glue Gun
Scissors
A small pieces of poster board
2 Pipe cleaners

Tutorial


[pinit]

[pinit]
Are you ready for Spring too? do you usually make Spring Wreaths?
For more easy DIY ideas stop by†Whats Ur Home Story†or follow me via†Facebook,†Pinterest,†Twitter, G+ or†Instagram.
[pinit]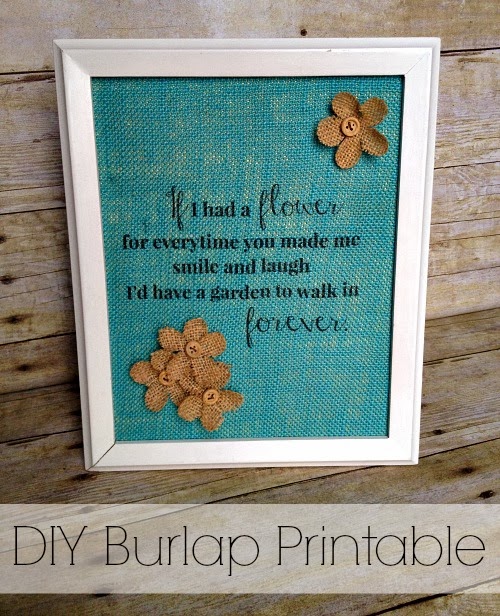 [pinit]
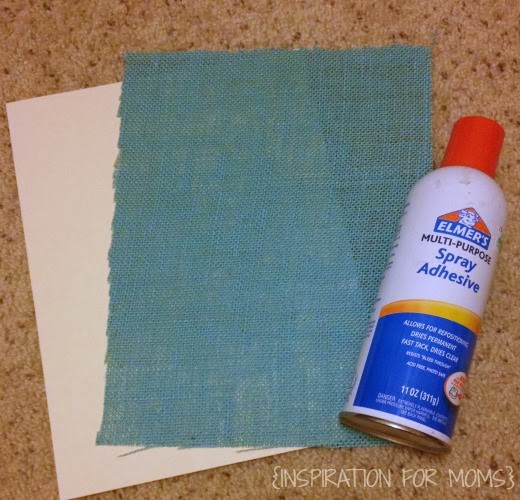
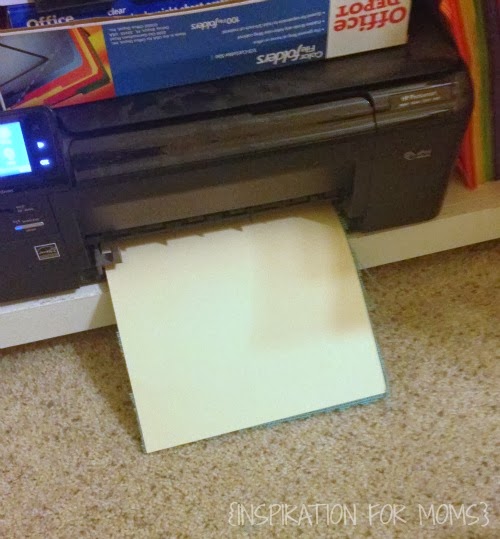


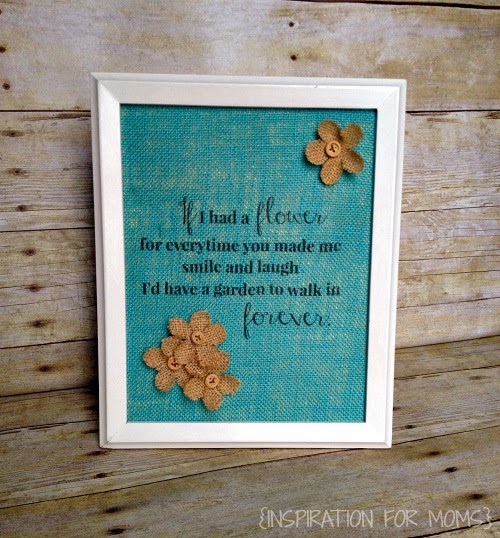
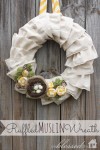
I hope you enjoyed this easy burlap craft.
If you would like to see more of my projects or keep up with my latest updates,
follow me on Facebook, Pinterest, Twitter, Google+ or Instagram.