This post is brought to you by Plaid and Blueprint Social. All opinions are my own.
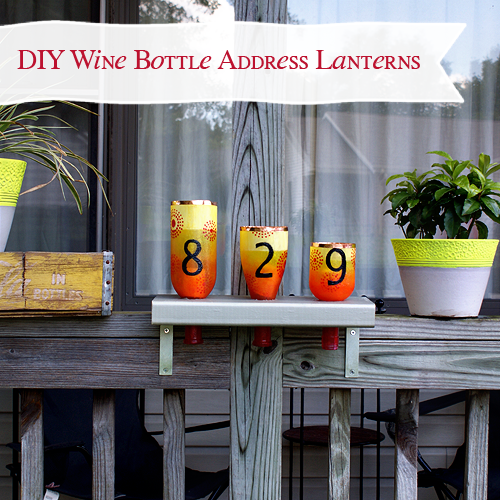
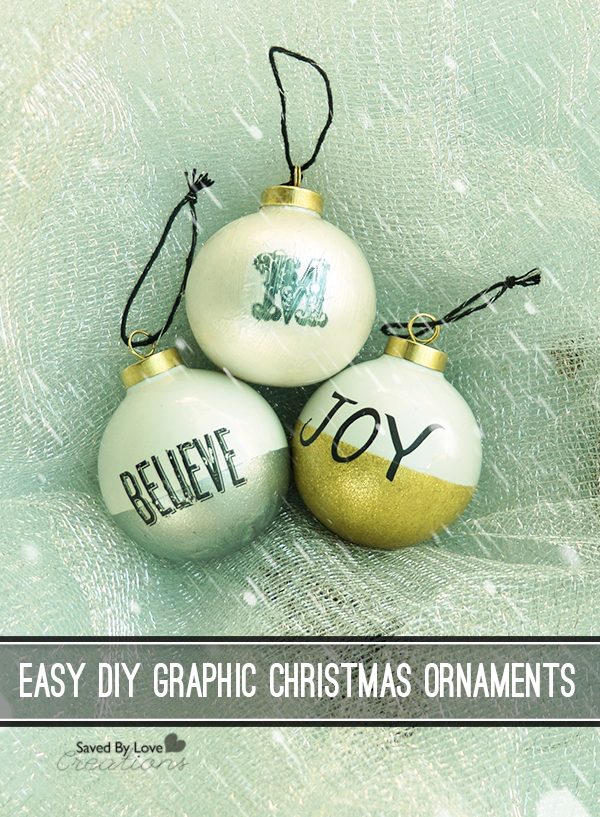
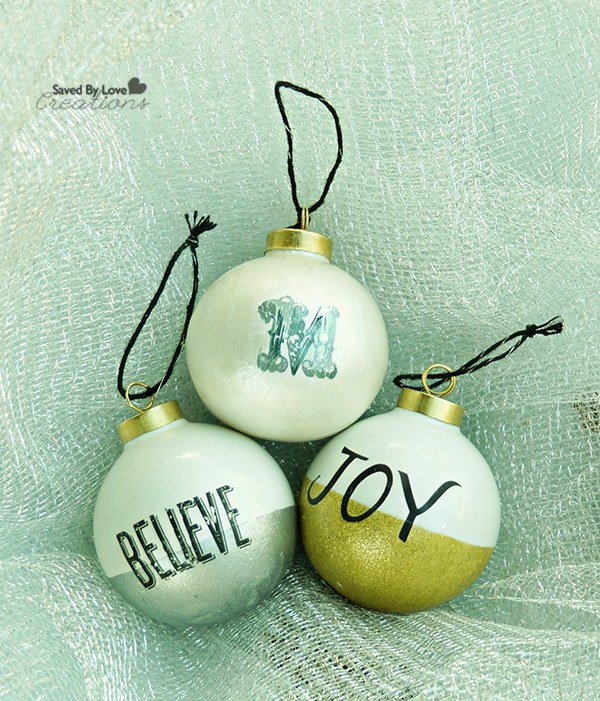
It is the most wonderful time of the year, and that means hands everywhere are covered in glitter and Mod Podge. Mine are no different. Yours shouldn’t be either. I am here to help you out with that by sharing how to make these beautiful graphic holiday ornaments in just a few simple steps. Personalize them as great gifts and keepsake ornaments for your friends and loved ones that will be cherished for years to come. But wait, there is more…other awesome things about this project are the fact that it is super inexpensive to create, and features Plaid’s new Mod Podge Pearl formula!

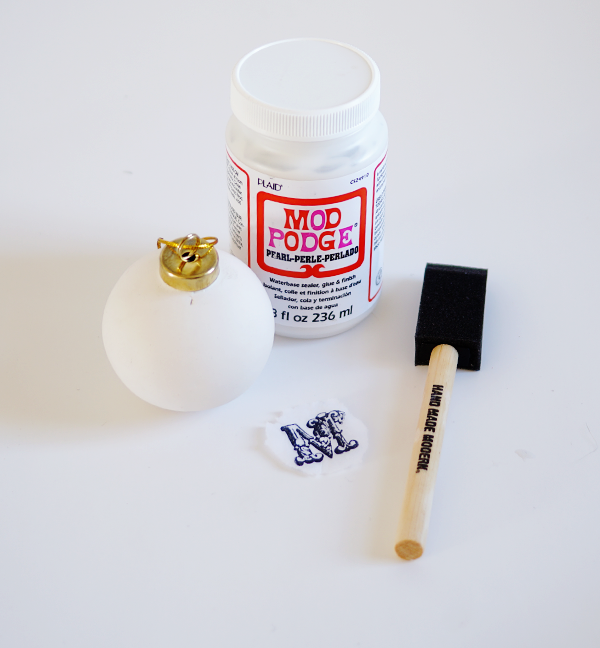
SUPPLIES
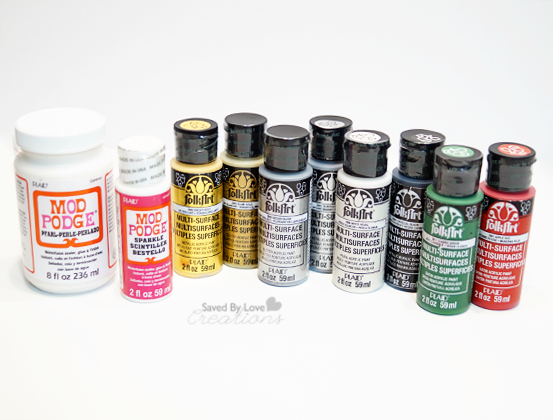
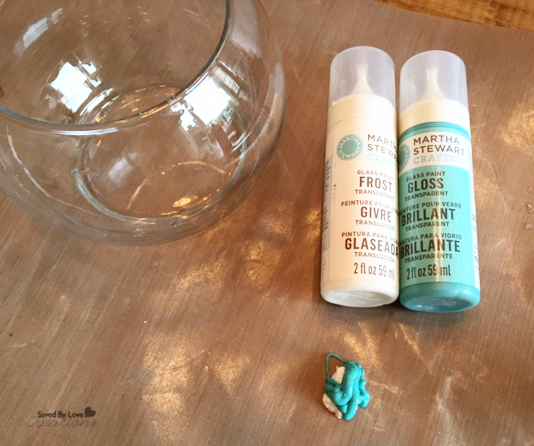
Mod Podge Pearl
Folk Art Multi-Surface Paint in your favorite holiday colors
Foam Brushes
White Christmas Ball Ornaments to decorate
White Tissue Paper
Alphabet or word stamps of your choice &/0r rub-on transfer letters
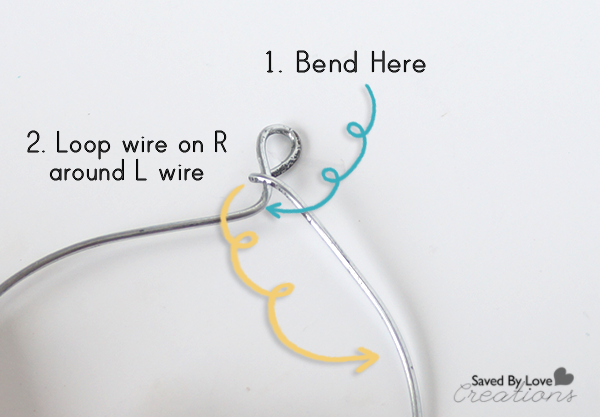
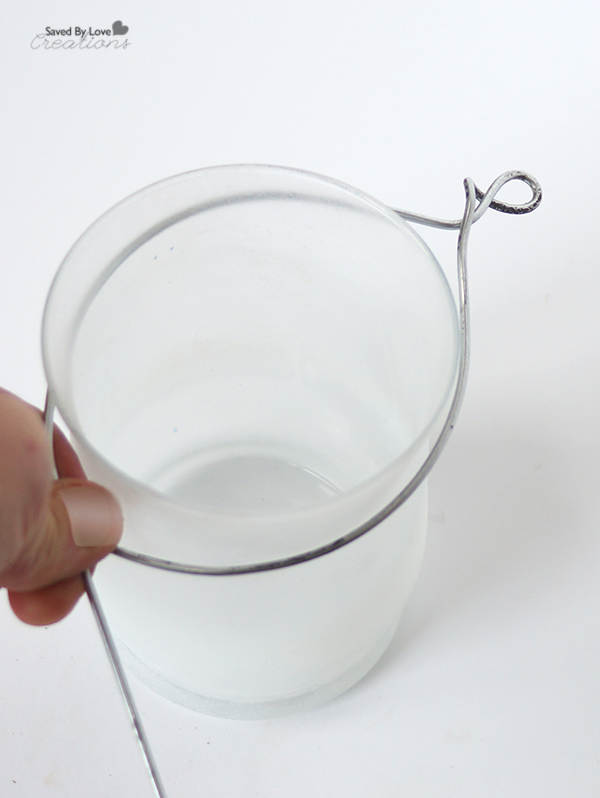
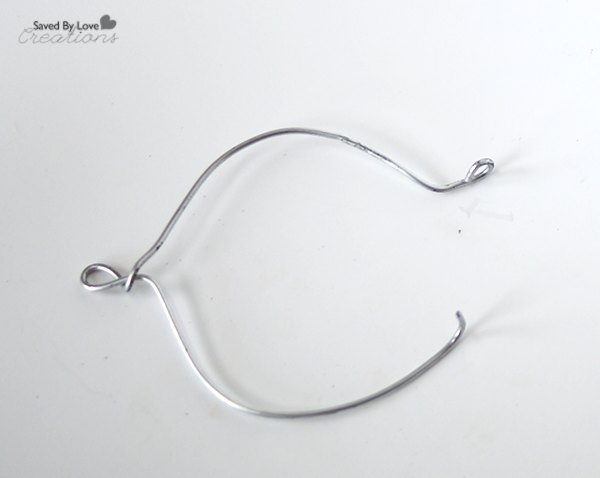
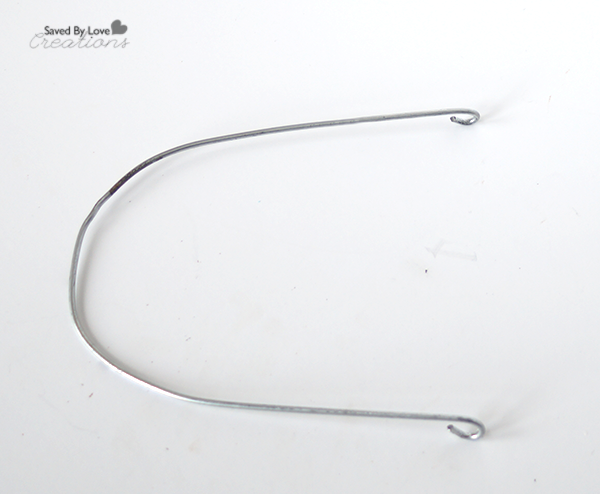
Empty bottle with small mouth to hold ball while drying
Masking Tape
Staz-On Black Ink Pad
TUTORIAL
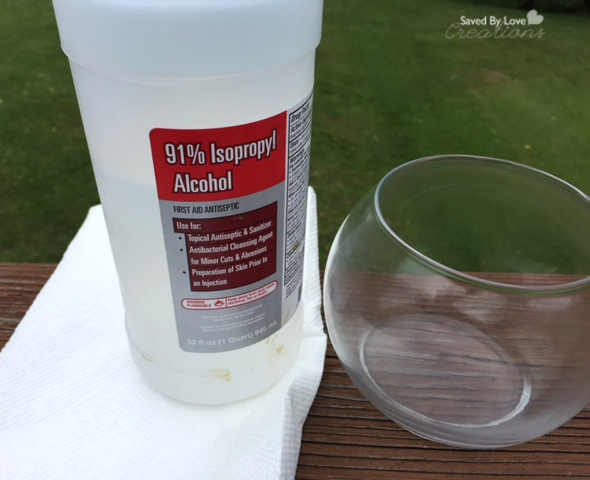
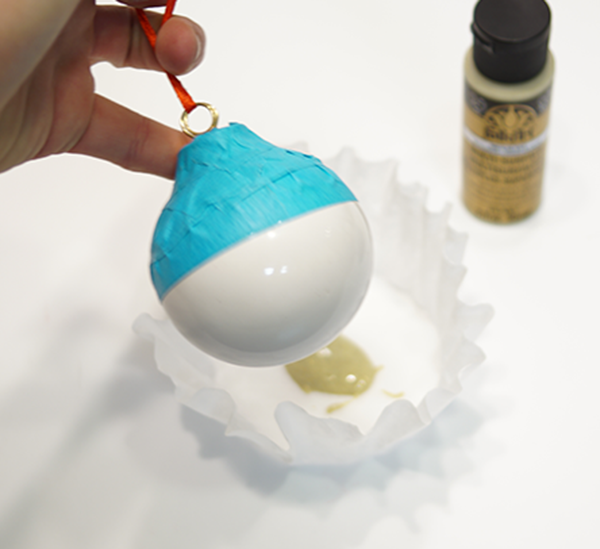 Clean ornament with rubbing alcohol and lint free cloth and let dry. Tape off ornament top third or so and dip in multi-surface paint.
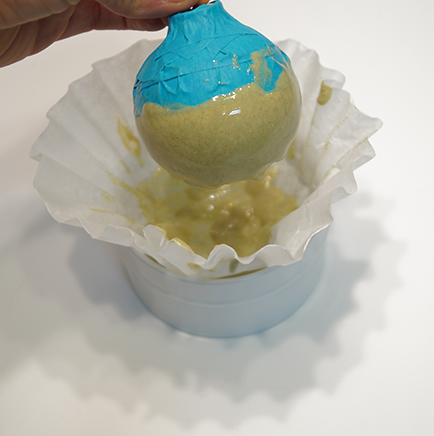 Shake and tape ornament to move paint around to cover entire surface of untaped portion of ball.
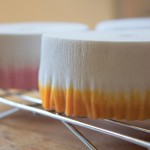
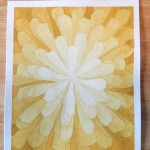
Is it just me, or does this look like dijon mustard?
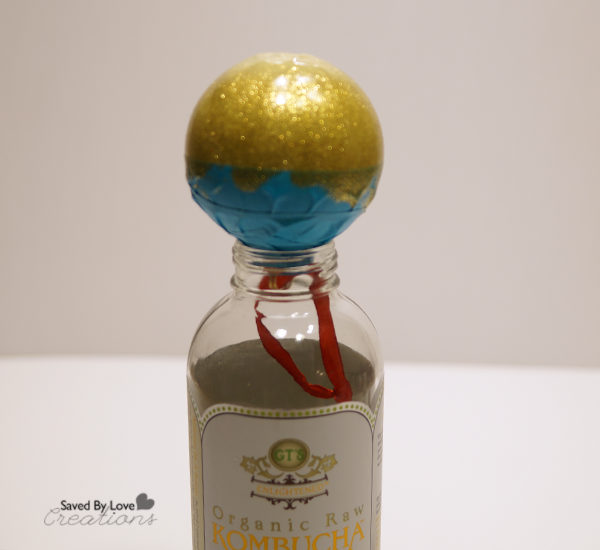
Place ball as shown in empty bottle and let dry overnight or for several hours.
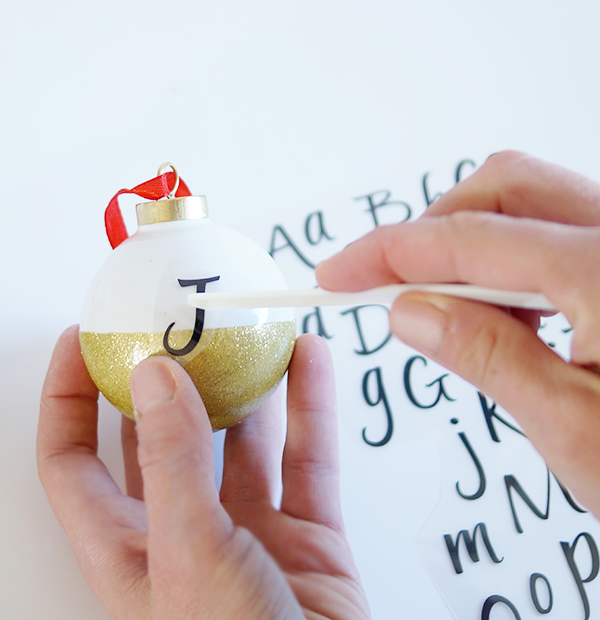
Apply rub-on transfer with craft stick. It is helpful to cut out the letter or word before applying so you aren’t trying to maneuver a bulky sheet.

That is that for the color block ornaments. Now for the pearlized monogram ball…
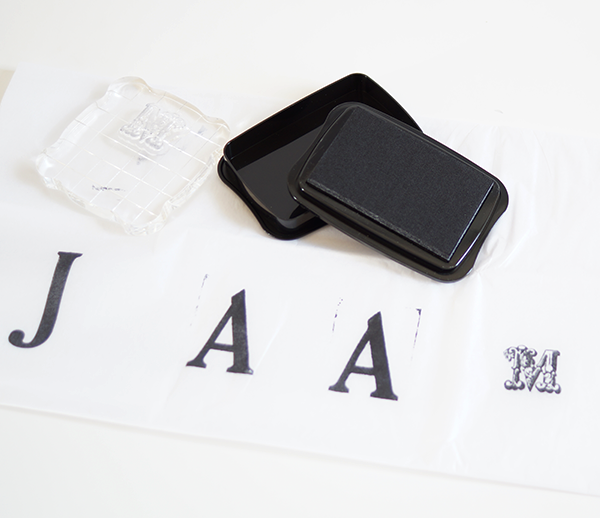
Stamp desired letter onto white tissue with StazOn ink or other solvent based ink.
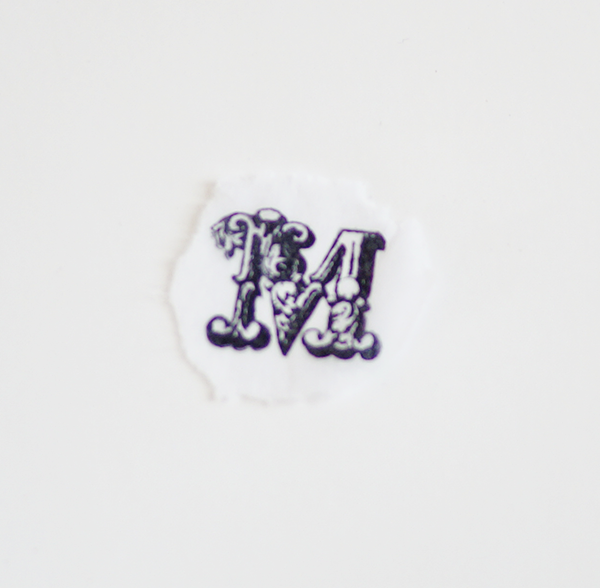 Tear letter out by hand to leave feathered borders (as opposed to cutting with scissors).
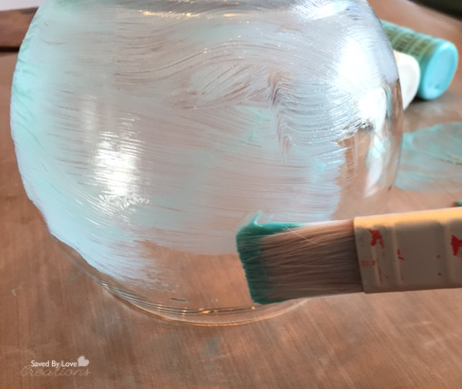
 Paint entire ornament with a layer of pearl Mod Podge, place letter, then paint a layer of Mod Podge over the top of the tissue paper. Take care not to rip the monogram.
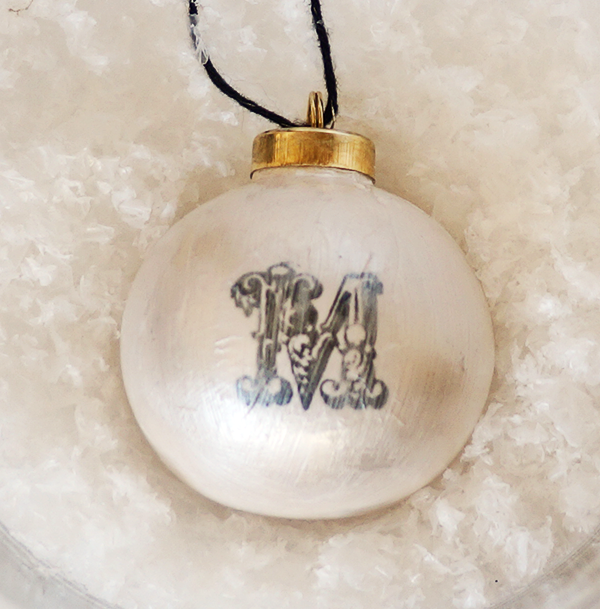 Hang ornament to air dry. Add another coat of pearl finish Mod Podge and let dry.
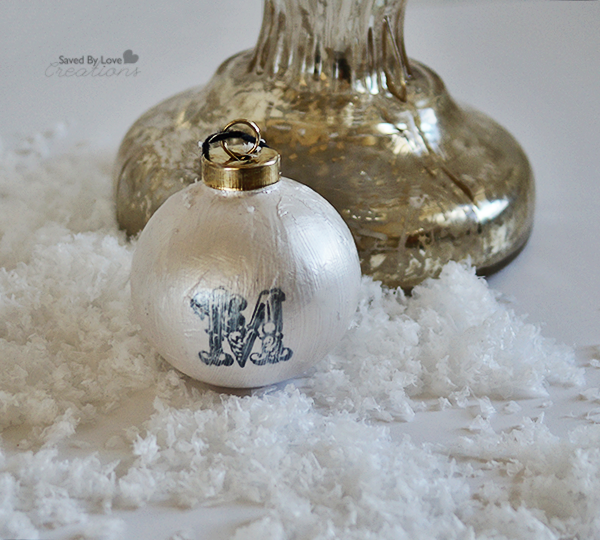
That’s it! Do you love the pearl finish? Of course you do. It is elegant with an aged feel. It looks great with the glittery gold and silver metallic finishes too.
Find more ideas and inspiration by visiting Plaid: