DIY Painted Pop Art

Photo to Pop Art

{This post was originally shared at Infarrantly Creative}.  One of my very favorite things to do is design in Photoshop.  In fact, I picked it up way before ever tackling painting… you know, with actual paint and a brush, in hand.  Today we are going to do a bit of both, in this acrylic painting right on the glass from a picture frame.  So, grab your favorite photo, lets tweak it a little Photoshop (beginner level, I promise), and use it to guide us in painting our own Warhol style pop art portrait.

Supplies:

  • Photoshop
  • Digital image file
  • Picture frame with glass
  • Rubbing alcohol
  • Acrylic paint in white and a deep, vibrant color of your choice
  • Fine paint brush for detailing, larger brush for dabbing (sponge or stencil brush) and one in between
  • Masking tape
  • Newspaper to protect surface
  • mixing palette for acrylics (paper plate or cardboard)
  • Heat tool (optional)

Instructions:

How to make pop art

Free tutorial for Photoshop

For width and height, you want to put in whatever your frame size is, which needs to be a size your printer can print.  Here, I went with 8×10 inch.  For the purpose of this project, set resolution to 300 ppi (field shown in above pic after width and height).

pop art with photoshop

After cropping, duplicate the background layer (I don’t like to directly edit the background layer in case I need to go back to it).  You can select duplicate from the layers palette window, or better yet, hit Command (Control for Windows) and the letter j at the same time…

pop art

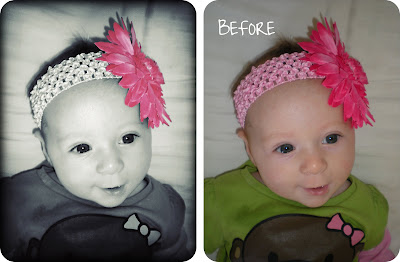
Now desaturate the image (turn to black and white) with keyboard shortcut Command (Cntrl on windows) + Shift + the letter u.  I removed the background layer out of habit.  We don’t need to do this since the digital image is not our final piece of art.  Just leave it in and ignore it in the painting part (which will make sense soon).  After you desaturate, duplicate (control + J) the layer and rename it “Subjects”.

pop art tutorial for photoshop

photoshop tutorials pop art

Free photoshop tutorial

Photoshop beginner tutorial

pop art in photoshop

Open the Levels adjustment window and move the white and gray triangles around to get a photo with white, black and 2-3 shades of gray.  The black triangle on the left can stay put…

andy warhol pop art

photo shop tutorials

Now you are ready to print your image on just regular copy paper.

*NOTE:  If having the final portrait in the same orientation as the digital file is important to you, you will want to horizontally flip the image before printing it.  You can do this in Photoshop by going to the top left of the screen in the horizontal toolbar;  Go to EDIT—>Transform—>Flip Horizontal.

Remove the glass from the frame and clean it with rubbing alcohol and a lint free towel.

pictures pop art

On protected work surface, place print face up, then line up the glass on top of this…

tutorials on photoshop

Tape glass to print to keep it from shifting while you paint.

tutorials on photoshop

Now you are going to paint right on the glass, in layers – one color at a time.  First with white, then your color, then a light shade of your color and finally a darker shade of your color.  You must let each layer dry completely before moving on to the next to avoid unwanted blending.  I use a heat tool fot this, but you can let it air dry if you want.

First, the white…

Painting on glass

Now the color, as is, you will shade in the darkest areas.  These are the areas that are black in the print.  Use a light weight, taper point brush and create texture where hair frames the face and at the eyelashes and brows.

glass painting

le pop art

Now the light shade of your color, which you make by adding a couple of drips of your color to about a tablespoon (really… a tablespoon?) of white…

paint glass

Reminder to dry between layers…

Warhol a photo

And now that the paint is dry…Painting portrait

Now for your final layer.  This is a darker shade of your color (darker than the light shade, but not darker than the original color), made by mixing less white, more color than you did above.

Painting with Acrylics

Acrylic painting

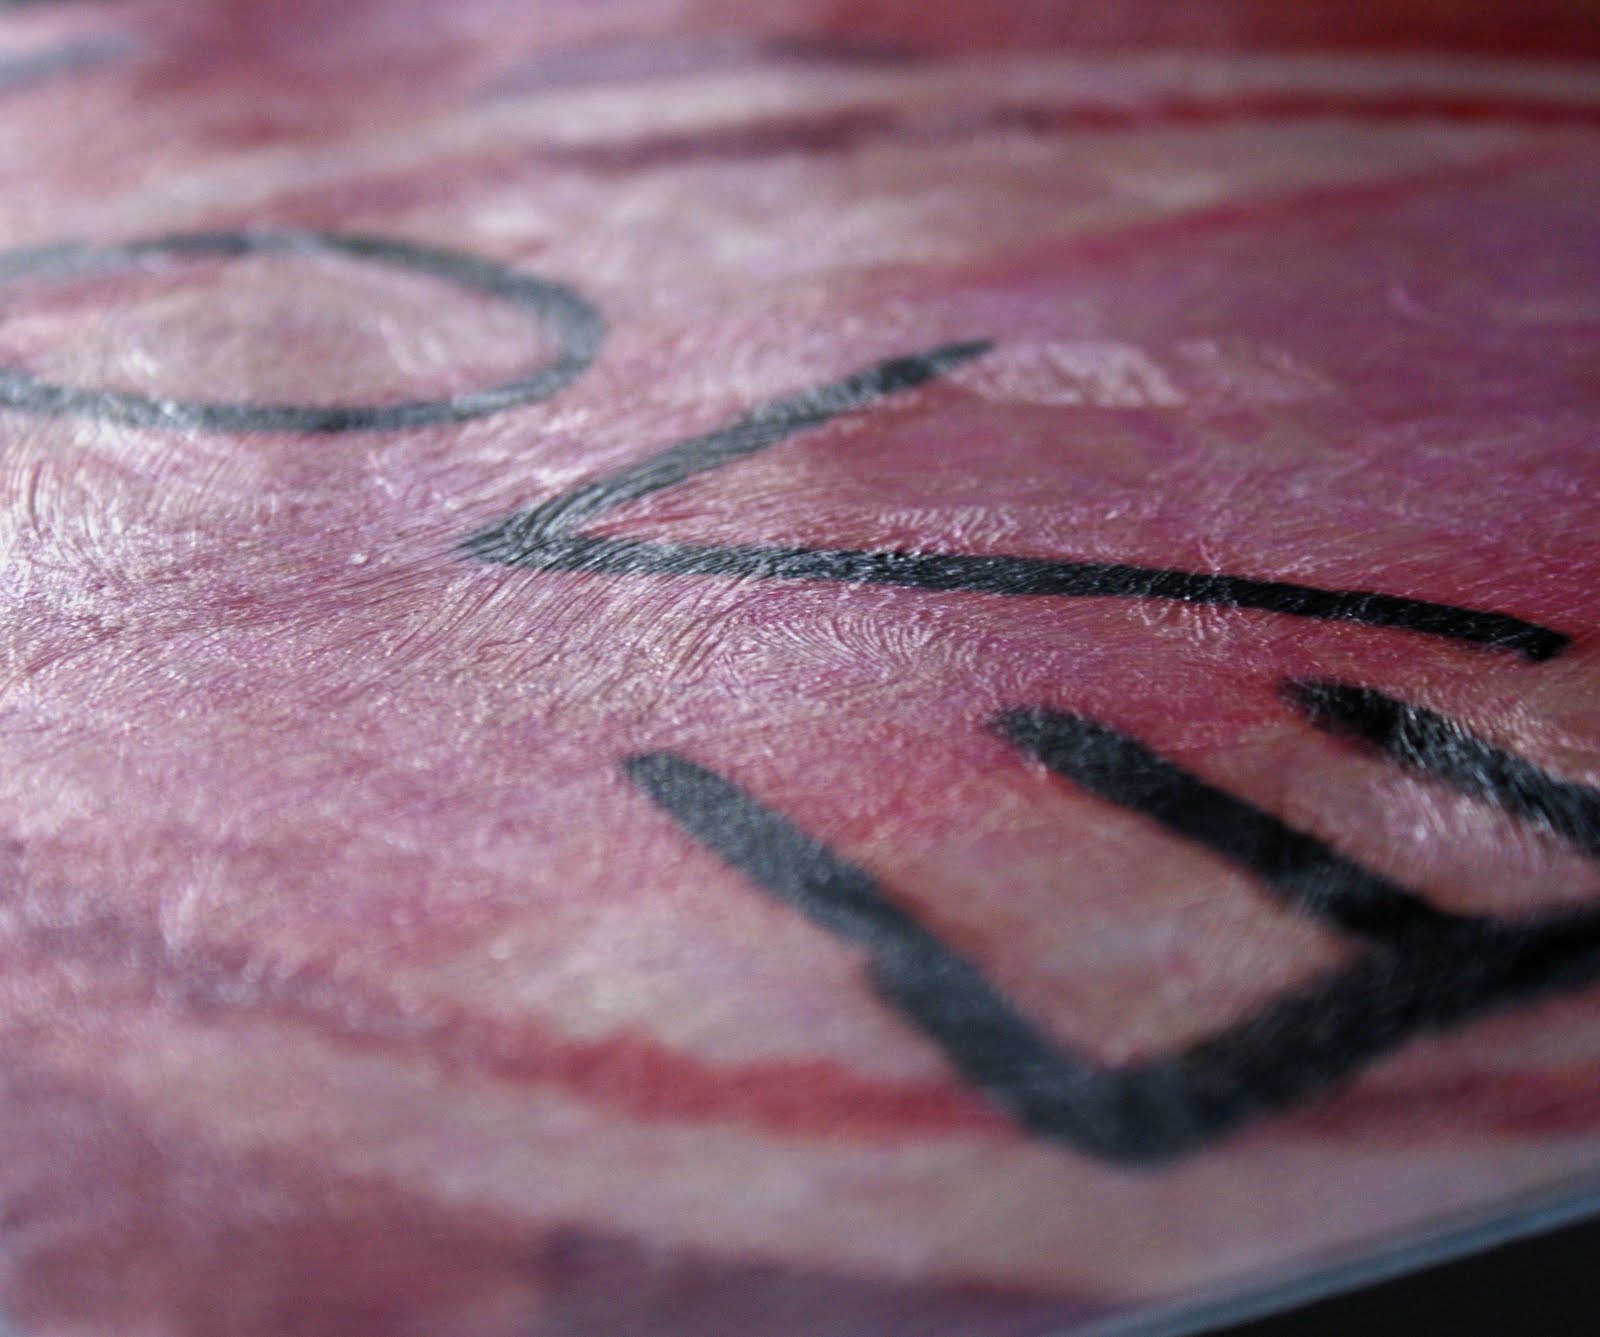
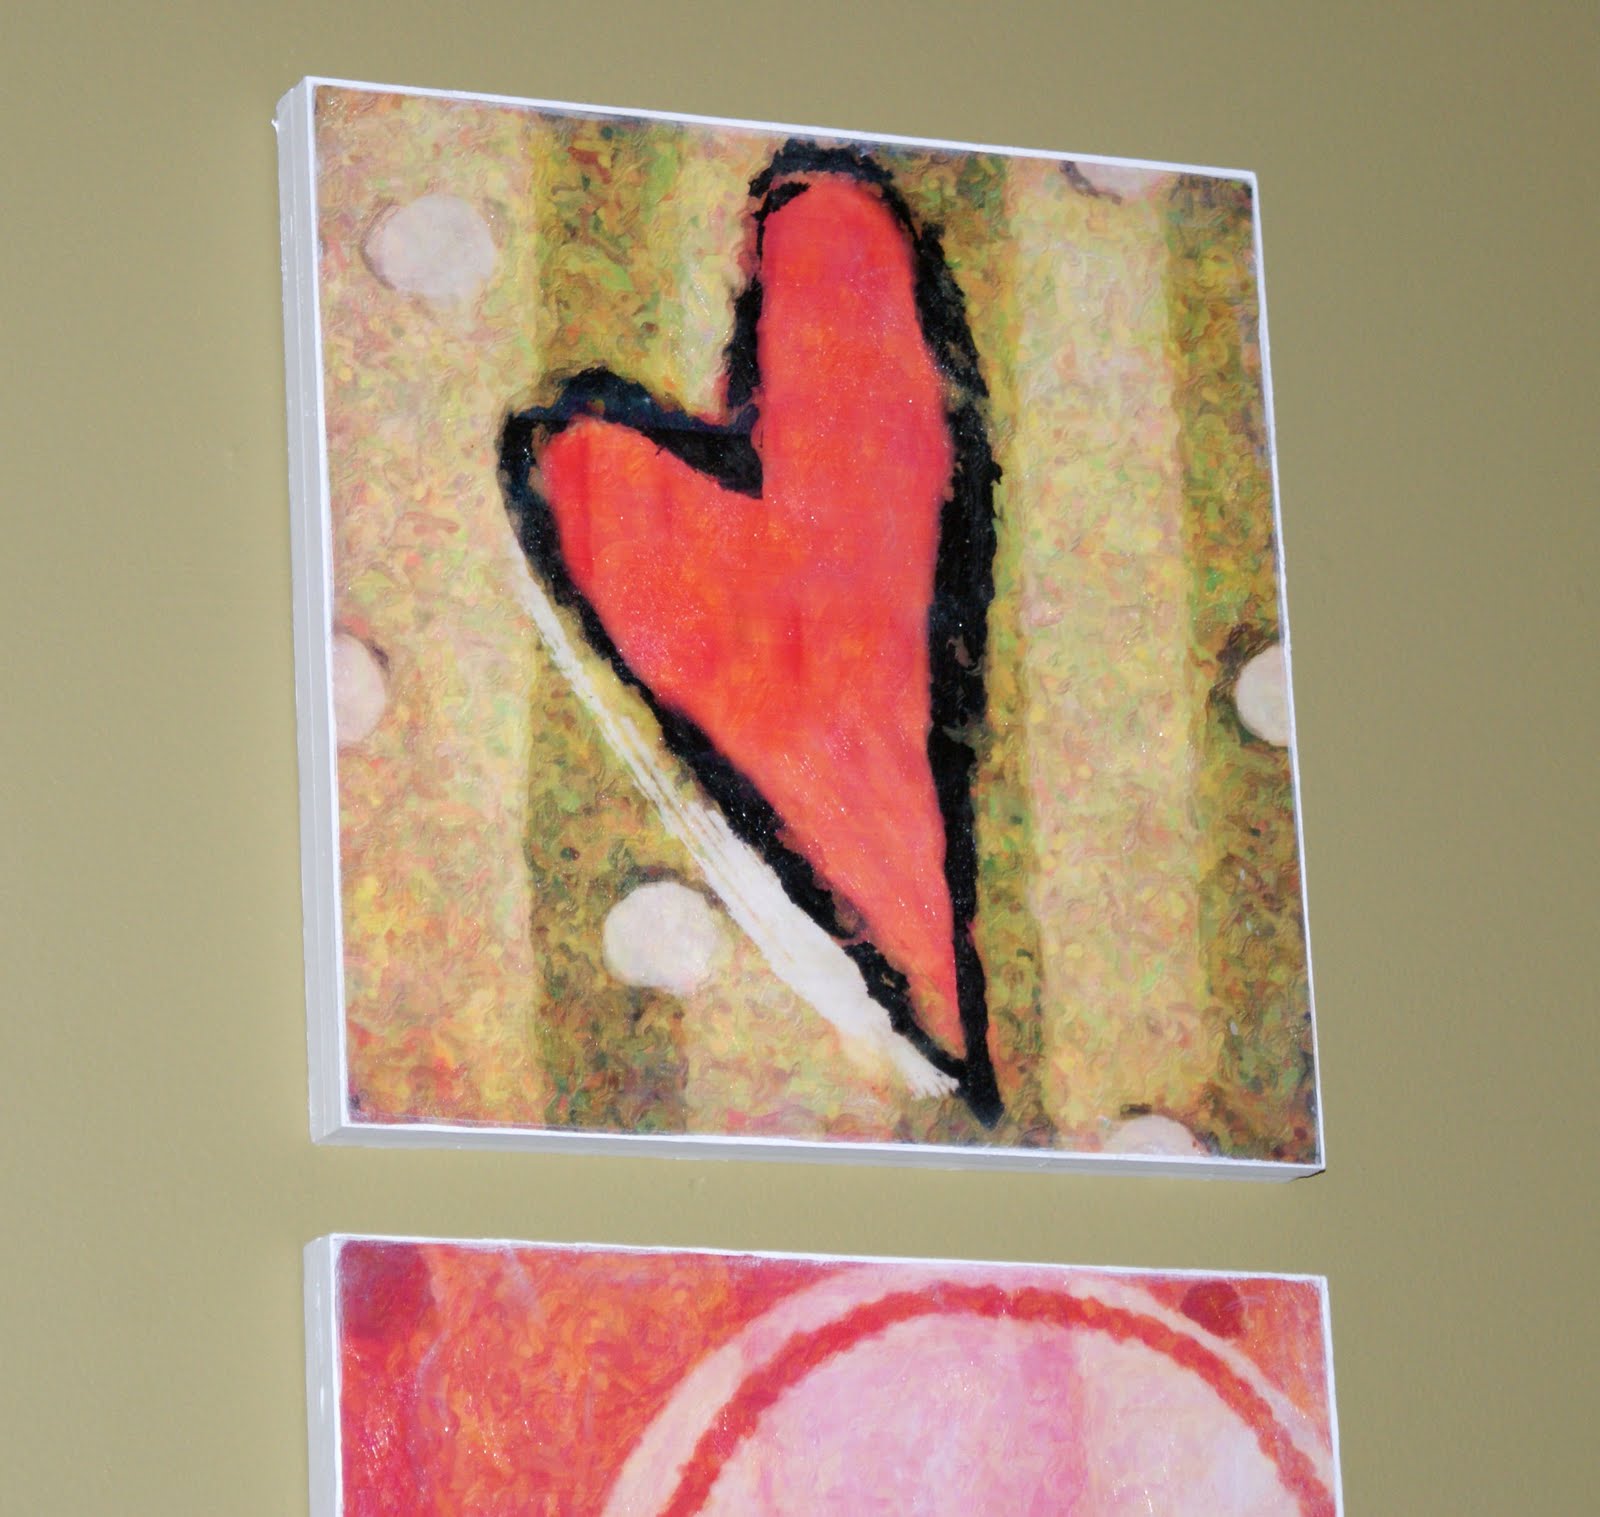
Finally!  Flip the glass over and check out your masterpiece…

Pop art painting

See how it is reversed horizontally from the image?  Something to keep in mind, especially if there is text in the image you are painting.  Frame it and you are done.

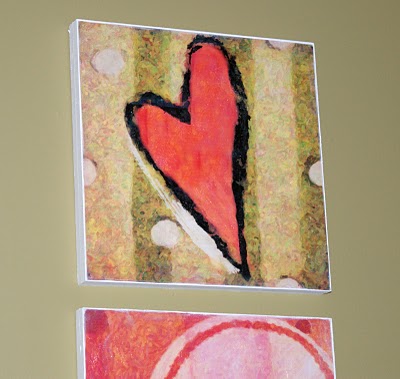
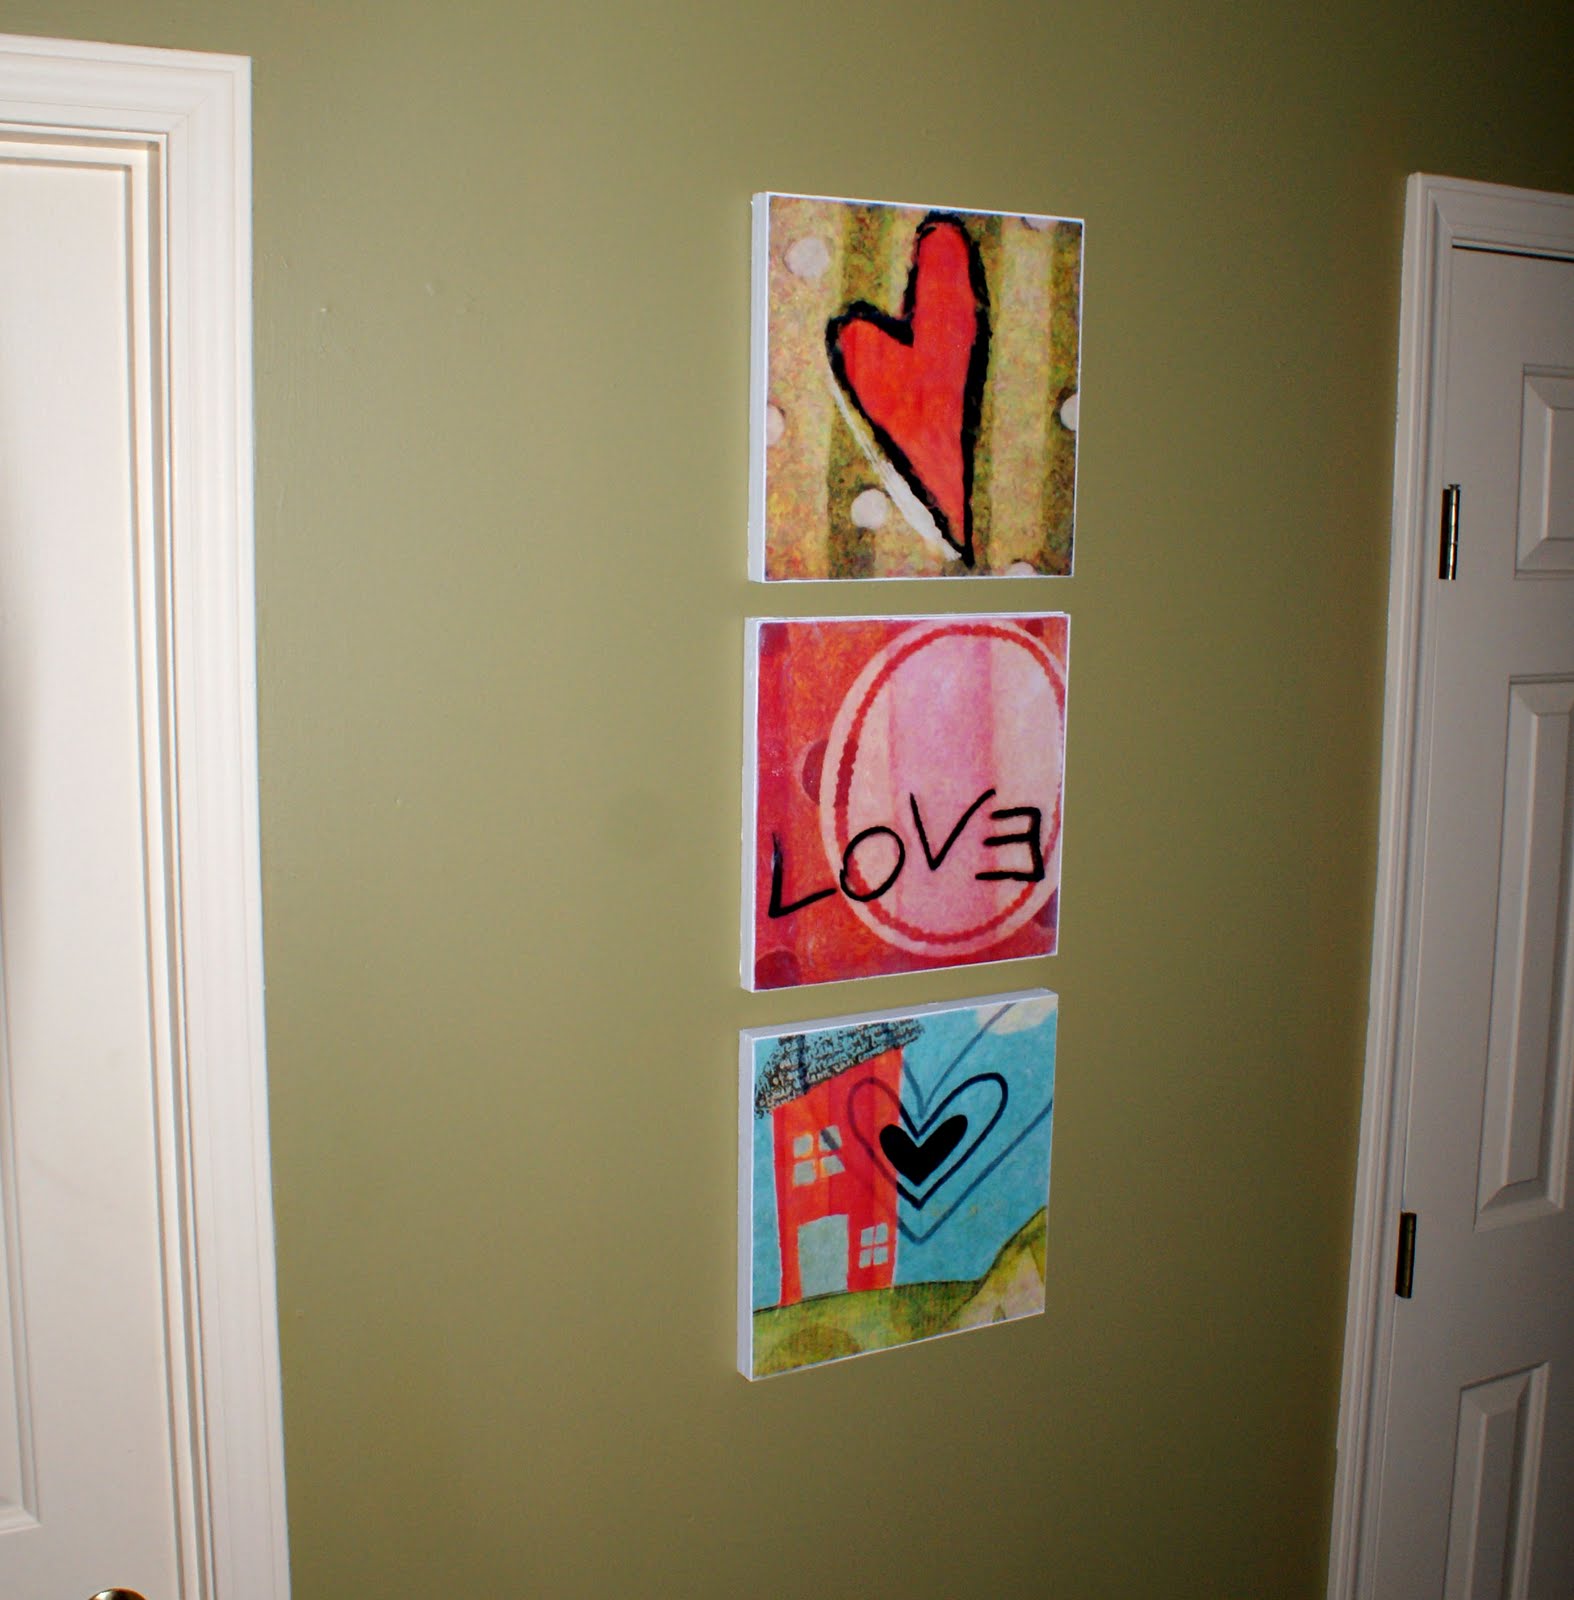
Here are a couple more I did with the same technique.

DIY pop art pictures

Photo to Pop Art

These are a big hit, quite inexpensive to make and work up in less than an hour (especially if you use a heat tool to dry between layers).  I grab frames to have on hand while at thrift stores and flea markets for just this kind of thing.  Photos to pop art digitally is fun, but there is a different kind of  satisfaction that comes with getting paint all over the place once in awhile, right?  I love that you don’t have to be at all skilled in painting to get a cool effect (I am living proof)!

Another great idea to do with a photo is to have a photo mug made, which you can do inexpensively and without the mess of acrylics!  Find out more.

Thanks for checking out my project.  I hope you are inspired to create your own.

The Chris Bateson Experience; T-Shirt Transfer Project

Inkjet Tshirt Transfers

You know when a crafty blogger posts a project tutorial, but it is clear that the real purpose of the post is to drive home how talented and amazing her family happens to be?  This is one of those.  Yes, you will see how I made a custom t-shirt using HP inkjet t-shirt transfer sheets, but what I hope you walk away with is the knowledge that my stepson rocks, and so does the barbershop quartet to which he belongs.

[Read more…]

Free Easter Printable Round 2

The cross… the single greatest act of love in history.  Click here to download the full resolution 5×7.  Glory to God.

Free Easter Printable

This is my absolute favorite time of year… Easter.  I made this watercolor from a photo in photoshop and put it with the beautiful verse, Hebrews 11:1.  You can download the full resolution file by clicking here.  

DIY Fabulous Frugal Faux Canvas Painting Tutorial

Create an oil paint effect on prints, using Mod Podge Brushstrokes.
These prints were mounted on plywood and painted with Mod Podge to create beautiful faux oil paintings! Read on for full tutorial…

tut12I am so excited about the way this project went! As mentioned in the prior post, here, I created these prints in Photoshop with the idea in mind that I would try something similar to the project over at Infarrantly Creative (see this post).

I had the images printed at 12×12′ on glossy stock. At Michael’s, I picked up 1/2x12x12′ birch plywood squares. Since I wanted the pictures mounted on 1′ backing, I used Gorilla Glue to adhere 2 pieces of birch plywood together for each of the 3 prints. You could also use MDF in for the backing, cut to the size of your prints. I used the plywood because it was already cut to the size I wanted, and it was cheap.

Once the gorilla glue was dry, I was ready to adhere the prints to the wood. Super 77 has minimal overspray, but make sure you cover your work surface, cause this stuff is sti-iii-cky, for real. Spray a thin coat on both the back of the print and on the wood surface and lay the print in place, smoothing flat with your hand. This holds big time and bonds immediately, so make sure you have the pic lined up before placing it. I turned the piece over on a flat surface and applied pressure to the back to ensure I hadn’t missed any air bubbles. This part was really much easier than I thought it would be. I had no problem with air bubbles.

Next, the fun step using Mod Podge Brushstrokes. I just recently ran across a post using this medium and I am in love. I used a 1 inch foam bruse and small texturizing brush. I read that if you are painting the Mod Podge onto photo paper, you should use an acrylic sealer before applying. This was just glossy stock, and I had no problem with ink bleeding. You may want to test a small area before painting your entire work. I just applied strokes randomly. There wasn’t a lot of strategy. The prints themselves I made with a painted effect in photoshop, so I kinda followed along the strokes in the images, but mostly it was just random. Look how cool they are. They look like for real oil paintings!

After the Mod Podge dried for about 30 mintues, I applied gesso to the sides of the wood (you could also use primer), then painted with white acrylic over that.

I used thick tacks (U-shaped) and wire for the hanging mechanism.

 
Here they are on the wall…


You can do this with your own images, posters or garage sale finds. The Mod Podge brushstroke effect looks particularly impressive with photos that have been digitally altered using paint effects. That is a photoshop lesson for another day.

Pet Pop Art Prints From Your Favorite Photos

It has been awhile since I have had any “photo to art” business, so I am taking the opportunity to promote this service.

You can see the customer’s original photo and the pop art portrait I created from that. How it works: send me the photo you would like as art, pick out a style from my “Custom Photos to Art” Gallery, here, and I will provide you with 3 proofs from which you can choose. If you want something different than what you see in my gallery, just talk to me. I am happy to customize to your specs. Once you are happy with a proof, I will have it printed and sent to you (price varies depending on size). You can also buy the high res electronic file for $10 and have it printed as you wish, instead of or in addition to purchasing a print from me. This customer chose 11×14 for $20 total (for the artwork and final print).

My prices are pretty awesome compared to other sites that offer similar services (usually starting at $100). The reason I am able to provide this service at such a low cost is because… Photoshop is amazing, really. I put in the hours of photo editing for each of the styles you see available 2 years ago and saved the steps in Photoshop as “Actions”, which I can apply to your photos with a click. I end up doing some tweaking, as each photo is obviously different, but what would normally take several hours per pic is achieved in a fraction of the time. You can see an example of my work on child portraits at Infarrantly Creative, here.

I would very much like to get the word out about this great deal. If you are a blogger and would like to trade, I am open to doing work in exchange for a review/feature, or a giveaway on your site. Lets work together!

Free Shipping and 40% Discount on Photo to Canvas

Just thought I would pass along this deal. My friend Shannon asked me to doctor her photo before having it printed by Canvas People. She is taking advantage of this holiday deal. You probably have seen the free 8×10 canvas deal floating around blog land. Seems like they have some kind of deal going on all the time at Canvas People. I have not personally ordered one since I am still drooling over Infarrantly Creative’s Z-Gel technique she did on the photographs I transformed into pop art for her. Awesome tutorial here that I eventually plan to tackle.

Shannon had me edit photos of her youngest 2 children (shown here), which she ordered from Canvas People. There was a green tint when she got one of them in the mail, which CP replaced without question at no cost to Shannon. She is happy with the outcome of her first 2, and sent me this photo of her oldest…


I edited the original in photoshop to this…


Take advantage of this great deal, and turn your memories into canvas art. Or, if you are a diehard DIYer, give Beckie’s tutorial a shot over at IC. If you need your photo edited, I am happy to do it to your specifications for $10. Just contact me, or leave a comment and we can get started. Happy New Year!!!!!

Krome Photos Editing Site!!

I found this website, Krome, that offers professional photo editing services and must share the treasure with you. With the amount of time I spend photo editing in photoshop, this is very appealing. The results are wonderful, and you get 25 free “Krome Treatments” just for signing up for the free account. I Love it!! I was excited at the prospect of 25 photo edits for free, and the low rates even after the freebies ran out, so I uploaded some pics that I knew needed some major editing. Uploading was easy with the software made available on the site (here), much like uploading to photobucket or facebook. I was notified that my photos would be edited and I would be notified when they were finished, within 24-48 hours. That was yesterday. Today, I went to the site to find my photos had been edited. Lets check them out a couple out:

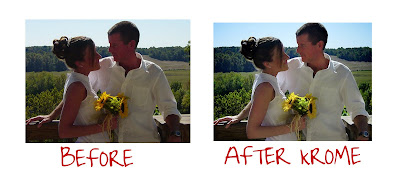
So, the picture of my sweetie and I was taken on our wedding day by a cheap disposable camera. It has always been one of my favorites, except for its poor image quality. You can our faces are red and lacking in detail because of poor exposure. The sky and background are dull in color. The Krome treated photo is much improved. Our faces are clearer, our skin no longer looks burnt, the sky is a more vibrant blue, the green greener, and the contrast way better. They even cropped out the random tree on the far right, and some extraneous sky off of the top. I consider myself quite the little photoshop photo editor, and I have to admit that my attempts to beautify this picture did not quite measure up to the Krome treatment.

Take a look at my beagle before and after pics. Again, the contrast is adjusted such that more detail is visible, the major “red eye” in his left eye is eliminated, colors are more vibrant, the photo is cropped and there is an artistic touch with a photo vignette. Pretty cool. I appreciate it because I have not been formally trained, and while I know what I think looks good, I don’t always know where to crop for good photo composition.
What would take me an hour, and likely not turn out as good, is handled by Krome Photos. It is a good place to backup and organize picture files as well. The website allows you to tag photos much like facebook (and even recognizes the people you tag in their other pics), and allows easy photo sharing across several social media sites. If I could change anything about the site, I would give it functionality to keep me logged in (“remember me”) so I wouldn’t have to put in my username and password each time, but that is pretty minor. Also, it would be nice if you could request specific artistic touches and edits, but for this price, the service is amazing. Go get your 25 free Krome treatments, and see what you think. I am hooked.

Speechless Sunday; My Babies

Color Photos to Retro BW With Photoshop; And Free Canvas Print WIth Shipping

Whenever Shannon contacts me to do photo editing, I know it is going to turn into a blog post because her kids are crazy adorable. Today, she asked me to take color photos to black and white, leaving Madelyn’s flower pink. She is opting to take advantage of this offer over at Canvas People where you can get a free photo to canvas print when you pay shipping and handling.

I used photoshop to adjust the contrast, change to black and white, and to give the pics a retro feel. For the flower, I selected it before desaturating the pic, and made it into a new layer, which I blended of the black and white version using color mode. A whole bunch of stuff that only makes sense to you if you are familiar with photoshop. There are loads of tutorials out there. Play with your photos and get your free canvas print while you can.
I leave you with a yesterday’s wreath project, spray painted white, and photo edited…

Privacy Policy