Autumn Pop Art Printables

[pinit]#Printable #Fall Decor by @savedbyloves #DIY #crafts#Printable #Fall Decor by @savedbyloves #DIY #crafts

[pinit]

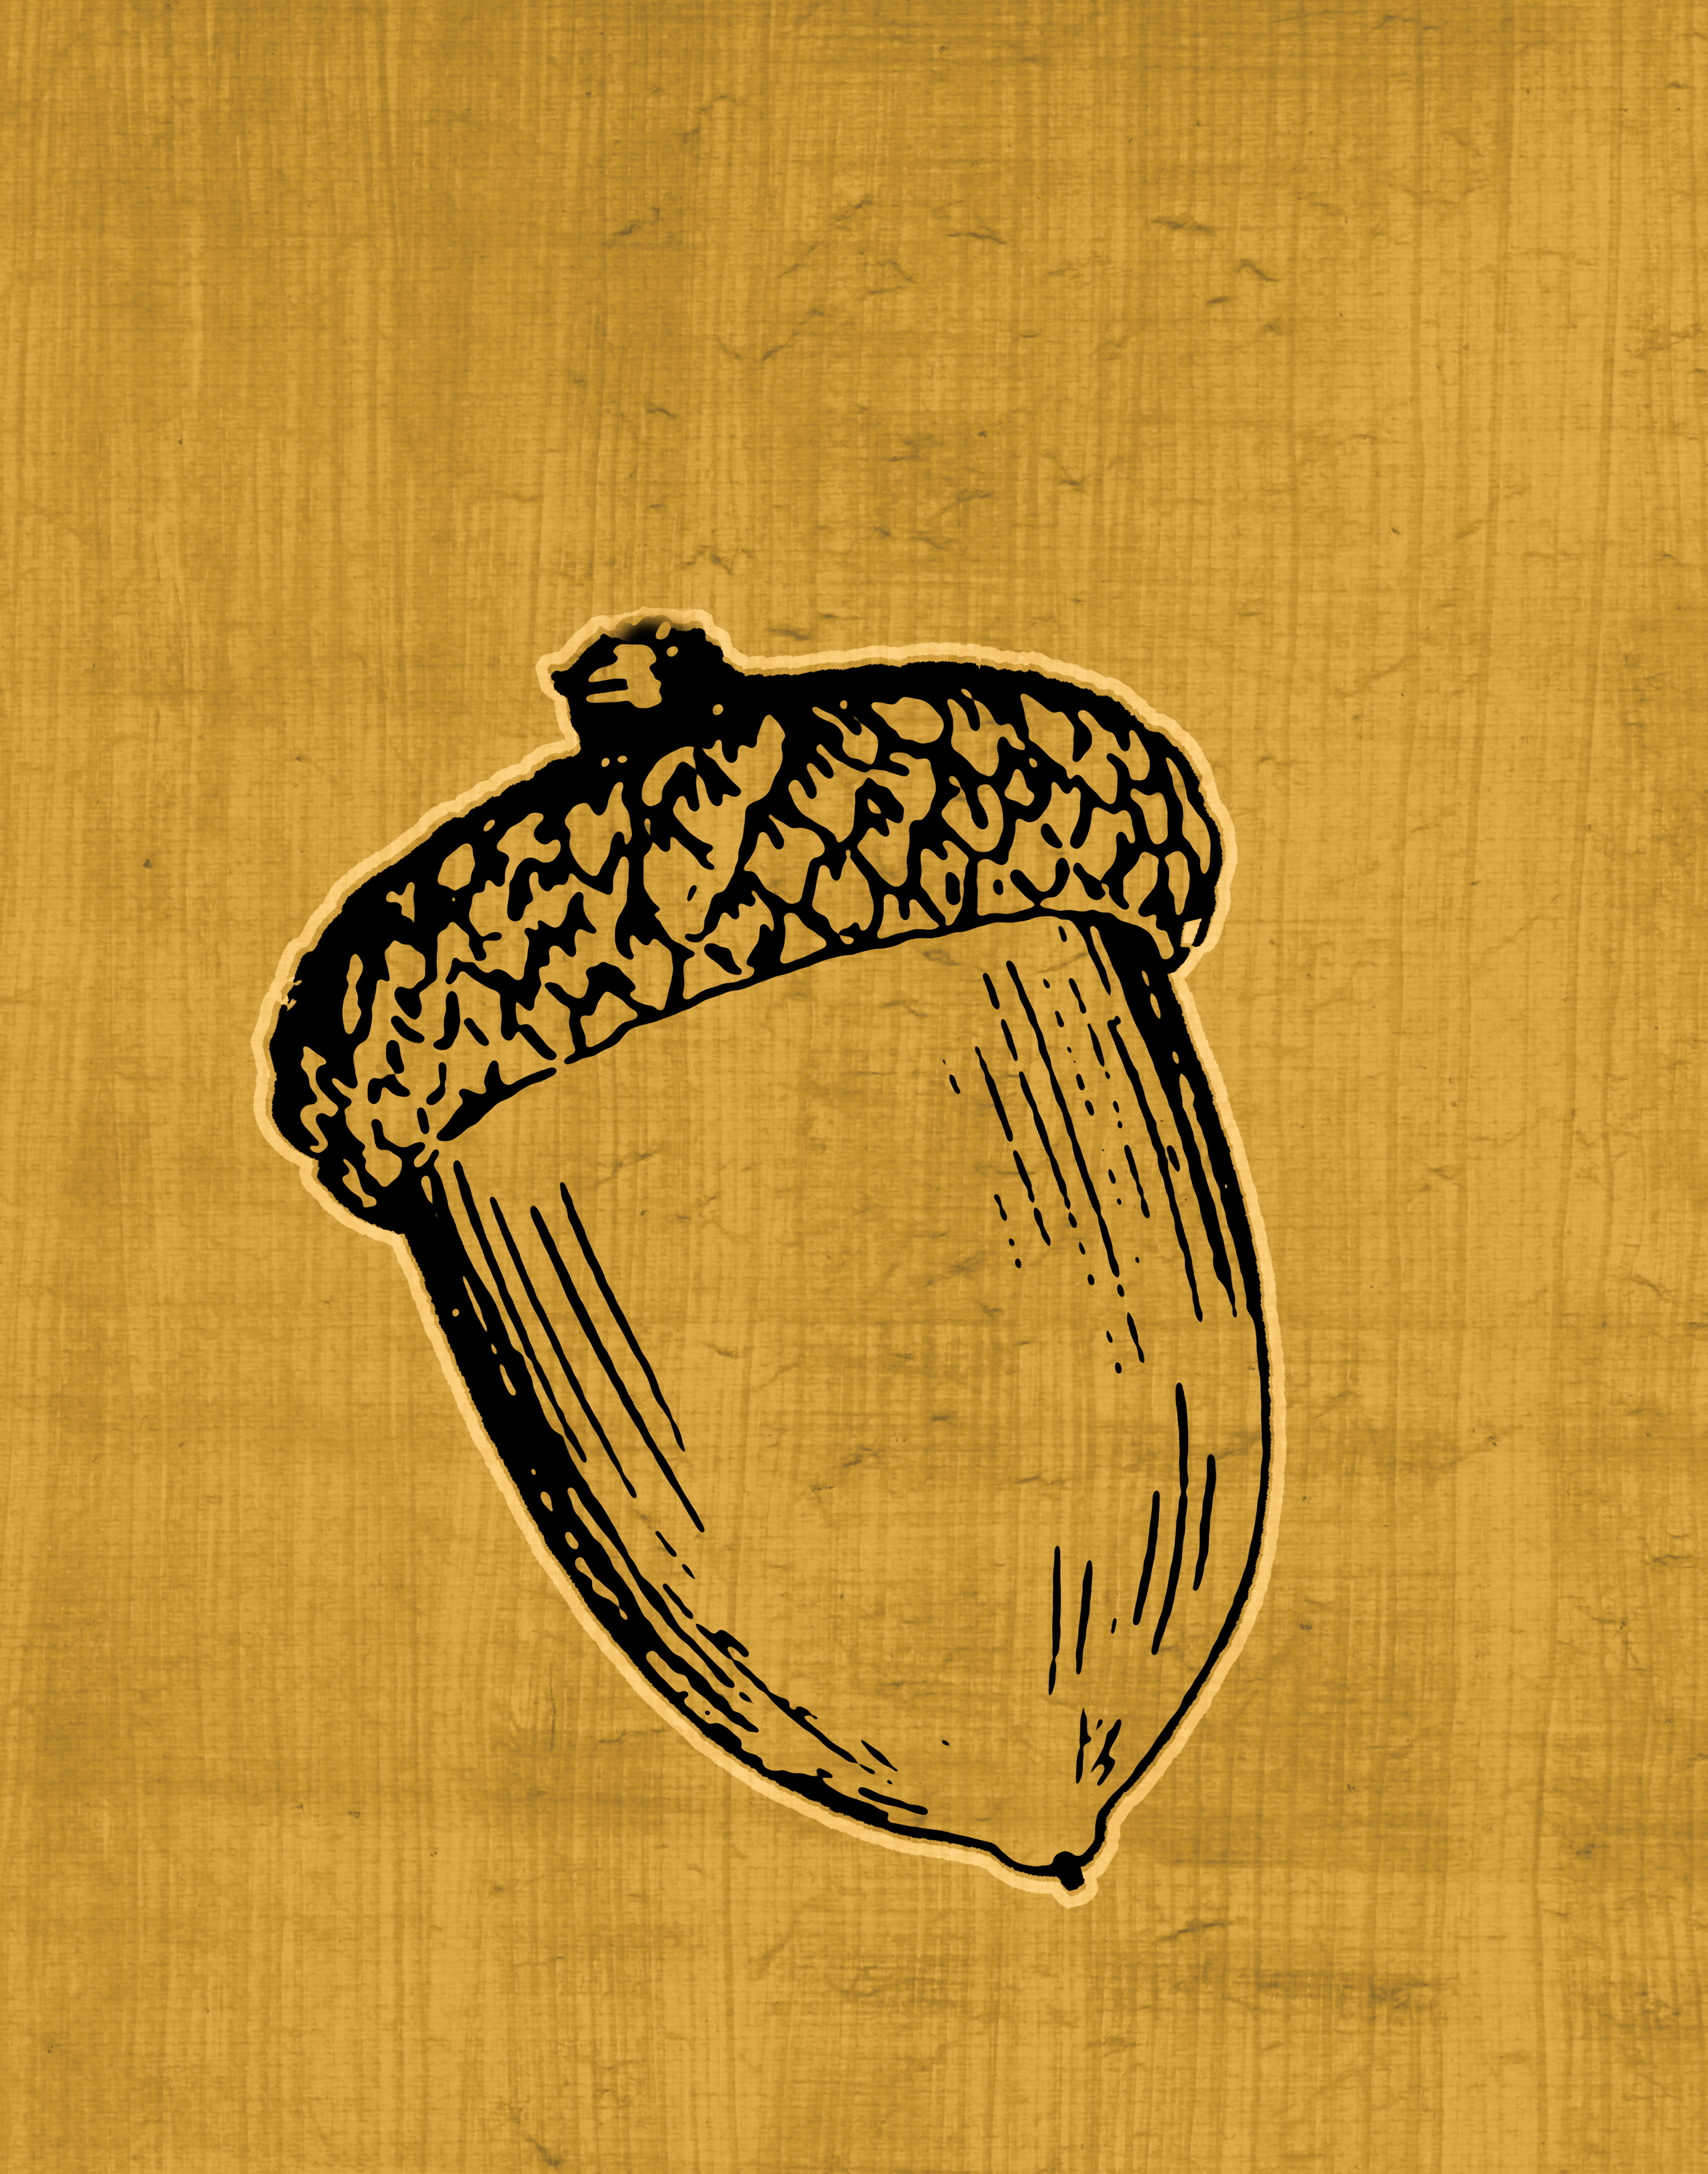
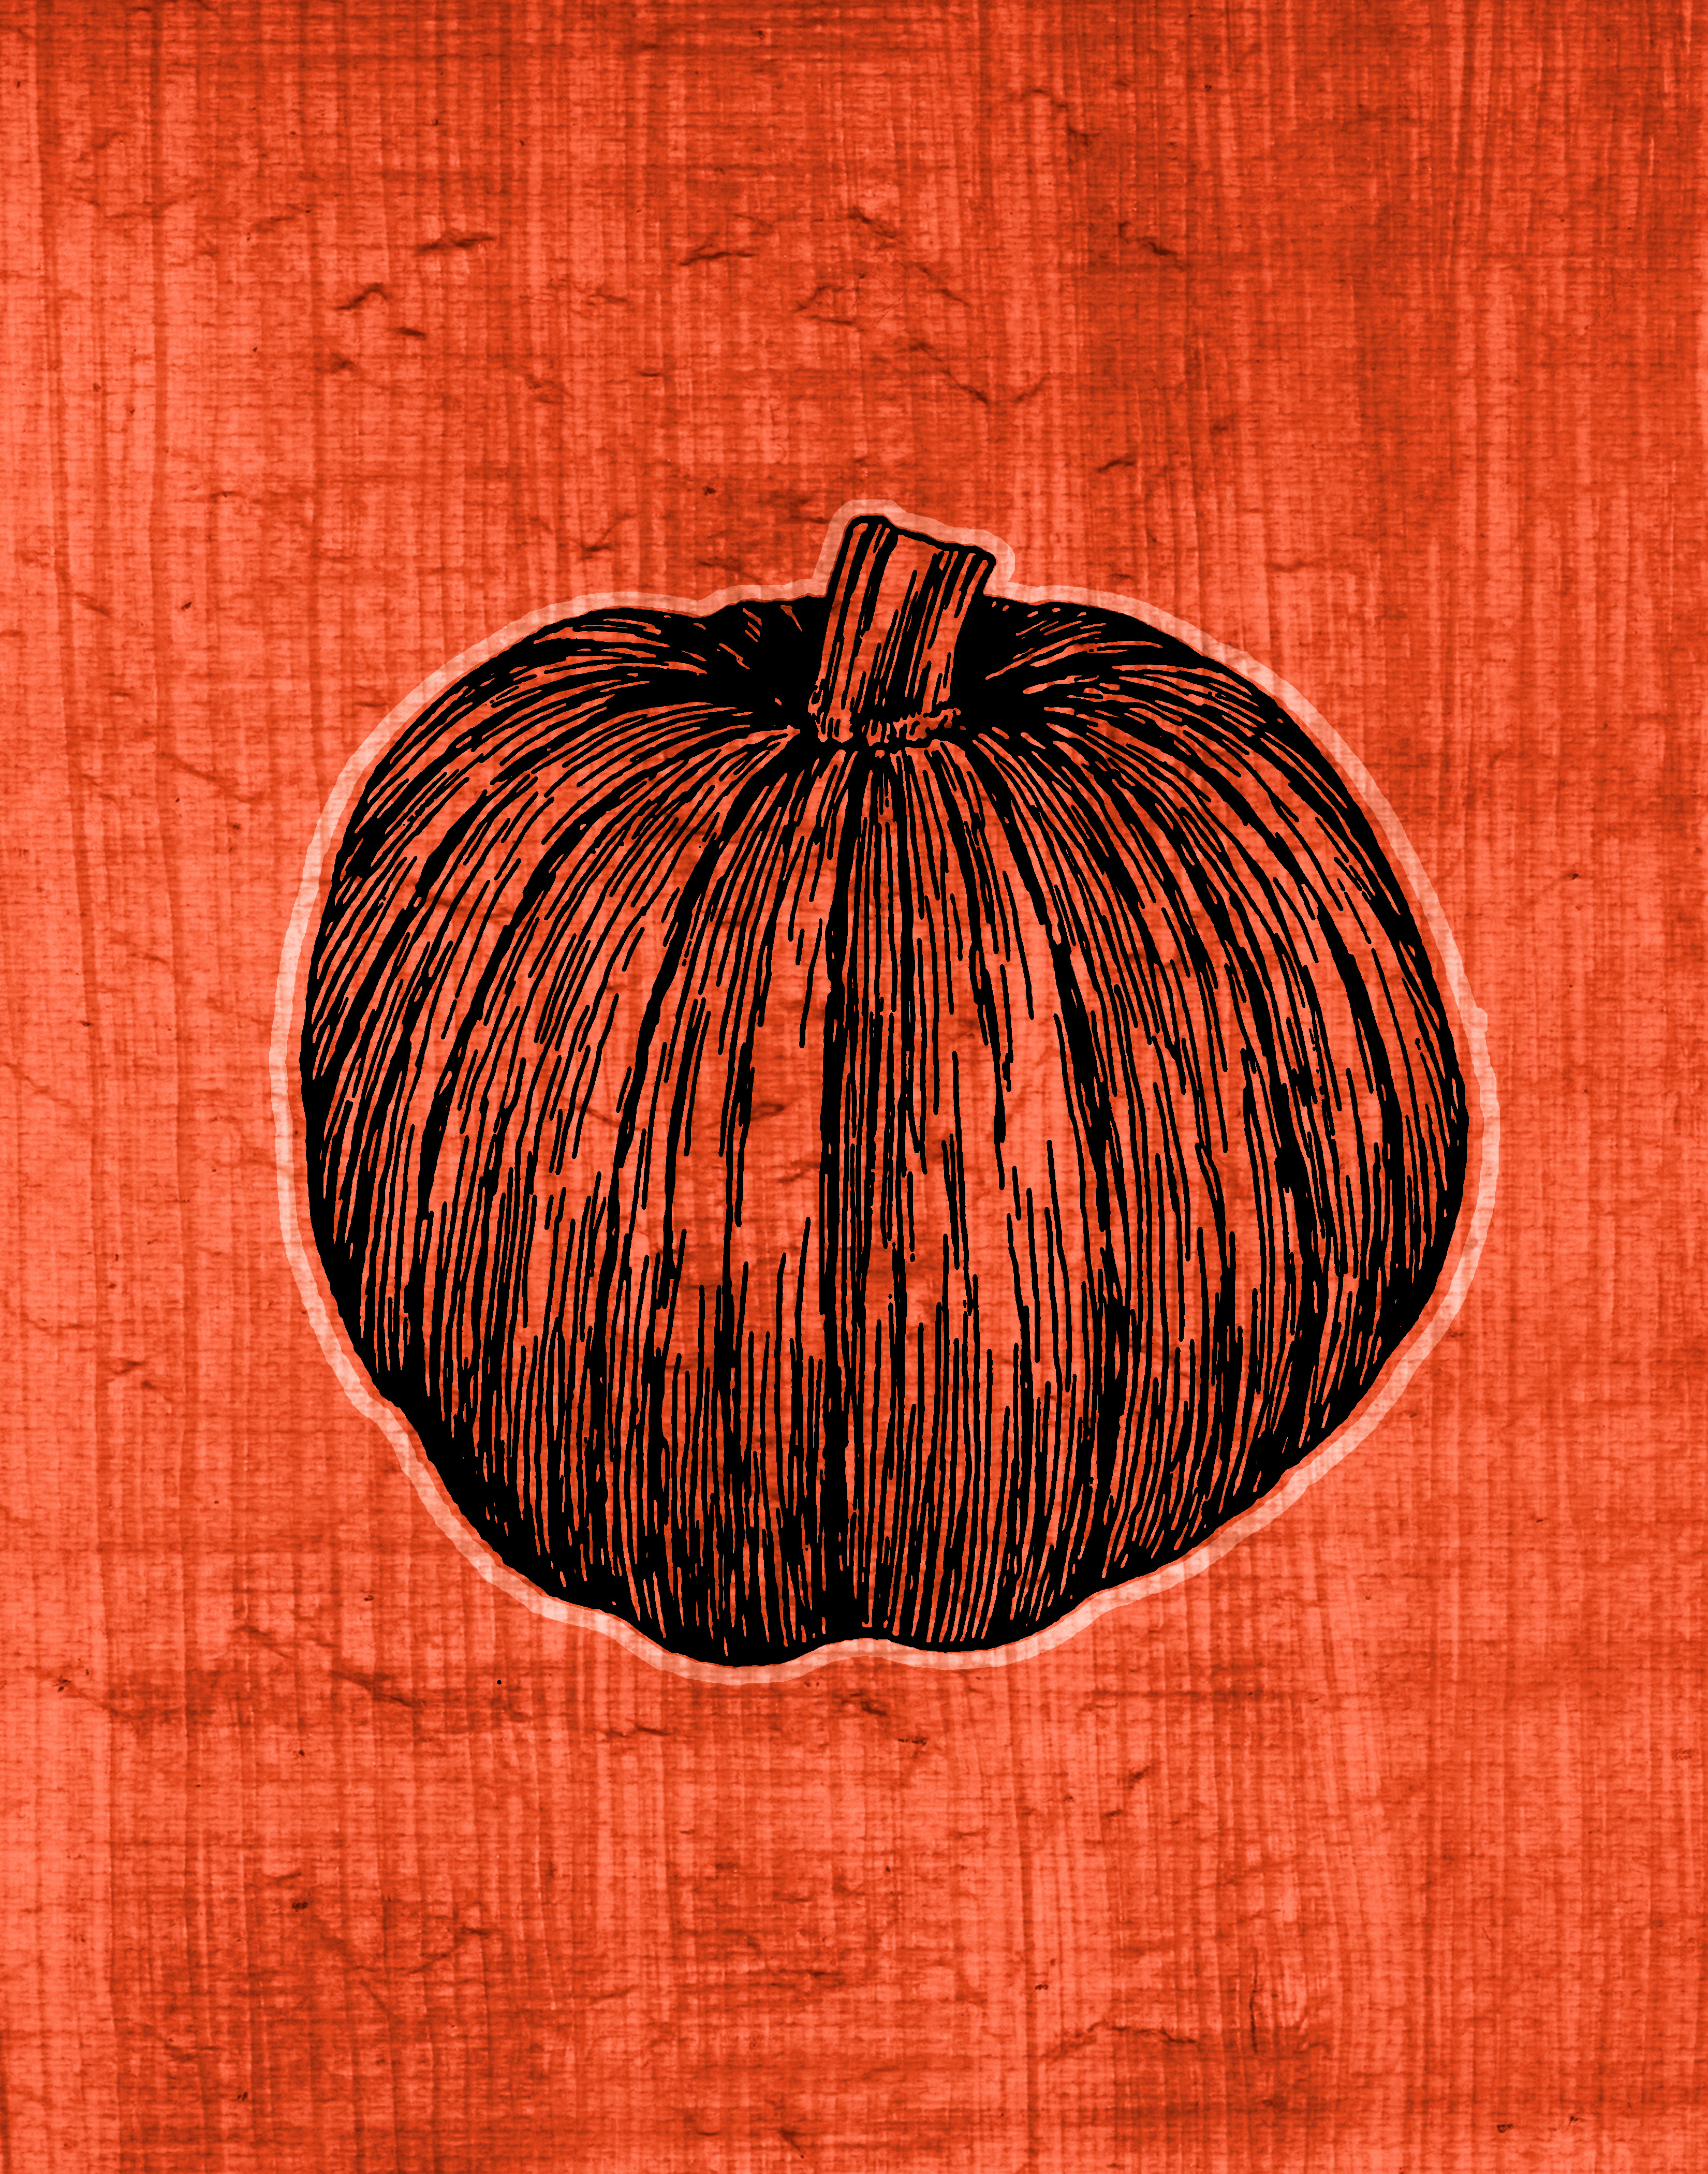
It was time for me to update my wall with some fall art.  If you have been around here for awhile, you know I switch out these 3 11×14 frames to match the seasons, and provide you with free printables when I do so.   I made these fall themed prints in Photoshop, using the background layers from the Z Gallerie trio shared previously.

#Printable #Fall Decor by @savedbyloves #DIY #crafts

#Printable #Fall Decor by @savedbyloves #DIY #crafts

#Printable #Fall Decor by @savedbyloves #DIY #crafts

DOWNLOADS:

Click the thumbnail to bring up the full resolution file and print at home or send to your printer service.

AcornPopArt

LeafPopArt

PumpkinPopArt

#Printable #Fall Decor by @savedbyloves #DIY #crafts

Grungy Target Knock Off Printable & Display Tutorial


Grunge Wall Art Printable and DIY

I recently had the opportunity to make a wall art trio while in Colorado visiting my stepson.  He commissioned me to create art from three salvaged particle board shelves to adorn the bare walls of his new apartment.  Graphic design and repurposing… I jumped at the chance.  After picking his brain to get an idea of the look he was going for, we got online and landed on three Target prints for the inspiration.  I opened Photoshop and got busy creating my version of his favorites:

Grunge Wall Art Tutorial and Free Printable

 You can recreate this set yourself for way cheap.  Here is how!

Target Inspired Grunge Art Printable and DIY Wall Art "Canvas" Tutorial

Supplies:

  • The graphics – right click each link to open the full resolution version and save to your computer.  Transfer to a flash drive and go to your local Staples, Office Max or other printer to have them printed on regular copy paper.  Office Depot and Office Max charge around $0.80 per 11×17 color copy, and Staples is a little more at just over $1.  You are looking at around $3 total for the prints.  The image size for each print is 11 x 11.5 inches since that is what the shelf size for mounting is.  If you want to resize or crop to a different aspect ratio, just pull the graphics into your favorite photo editor and have at it.  You should be able to resize to 12×12 inches without losing picture quality, but I wouldn’t go much bigger than that.


Ampersand

Asterisk
Collage


  • Mod Podge in finish of choice
  • 1 inch foam brush
  • Scrap wood (same size as your prints)
  • Black acrylic paint
  • Hanging Mechanism – We used Velcro brand removable picture hangers since they are damage free
  • Scissors
  • Sandpaper
  • Damp Cloth

Tutorial:

Grunge Printable Wal lArt DIY

Grunge Printable Wall Art Tutorial

Target inspired grunge wall art printable trio by printabledecor.net

Thank you for following along!  Visit me at Printable Decor for tons of, well, printable decor.  Be sure and submit your printables to be featured while you are there.


Halloween Decor With {Scrapbooking} Attitude

Scrapbooking Attitude Halloween Decor DIY at savedbylovecreations.com #ScrapAttitude #Halloween #Fall #Crafts

I had the opportunity to try out a cool new product called Scrapbooking Attitude, and am excited to tell you about it.  This is a printable, transparent film you use with your inkjet printer for endless creative possibilities.  Being a huge fan of image transfers, I was thrilled to give this a whirl.

50+ Image Transfer Techniques

Image transfers are done onto glass, wood, paper, polymer clay, ceramic and more, using a variety of techniques, from acrylic mediums to packing tape.  What I love about Scrapbooking Attitude is that it is simple to use, the results are fantastic (even on the embossed, textured surface I used in this project), and it requires an inkjet.  In my experience, inkjet transfers techniques compared to laserjet are not as abundant, are more difficult, and don’t come out  as nicely.  This is bad news since most people, myself included, have the less costly inkjet printer at home.  Scrapbooking Attitude is a fantastic solution.  My only problem was focusing in on a single project.  You will be seeing me use this product more in future projects.   For this post, I went all Halloween on you.

Scrapbooking Attitude Halloween Decorating

The following step-by-step photo tutorial shows you how I transfered “EEK” and spider graphics I created in Photoshop (available for you use as a free Halloween Printable) onto die cut, embossed paper for the banner.  I used the same steps to transfer the spider web graphics onto an old book with a solid orange cover.

SUPPLIES:

Scrapbooking Attitude

Die Cut, embossed white cardstock  (I used this Tim Holtz die for Sizzix, and this Tim Holtz embossing folder)

Antique Linen Distress Ink Pad to ink the raised areas of the embossed cardstock

Mod Podge

Foam brush

Twine

Tiny white clothespins

Black Cardstock Die Cut Scalloped rectangle (I used a Sizzix scallop rectangle die)

Antique Linen Distress Ink Pad

Scissors

Inkjet Printer

Mod Podge 3D foam mounts

TUTORIAL:

Scrapbooking Attitude Halloween Decor Tutorial

 Once dry, I layered the transferred image and shape onto a black cardstock scalloped rectangle cut using Sizzix.  I used Mod Podge 3D foam mounts to adhere the layers.  Then I just clipped them into place on the twine with my tiny white clothespins.

I just love how this transferred into the grooves of the texture.  It looks like it is one with the paper and you can see the background through the image.  You can achieve the transfer with a lamination machine, an iron, or a glue stick, or use Mod Podge like I did here.  The instructions with the product are extremely detailed, and my craft blogging cohorts are posting their techniques, tips and tricks as well.  At the end of this post is a gallery of other blogger’s creations usiing Scrapbooking Attitude for you to see more of what is possible.

To purchase Scrapbooking Attitude packs, visit the website linked. While you are at it, join me in following them on Facebook, Twitter and YouTube for the latest tips and projects.


*I wrote this post as a part of a paid campaign with Scrapbooking Attitude and The Blueprint Social.  All opinions are mine and honest.


Whimsical Bunting Subway Art Printable

Target knock off subway art with printable and display DIY from Printable Decor

Today at Printable Decor, I shared this Target knock off subway art printable and the display DIY.  The Target original cost $24.99.  Go see how I created the finished piece for under $2!  Submit a printable while you are there, and be sure to follow along on FB and Twitter for daily freebie prints to decorate your surroundings without emptying your wallet.

Patriotic Printable and Transfer to Canvas Tutorial

Free Patriotic Printable


Today I am sharing a technique using Mod Podge to transfer a laser printed image to canvas.  I have been playing with this method a lot lately.  There are several of tutorials about it on the web with several variations in the Mod Podge finish used, how long to let the image dry, and other steps.   I will show you what worked for me.  You can download the patriotic printable I made for this project at Printable Decor.

You will need:

Laser jet image (the one I used is linked above) – reversed if there is text

Mod Podge Glossy Finish

Foam brush or other paint brush

Canvas to fit your print (the print used here is 11×14)

Bowl of water

Dry towel

Instructions:

Mod Podge Image Transfer To Canvas

Mod Podge image transfer tutorial

TIP: To create an aged effect even greater than the one produced by the transfer process, I used Mod Podge Antique instead of regular Mod Podge.  This stuff is new from Plaid Crafts, and I am completely in love.  I have gone through almost the entire bottle in 2 weeks!  It gives your project an antique tone, either subtle or profound depending on how many coats you apply.  For this transfer I applied 2 coats, drying 30 minutes between.  It is great for transfers because it makes parts where the image came off less obvious.  I use acrylic washes or glaze to get that result when doing layered mixed media pieces.  It is so cool to have a finish that does it for me, while coating and protecting the piece.  I love you, Mod Podge.

 Mod Podge image transfer tutorial

Mod Podge image transfer to canvas tutorial

Mod Podge image transfer tutorial

To see how I made the striped backing, you are going to have to come on back.  Just know that it was free, and it took 5 minutes!

Well Done Printable

Ben Franklin Quote Printable

I can get so many ideas in my head, and go on and on about all the things I plan to do.  I was looking for a quote to make into subway art that would motivate me to do more, talk/plan less.  This Ben Franklin subway art printable quote is what I created.  I Mod Podged (which you can see in the not-yet-dry stage pictured) the 11×14 print onto a canvas of the same size, and now I have a little reminder to keep me going.  Find the free printable linked above at Printable Decor.

We Have a Winner

Mod Podge Rocks

Cher!!  The winner has been notified and has 48 hours to respond with her mailing address.  Thanks to everyone who entered, and to Plaid Crafts and Amy Anderson of Mod Podge Rocks!

Mod Podge Rocks BookMod Podge Rocks Book

Be Your Own Kind of Beautiful Subway Art

Beautiful Subway Art

This print is now hanging in my stepdaughter’s bedroom and she loves it!  I made it in Photoshop and you can download the full res 11×14 at Printable Decor; Be Beautiful Subway Art Printable.  I had mine printed on regular paper at Staples for less than $1, and put it in a frame I had on hand.

Be Beautiful Printable

Sunshine Printable Subway Art On Canvas

DIY Canvas art with printable

Love and Sunshine Printable

I needed to bring some summer into my decor, so I created this love and sunshine subway art printable to fit an 11×14 canvas I picked up from a recent garage sale.

I had the print done at Staples; 2 for just over $1.

Canvas $0.75.

I cut the print to fit the canvas, covered the back of the print and the canvas with a light coat of matte gel medium, then placed the print onto the canvas.  I smoothed out wrinkles with my hands from the center of the print out to the edges, then went over it with a brayer to make sure there were no bubbles left.

I went over the entire canvas with a layer of matte gel, let dry and that is it!

Subway art printable

For less than $2, I am loving it.

The link at the beginning of the post takes you to the printable at Printable Decor.

Enjoy!

Printable Mother’s Day Card

Printable Mothers Day CardI was inspired by this month’s Paper Crafts Magazine to design a Mother’s Day card.  Here, I printed it at 5,75 in x 4 in and mounted it with foam stickies onto a brown card blank measuring 6.25 in x 4.5 in.  Easy!

You could also just print and fold into a card on white card stock.

Here are the color schemes:

Free Printable Mother's Day Card

To download the full size image for print, visit my other site,  Printable Decor.

Privacy Policy