Serenity Resin Bracelet

Resin jewelry

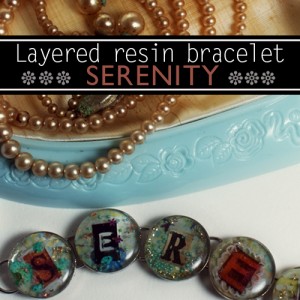
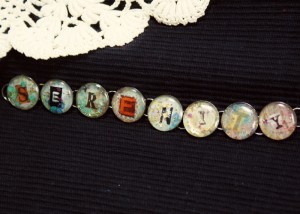
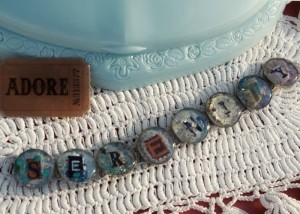
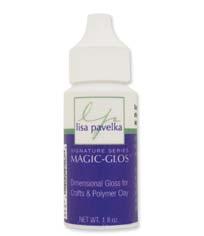
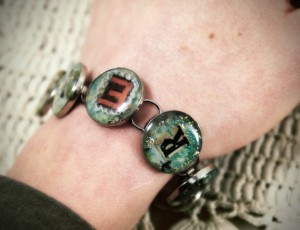
Creating resin jewelry has never been easier with Lisa Pavelka’s Magic Gloss resin that has been out for a couple of years now.  Pieces that use to take a couple of days can be finished and cured in less than an hour!  Today I am showing you my ransom letter “serenity” bracelet.

resin and paper

Serenity resin bracelet

What I love about Magic Gloss is that it is one part, so no messy mixing to deal with.  Not only that, but it cures in UV light and doesn’t harden until exposed to UV.  That means you have all the time in the world to work with it.  No more hurrying to finish in the 25 minutes or so that you have before 2 part epoxy resins start to harden.

What I don’t like about it is that it is way more expensive than Envirotex Lite and ICE resin, both 2 part epoxy resins used in jewelry making.  At Hobby Lobby, a tiny 1 oz bottle costs $10.99.  I found it on Amazon linked above for $5.88.  I can’t say exactly how many pieces of jewelry you can get from a bottle, as that obviously depends on how much resin per piece, but it is definitely pricey in my book.  Also, unless you buy a UV light you are at the mercy of the weather.  On a sunny day, or under a UV lamp of sufficient wattage, pieces cure in minutes!    This makes layering so fun and instant.

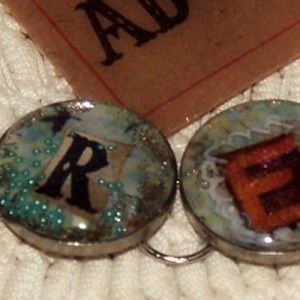
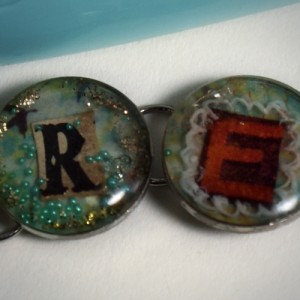
In this piece, I cut scrapbook paper to fit the circle bezel and adhered them inside the bezel with glossy accents.  Then I cut out letters from random papers to spell “Serenity”.  I adhered them with Glossy accents and let dry for 30 min.  This is important because the resin will not cure if it mixes with wet glue.

I added a thin layer of resin at a time with various sprinkled glitter, glass micro beads, metal leaf and fibers, curing between each layer using Lisa Pavelka’s UV lamp ($40 at Hobby Lobby).  It looks super cool.  I wish you could see the layer effect better in my photos.  I am very pleased with how it turned out.   I can’t stop looking at it.

Resin and paper jewelry

how to make resin jewelry

Embedding with resin jewelry

Stay tuned for more fun with resin!
Patriotic Resin Jewelry DIY

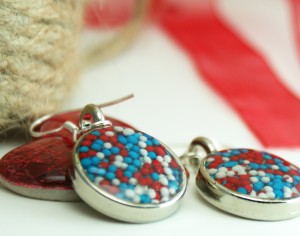
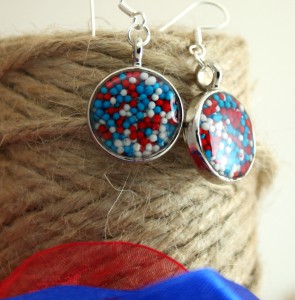
Magic Gloss Resin JewelryWith July 4th around the corner, I thought some patriotic jewelry was in order.  I am thrilled to write about Magic Gloss, the resin product I used to create the glass dome effect seen here.  Read the following detailed step by step and you will be able  to create your own funky patriotic pieces.

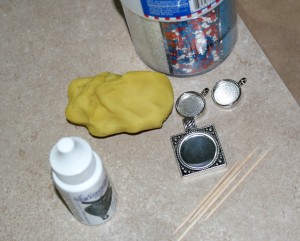
Supplies:

  • Magic Gloss resin by Lisa Pavelka
  • magicglossRed, white and blue cake sprinkles, or colors of your choice
  • Jewelry Bezels
  • Play dough
  • Ceramic tile or other flat, transportable surface
  • Toothpicks
  • Sunny day, or at least a 9W UV lamp


Magic Gloss Resin Jewelry

Instructions:

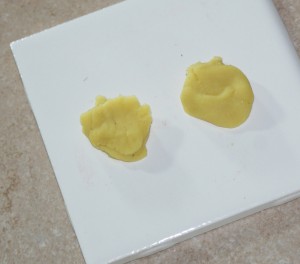
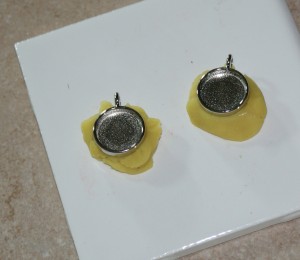
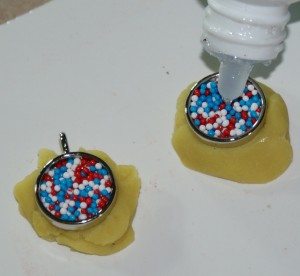
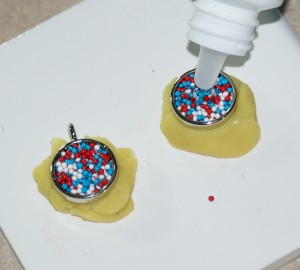
  • I will show how I did the circle earrings.  The pendant is the same process.  Begin by placing a glob (real technical here) of play dough or clay on your glass tile.  This will hold your bezels in place and keep them flat for the resin to cure evenly.  This is so much easier than not doing this, trust me.  My pieces look tons better and are way easier, especially since you will most likely be taking these outside to cure by the sun’s rays.  You don’t want them sliding around everywhere.

Magic Gloss Resin Jewelry

  • Magic Gloss Resin Jewelry


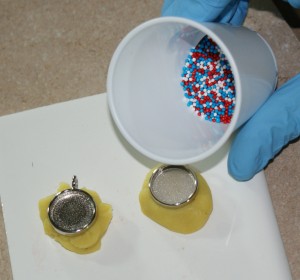
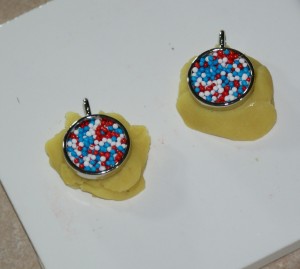
  • Put your sprinkles in a small cup to make it easier to pour into bezel.  They will still go everywhere!  Fill just enough to cover the silver in the background.  You don’t want the sprinkles above the rim of the bezel.

Magic Gloss Resin Jewelry

Magic Gloss Resin Jewelry

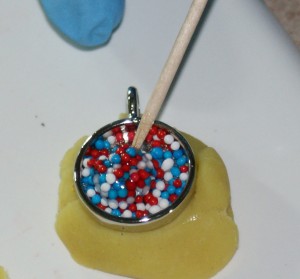
  • Now the fun part; Magic Gloss.  Here is why this product is AMAZING (no, I am not affiliated in any way whatsoever, I just love it) – it is a one step resin that cures in 15 minutes with UV light.  No mixing, no odor, no waiting for 3 days for your pieces to cure.  It is quite easy to use.  Just add a few drops at a time to the center of your piece.  With the sprinkles, I add a small amount of resin and mix it all around to coat the sprinkles so they don’t float up while resin is curing.  I decided to do a dome effect on these pieces, which I do in layers.  So, when the sprinkles are coated, take the tile with your piece outside and let it cure in the sun for about 10 minutes.  Bring it back in and add your resin dome.  Just add a drop or two in the middle (depending on how big your piece is) and pull it to the edges of the bezel using your toothpick.

Magic Gloss Resin Jewelry

Magic Gloss Resin Jewelry

Magic Gloss Resin Jewelry

Second coat of resin

  • Take the piece outside to cure and that is it.  You can do more layers of resin if you want to have a drastic dome effect.

The only downside to this resin is the cost, and the dependency on UV for curing.  I find the benefits way outweigh these.  If you have every worked with 2 part resin, you will understand how awesome it is not to have to mix and the mess that comes with that whole fiasco.  Also, I had no problems with air bubbles.  AND you can work with the stuff as long as you want .  It will not start to set until you expose it to UV, so no pressure to get it all done in 20 minutes. You can purchase Magic Gloss at Michael’s or Joannes for around $10 per one ounce bottle.  I found it on amazon, here,  for under $6.  I am on my first bottle and have made about 10 pieces so far.


Give it a try and let me know what you think.  Here are my finished pieces…

Magic Gloss Resin Jewelry

Magic Gloss Resin Jewelry

Magic Gloss Resin Jewelry

Magic Gloss Resin Jewelry

Polymer Clay and Resin Pendant Tips

I ran out of glass tiles and wanted to make some pendants, so I decided to use polymer clay as the base, and dome some 2 part epoxy resin over the images for a glass like effect.  Some tips:
Condition the clay (I used black for some pendants and gold for others) and roll it through the pasta machine on setting 4.  Take a one inch square hole punch and carefully (avoid indenting the clay surface) slide the clay in, punching out your graphic image base.  I punched out my one inch images with the same hole punch.   Punch out your papers first, as the clay will leave residue on your hole punch, which will get on your paper.
You can spray armor all on the hole punch so the clay releases easier.
With a paint brush, cover the image front and back with translucent liquid sculpey.  This will serve 2 purposes:  1.  It will adhere the image to the clay.  2.  It will seal the image, which is important when you are adding the resin later.  After baking, you can buff and use the pendant as is, or you can dome resin on the top.  I used envirotex lite for this.  I learned a couple of things about resin this time around:  our basement flooded with all of this rain, so I was running a dehumidifier in my studio.  That, combined with turning on a space heater, really got rid of the air bubble problem I so often have with resin.  It really is as temperature sensitive as the instructions claim.  Who knew?!  My resin has never looked so great.
To attach the pendant, I drilled a hole after the resin cured for 3 days, using my dremel.  Then just place a jump ring and attach to necklace of your choice.  I love how these turned out.

New Technique: Resin Mold Pendants

Recently, I began making glass tile pendants, and have grown to love it.  I ordered more slides and am still waiting for them to arrive.  Over the weekend, I was playing with some clay, when I ran across this in my craft supplies:
Silicone ice cube molds.  The thought occurred to me that I could use them to make my own “glass” tiles for pendants with my graphic images.  I busted out the resin I use in my scrabble tile and bottle capjewelry.  Mixed it up and poured it into the ice cube tray.   
They turned out great.  A little cloudier than glass, but it gives the images a nice soft feel.  Some of them I poured to much resin, so they were very thick.  It was hard to tell how much I was pouring, and I wasn’t sure how thick to make them anyway.  Next time I will go for thin.  
I think the pendants turned out really cute! 
Privacy Policy