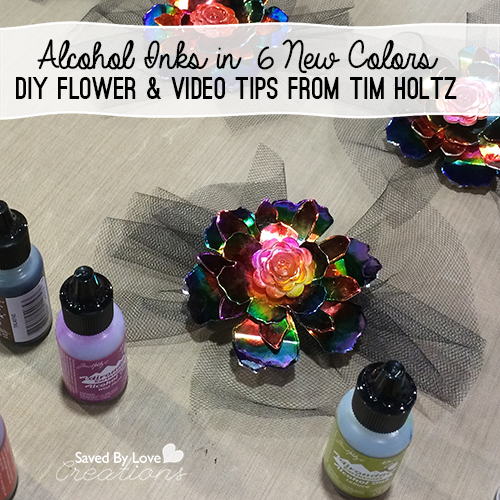
New Alcohol Ink Colors from Ranger & Video Tips from Tim Holtz CHA 2014

[pinit]New Ranger Ink Alcohol ink colors and DIY Flower with CHA 2014 Tim Holtz Video @savedbyloves[pinit]

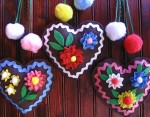
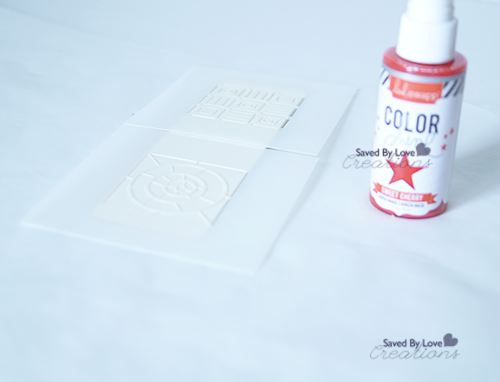
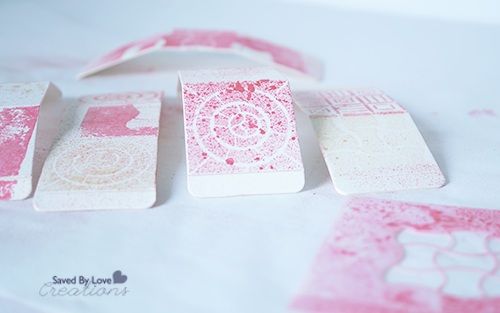
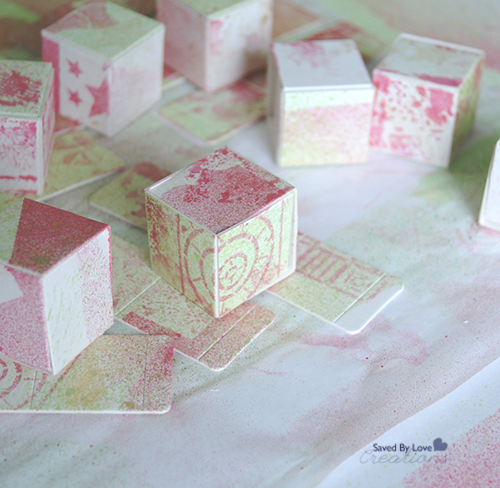
I am so excited about the new alcohol ink colors from Ranger that I had the chance to demo at CHA 2014.  We used them making these beautiful flowers from the Tim Holtz Tattered Florals Die from foil card stock.  They were quick and easy to make, and can be used as barrettes, corsages and more!

New Ranger Ink Alcohol ink colors and DIY Flower with CHA 2014 Tim Holtz Video 2

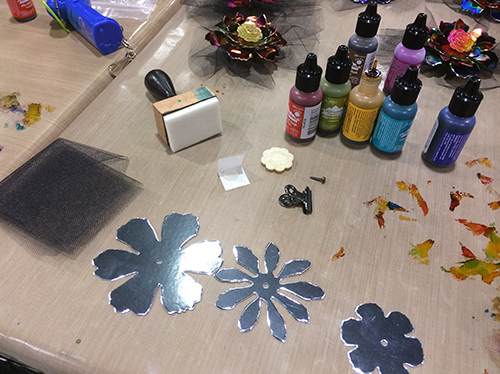
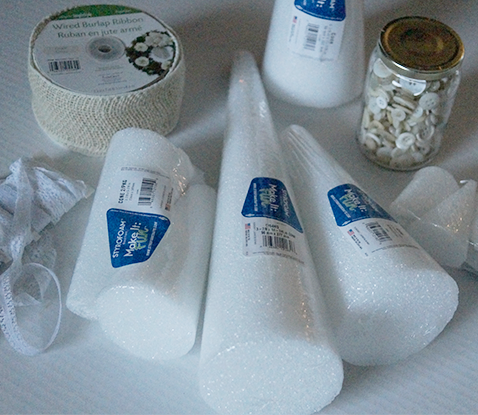
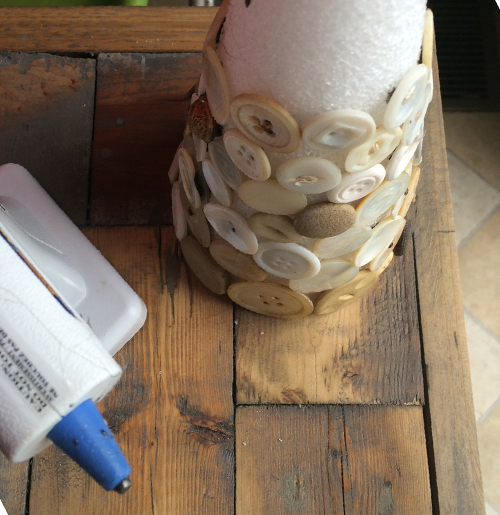
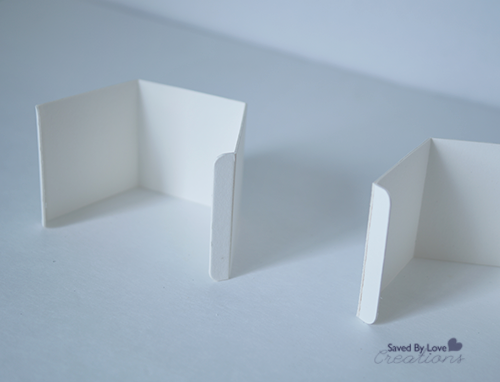
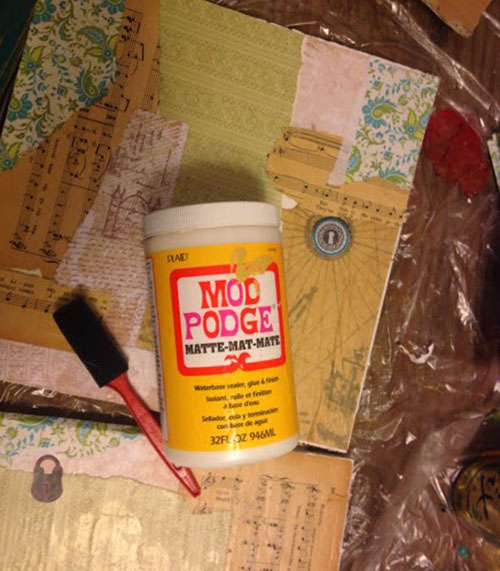
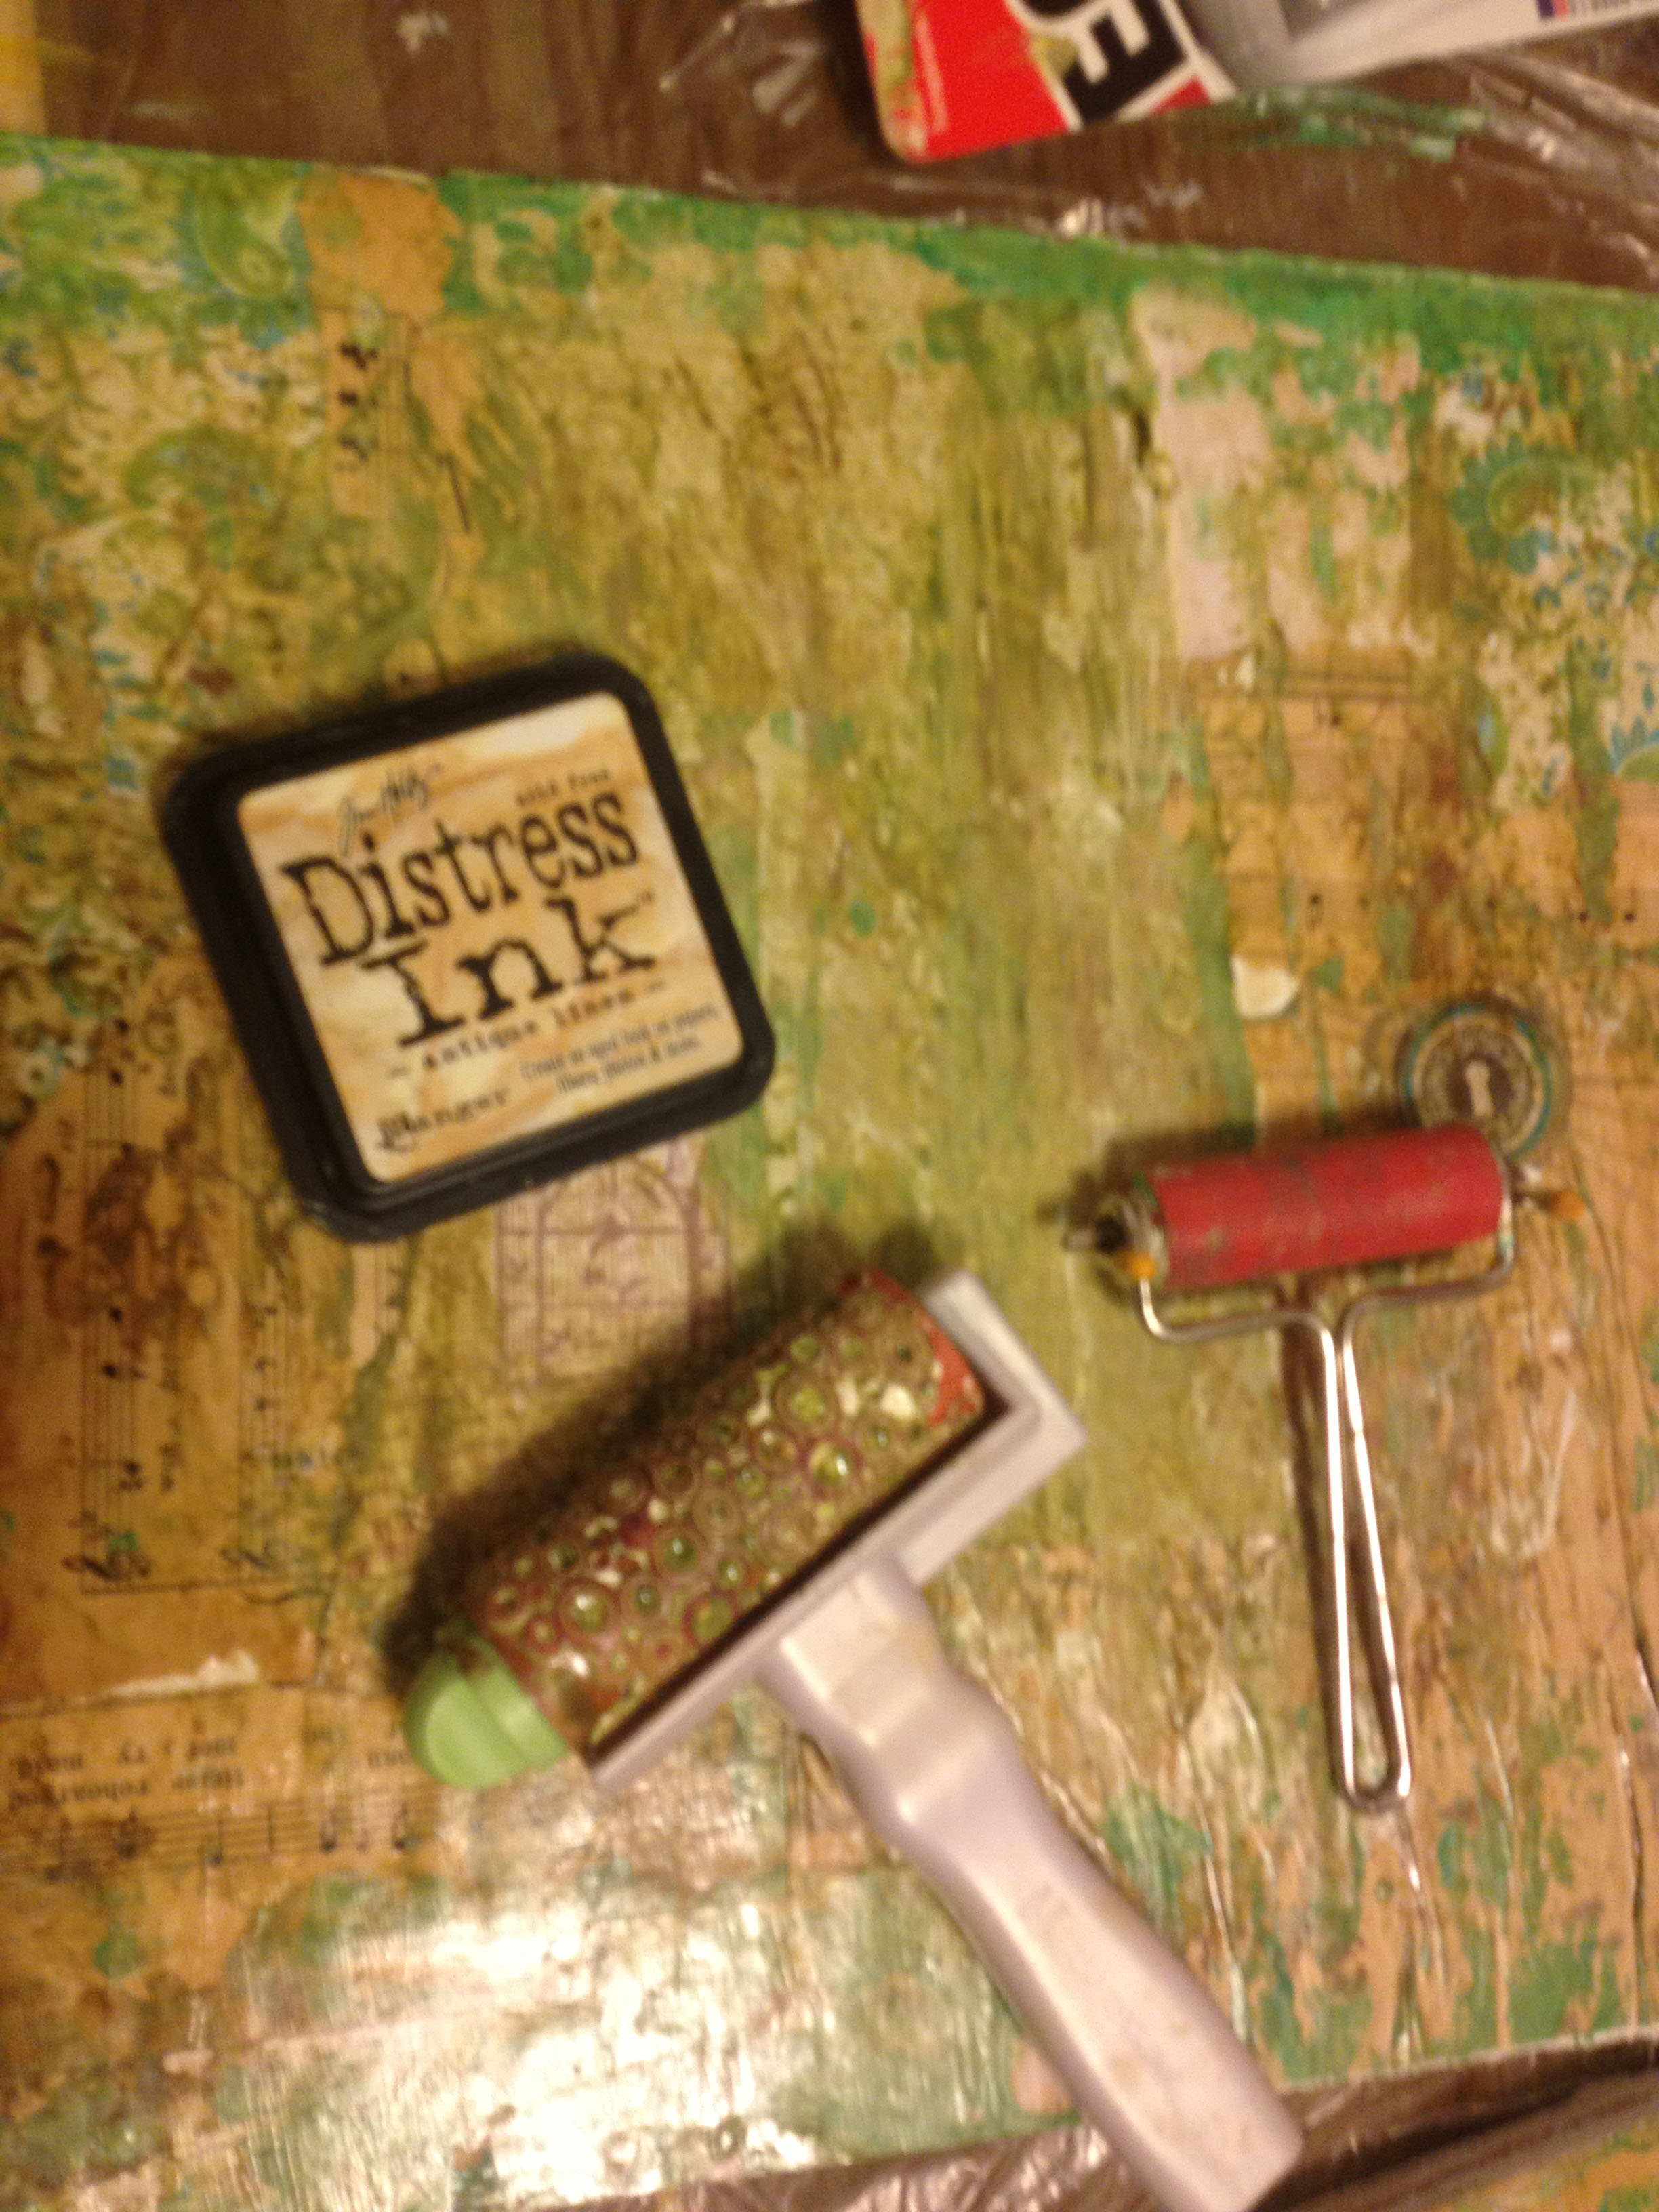
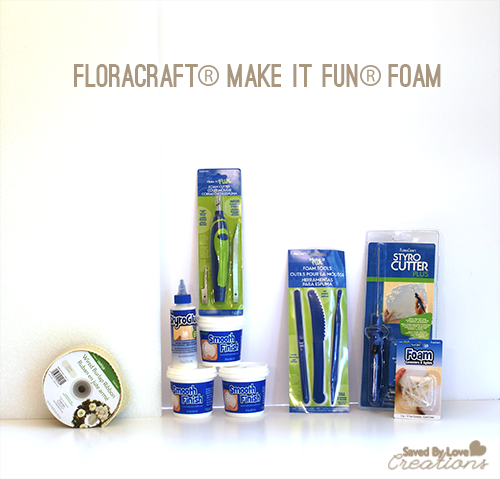
Here are the supplies we used.  Make stripes of various ink colors on the blending tool.  Drag across the flower layers and the flower button for the center.  Once dry, shape flower layers and attach wiht brad through accordion folded organza rectangle.  Use glue dot or hot glue to attach flower button to center of flower.  The end!

Check out the following video where Tim Holtz talks about the new colors in the Ranger alcohol ink line, and gives really cool tips on how to use the alcohol blender pen to color with the inks!

50+ Heart DIY, Crafts and Jewelry Projects to Make

[pinit]

Heart Crafts Valentine's Day Ideas[pinit]

It’s all about hearts today, with this collection of over 50 DIY heart projects you can make. You will spy jewelry, crafts, wall decor, clothing and more, sure to inspire your Valentine’s Day festivities.


Quick and Easy DIY Valentine’s Day Gift Idea

This simple and quick Valentine’s Day gift idea from Barbara at Chase the Star is just my kind of project.  It would be great as a centerpiece and teacher gift too!  Welcome the first contribution from this super creative blogger…

Hey everyone! I’m Barbara from Chase the Star, and I’m thrilled to be a brand new regular contributor! At my blog I write about my adventures in decorating, crafting, cooking, parenting, and all things in between. I love to be creative and but I don’t like to spend too much time or money, so a girl’s gotta improvise, reinvent, and repurpose whenever possible!

It’s just about time to start planning for Valentine’s Day! For my very first post I’m sharing an easy and inexpensive DIY gift idea for a special someone in your life!

DIY Gift Idea for Valentine’s Day

Valentines Gift via Chase the Star for Saved By Love Creations #conversationHeart #candyHeart #valentine #modPodge #decoupage #chalkboard #diycraft #craft #gift #repurpose #bucket

A galvanized mini bucket can be used so many ways! Today we’re going to decorate it and use it to hold ‘conversation hearts’ (or ‘candy’ hearts) for Valentine’s Day:

Materials:

A small bucket (mine was from the thrift store)

Paper (gift wrap, craft paper, newspaper, any type of paper will do)

Decoupage medium (such as Mod Podge)

A small brush

A bag of ‘conversation hearts’

Optional:

Chalkboard cupcake toppers

Ribbon

Repurpose a galvanized bucket for a sweet Valentines Gift via Chase the Star for Saved By Love Creations #conversationHeart #candyHeart #valentine #modPodge #decoupage #chalkboard #diycraft #craft #gift #bucket

Step 1:

Cut the paper into pieces that will fit around your bucket.

Step 2:

Decoupage!

Add the paper pieces one at a time by brushing a light coat of decoupage onto the bucket, then gently placing the paper over it, and pressing it firmly with your fingertips. Get it as smooth as possible but don’t worry about it wrinkling, you can fix that later. Let that set for a few minutes, then add another light coat of the decoupage over the entire piece. This time be sure to smooth it out completely with your fingertips, carefully. Allow it to dry for about 30 minutes.

Decoupage a small bucket for a cute Valentines Gift via Chase the Star for Saved By Love Creations #conversationHeart #candyHeart #valentine #modPodge #decoupage #chalkboard #diycraft #craft #gift #repurpose #bucket

Step 3:

Fill it with the candy hearts, and you can add a cute touch by inserting a chalkboard cupcake topper or any other type of topper! I used these from American Crafts:

DIY an Easy Valentine's Day Gift via Chase the Star for Saved by Love Creations

To complete the project I tied some satin ribbon in a bow to the handle.

Easy Valentines Gift via Chase the Star for Saved By Love Creations #conversationHeart #candyHeart #valentine #modPodge #decoupage #chalkboard #diycraft #craft #gift #repurpose #bucket

I love this idea for a teacher’s gift, a nice treat for your neighbor, or even to pass out at work! Kids will love this too!

Have you started to plan your crafting for Valentine’s Day?

For more DIY ideas stop by Chase the Star, and follow me on Facebook, Google+, Pinterest, and Instagram!

See you next time!

signature

DIY Vintage Holiday Centerpiece With @Floracraft Foam Trees

[pinit]Holiday Centerpiece using found objects and vintage buttons on @floracraft Styrofoam trees @savedbyloves[pinit]

Styrofoam Christmas Tree Centerpiece Vintage Buttons DIY

The holidays are here, and many of you are busy planning decorations and meals.  Today I am sharing with you an easy DIY holiday centerpiece using vintage buttons, found objects and Styrofoam™ cones.  This is the perfect project for using up those antique embellishments I can’t resist buying every chance I get!

This post is sponsored by Make it Fun: Crafts and Crafts ‘n Coffee!  All opinions are mine.

SUPPLIES:

Floracraft Christmas Centerpiece Using Stryrofoam

Styrofoam™ cones in 3 sizes

Hot glue gun

Vintage buttons, twine, lace, ribbon, doilies, hardware

Decorative eyelets, pearl and jewel stickers in creams, whites, golds and reds

Gold and white tissue paper

Mod Podge

TUTORIAL:

how to make a vintage button christmas tree

For the white button tree, I randomly hot glued buttons from the bottom to the top.  I made a paper foil star with my Tim Holtz 3D star die  and attached it to the top of the tree with a bamboo skewer.  The end.

Vintage button crafts

For the red tree, I did the same thing, but wrapped the tree in red organza before attaching the buttons and hardware.  This was to prevent the white foam from showing.

I placed it on a candle holder as the stand.  Using a gold sparkly mini clothespin, I attached a Christmas tag to the top and tied a bow around that with twine.

DIY christmas centerpiece ideas

For the white and gold tree, I decoupaged gold and white tissue paper onto the cone using Mod Podge.  I added a random piece of hardware with a vintage clothespin, and wrapped that with gold organza and black twine.  It sits on an old jar lid (same jar that use to hold all those vintage buttons)!

Led mini lights strands

Those pretty, warm lights you see in the background are Design it:® LED Light Strands, which I love because they are light weight and ready to go out of the package.  No outlet needed or batteries to buy is always a plus in my book!

Vintage Styrofoam Centerpiece Holiday @floracraft

I hope you enjoyed this project as much as I did, and are inspired to make the old new again!

Christmas Holiday Neighbor Treat Bags + Printable Tags

[pinit]
Free Printable Modern Christmas Tags copy[pinit]

We made some modern printable Christmas gift tags for our neighbor holiday treat bags and you can download them here for free at the end of this post.  The download contains all versions of the tags on one 8×11.5 sheet so you can print them all on one page.  I customized 2 of the tags with a neighbor message in case you want to make some festive Christmas baked goods for inexpensive, handmade neighbor gifts.

Holiday printable gift tags

I found an old vintage Christmas tin at the antique market and decided to use it to package my famous no-bake cookies; Quick and Easy Chocolate Peanut Butter No-bake Cookies.  I taped the “Holiday Treats” tag onto brown craft paper, added washi tape, hole punched and added a twine bow.  For a vintage look I sand distressed the edges.  Easy, fast, and totally sweet.

Cookie Printable Christmas Neighbor Gift Tags

These cute treat bags are from the Dollar Tree.  I think 4-5 per package is what you get for your buck.  My neighbors loved what they found inside, and I think you would too…

Make White Chocolate DIpped Holiday Pretzels

White Chocolate Dipped Holiday Pretzel Rods

Christmas cakepops #christmasdesserts

Holiday Cake Pop DIY

How to make Holiday Cake Pops

Neighbor Gift Printable Set copy

To download the printable, right click the above thumbnail and the full res version will appear.  Print at home or at your favorite printer service.  I recommend white cardstock.

DIY Reclaimed Wood Christmas Tree and Advent Artist Blocks

[pinit]DIY Advent Calendar Reclaimed Wood Tree #stencilGirl #Christmas with @eileenhull @artistsontheblock @Sizzix_US @savedbyloves[pinit]
Make a Reclaimed Wood Advent Calendar Christmas Tree

Today’s project is a rustic, reclaimed wood Christmas tree advent calendar that you can make for little to no cost!  Building from salvaged wood and paper crafting all in one project! I created the blocks using Eileen Hull’s (soon to be released) Scoreboards Block dies.  The die makes blocks in three sizes, for tons of creative potential.  Think about artist trading cards, but 3-D!  Last Christmas I showed you how to make an advent calendar from wooden blocks, and that is the first thing I thought of when I saw this die.  Read on to see how I used stencils from Stencil Girl, spray ink, number stickers and washi tape to decorate my mat board cubes.  Watch the video to make your own tree, or display your blocks freestanding.  These would make great Christmas gifts and decor for your holiday get togethers.

How to Make a Reclaimed Wood Advent Calendar

SUPPLIES:

For the Blocks

Mat Board

Heidi Swapp Spray ink Gold, Green, Red

Stickles in red, green, gold

Washi Tape in Christmas Patterns

Stencils (I used Stencil Girl)

Mod Podge Antique

For the Tree

Scrap wood

Mitre Saw

Nailer or hammer and nails

Wood Glue

E6000

5 gallon paint stirrers

TUTORIAL:

ADVENT BLOCKS

You may want to decorate your cubes before assembling them into the 3D shape.  First I will show you assembly, then how I decorated my cubes.

Artists on the Block


I chose the smallest of the three cubes for my calendar.  This is what the mat board looks like after it is cut with Eileen’s awesome new die!

Paper Craft DIY Christmas

Fold cubes along score lines.  Two of the scored rectangles are needed for each cube.  Place them together to form the cube.  You can glue the tabs in place if you would like, but I didn’t find it necessary with the mat board.  I haven’t tried other paper.

Stencil Girl Stencils

Place stencils over blocks and spray.

How to Make an Advent Calendar

Clean up excess ink that’s on the stencils for a reverse image on the blocks, and you waste less ink!

How to make Paper Advent Calendar

I used red, gold and green sprays, allowing about 10 minutes dry time between each color.

Mixed media Artist Blocks

Once that dried, I adhered washi tape to some blocks, the black sticker numbers and coated with the front surface with Mod Podge Antique for an aged look.  I thought it needed some sparkle, so I added stickles in red, green and gold.

RECLAIMED WOOD CHRISTMAS TREE

I made the tree like I showed you in this  DIY wood pallet Christmas Tree post, and in the video at the end of this post.  The only difference is I used chippy, weathered 2×4 scrap wood I found at a demolition site.  I determined the dimensions of my tree based on the 1.5 inch advent cubes.  The base is 19 inches, and the height is 20 inches without the frame.

I made the five shelves from paint stirrers, cutting them with the mitre saw to lengths that allowed 2 inches for each block.  So the first one is 2 inches, then 6 inches and so on, 10 inches, 14 inches and finally 18 inches for the bottom shelf.  I laid the tree flat and added a thin line of E6000 to the back of the paint stirrer and placed them on the tree where I wanted the shelves.

DIY Advent Blocks Pallet Christmas Tree

I decided to use scrap wood strips to frame the tree, just cutting to length with my mitre saw and using my Ryobi nailer to attach.

I hope you enjoyed the project and the blocks as much as I did!  Visit Artists on the Block for more news, updates and projects as artist trading blocks take over the mixed media community!

Be sure and visit other projects using the blocks in the Stencil Girl and Sizzix Artist Trading Blocks Hop

Blog Hop Order

SGSIZZIXBLOGHOP

Newspaper Crafts HGTV Style

Recycled newspaper coaster tutorialNo newspaper passes from these hands to the recycling center, nope. There are way to many uses for them to let that happen.  I was reminded of my coiled newsprint crafting days by HGTV’s roundup of creative newspaper projects to make.  Decorate your fingernails, your shoes, even create your own woven gift bags from this abundant supply.

Still on the lookout for crafts using recycled materials?  We’ve got you covered…

RecycledProjects

Just scroll through using the arrows to see all of our recycled craft projects!
[Not a valid template]

Easy DIY Number Vintage Plate Wall

[pinit]Make a Number Plate Wall @savedbyloves[pinit]

I saw this idea in Flea Market Magazine and had to give it a go.  It is super fast and easy, and costs not much.  You don’t even need to buy plate wall hangers.  I will be showing you a cheap way to display your plates on the wall using safety pins!

DIY Plate Wall

Supplies:

Collect old plates from flea markets, thrift stores, garage sales

E6000 Industrial Glue

Safety Pins

Numbers cut from Scrap paper

Glossy Accents or other craft glue

TUTORIAL:

Plate Wall Tutorial

Glue your numbers onto the plates.  I cut mine from scrapbook paper using my cricut.  I measured each plate diameter to determine what sizes to make the numbers.

How to Hang A Plate

Using E6000, glue safety pin onto back of plate, making sure it is centered so your number hangs upright.  Let dry overnight.

DIY Tutorial Numbered Plate Wall

Hang on wall in desired design.  That is it!

DIY Numbered Plate Wall

DIY Mixed Media Portrait On Reclaimed Wood

[pinit]
How to Paint Mixed Media Faces


[pinit]

Today I am sharing how to create a mixed media portrait on scrap wood.  This project involves layering acrylic paint, distress ink and paper with Mod Podge for a unique and personal piece of art that is all you!  Some of you may be thinking, “but I can’t draw or paint”.  Yes you can.  Last year at some point I ordered a video from Cloth Paper Scissors Called All about Faces, with mixed media artist Julie Fei-Fan Balzer.  This fantastic workshop helped me overcome my fear of creating faces, and drove home the fact that we may not all be able to draw realistically, but we can all draw and our art will get it’s point across!

SUPPLIES:

Mod Podge Matte

Foam Brushes, Watercolor brushes size 0, small and med round

Gesso and Brush

Scrap Wood

Collage paper scraps

Acrylic Paints:  Titanium White, Titan Buff, Burnt Sienna, Red, Black, Aqua, Blue, Green Used here

Distress ink Pads Walnut and Antique Linen

Brayer

Background stamps

White Gel Pen

Graphite Pencil

Eraser

All About Faces with Julie Fei-Fan Balzer

TUTORIAL:

Paint scrap wood with gesso

I cut a scrap piece of 3/4 inch plywood into two 12 inch squares and painted a layer of gesso on top of each.  Let dry.

Mod Modge Mixed Media Art

Cover gesso in thin layer of Mod Podge, then adhere random collage papers in coordinating colors.  Cover papers with layer of Mod Podge and let dry.

Brayer paint onto background

Run a smooth or textured brayer through 2 colors of acrylic paint that coordinate with your background papers.  I used green and Titan Buff.  Randomly run brayer over papers to create background interest.  Add one or 2 drops of alcohol ink in to leftover paint and brayer in different areas.    Let dry.

Mixed Media Techniques

Sketch outline of object.  Fill in skin  and clothing with acrylic wash (water plus paint) and dab with paper towels to reveal paper underneath until you are happy with the look.

How to Paint faces

Paint in the details as shown and let dry.  Outline with fine detail watercolor brush and  black acrylic paint.  The video linked above gives great tips for face painting, but basically use 3 colors; light, medium and dark for creating the dimension.

DIY Mixed Media Portrait Tutorial @savedbyloves

I ended up tearing strips of washi tap and filling in the arms and skirt.  I used distress stain to color the skirt.  I stamped “Love” with black acrylic paint.  The lettering around the head I did with size 0 paintbrush and black acrylic paint.  Play with hand lettering on scrap paper to get the feel for it.

More mixed media to come!

DIY Faux Wood Pallet Sign With Foam

[pinit]How to Make a Faux Pallet Sign @savedbyloves @floracraft[pinit]

Remember over the summer when I shared how to make a faux wood pallet American flag from foam?  Today’s project, much like the flag, uses  Smooth Finish™, a paintable coating for FloraCraft® Make It: Fun® Foam to create what looks like wood pallet art, but weighs much less and doesn’t require power tools!  Follow along and see how to create this “LOVE” faux wood pallet piece.

Make a Faux Wood Pallet Sign

SUPPLIES:

Flora Craft Products

Smooth Finish™

Make it Fun® Foam 2 – 1″ x 12″ x 36″ sheets

StyroGlue®

Foam Cutter (you don’t have to have a special cutter, but it makes the process much easier)

Serrated kitchen knife waxed with candle or soap if you don’t have a foam cutter

Antique white chalk paint

Mod Podge Mat Finish

Antiquing glaze

Lint free cloth

Yardstick/straight edge and sharpie

Craft stick for stirring

Putty knife or spatula

Pre cut Chipboard letters or Die cut machine and cardboard

Black Screws

TUTORIAL:

Making wall art with styrofoam

I used three 6 inch planks for my wall art piece.  That means I cut the 12×36 inch pieces in half long ways.  Use a straight edge and marker to draw the line.

How to Cut Styrofoam

 I clamped two of the foam sheets together to cut them in half both at once.

How to Use Smooth Finish

Stir the Smooth FInish with a craft stick and apply with putty knife to foam.

How to Paint Styrofoam

Once the Smooth Finish is dry, paint with your choice of paint color.

How to make a DIY pallet sign

How to glue styrofoam

Insert connectors (about 3 for each connection site) and glue along entire slat edge.

How to attach styrofoam

I prepared my letters by cutting several of each from cardboard and gluing them together with paper cement.  I cut one each out of coordinating scrapbook paper, glued that as top layer, and sanded/inked the edges.  I used clamps and scrap wood to apply pressure to glued planks and let that dry overnight.

MakeItFun Foam Faux Pallet Project

I used short black screws for aesthetics, and glued letters to planks using Fabri-tac.  I hung my piece by piercing it with a single nail in the wall.  That’s it!  I adore my new piece!

Visit  Sharon at Crafts n Coffee Blog for great tips, tricks and project ideas using foam.

Privacy Policy