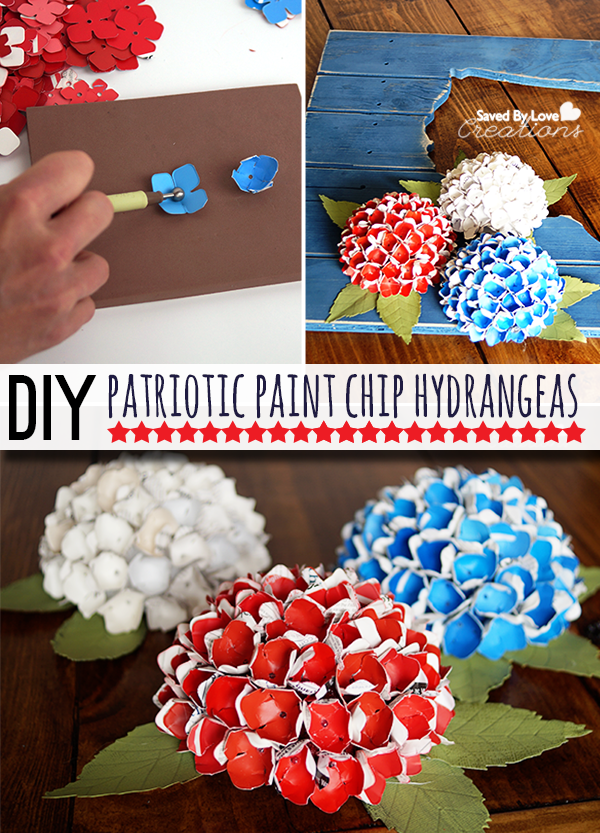
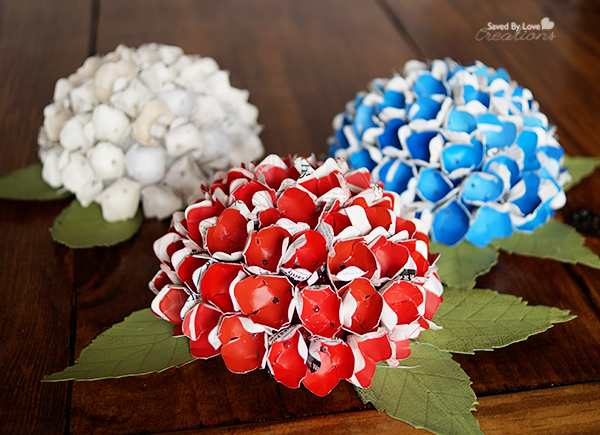
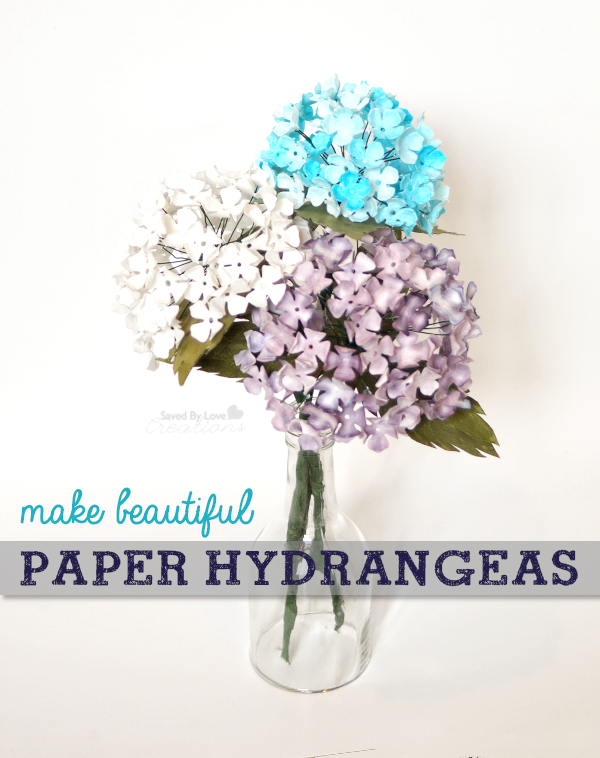
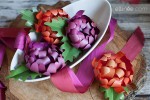
Show your American, upcycling spirit with this patriotic paint chip hydrangea craft! These make a lovely centerpiece for your summer festivities and Fourth of July party tablescape. This is a craft the kids can help with for some creative family time during school break.
Chalk Paint Map Decoupaged Table Revamp
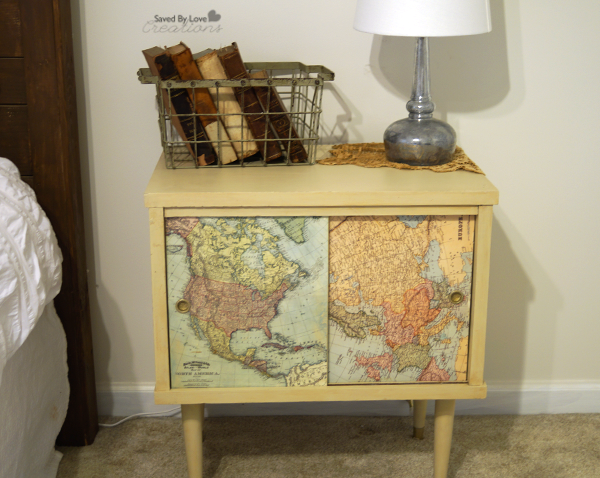
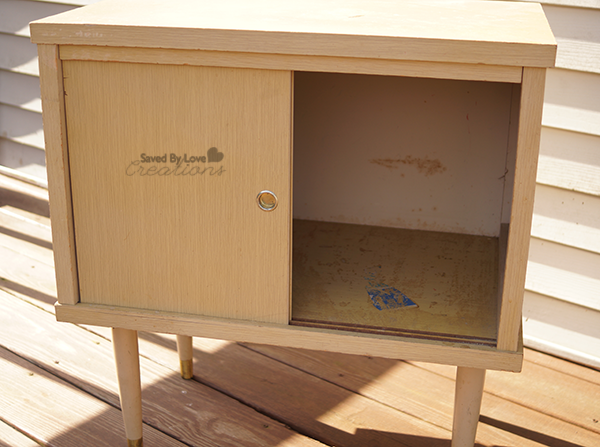
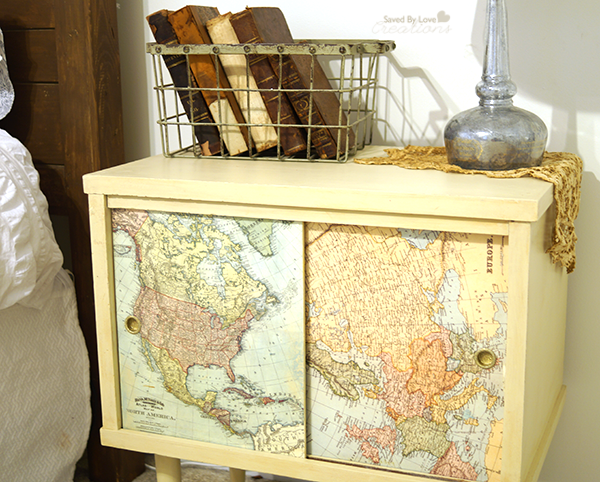
Today I am sharing another furniture flip! We will be taking a retro 50’s side table to a chalk painted, old map bearing, stylish addition to the master bedroom. A little decoupaging and glitter blast add a special touch. Let’s do it!
SUPPLIES:
Old table
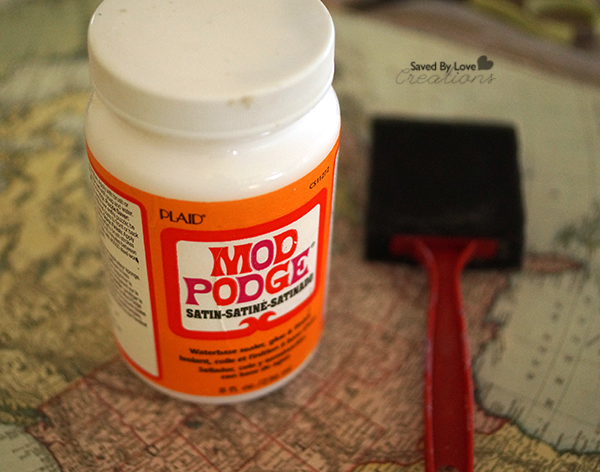
Mod Podge Satin Finish
Decoupage Map Paper from Martha Stewart or actual old maps
Foam Paint Brush
Pen or pencil
Scissors
Chalky Finish Paint in desired color
Americana Clear Creme Wax
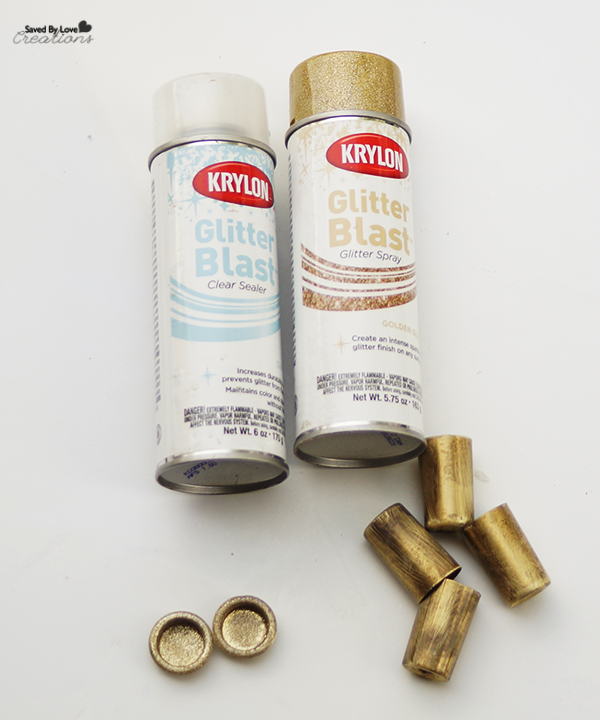
Krylon Gold Glitter Blast
Krylon Glitter Blast Clear Sealer
TUTORIAL:
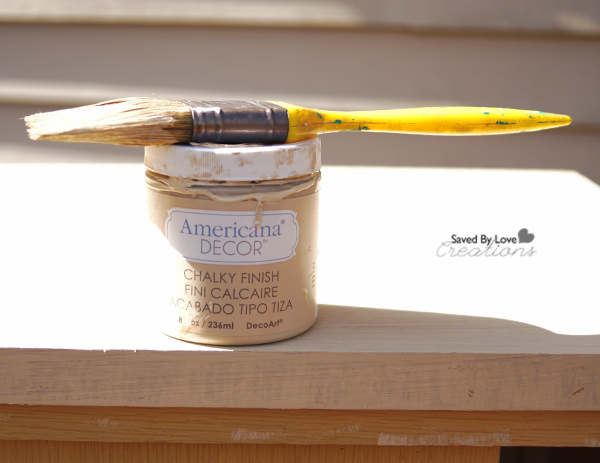
I lightly painted 2 coats of Americana Chalky Finish in Timeless, allowing 20 minutes to dry between each coat.
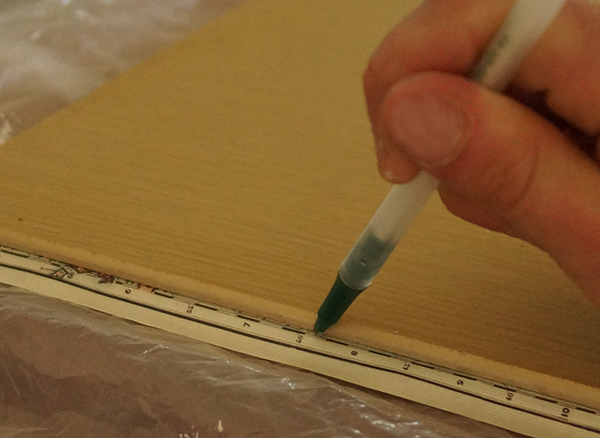
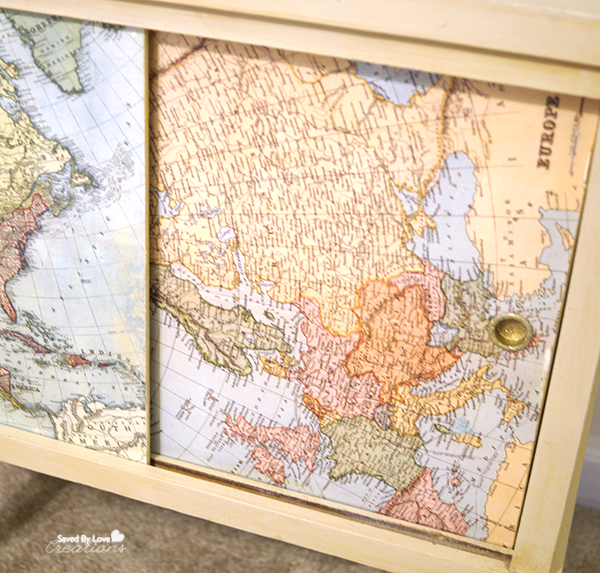
I removed the doors/hardware and outlined them onto my decoupage paper, then cut out the paper to size.
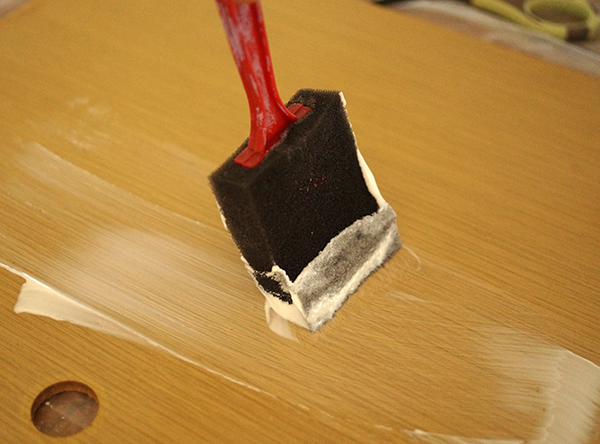
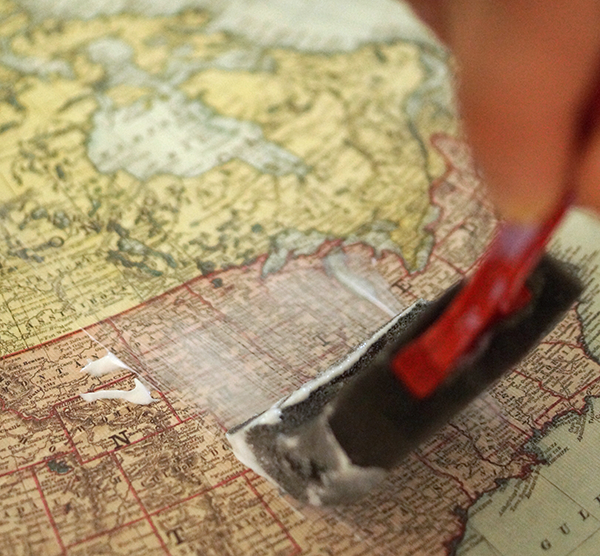
Next I added a layer of Mod Podge to the door surface with a foam brush.
I smoothed wrinkles out from the center with the palm of my hands. A brayer would work too. Then I added a uniform layer of Mod Podge to the top of the map paper to seal everything.
I sprayed the pulls on the door, and the shoes on the table legs with Krylon Gold Glitter Blast.
I applied a coat of Americana Decor Creme Wax in clear to the whole piece and replaced the glittery hardware once everything dried.
I love our new side table. Just the perfect colors and style for our decor.
I hope you are inspired to get chalky and decoupagey!
DIY Paper Hydrangeas
[pinit]
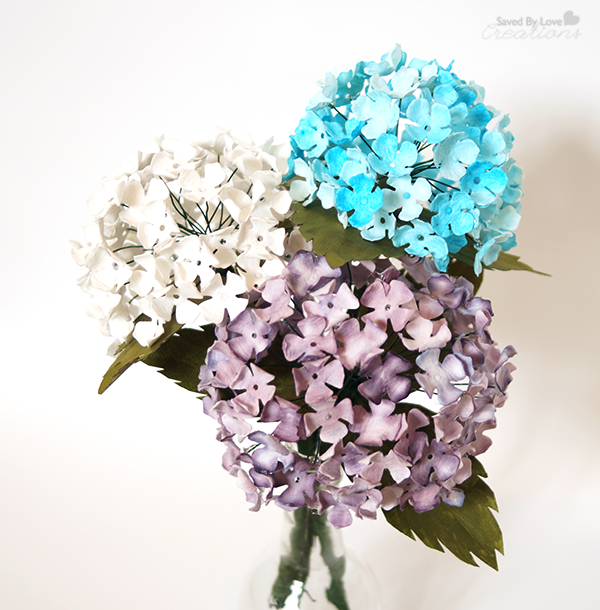
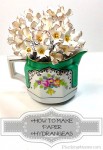
What is better than a bouquet of fresh hydrangeas? A bouquet of paper hydrangeas that don’t ever wilt! Today I am sharing with you this easy, however time consuming, paper hydrangea tutorial. I am going to be upfront here… this project to me way longer than I expected. That said, it is a perfect way to keep creative while chilling in front of your favorite t.v. series. I used a Sizzix die for my project, but Lia Griffith has a great Paper Hydrangea Printable Template and DIY that I featured at Printable Decor recently.
I used wonderful filter paper that I got from Materials for the Arts in Bloomington. If you are a crafter/artist and don’t have a relationship with your local recycling center, you could be missing out big time!
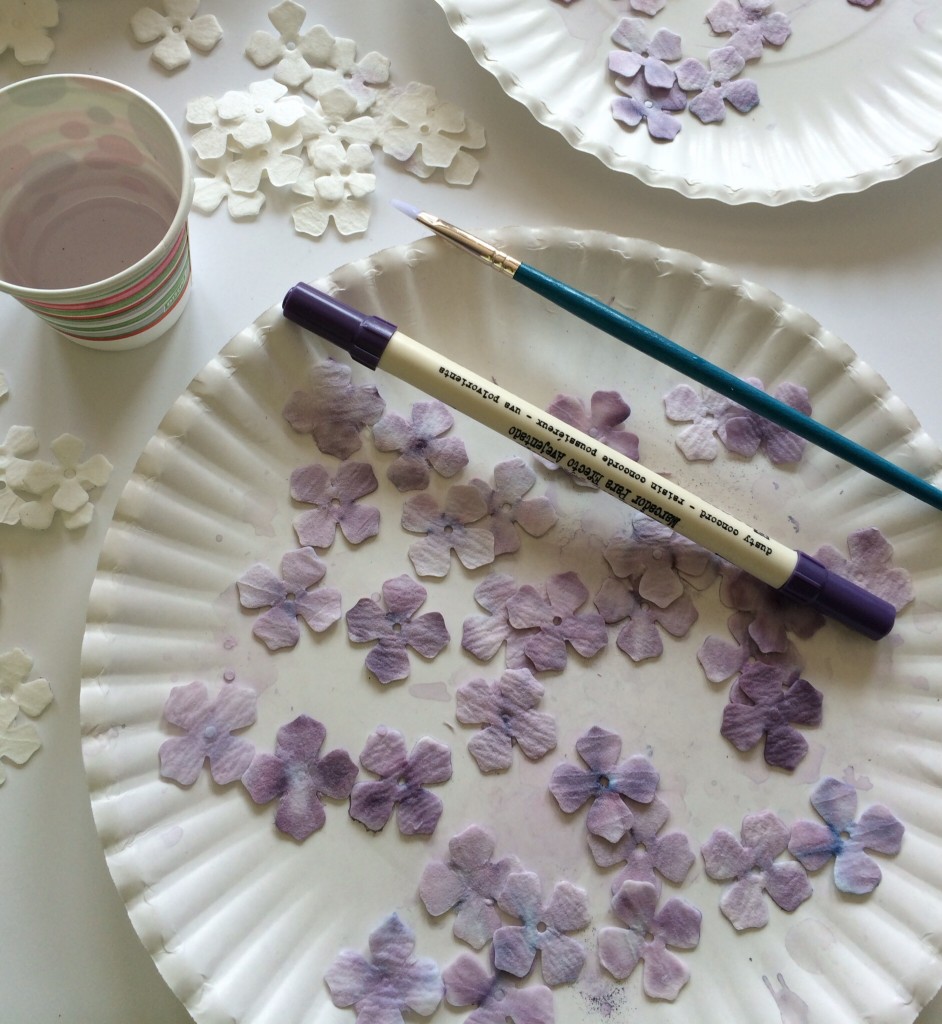
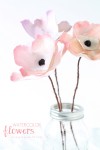
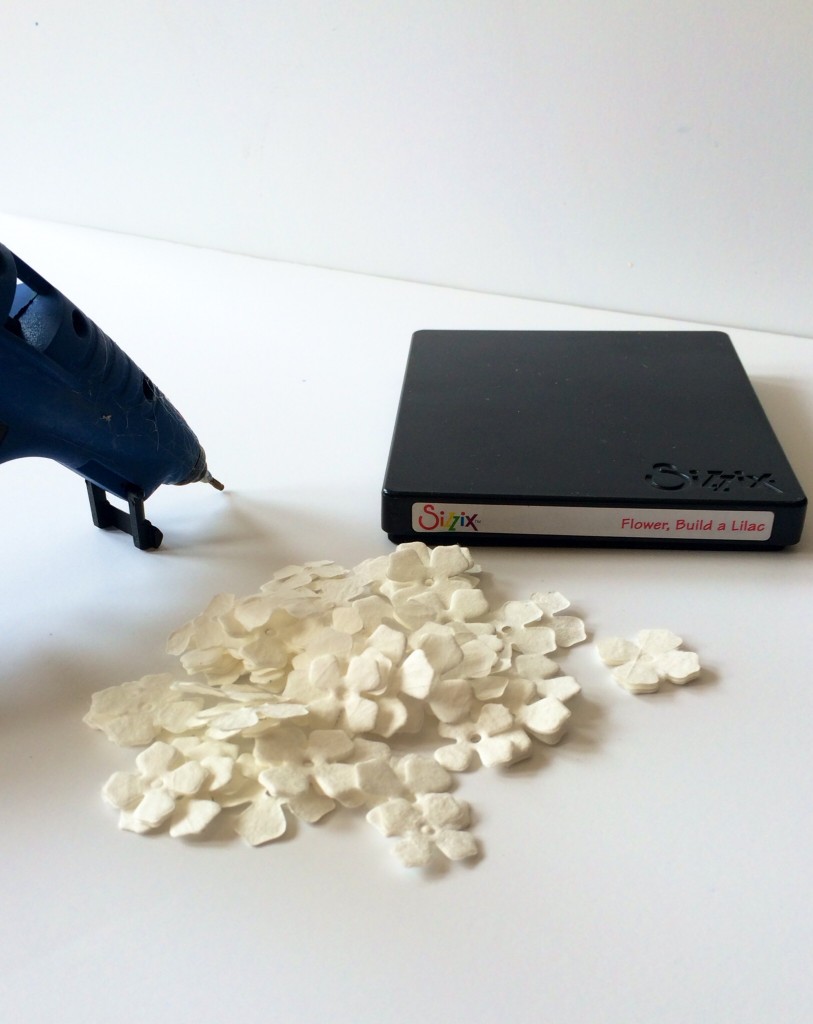 I die cut the petals with my Sizzix Lilac Die and colored them with distress markers. For a watercolor effect I painted over the marker with a wet paintbrush. You could use watercolor or acrylics too.
I followed Lia’s tutorial linked above to assemble my flowers. Holy ninjas, that took forever. It was totally worth it though.
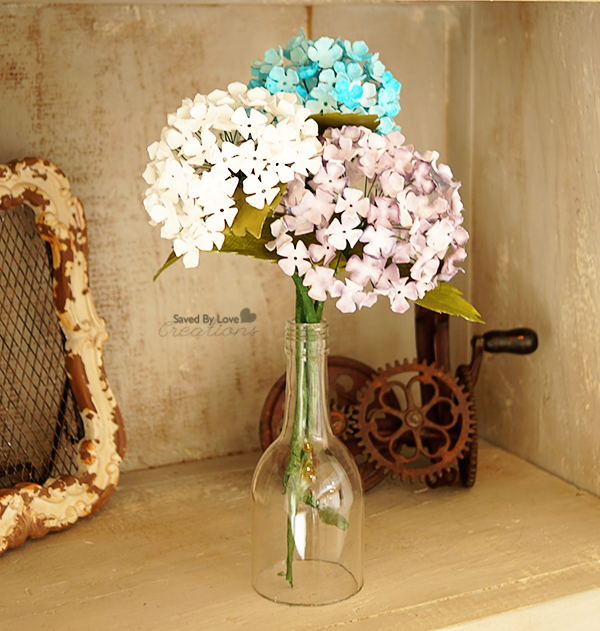
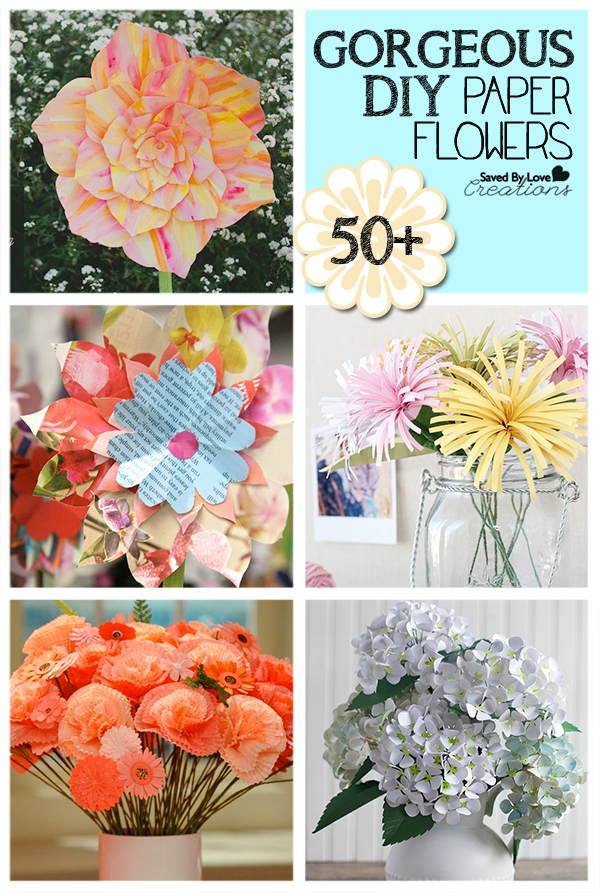
For more paper flower tutorials and awesomeness, visit our 50+ DIY Paper Flowers Roundup;
50 Plus Gorgeous DIY Flowers to Make
Whether you are decorating for a DIY Wedding, spring our summer party, or simply want to make your space more beautiful, this roundup of DIY paper flower tutorials is a great place to start! We have gathered our 50+ favorite handmade paper flowers from all around, and you are sure to find what you need to add some zero maintenance, everlasting floral decor to any occasion. Enjoy!
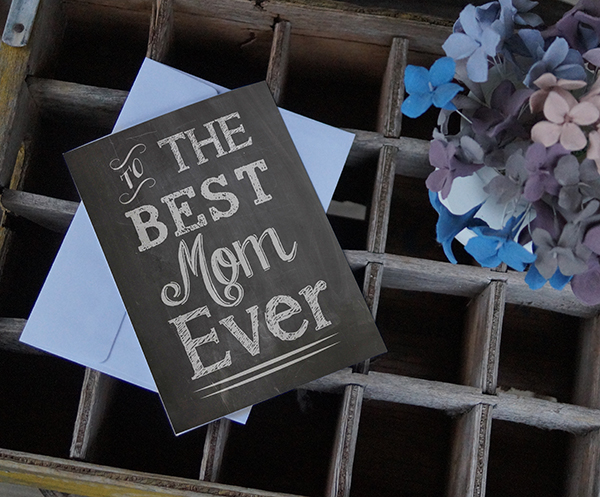
Free Printable Chalkboard Mother’s Day Set
Head over to Printable Decor for this exclusive Free Printable Chalkboard Mother’s Day Card Set for Mom, Grandma and Aunt!
Dollar Store Craft Make $3 Wall Art Trio
[pinit]
[pinit]
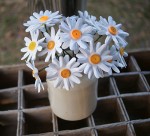
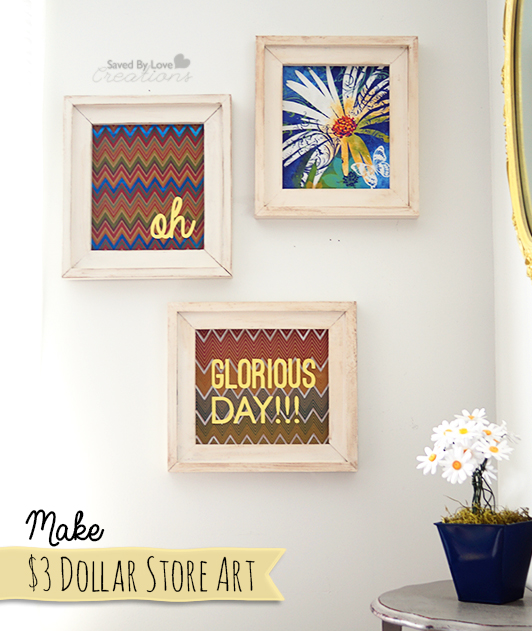
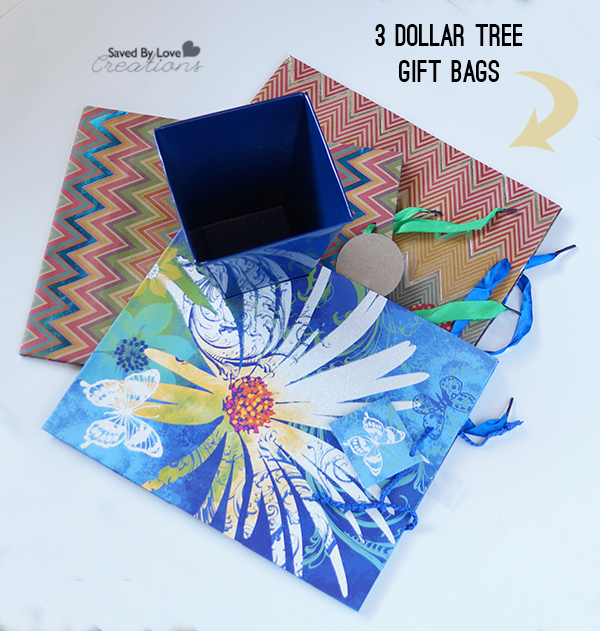
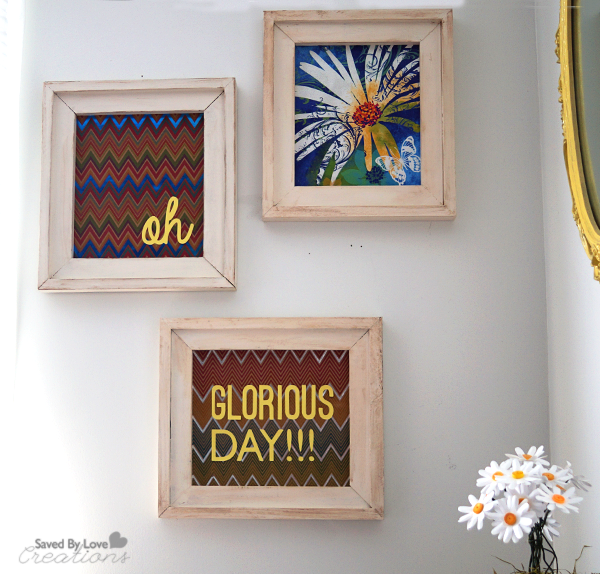
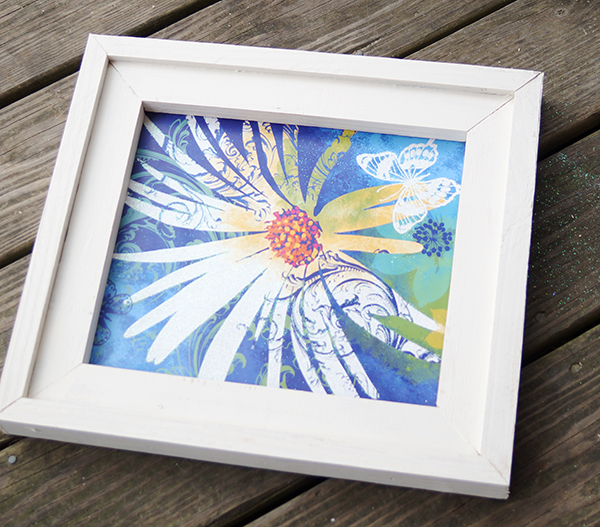
I am so excited to share with you this great Dollar Tree wall art project that you can make for $3! I found some adorable spring/summer print gift bags on my most recent trip there and decided to bring them home and make barn wood frames from scrap wood for them. While there, I also grabbed the coordinating navy blue planter, knowing I would put the DIY Paper Daisies I showed you last spring in there to go with the daisy on one of the cute gift bags. Once I got the three bags framed, I decided there needed to be text on the chevron backgrounds, so I cut out “Oh Glorious Day” using my Cricut. You can get the cut file too!
Here are the three bags. I loved the daisy and the chevron prints in coordinating colors on the other bag.
TUTORIAL:
I measured the bags to see how big to make my frames. I decided I wanted the opening to be 9×10 inches.
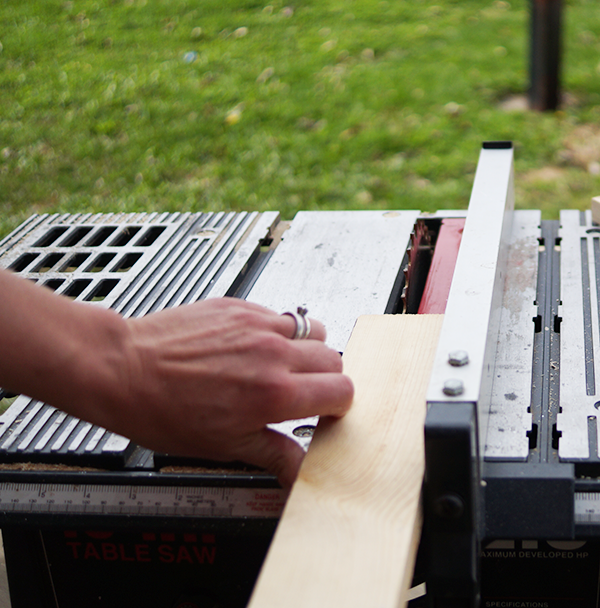
I shared an Ana White Barnwood Frame Plan in this DIY Barnwood Frame Tutorial with Free Printables. For this project, I wanted different dimensions and learned a couple of tricks I want to share along the way. I wanted to use 1×2 inch boards, but didn’t have enough of that dimension on hand, so I ripped 1×4 scraps with my table saw by setting the guide arm at 1.5 inches (which is the actual width of a 1×2 board). I
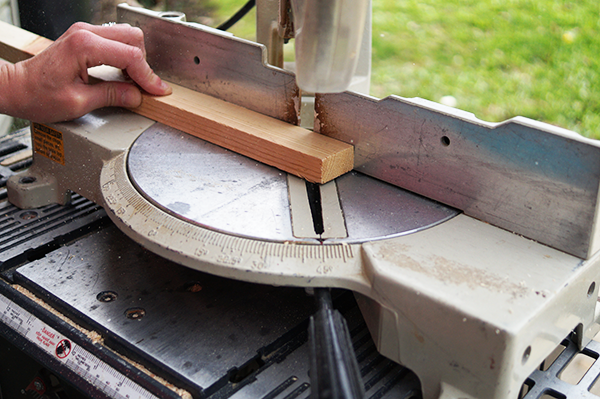
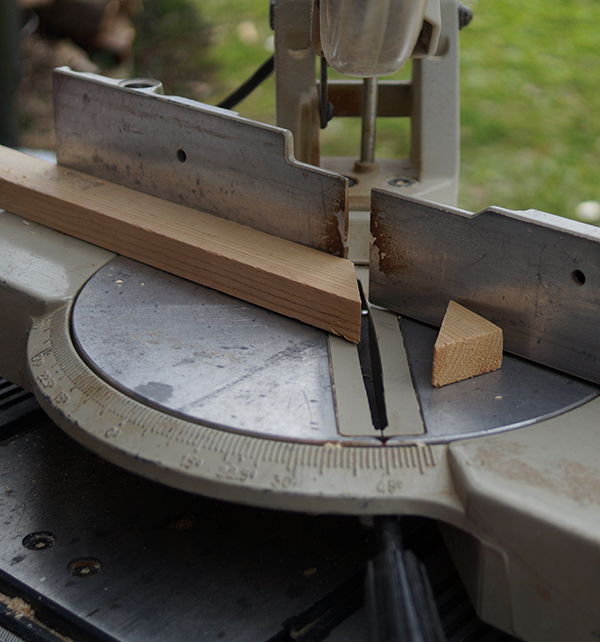
Next I set my miter saw to 45º and cut one end of my homemade 1×2.
I measured from the short inner point of the angle 9 inches over and cut the other side going the opposite direction (so I moved my miter saw 45º to the left).
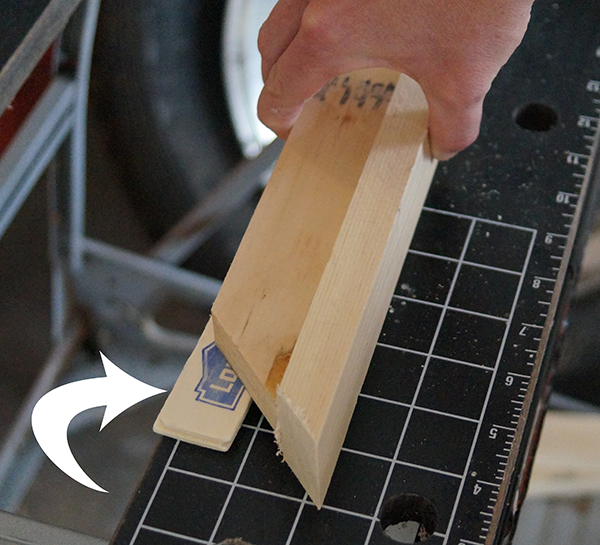
I lined the inner frame up with 1×2 flipped up on its side to know where to make the 45º cuts for the outer frame. This was easier and quicker than measuring! I used 2 paint stirrers to give me the thickness for attaching the inner frame to the outer so that the back of the frame would be recessed for my foam mounted gift bags (foam mounting happens after the frames are made, see below).
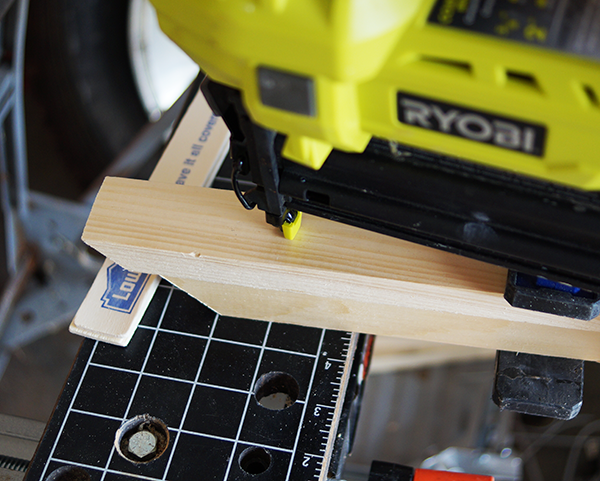
Use wood glue at the join and clamp the inner and outer frame together. Nail in place with 2 inch nails. Did I ever tell you I love this Ryobi AirStrike cordless nailer? I do. It is a go to tool for me. So easy to use, CORDLESS, goodbye hammer and nails.
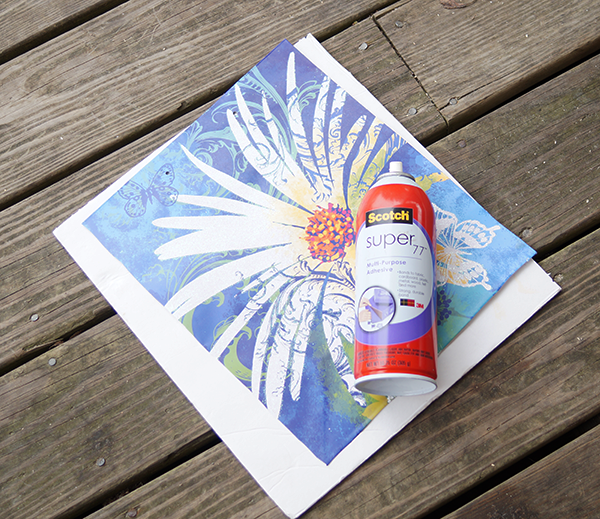
Cut foam board to fit in the back of the recessed frame. Cut the desired image area off of the gift bag and adhere it to the foam board with Super 77 or other mounting adhesive.
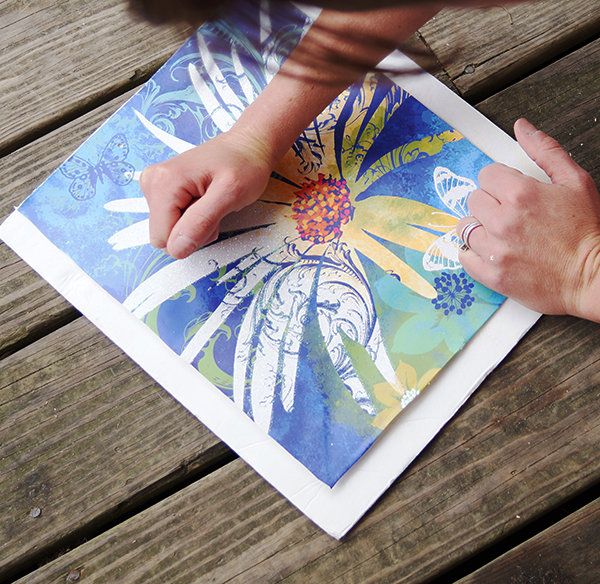
Smooth wrinkles from the center out with your hand.
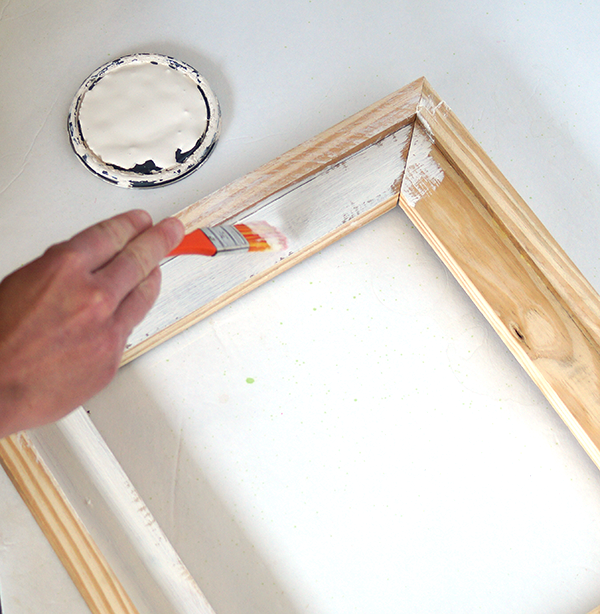
Paint frame with color of choice. I used white chalk paint and antiqued the edges with FolkArt Antiquing Medium . I sealed with Krylon Clear Coat Matte Finish because it was nice outside and I was excited that I could use spray sealer after such a long winter! Wax or varnish would be fine too.
Since the foam board is cut to the same dimensions as the recess in the back of the frame, the picture pretty much fits and stays. I used clear packing tape to secure it in place.
I used Coordinations adhesive cardstock in yellow and my Cricut with SCAL software to cut out the text, which I created in Photoshop (“oh” is “Always in My Heart” font and “GLORIOUS DAY” is Ostrich Sans Black). Since the paper was adhesive I just peeled off the letters and put them on the chevron patterned framed backgrounds like you see in the photo. You could use the cut file to make a stencil and paint the letters on, or print them in your favorite color and cut them out by hand too.
Attach sawtooth hanger or wire to the back to hang!
How to Make Your Craft Storage Beautiful
[pinit]
[pinit]
Hello there, SBLC readers! This month I have a fun and really quick project for you. I just finished repainting an old desk that took me nearly a week. While I love how it turned out, I was ready to create something cute that only takes a few minutes.
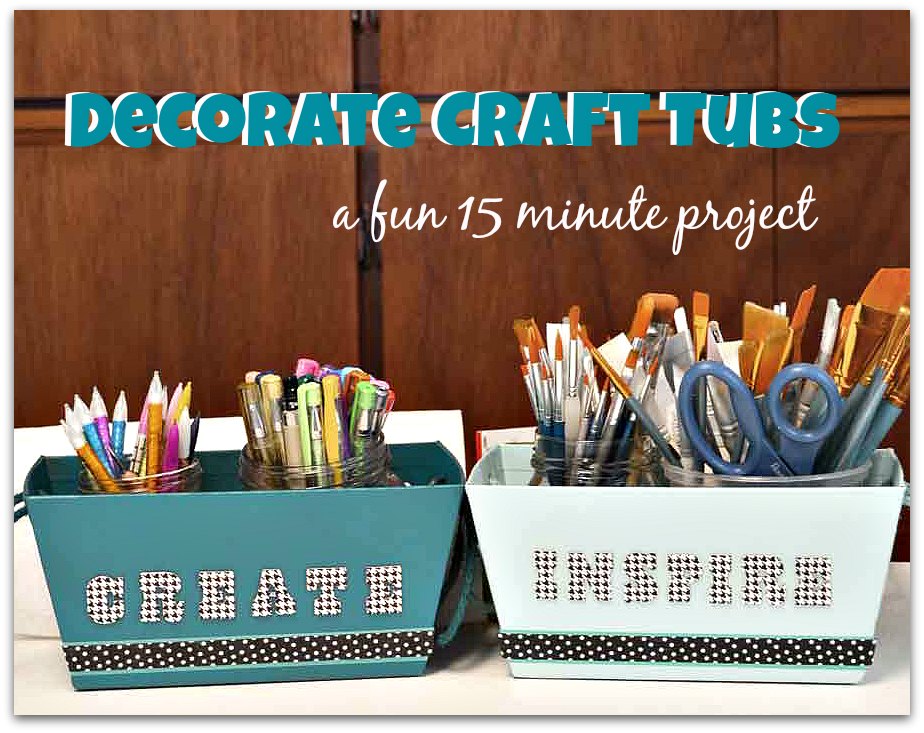
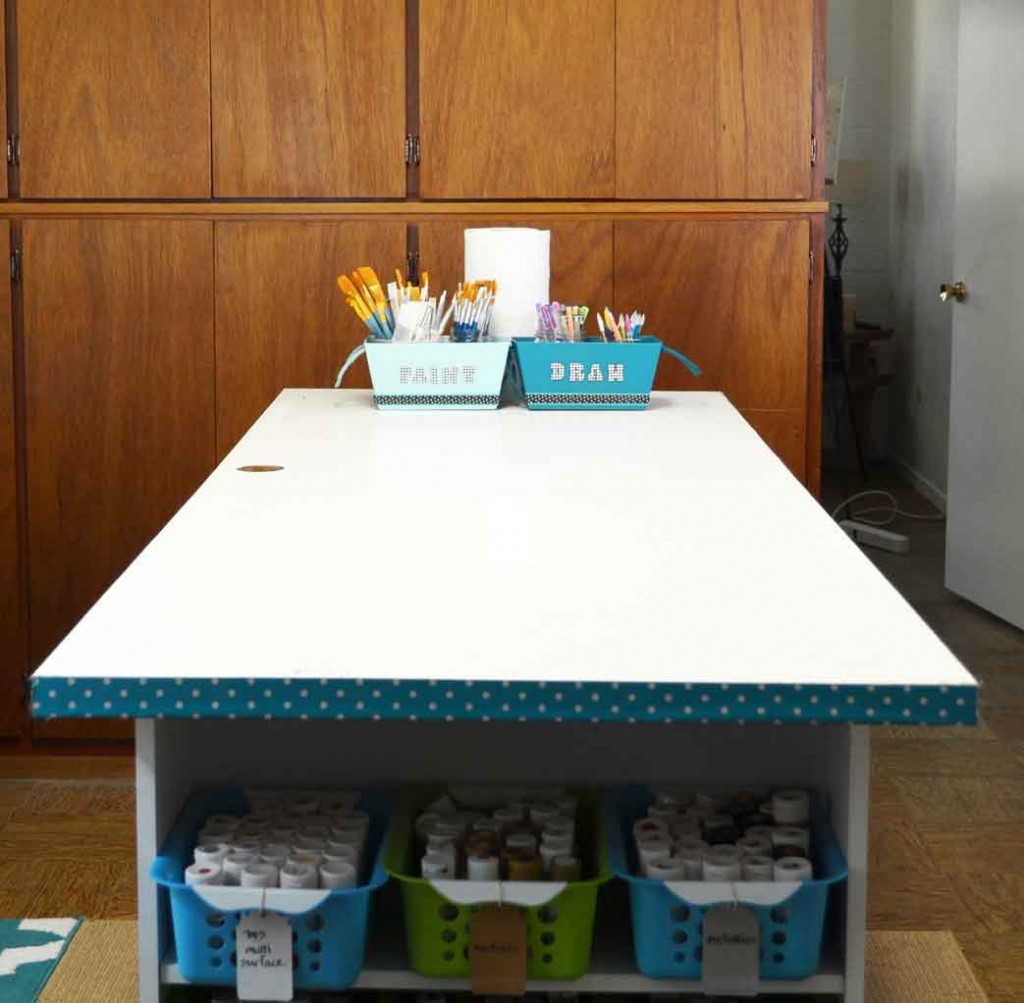
I found these cardboard tubs at Target in their Dollar Spot. That place is dangerous! I snagged two, resisting the temptation to buy them all. I thought they’d be the perfect size to corral my paintbrushes, pencils and pens that are always everywhere but where I need them to be when I want them.
I had these pretty aqua and turquoise spray paints on hand and gave the tubs a couple of quick coats. The Krylon is Ocean Breeze and the Rust-oleum is Satin Lagoon, if you’re a turquoise-lover like I am.
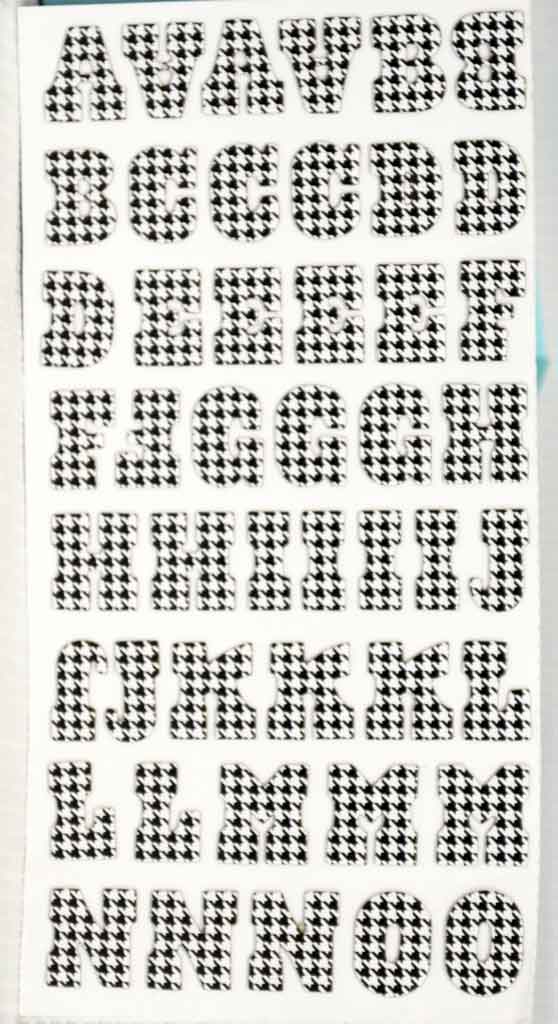
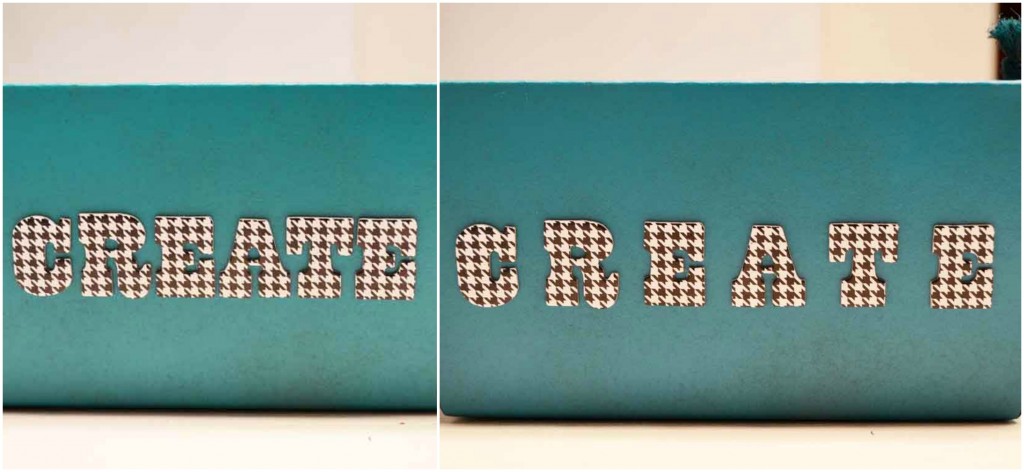
I picked these houndstooth sticky letters up at TJ Maxx a while back, without any idea what I’d use them for. Perfect for labeling some craft tubs.
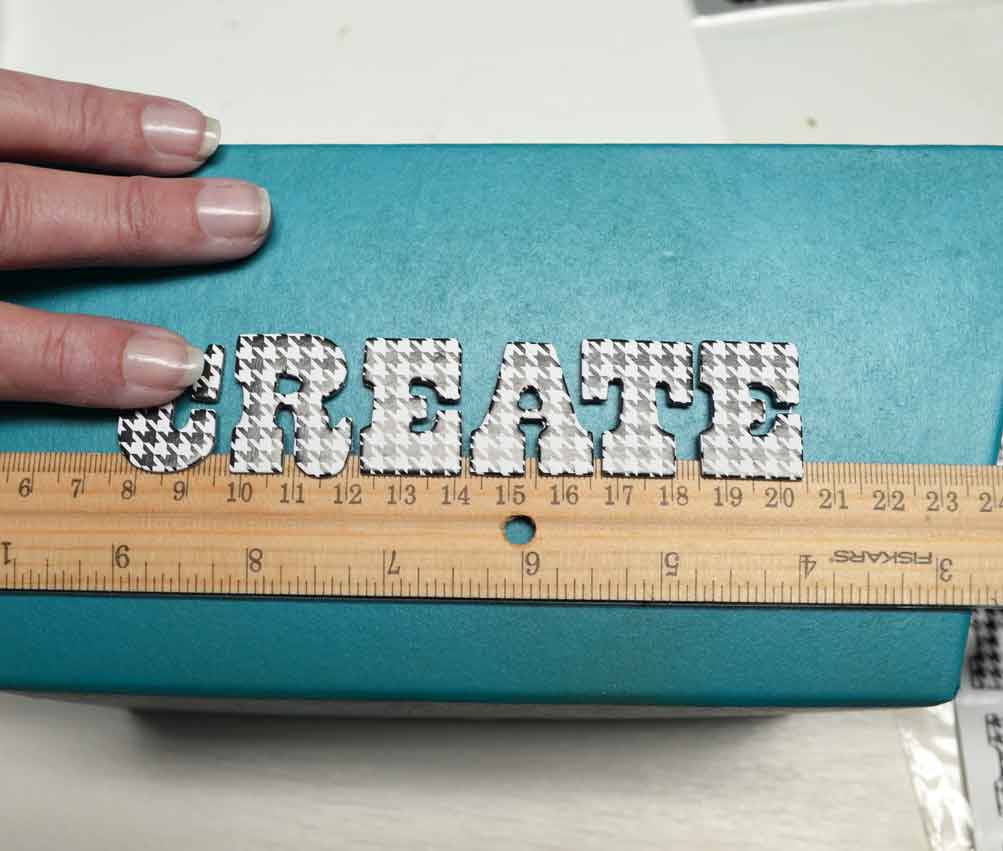
To get them to line them up straight, place the bottoms of the letters on one edge of a ruler, or any straight edge.
Gently press the tops of the letters onto the tub, give the ruler a little twist, and the letters will pop right off, staying in perfect alignment.
Only one problem though . . . with the letters too close together, the houndstooth pattern made it hard to read the word. So I just popped them off, lined them up on the ruler again, farther apart this time, and pressed them back down. Much better.
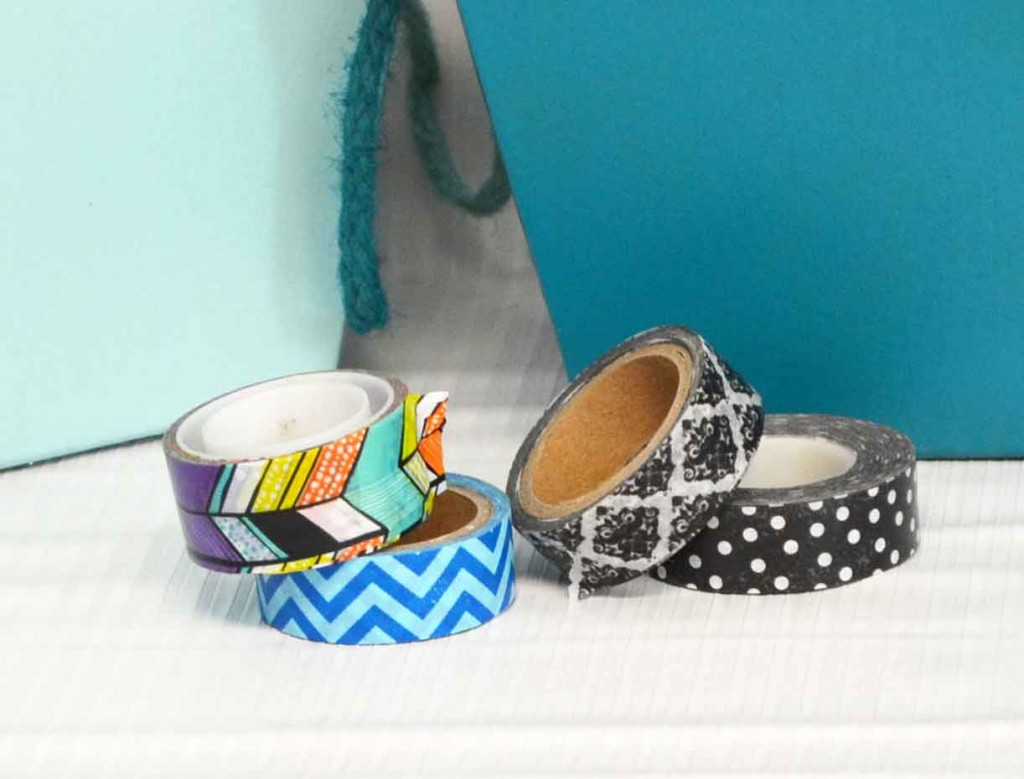
Some other goodies I found in my craft stash were these rolls of washi tape.
Have you used washi tape yet? Oh wow, is it fun! It dresses nearly anything up in a snap!
My first attempt was a little too . . . busy, what with the houndstooth already. But you can play around with the letters and washi tape for quite a while without losing too much adhesive and eventually you’ll find a design that works just for you.
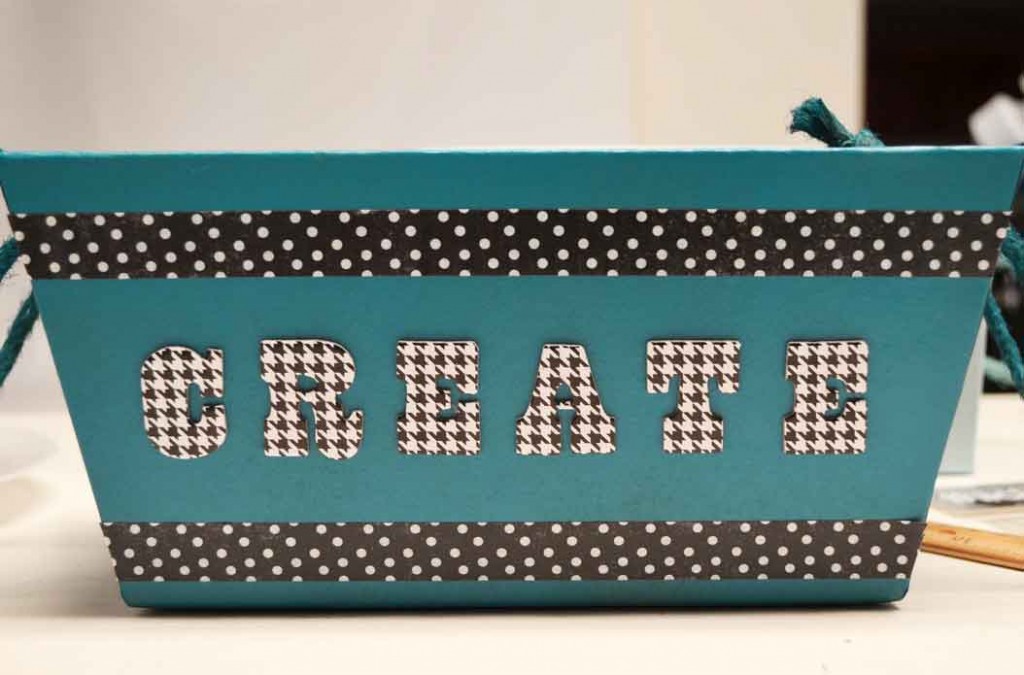
I wound up layering two tapes, first a plain turquoise and then the polka dots on top of that. So there’s color and just a little extra pattern, without making your eyes go too buggy.
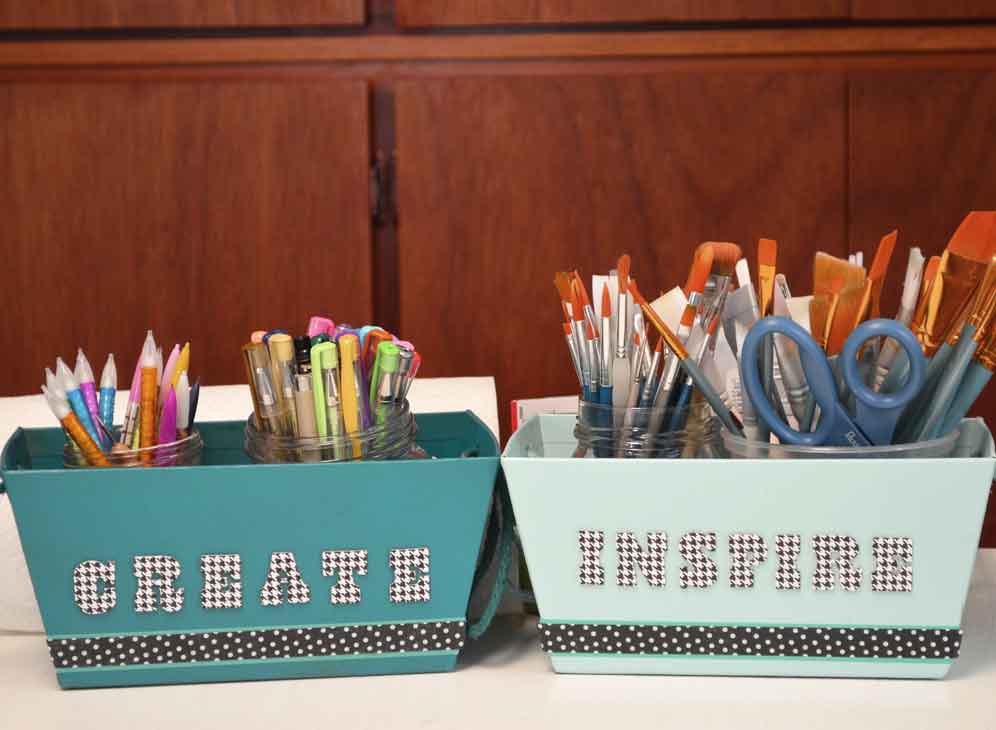
Then I loaded them up. The turquoise tub says “Draw” on one side and “Create” on the other and holds my pencils, gel pens, and pigma markers.
The aqua tub says “Paint” and “Inspire” and holds some of my paintbrushes. The brushes I use the most often. Yes, I have quite a collection having painted for nearly 20 years. I actually have more markers too but I don’t use them as often so they’re tucked away on a shelf.
Of course, if Target still has some of these tubs, the markers might just wind up on my worktable with the rest of the group.
Yeah, I have a huge worktable. It’s actually a door, set on top of two bookshelves, so it measures 30″ wide by 80″ long.
And that’s why I need these craft tubs . . . because my worktable never really looks like this pic above.
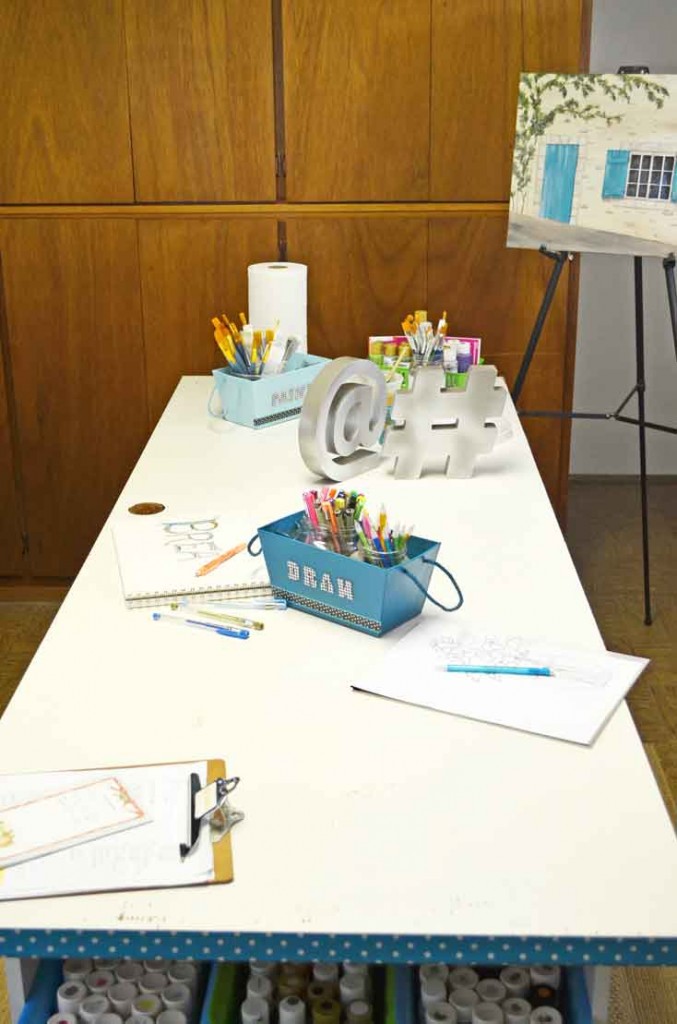
No, this is more like it, with four or five projects going at once.
So if I’m doing some sketching, I grab my tub of pencils and pens and have everything I need. I usually have two to three paint projects in progress so it’s really helpful to grab all of my brushes at once, wherever I’m working in the studio.
I also love the subliminal reminders. I love to draw and paint and I create to inspire others to do the same.
Of course, if you don’t have little tubs like these, you could decorate a shoebox or any other box with a little spray paint, some stick-on letters and washi tape in a matter of minutes. And choose some words that have a special meaning just for you! It’s a great project when you need to get those creative juices flowing but you don’t have a ton of time.
When you do have a little more time, stop by Just Paint It and say hi. I’m getting ready to do some PIY Spring Flowers. (PIY = Paint It Yourself) You can always find me on Facebook, Google+, Pinterest and Instagram too.
Happy Crafting!
More SBLC Storage ideas:
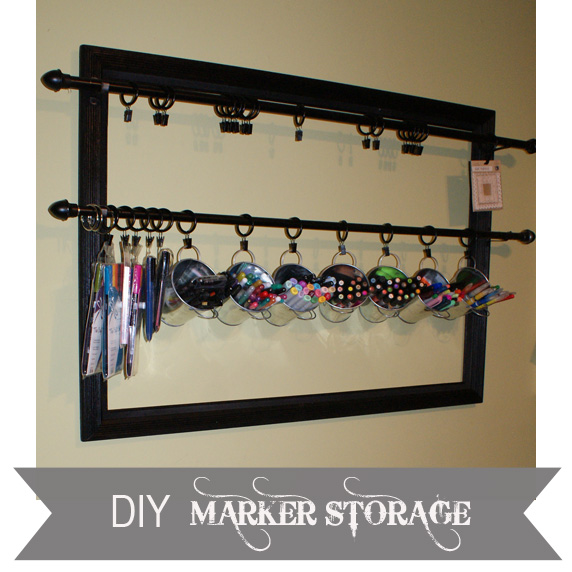
Wanna see how to store your markers for next to nothing? Click the following image…
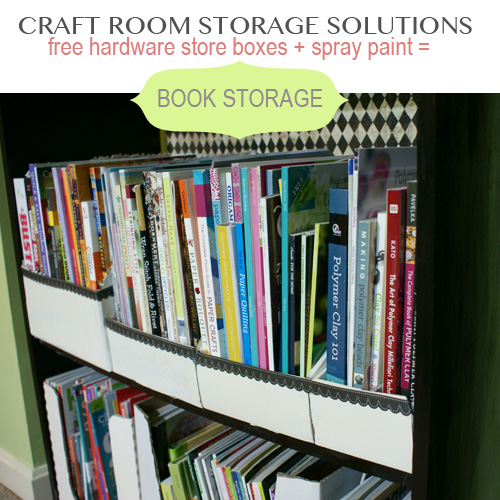
How about some free, stylish book storage? Click the image below…
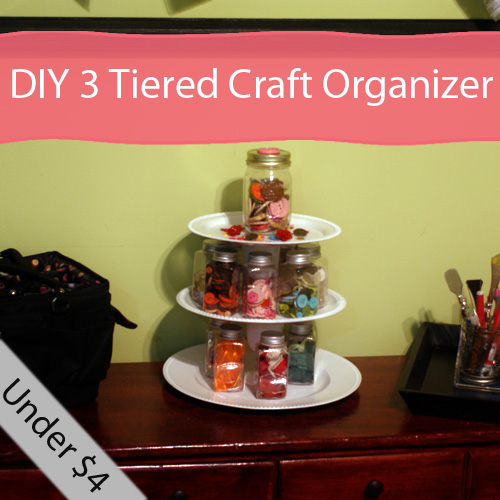
And here is a quick and easy dollar store 3 tiered organizer DIY:
Finally, for some more fun ideas to use those pallets, check out my 50+ pallet project roundup;
I hope you got some good ideas here today. Thanks for reading!
xoxo,
DIY Party Pom Poms
Hey lovelies! It’s Barbara from Chase the Star and in case you don’t know, I love simple and cheap projects! We recently celebrated my son’s birthday with a fun, yet very ‘DIY’ party at our house. One of the easiest decorations I made was party poms, we skipped the balloons and went with poms throughout and they were a hit!
DIY Party Poms
[pinit]

[pinit]
Sure you can buy party poms at the store, but they are not budget friendly! For a fraction of the cost and just a few minutes you can make your own party poms!
Want to liven up your next party? Here’s how to DIY Party Poms:
Materials:
Pack of gift tissue
Pipe Cleaner
Scissors

Directions:
Step 1:
Lay the tissue on a flat surface, and smooth the sheets out. Start folding the tissue accordion style from the short side of the batch, until the entire pack is folded.

Step 2: Tightly wrap the pipe cleaner around the center.
Step 3: Snip the ends of the folded tissue in either a rounded or pointed shape (you can get really creative here!)

Step 4: Peel each tissue back towards the center, until you have the shape you like!

Repeat, repeat, repeat! You can make these larger or smaller by adjusting the amount of tissue sheets you use. I also love the look of these to decorate a fun space in the house like a kid’s room or nursery, playroom, or a modern living room!
Our son thought these were ‘way cool’, and so do I!
What do you think? Would you substitute balloons for DIY Party Poms?
Stop by and see the rest of the party and even more DIY projects, crafts, and recipes at Chase the Star! Don’t forget to follow Chase the Star on Facebook, Google+, Pinterest, and Instagram!
See you next time!

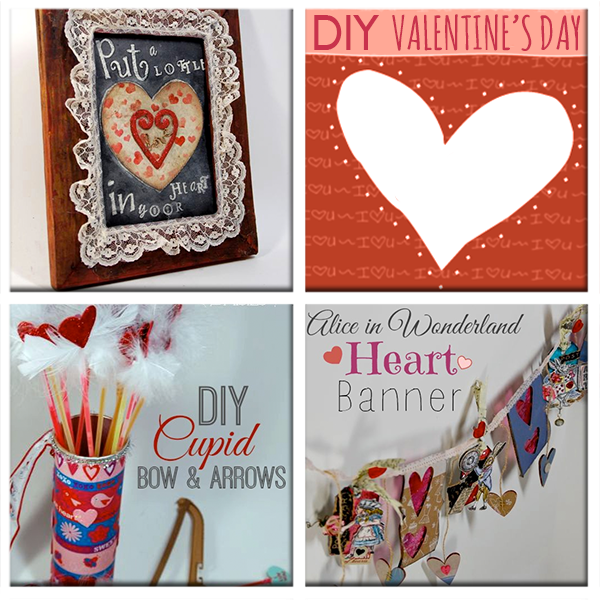
Valetine’s Day DIY Projects from Plucking Daisies
[pinit]
My friend Amy at Plucking Daisies has some fun DIY Valentine’s Day projects that I want to share with you today. I have always loved her style. It all started over Sizzix and paper flowers. She is my flower hero! The two of us have only spent time together in real life twice but it seems like we’ve know one another since childhood. She brings me such joy, both through her art and her friendship. Check out her mad skills and be inspired!
Recycled Packaging Heart Banner
Faux Barnwood Chalkboard Frame
Printable Chalkboard Valentines
Bitter Coversation Heart Centerpiece
Find over 50 ways to decorate for Valentine’s Day:
50+Valentine’s Gifts to Make
Polymer Clay Valentine’s Angel
[pinit]
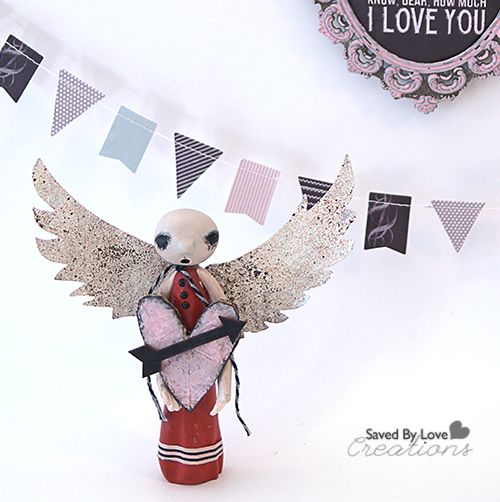
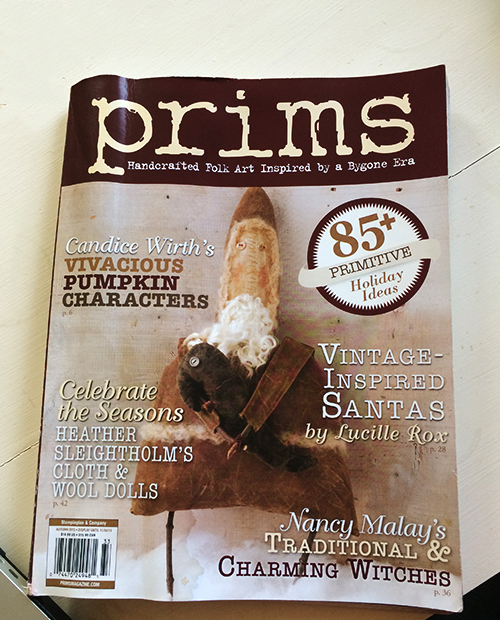
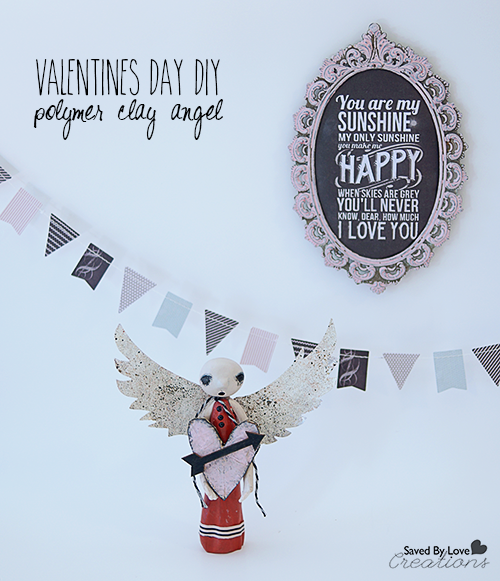
It has been awhile since I brought you a polymer clay project, and today’s is a sweet Valentine’s Day angel for you to love! The inspiration for this project came from Prims, a publication I recently started enjoying. It is a simple process that requires just a few basic supplies. Most of the shaping of the clay is done by hand. Other than the clay, all you need is acrylic paint, and some paper crafting embellishments to create your own whimsical figure!
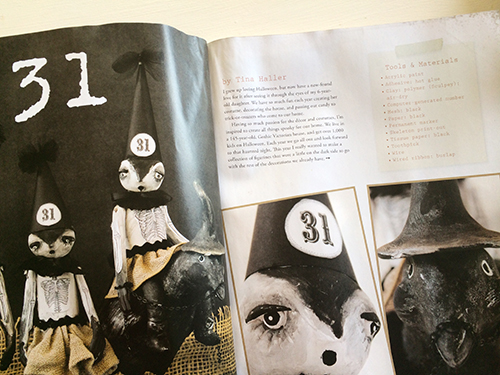
Here is the publication that gave me the idea; Prims Holiday Edition .
Tina Haller made these adorable Halloween clay dolls. I went with a Valentine’s Day version!
TUTORIAL:
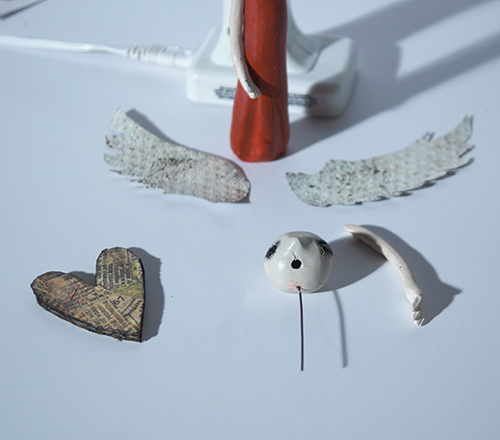
Create the head, arms and body in separate parts with conditioned polymer clay. I used scrap clay for this part. I wasn’t sure what color I wanted in the end, but it didn’t matter since I knew I could paint the doll whatever color I wanted with acrylic paint.
The arms are long and skinny, which lends to the creepy Tim Burton kind of feel. I used scissors to cut the fingers. For the red gown, I used a marker to shape the rolls. Just use what you have on hand. The most useful sculpting tools you have are your fingers.
For the eyes and lashes and mouth, use a toothpick or needle tool to etch the lines. Pinch with fingers to make the nose. Bake each piece with wire inserted where it will attach. I bake at 250° for 1 hour.
Paint the pieces as desired. Attach together with super glue, which works great for polymer clay.
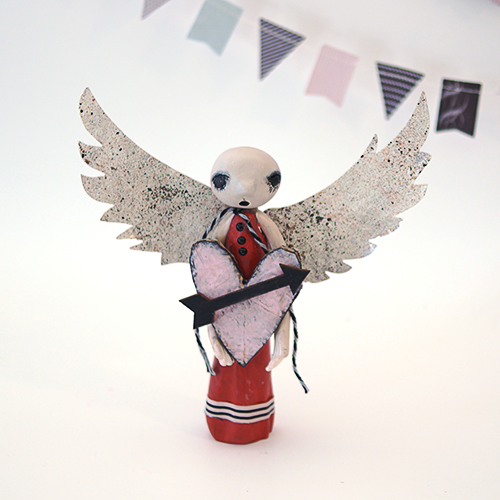
For the wings, I used aluminum cans and cut them with the Sizzix Angel Wings Die. I embossed with a dots folder and used ICE enamels by Susan Kazmer.
The heart I cut from corrugated cardboard and covered with washi tape, which I then painted with Distress paint pink. I outlined the edges with my Black Soot Distress marker.
The sign, bunting, washi tape and bakers twine are all from Rhonna Farrer’s Chalk Studio Collection with My Mind’s Eye. This is my new obsession. I love all of the paper, embellishments and washi tape in this fantastic line! I found it at Joann Fabrics.
That is it. I hope you enjoyed this little angel!

