Free Printable Shell Specimen Art Trio

Free Printable Shell Art Trio Coastal Decor @savedbyloves

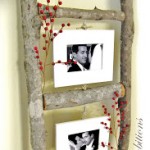
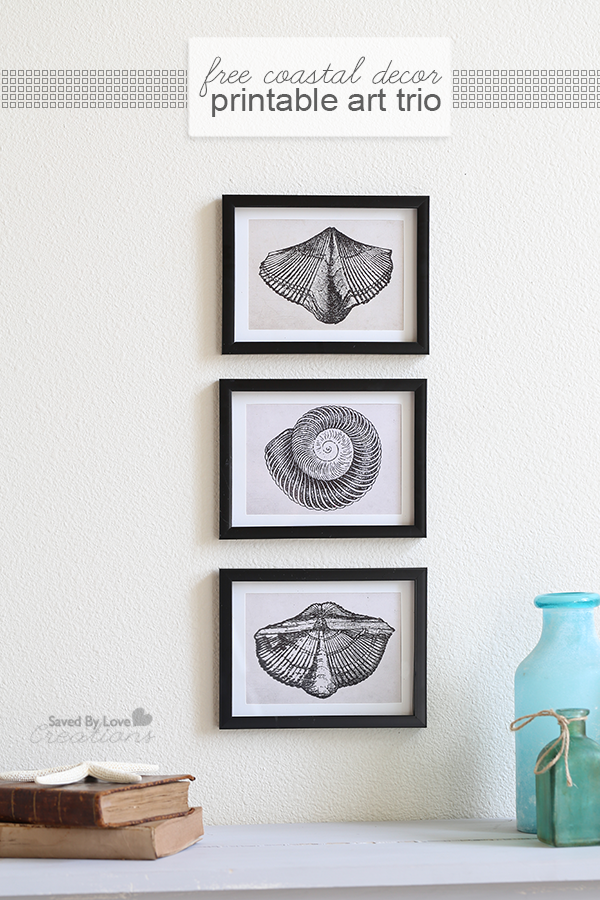
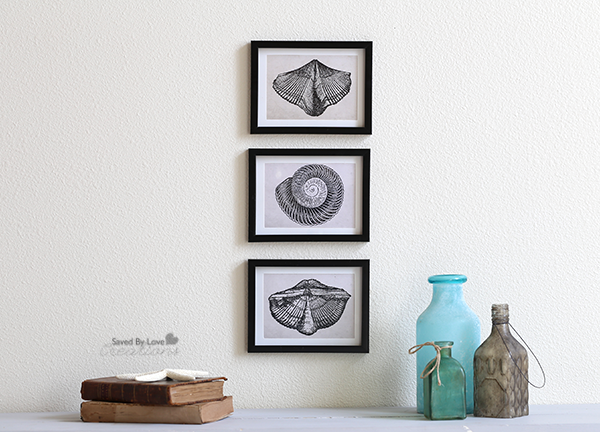
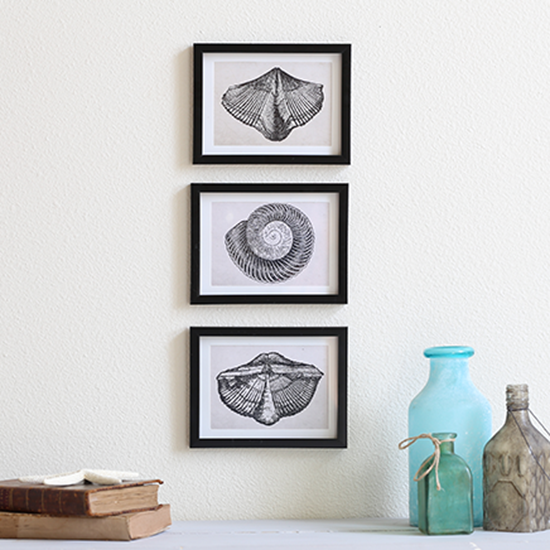
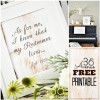
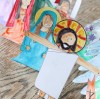
Today I am sharing with you this free printable shell speciment art trio I created, using images I found in an early 1920’s flea market book. Mine are framed in Dollar Tree shadow boxes that came matted to fit 5×7 inch images. Who knew you could get such a thing for a mere dollar? I was pleasantly surprised! You really can’t beat this $3 instant wall art deal. Get your downloads and spruce up your decor, coastal style.

Shell 3

Shell 2

Shell 1

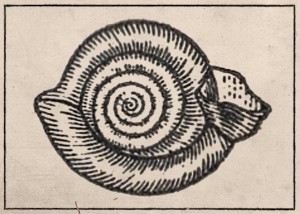
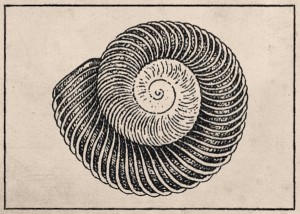
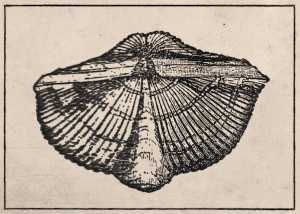
To access the full resolution versions of the above thumbnail images: right click the image, then download or print the full res version that pops up in a new browser.

Free Specimen Art Printable Trio

I printed mine with my Epson Artisan 837, on Premium Matte Presentation Paper. You can print 2 of the 5×7 files on one 8.5×11 sheet.

Free Printable Shell Art Trio Coastal Decor WM

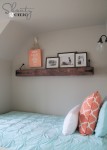
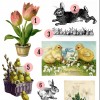
I am loving my new vignette for spring!

Stay tuned for a tutorial on how to scan images from old books and use them to create art prints in Photoshop! Not all books are public domain. Find out about what is o.k. to use in this great article: Public Domain Frequently Asked Questions. Keep your eyes peeled for old books on your junking and thrifting adventures for books published prior to 1923, and examine them for cool images to use in your graphic design projects!

Free Printable Shell Art Trio Coastal Decor CG

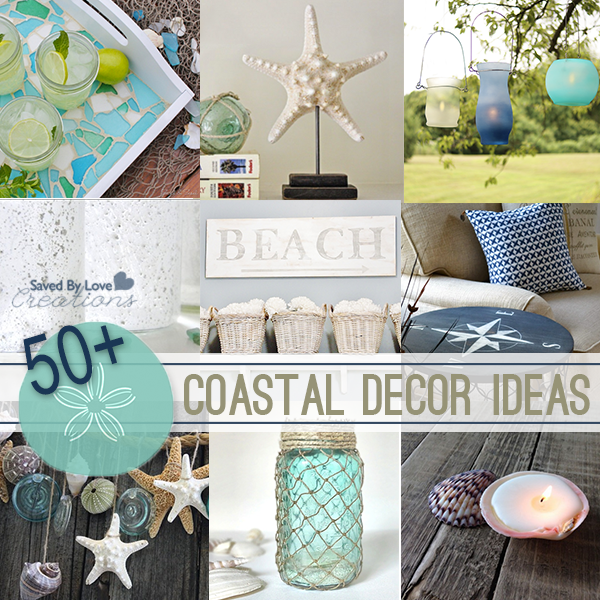
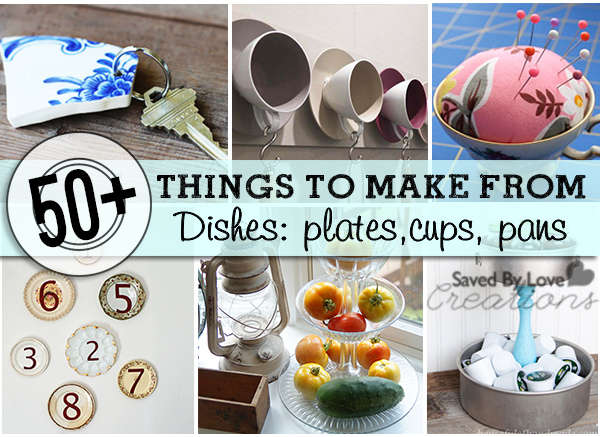
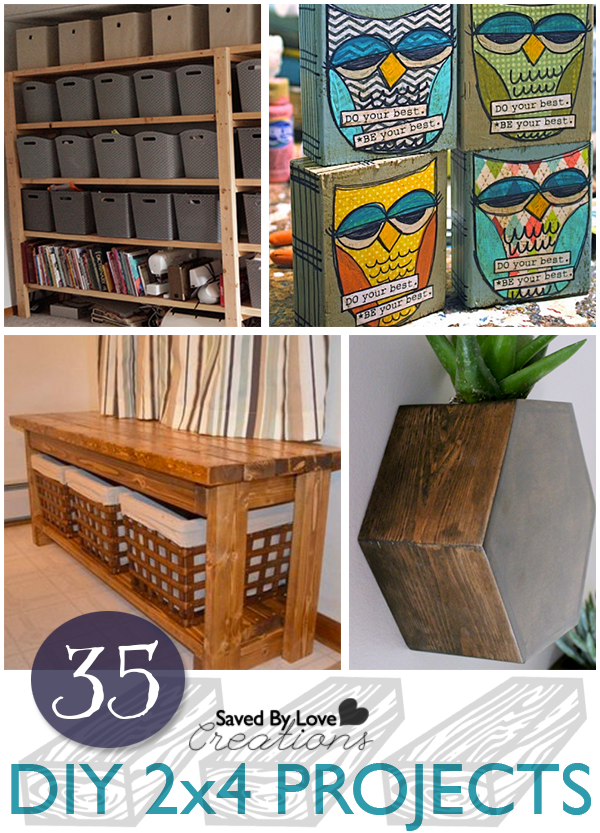
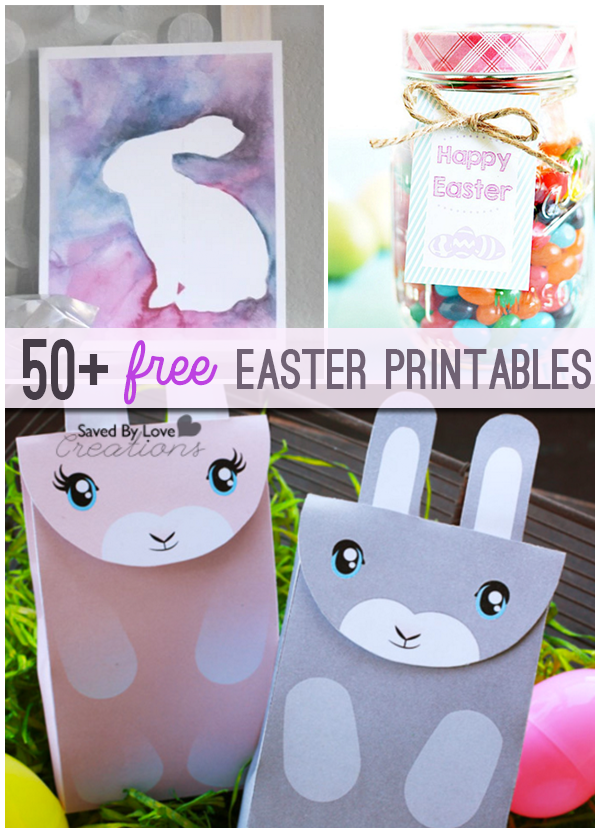
If you love this style, check out our 50+ Coastal Decor Projects:

Over 50 Things to Make Using Upcycled Dishes

55 Things to make from Recycled Dishes
Are you purging your belongings in the spirit of spring cleaning, or decluttering in general? Well, don’t throw those old mismatched, outdated dishes in the “donate pile just yet! Plates, cups, bowls and pans of all sorts can be repurposed into one-of-a-kind DIY home decor pieces that you can cherish, or give away for unique handmade gifts! Enjoy our updated collection of 55 projects you can make with your old dishes…


55 FB Things to make from Recycled Dishes

DIY Repurposed Shelf to Jewelry Display

DIY Jewelry Display

I don’t know what your earring situation is like, but mine was pretty sad until I took action. Today, I am sharing how I turned a piece of metal shelving from Habitat Restore into a cool earring display, with a little spray paint and some reclaimed wood.

Shelf

Here is the wire shelving section I used. Pictured is black chalkboard spray paint I used initially. I decided I didn’t love it, and went with metallic silver Krylon spray paint instead. Just spray evenly over a protected surface, in a space with good ventilation (preferably outdoors). Let dry completely. I let mine sit overnight.

How to Make a Repurposed Jewelry Display

Next it was time to build the frame. I used old wood that I found in the free section on Craiglist. This is by far my favorite source for free wood. My second favorite way to acquire free wood is to drive around alleyways near businesses or behind strip malls, looking for piles of pallets. I always make sure I ask, and most people are happy to have help getting rid of them. I have only been told “no” once.

Mark the wood with a pencil, using the shelf for measuring. Cut to 45° angles on each end of the wood, going in opposite directions. Cut two for the sides and two for the top and bottom. I used Kreg Jig pocket holes to connect the pieces at each corner to form a frame. For more details, see my post on How to Use a Kreg Jig and DIY Barnwood Frames.

DIY Shelving to Jewelry Display @savedbyloves

If you like this project, you will love our round-up of 50+ Creative DIY Jewelry Organizers:

Over 50 Creative DIY Jewelry Organizers to Make

35 DIY 2×4 Project Tutorials

35 DIY woodworking plans for 2x4 projects at @savedbylovesA lot more can be done with a 2×4 than you probably think! Today we have collected our 35 favorite 2×4 projects to share with you, each complete with a DIY tutorial. You will see everything from mixed media art, to picture displays, furniture and more. We hope you enjoy, and find inspiration to raid your scrap wood pile!


The 50 Plus Best Free Easter Printables

50 plus amazing free Easter Printables @savedbyloves
Valentine’s Day is behind us, and Easter is rapidly approaching. Today, we are excited to share our favorite free printables with an Easter theme. You will find bunnies, scripture, flowers, eggs and crosses galore. Refresh those ink cartridges and get ready to spring-ify your crafts and decor, without hurting your pocketbook! As always, if you have a great Easter printable that we missed, leave us a link in the comments so we can include you!


Easy Budget Christmas Decor Ideas

This is a sponsored post written by me on behalf of At Home for IZEA. All opinions are 100% mine.

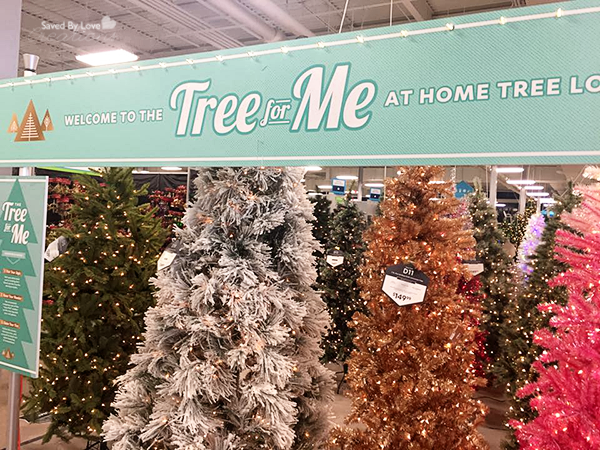
It is already December! Are you ready for holiday entertaining? I have to admit, we are not. We just got the keys to our new Colorado home on Tuesday. We’ve spent the last 6 months in corporate housing, which was basically like a hotel. Bring your clothes and toiletries and get comfy. Moving from Indiana, we got rid of 80% of our belongings, so we are starting fresh! There is a lot to be done in the way of home furnishings and decor around here, which is why I am so grateful to have discovered At Home Christmas Decor and more. Today I am focusing on holiday decor specifically, but that store has it all, and the prices are unbeatable. 

When we first looked at this house before landing on a decision, this little nook caught my eye as a place I knew I’d have fun decorating! Think of the potential. It will be my go to spot for showcasing each season and holiday with a themed vignette. 

My only complaint about At Home is that I seriously have a hard time narrowing things down with the 15 decorative themes of Christmas Decor. 

Snowcapped Scene is my favorite. That is the reindeer I chose for my winter vignette, as well as the candle holder. I love the owls and St. Nicholas figures too. They are a matte, chalky distressed finish with metallic underneath. So pretty!

I couldn’t resist these aged gold bells either. You will find them in the Heaven on Earth themed section, along with other beautiful, gilded gold decor.

Now we get to talk about my favorite finds from this At Home trip! This wreath is so beautiful, and you won’t believe the price! I found mercury glass monogram ornaments for under $3 and displayed one in the center of the wreath, as you can see. The wood background is also from At Home, in their ridiculously huge and wonderful wall decor section. The barrel display table, you ask? Got it there too! I found a small one, seen here, and a larger one which I bought for a side table in our new living room. So cool! I love the combo of wood and rusty, galvanized metal.

I also found the distressed white medallion pictured here, knowing it would complete the scene perfectly!

My next stop? The Tree for Me area, where there are Christmas Trees to fit every style! We are entertaining here soon, and what holiday party is worthwhile absent a Christmas tree? We will be all decorated for the holidays, indoors and out, with the help of At Home. We may not have shower curtains or a coffee table before that happens, but we can get those there too!

Thanks for visiting. Be sure to stop by At Home’s inspiration gallery and let us know your favorite style or piece!

Visit Sponsors Site

Christmas Dining Room Table Scape with At Home

This is a sponsored post written by me on behalf of At Home for IZEA. All opinions are 100% mine.

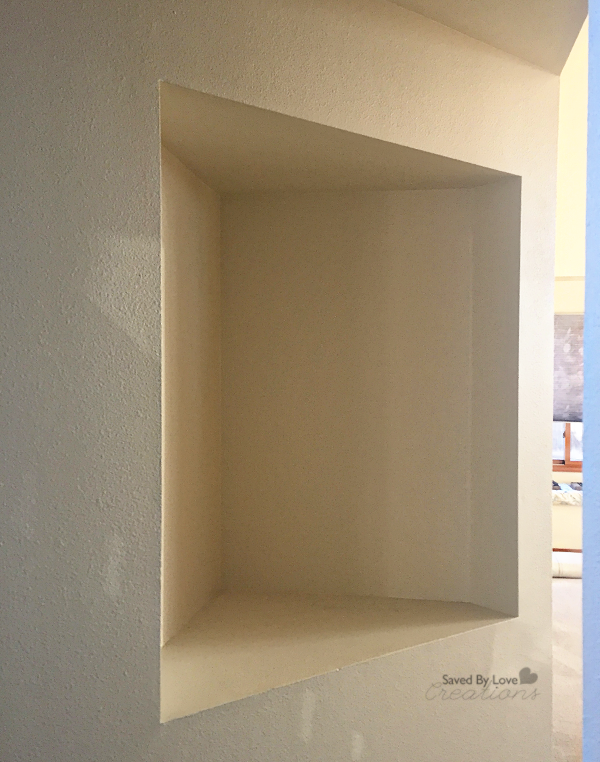
I recently shared with you At Home Christmas Decor, the one-stop-shop for you to decorate you whole house this Christmas– every single room! At Home offers a total holiday solution for every home, with their unmatched assortment of both indoor and outdoor décor items for Christmas.

As I shared previously, the Christmas and holiday decor is featured in fifteen decorative themes, to fit every style and taste.

In addition, At Home offers 101 Varieties of artificial Christmas Trees in the Tree for Me section!

We decided to snatch up their everyday low priced decor to create a Christmas wonderland table scape! 

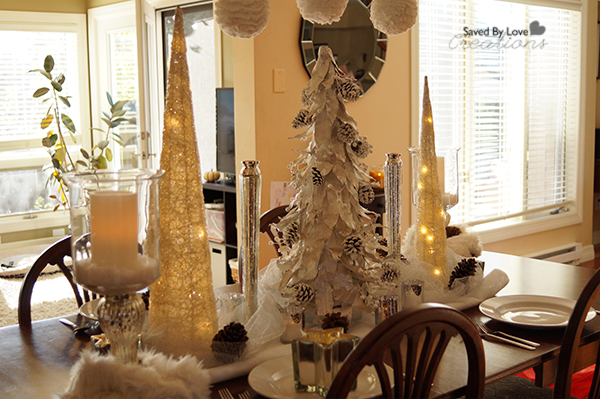
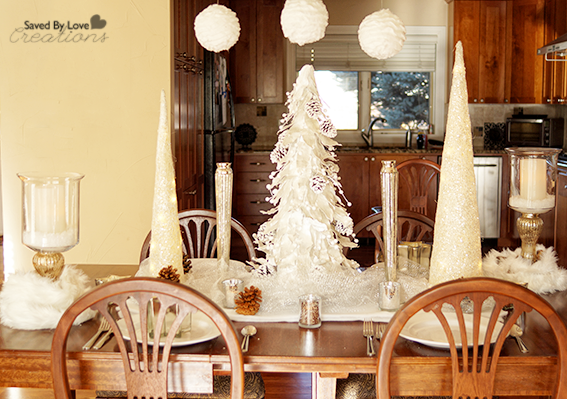
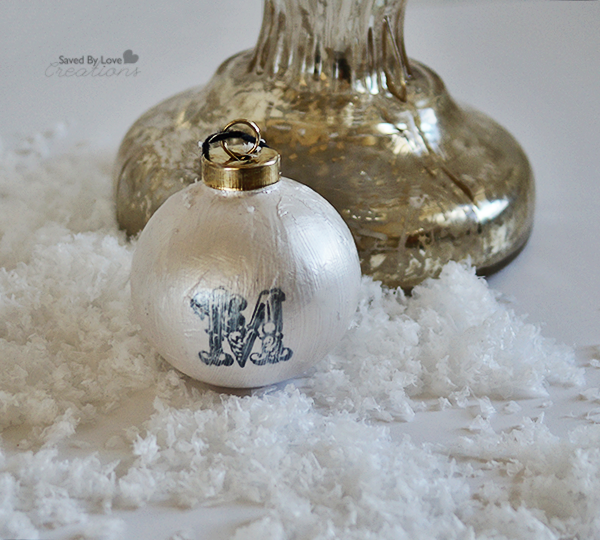
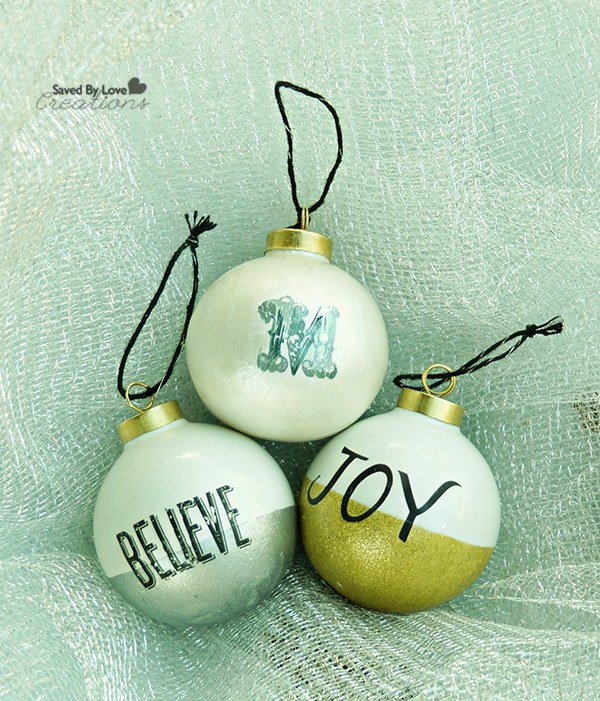
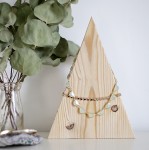
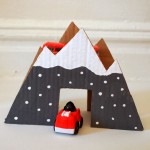
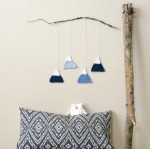
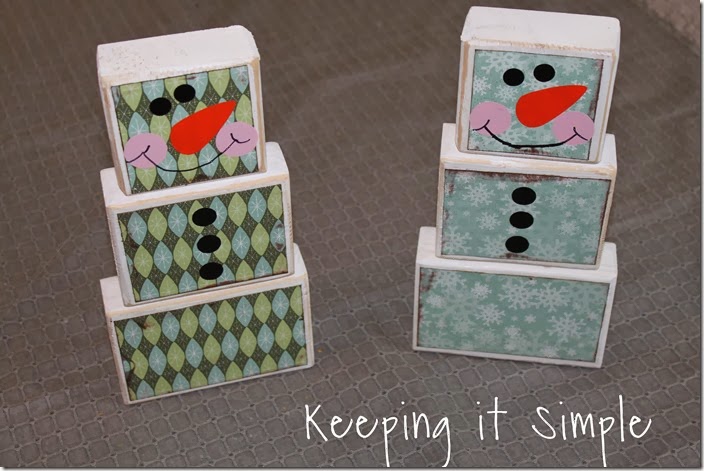
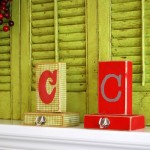
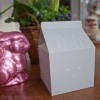
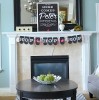
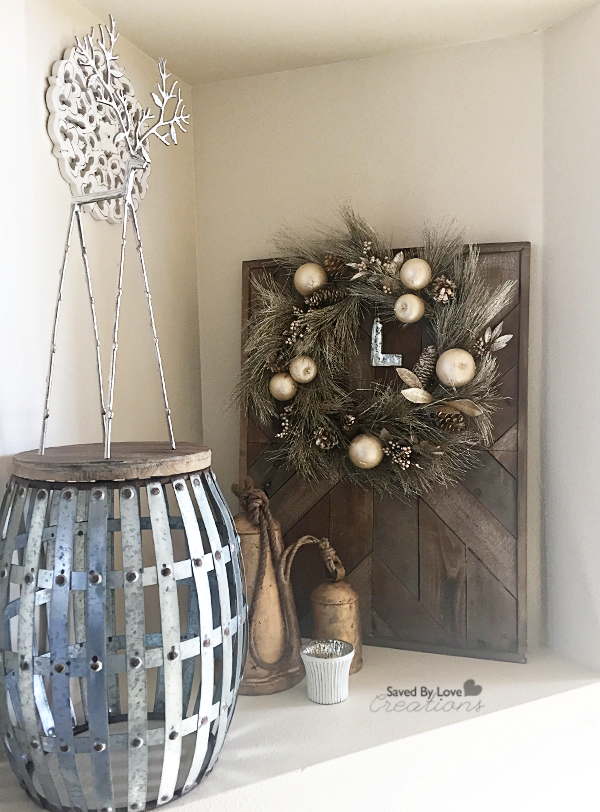
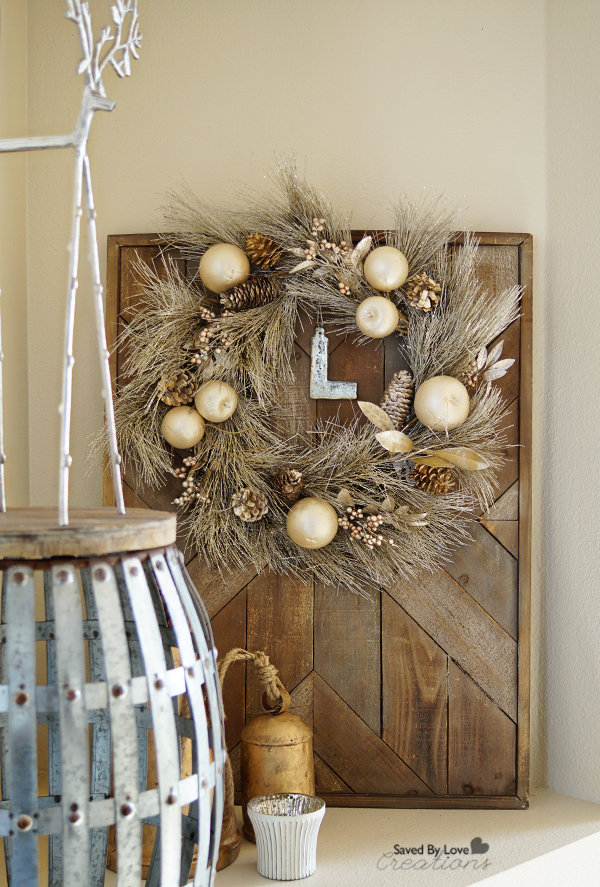
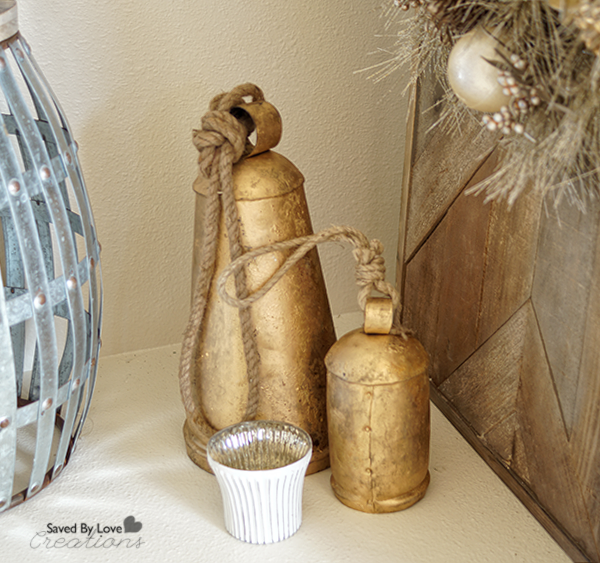
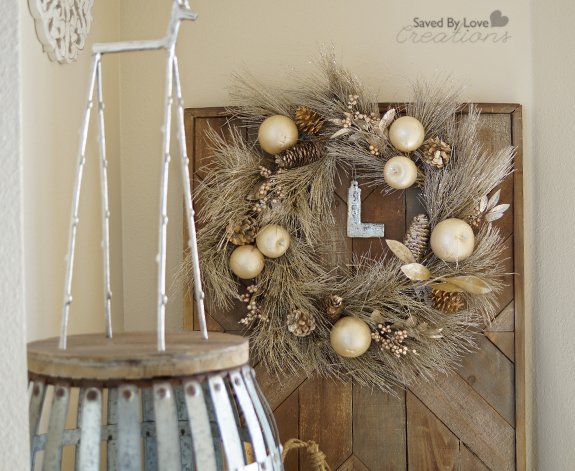
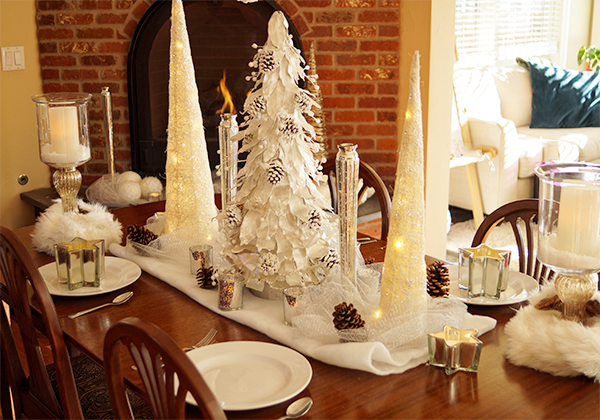
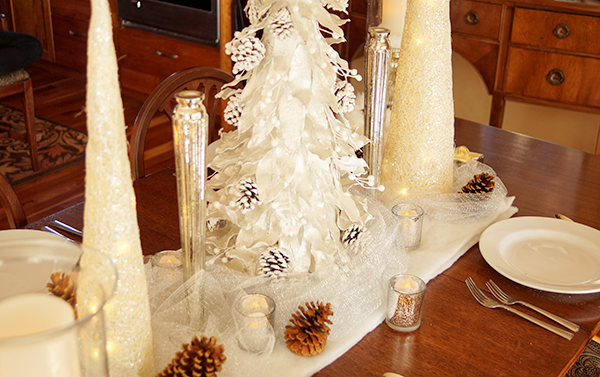
Using a combination of the Crystal Chateau and Snowcapped Scene decor themes, as well as candles and candle holders from At Home, we created a lovely, wintery holiday vignette for a super low price!

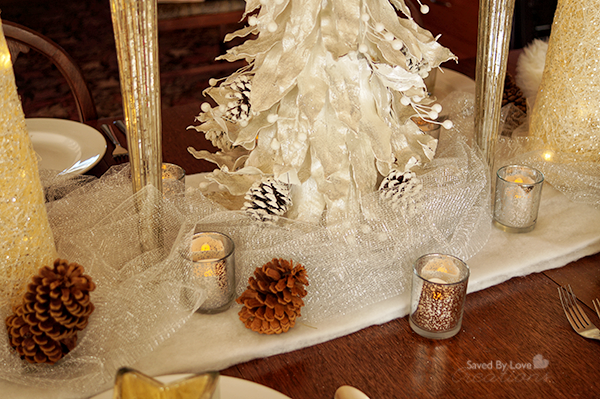
We can’t wait to have company for the holidays this year! With all the money we saved on decor, dinner will be quite the spread. Not only that, but we are in a new space, which will be hitting up At Home to decorate in general. The great prices and stylish decor are not just for the holidays at this store. If you haven’t been there, you are in for a treat!

Visit the At Home inspiration page and check out the decorative themes, which include Seas & Greetings, Holiday Hoedown, Lavish and Luxe, Peppermint Jazz, Berry Platinum, Forest Fairy Tales, Crystal Chateau, Cherished Memories, Heaven and Earth, Midnight Plume, Regal Renaissance, Snowcapped Scene, Handcrafted from Around the World, Dem Darlings and Handcrafted.

Which is your favorite? We love our combo of Snowcapped Scene and Lavish and Luxe!

Visit Sponsors Site

Easy DIY Graphic Christmas Ornaments


Make Gorgeous Holiday Ornaments with @plaidcrafts @savedbyloves

This post is brought to you by Plaid and Blueprint Social. All opinions are my own.

It is the most wonderful time of the year, and that means hands everywhere are covered in glitter and Mod Podge. Mine are no different. Yours shouldn’t be either. I am here to help you out with that by sharing how to make these beautiful graphic holiday ornaments in just a few simple steps. Personalize them as great gifts and keepsake ornaments for your friends and loved ones that will be cherished for years to come. But wait, there is more…other awesome things about this project are the fact that it is super inexpensive to create, and features Plaid’s new Mod Podge Pearl formula!

DIY Vintage Christmas Ornament

SUPPLIES

Plaid Holiday Ornament Challenge Supplies

Mod Podge Pearl

Folk Art Multi-Surface Paint in your favorite holiday colors

Foam Brushes

White Christmas Ball Ornaments to decorate

White Tissue Paper

Alphabet or word stamps of your choice &/0r rub-on transfer letters

Empty bottle with small mouth to hold ball while drying

Masking Tape

Staz-On Black Ink Pad

TUTORIAL

Dip ornament in paintClean ornament with rubbing alcohol and lint free cloth and let dry. Tape off ornament top third or so and dip in multi-surface paint.

Color Block OrnamentsShake and tape ornament to move paint around to cover entire surface of untaped portion of ball.

Is it just me, or does this look like dijon mustard?

Dry Ornament on Bottle

Place ball as shown in empty bottle and let dry overnight or for several hours.

How to Apply Rub on Transfer

Apply rub-on transfer with craft stick. It is helpful to cut out the letter or word before applying so you aren’t trying to maneuver a bulky sheet.

Easy DIY Christmas Decor

That is that for the color block ornaments. Now for the pearlized monogram ball…

Stamp on White Tissue Paper

Stamp desired letter onto white tissue with StazOn ink or other solvent based ink.

Stamped image transferTear letter out by hand to leave feathered borders (as opposed to cutting with scissors).

How to Image TransferPaint entire ornament with a layer of pearl Mod Podge, place letter, then paint a layer of Mod Podge over the top of the tissue paper. Take care not to rip the monogram.Mod Podge Pearl Christmas Ornament TutorialHang ornament to air dry. Add another coat of pearl finish Mod Podge and let dry.
DIY handmade Christmas Ornaments

That’s it! Do you love the pearl finish? Of course you do. It is elegant with an aged feel. It looks great with the glittery gold and silver metallic finishes too.

DIY Christmas Ornaments

 Find more ideas and inspiration by visiting Plaid:

Pinterest

Facebook

Instagram

Plaid Website

Make Easy Earrings From Upcycled Fabric

How to make earrings

Not only are these earrings easy to make and cute, they are upcycled from some super meaningful fabric.  I created them from one of my beloved grandpa’s many handkerchiefs, soon after his passing. Whipping the cloth out of his pocket, he gently wiped away the tears from his loved ones eyes, and eliminated runny noses with joy. A single hanky is big enough to fashion several pairs, so the women in our family all have a wearable reminder of the best man to ever live (yes, I am biased, but also, he was the best)! Today I am going to show you how to make your own version in just a few simple steps. They would be cute fashioned from old jeans, your favorite shirt, your grandpa’s hanky, or just about any fabric you want. Let’s do this!!

How to Make Easy Upcycled Hanky Earrings @savedbyloves

SUPPLIES:

How to Make Memory Earrings

White handkerchief or fabric of your choice

Organza or Tulle

Metal Eyelets

Crop-a-Dile

Metal chain small enough to fit through eyelet

Metal washer from hardware store that eyelet will fit in and not slide through when set

Ear Wire from Vintaj

Tonic Scissors

Jewelry pliers (2 pairs)

-side note: I gave my grandpa the book Between Me and You GRANDPA, he filled it out completely, and it is a blessing beyond words. My most valued possession, for sure.

INSTRUCTIONS:

Use Spray Inks to Color Hanky

Spray fabric if desired. I went with a fall color palate using the spray inks shown. Let air dry for a couple of hours, then set by drying in machine on high heat for 5 minutes.

Make a Square Template From Cardstock

Make a square template from card stock about 1.5 inches wide and long (yeah, a square).

Cut Squares from fabric and organza

Cut several squares from your fabric of choice using the template as a guide. I cut some from tulle in addition to the hanky.

Hole Punch Center of Template

Hole punch center of template with Crop-a-Dile

Hole Punch Center of Fabric

Hole punch center of fabric using template as a guide. You can hole punch several squares at the same time, depending on the thickness of your fabric.
Make a Sandwich from Fabric Squares with Washer in the MiddleMake a sandwich from fabric squares with washer in the middle. I used 3-4 squares on each side of the washer. The purpose of the washer is stability and weight.
Use Crop a Dile to Set EyeletUse Crop-a-Dile to set eyelet.

https://savedbylovecreations.com/wp-content/uploads/2015/07/Insert-Metal-Chain-Through-Eyelet.png

Insert chain about 3 inches long through eyelet.

Use Jewelry Pliers to Add Ear Wire

Make a loop from the chain, using ear wire to join both the chain loops on each end. You are finished!

DIY Upcycled Fabric Earrings

DIY Upcycled Fabric Earrings from Hanky @savedbyloves

I love having something so reminiscient of my grandfather to wear, not that I need it to remember him. He is everywhere and I am blessed! I love you, Pa. And now the flood gates are open.

Here is to grandfathers everywhere! May you cherish every moment with yours.


25 DIY Mountain Crafts and Decor Tutorials

DIY Mountain Craft Roundup @savedbylovesIt’s been way too long since I created and shared with you, my lovies! The reason for that is a move across the country from Indiana to the Colorado Rocky Mountains. I’ve wanted to take this leap for years, and now that I have, my only regret is that I waited as long as I did!

Sky Pond Rocky Mountain National Park Estes Park Colorado

Mountain National Park Estes Park Colorado

In honor of the new residence, I bring you 25 DIY mountain themed craft and decor tutorials from my fellow creatives!  You’ll find everything from advent calendars, to wall art to printable coloring pages and more. As soon as we find a permanent home, we will be able to bring the tools and supplies out of storage to begin creating again. While I am looking forward the unleashing my inner maker, exploring the new surroundings has been a gift! If you can’t get to the mountains where you are, you can bring them to you with this fun round-up! Enjoy and as always, if I left out your project, email me the link!


Privacy Policy