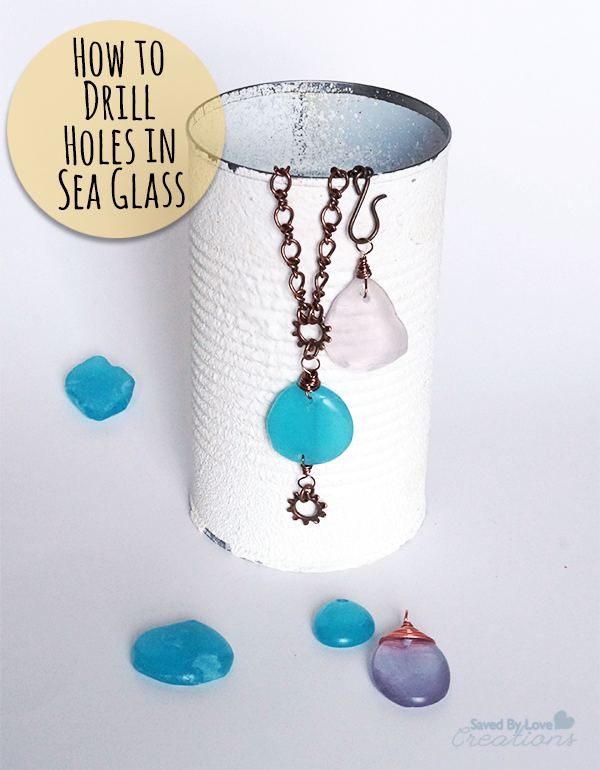
Sea Glass Jewelry; How to Drill Holes in Sea Glass

[pinit]How to Drill Holes in Sea Glass @savedbyloves[pinit]

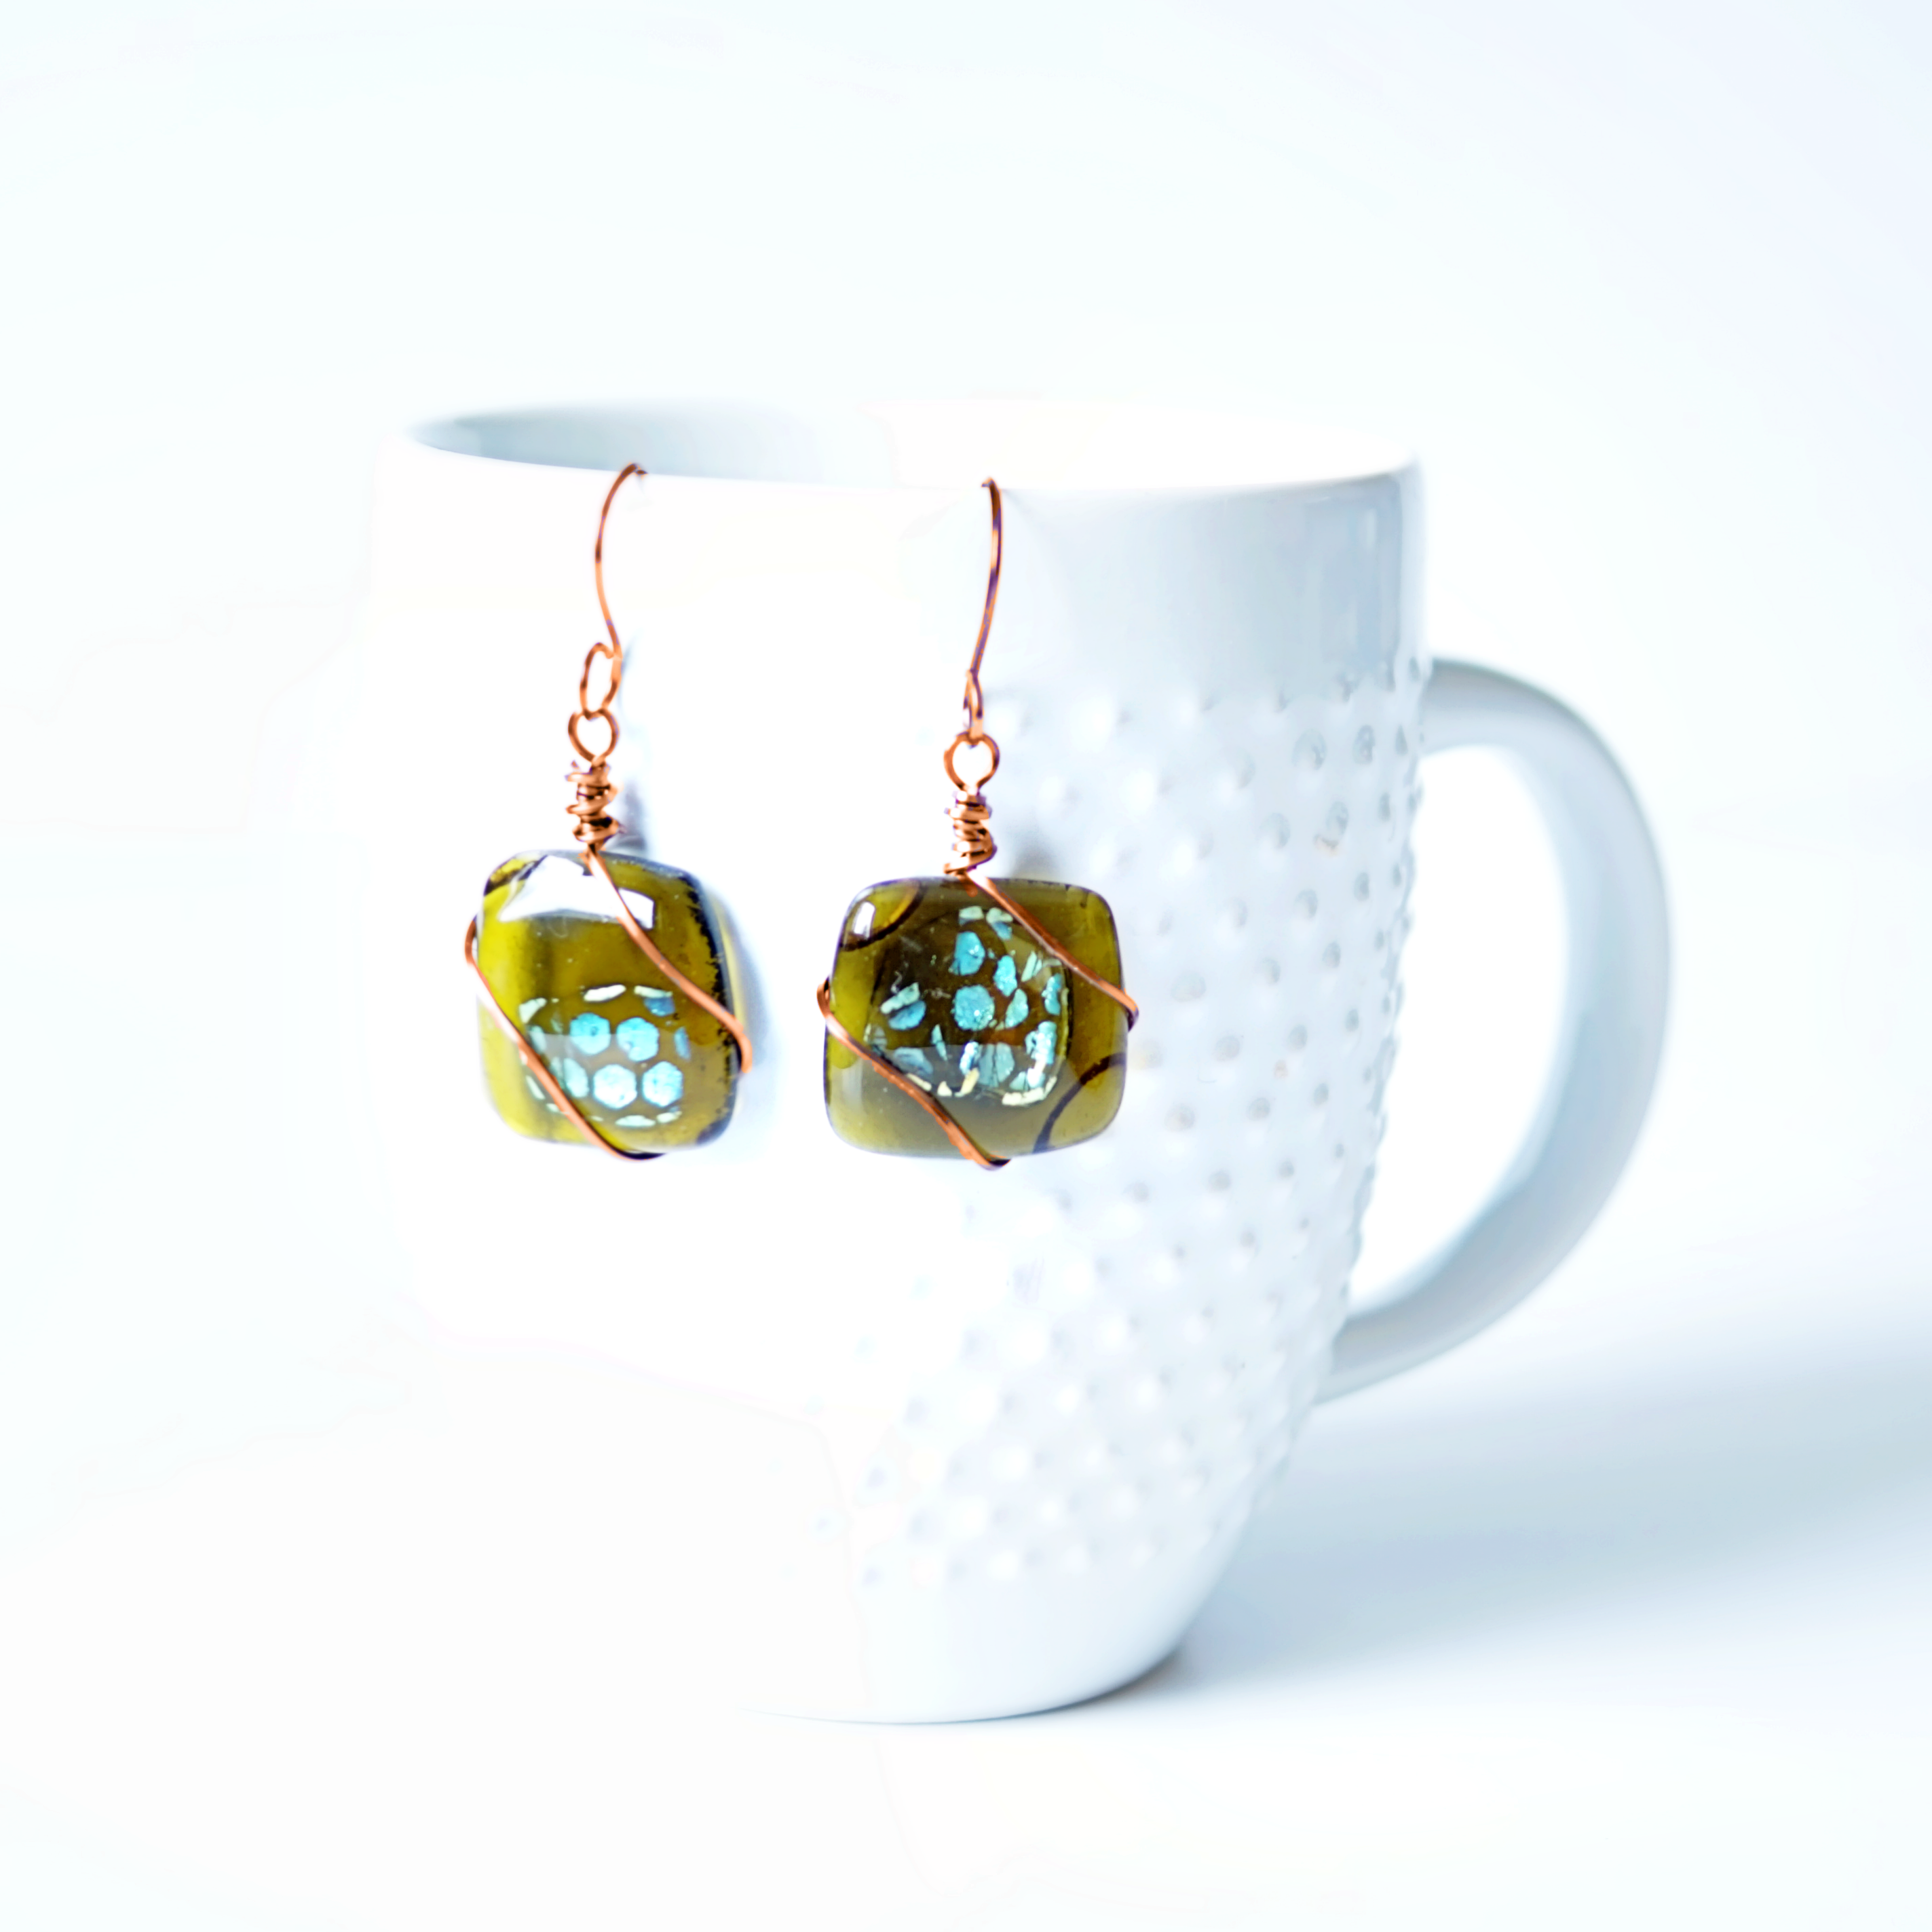
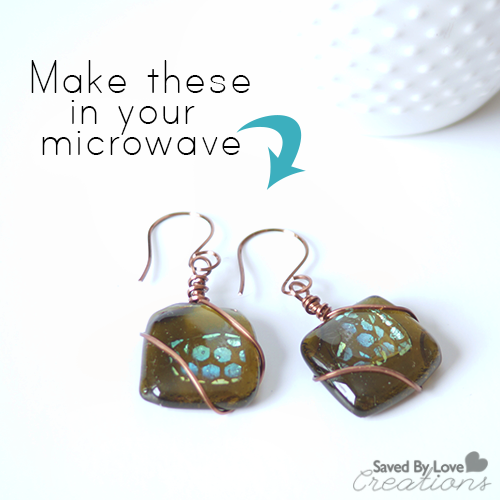
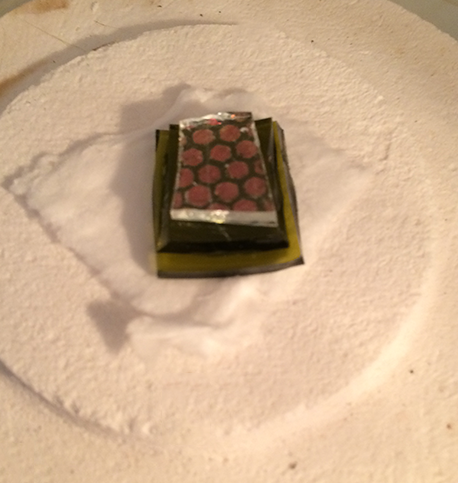
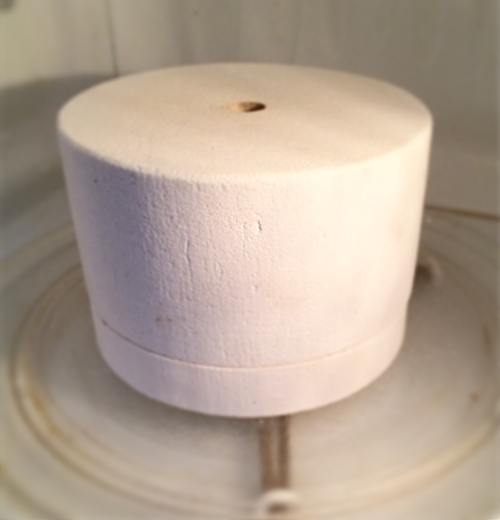
I have been playing with sea glass that I bought in Florida a couple of years back, and I finally had some success with drilling holes for jewelry.  I had to break several pieces with my Dremel before getting the hang of it.  You don’t have to have a drill press to do this.  I actually find it easier to hold the drill in my hand so I can feel the pressure I am exerting.

Sea Glass Pendant DIY

This video from Marc Horne describes the technique I used for my pieces pictured.


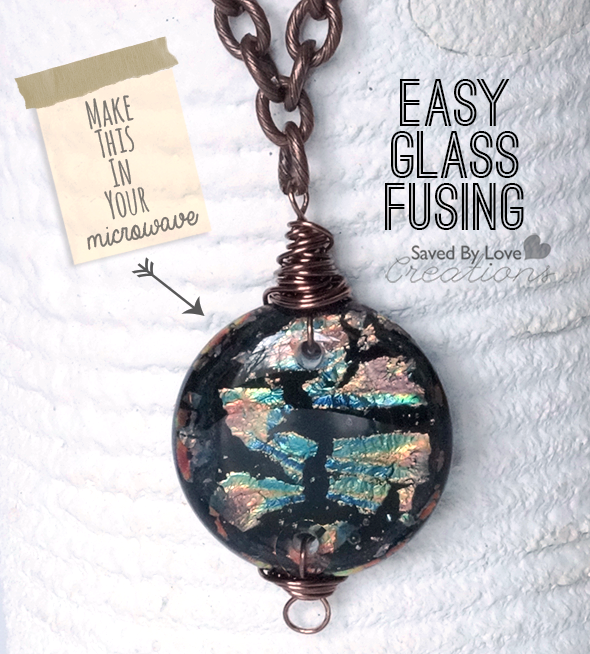
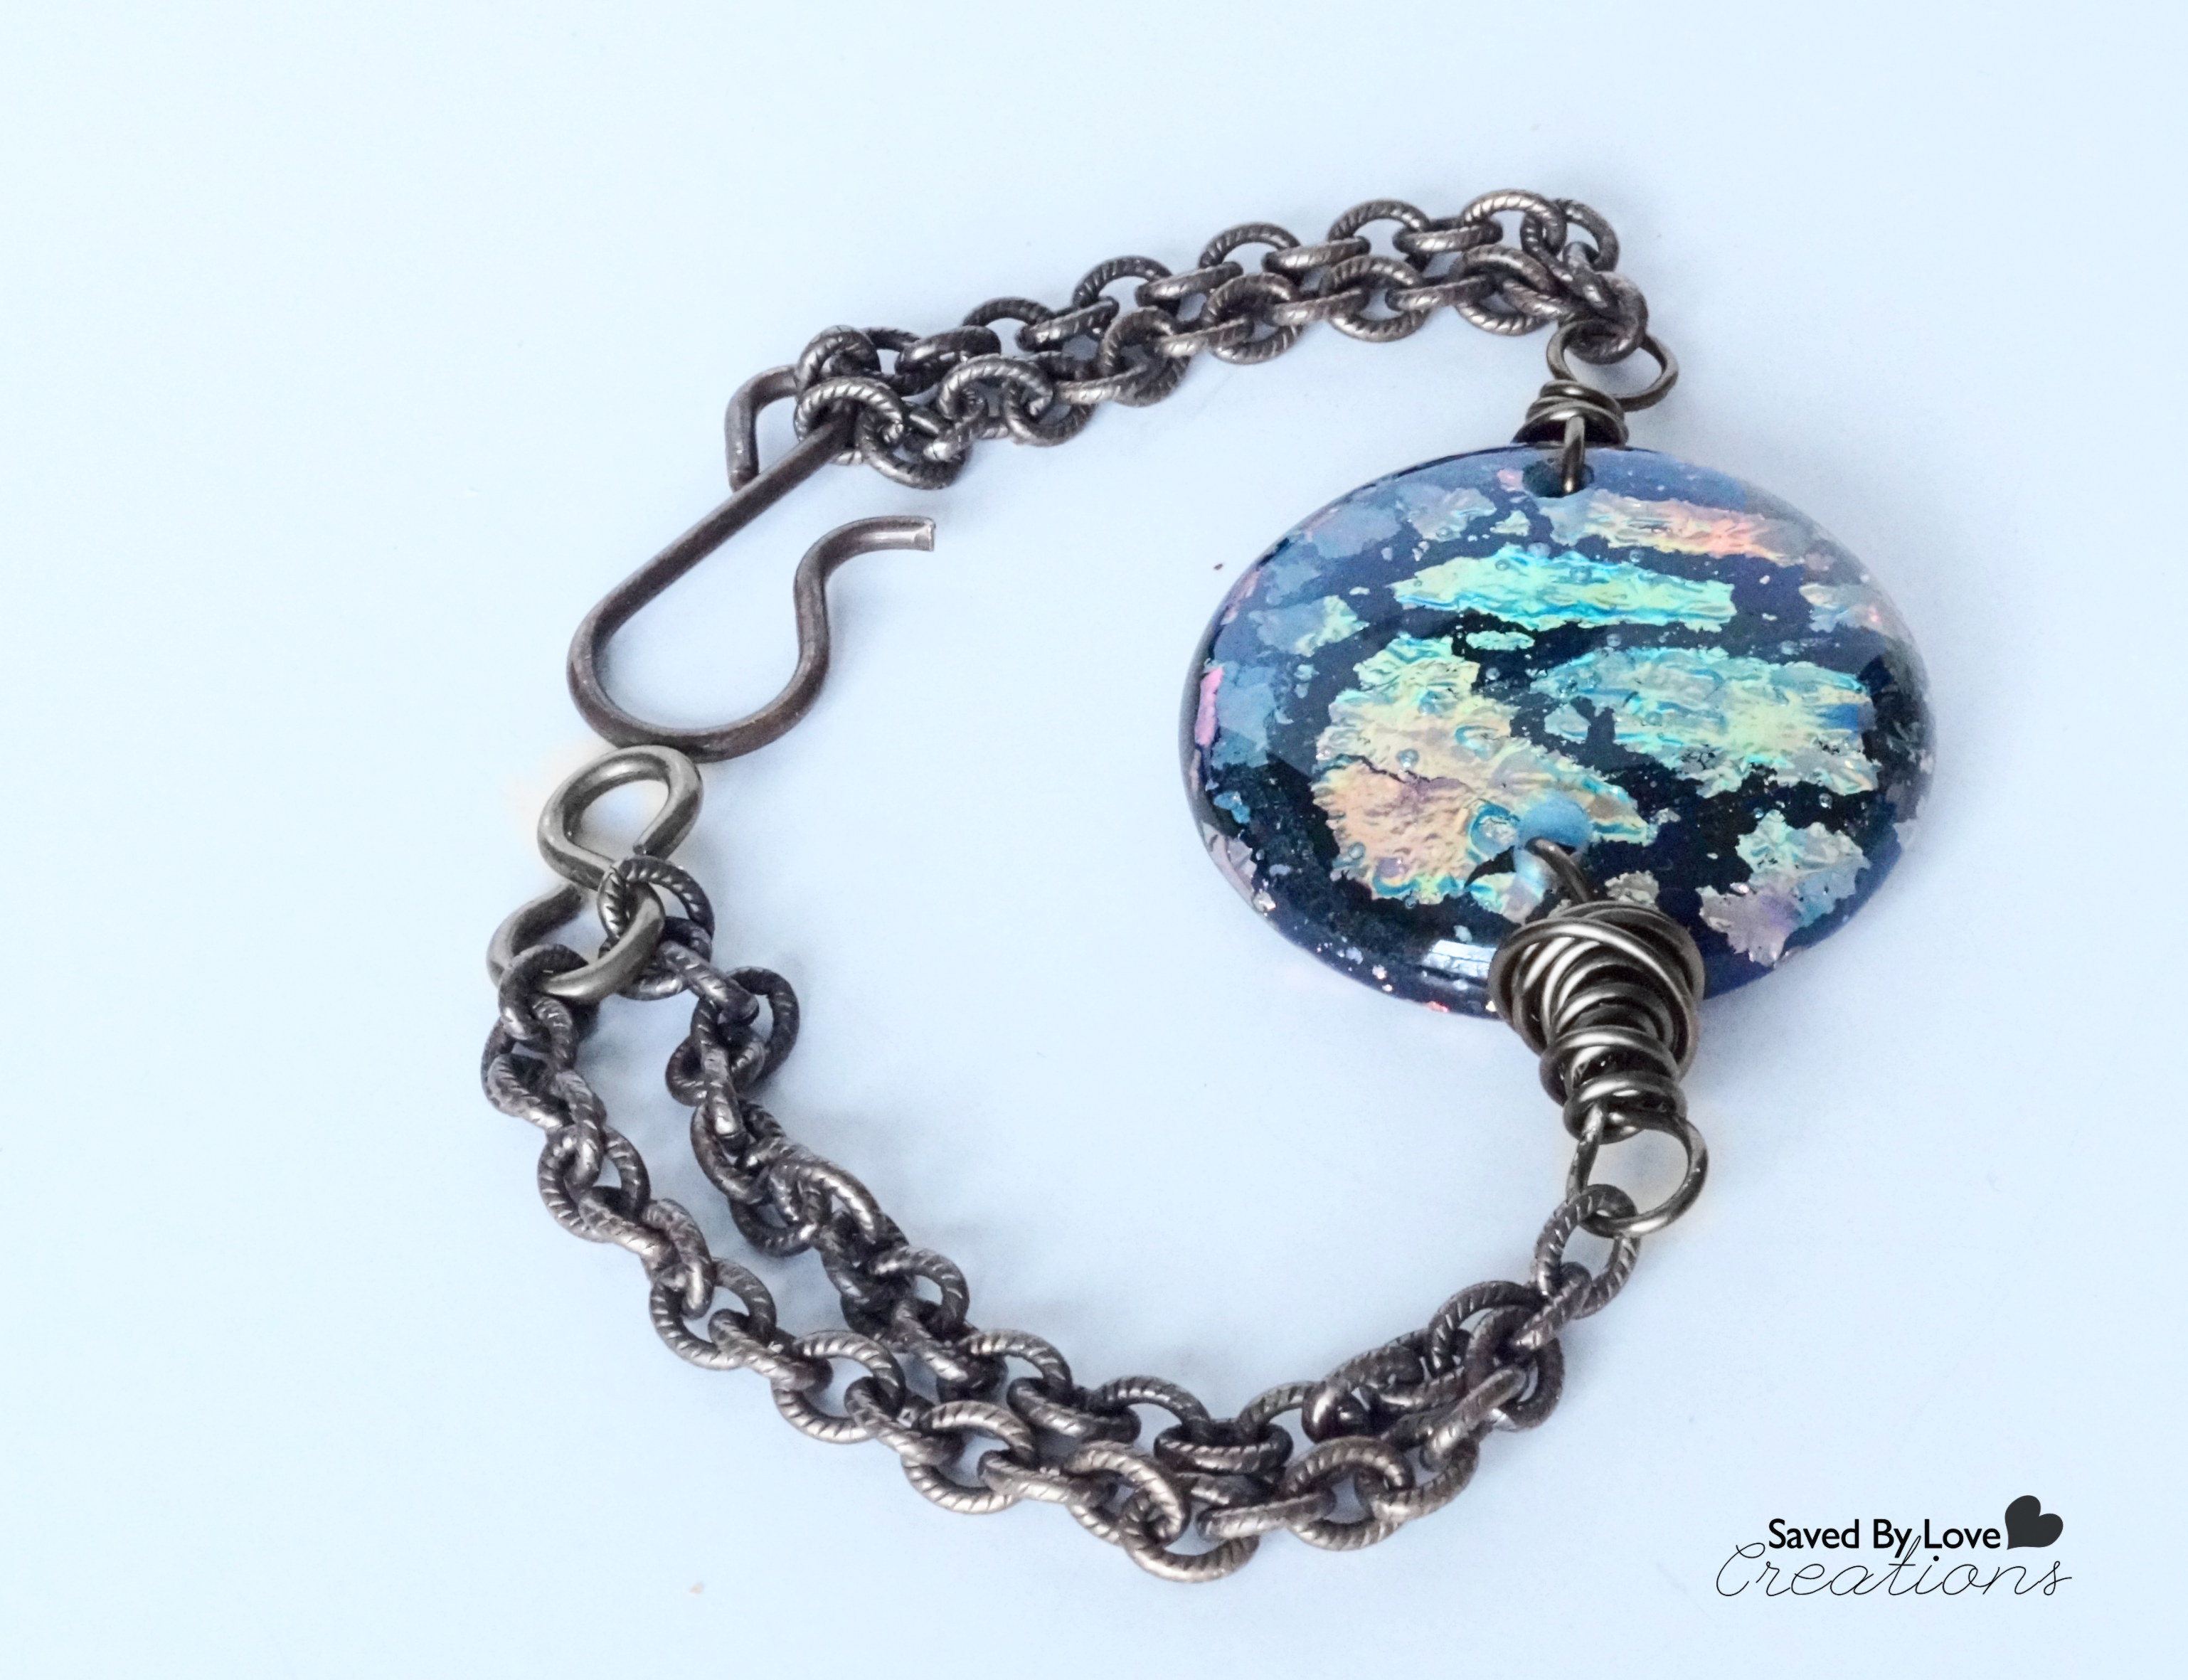
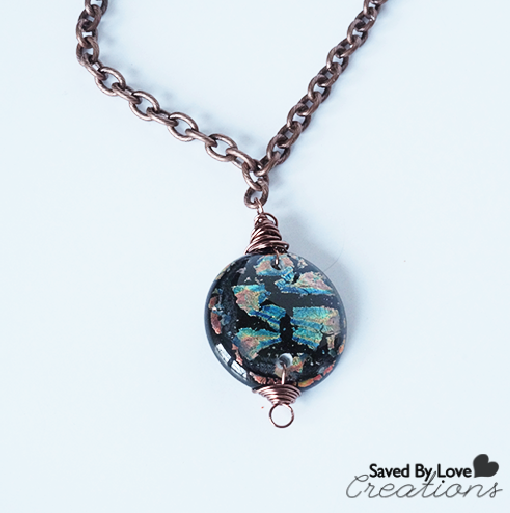
To wire wrap your pieces like I did, visit this DIY Dichroic Fused Glass Pendant I shared with you previously.

How to Drill Holes in Sea Glass

Do you make sea glass jewelry?  What is your preferred drilling method?

Microwave Kiln Fused Dichroic Jewelry DIY

[pinit]How to fuse glass in your microwave; beautiful dichroic focal pieces in minutes @savedbyloves
[pinit]

Can you believe these fused dichroic glass pieces can be made in your microwave in 3 minutes?  I showed you these fused glass dichroic wire wrapped earrings a few weeks back, and I have pretty much been at it ever since.  I have upgraded to an electric kiln for bigger projects, but we won’t get into that right now.  Today I will show you how to stack precut fusible glass to get the dichroic pieces you see here.

Dichroic Bracelet

SUPPLIES:

Fuseworks Microwave Kiln Tutorial

 Fuseworks Beginner’s Microwave Fusing Kiln

Fuseworks Fusible Clear Circles

Fuseworks Fusible Black Circles

Fuseworks Fusible Dichroic Circles

22 gauge copper wire

Jewelry findings of your choice for clasp and chain

Round nose pliers

Flat nose pliers

wire cutter

TUTORIAL:

Microwave kiln for glass fusing tutorial

Stack from bottom to top; black, dichroic (foil side up), clear onto fiber paper in kiln and place in microwave.  You can make 2 of these in the microwave kiln at the same time.   Following instructions, begin microwave and monitor for glow.  Mine took about 3 minutes.  Let cool per instructions.

dichroic glass jewelry diy

Drilling Holes in Glass

Let your piece cool completely, and drill holes as shown in the following quick video from Glass Fusing Made Easy:

Wire Wrapping Your Piece

I used the technique in this video from Beadaholique to wrap my pieces.  The process is simple, even if you have never worked with wire.

I hope you enjoyed.  Please let me know if you have fused glass and what you like to make!

Beginner’s Glass Fusing ; Recycled Glass Dichroic Earrings

[pinit]

How to make dichroic glass with microwave kiln

[pinit]

I have had a microwave kiln kit by Fuseworks for at least a year, and have finally gotten around to experimenting with glass fusing for the first time.  This pair of earrings showcase the very first attempt using the kiln!  I love them.  For so many reasons, I love them.  First, fusing in your microwave is super easy and fun.  It takes like 3 minutes for the glass to turn all glowy and molten.  So awesome.  Secondly, you can use recycled glass and you all know how all about repurposing and eco-crafts I am, right?  Once you invest in the kiln, you can break old bottles for your base, and purchase dichroic, fusible glass for not too high a price.  Especially considering how beautiful it makes the pieces.  I got sheets of it at Hobby Lobby for $4.99, and can get at least 10 fused glass focal beads out of that.


How to fuse glass in microwave tutorial

SUPPLIES:

Fuseworks Microwave Kiln Tutorial

I got my Beginner’s fusing kit at Hobby Lobby.  It is cheaper on Amazon; Fuseworks Beginner’s Fusing Kit

Broken beer or wine bottles in colors of your choice

Dichroic and other fusible glass

Glass cutter

Running Pliers

Flush Wire Cutters

Round nose pliers

flat nose pliers

Antiqued Copper Wire 20 Gauge

Bead Landing Jig to make earring findings – you can make them your own way or buy them made, but I love this jig and it saves money to make my own!

TUTORIAL:

Kiln with glass bead layers

I used very imperfect rectangles of wine bottle shards, one slightly larger than the other, and a piece of transparent dichroic glass that came in my Fuseworks kit.  Per the instructions that came with the kit, I placed the include fusing paper on the kiln, then stacked my glass layers on top of that.  It is easiest to do this in the microwave because moving the kiln will cause your pieces to go all over the place and it gets really annoying.  Put it in place in the microwave, then start layering your glass.

The larger green piece went first on top of the kiln paper.  Next the smaller, then the even smaller dichroic shard, with the foil side face down.  The kiln is small, but I did both of my earrings at the same time (not shown in pic).

Microwave kiln for glass fusing tutorial

Place kiln lid and turn on microwave for 2 minutes at first to begin fusing.  Check after two minutes, making sure to wear gloves, by lifting lid.  If your piece is uniformly glowing orange and the edges are rounded and fused together, you are done, but that is unlikely at 2 minutes.  I kept going for 30 second intervals.  The first attempt fused in 4 minutes.  Then remove the kiln from microwave (without removing lid, which can cause rapid cooling and cracking of the glass) and place on heat resistant surface.  I put mine on my stove burner.

Let cool for at least 30 min before removing lid!  Don’t touch glass for 45 min, and even then, be careful!  You can’t tell if it is hot by looking at it.

DIY Dichroic glass jewelry begginers glass fusing

 I left my pieces alone overnight while I decided what to do with them.  Then I wire wrapped them like I showed you in this Bail free, glue free way to hang pendants tutorial.  Or you can glue on a bail.  Those came in the kit too!

I am addicted!  I have had a couple of fails, but mostly just fun creating with a new technique, resulting in beautiful fused glass creations!  I hope you love this medium as much as I do.  Have you tried it before?  Any tips you want to share?

DIY 5 Minute Button Ring

[pinit]Make an easy DIY button ring @savedbyloves[pinit]

This may be the easiest project I have ever done or shared!  Make an adorable button ring in 5 minutes.  What a great way to use the gorgeous buttons available in thrift stores and flea markets.  If you can use glue, you can do this.

DIY Ring from old buttons #buttoncrafts

SUPPLIES:

Ring blank

E6000

Vintage Buttons – I used three in varying diameters

DIY Ring from old buttons #buttoncrafts

TUTORIAL:

DIY Button Ring

To stabilize ring in upright position for gluing, push the base of it (where your finger goes) into a piece of styrofoam.  Glue buttons on in a stack with e6000 and let it dry overnight.  Told you it was easy and fast!

For more button craft ideas:

Button Crafts

Make a Button Bracelet

[pinit]DIY Button Bracelet[pinit]

Make a button bracelet in 10 minutes


I found some beautiful wooden buttons in the scrapbook supplies at Joann’s recently and knew I wanted to make a bracelet using them.  This project is super quick and easy.  If you can open jump rings with pliers and use glue, you are well on your way to a cool piece of button bling!


SUPPLIES:

Vintage wood button bracelet tutorial


Jewelry Pliers

Jump rings

Metal connector pieces – These are the base for my bracelet.  I found them at Joann’s on clearance in a pack of 6 (pictured above), perfect for the length of a bracelet.

Wooden buttons

Toggle clasp

E6000

TUTORIAL:

How to make a button bracelet


Attach metal connectors together using jump rings.  Attach toggle clasp bar and ring the same way.

Glue buttons on with e6000

Glue the buttons onto the connectors as shown and let dry overnight.

Make an easy vintage button Bracelet

For more button craft ideas:

Button Crafts

Crochet a Funky Bracelet with Scraps

[pinit]Crochet Bracelet Pattern[pinit]


I love quick crochet projects, and I think you may have noticed the bracelet obsession here at SBLC.  This crochet bracelet pattern from The Spotted Hook is right up my alley!

For plenty more DIY bracelets, see SBLC’s bracelet tutorials, and our 50+ bracelet roundup!

Privacy Policy