This is a sponsored post written by me on behalf of DAP Products Inc. for IZEA. All opinions are 100% mine.
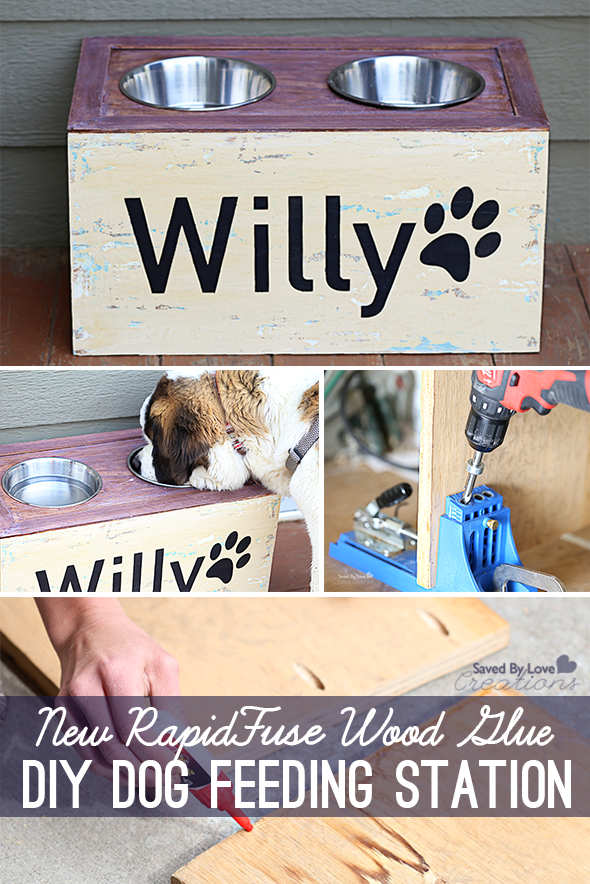
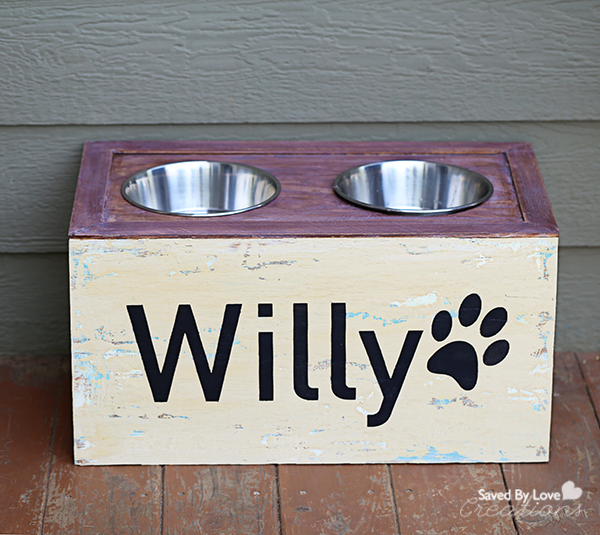
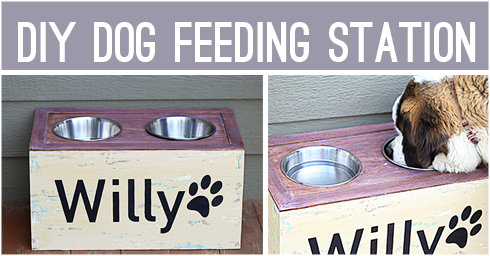
Today you get free woodworking plans and distressed painting instructions to build this custom dog feeding station. All of the wood in this project was scored in the Craigslist free section. I literally stalk this section daily, which has paid off in spades over the years!

This project is for our friend’s irresistibly adorable Saint Bernard puppy, Willy (above). You can easily adjust the height to fit your animal just right. This was my first time using DAP® RapidFuse™ Wood Adhesive, which I am excited about for many reasons. You will be too! Let’s get started.
Tools and Materials list:
Identical food and water bowls (They don’t have to be the same size as ours, but need to fit in the space dictated by the width of the wood you are using for the top).
DAP® RapidFuse™ Wood Adhesive
¾ inch finished-one-side plywood – 10 feet
Kreg Jig and 1.5 inch Kreg screws
1.5 inch x 0.25 inch trim strips (Or desired wood for trim)
Glue, Pencil, paper, Scissors
Table saw and Jig Saw
Nail gun
Drill
Craigslist free section gave us a section of ¾ quarter inch finished plywood in perfect shape. The piece was dry, flat, hole-free, and large enough to cut out all the pieces.
- The first thing to do is to build the basic box using the ¾ plywood. Here are the dimension for each piece:
(2 Pieces) Front/Back – 12” x 23”
(2 Pieces) Sides – 12” x 12”
(1 Piece) Top – 12” x 21.5”
- Cut Bowl opening in Top.
Willy’s bowls were the stainless steel, slightly tapered ones with a little ¼ inch lip around the top edge. The trick is to cut the opening so that it is large enough that the bowl slips all the way down in but small enough that it catches the lip of the bowl. Seems simple but because of the slight taper it is a little tricky. Here’s the way I found easiest.
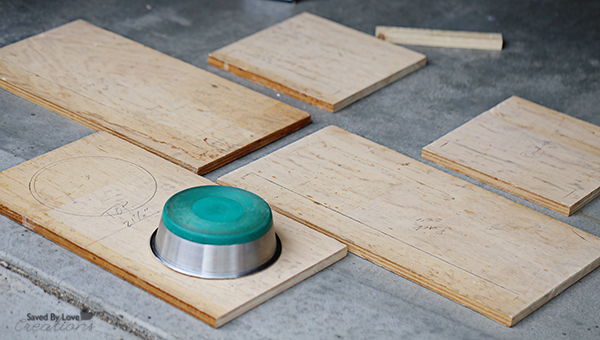 Get the bowl into position. For mine each bowl opening ended up being 3.25 inches apart in the center and 7.5 inches in diameter. You can set them however you want visually. Once in place, trace a line around the upside down bowls.
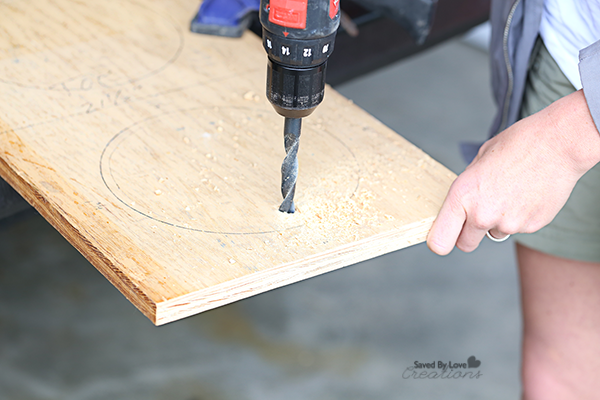
Use your drill and drill a hole inside the circle large enough for your jig saw blade to pass through.
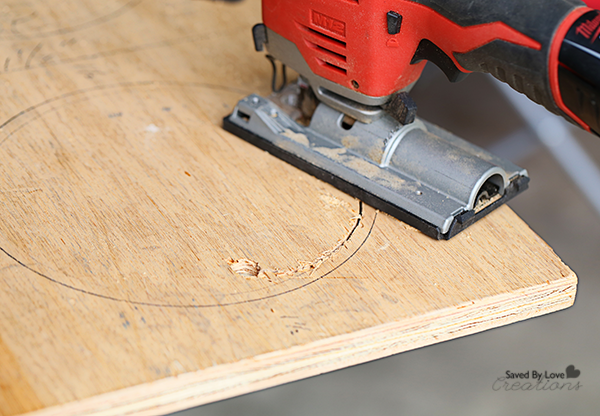
Using your jig saw cut out the circle you traced on to the top. The trick is to cut the opening so that it is large enough that the bowl slips all the way down in but small enough that it catches the lip of the bowl. If you prefer not to eyeball it, draw a circle inside the traced circle. If you’re like me, I had to do a little finishing touch with the saw and the sandpaper, in order to get the bowls to sit down nicely in the hole. BE CAREFUL don’t get happy with the cutting and make the hole too big. You don’t want the bowl to fall through!
- Drill Kreg holes into each piece as follows:
Top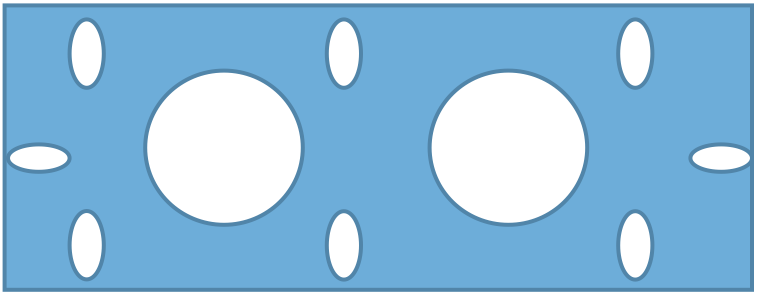
Sides
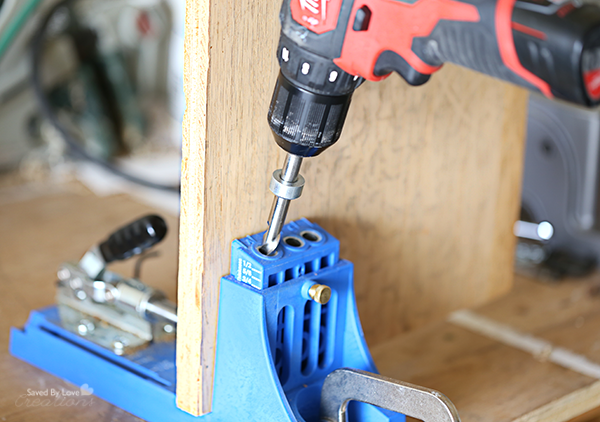
For more info on using this jig, see my previous post: How to Make a Pallet Sign Using a Kreg Jig
- Assembly – Time to put it all together and talk about wood glue!

I had the opportunity to try out DAP® RapidFuse™ Wood Adhesive, and I won’t go back to other wood glues! After just 30 minutes, you can plane, sand and stain wood. No more waiting 24 hours. No more not being able to stain. The stuff is also water resistant, so it’s great for indoor and outdoor projects. The joint is stronger than with yellow glue or polyurethane glue, and doesn’t swell, shrink or crack! There is no other glue like it. Seriously.
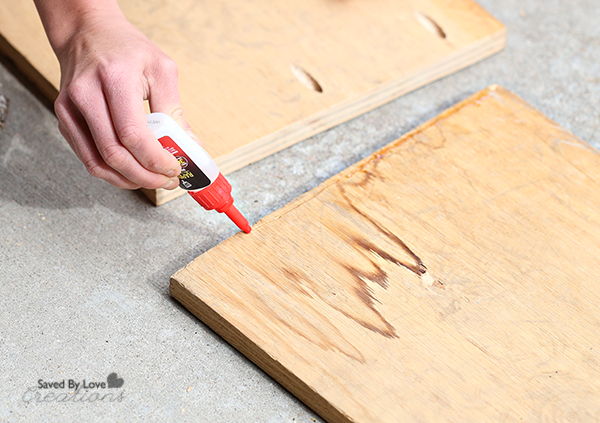
Apply a line of glue on the side piece.
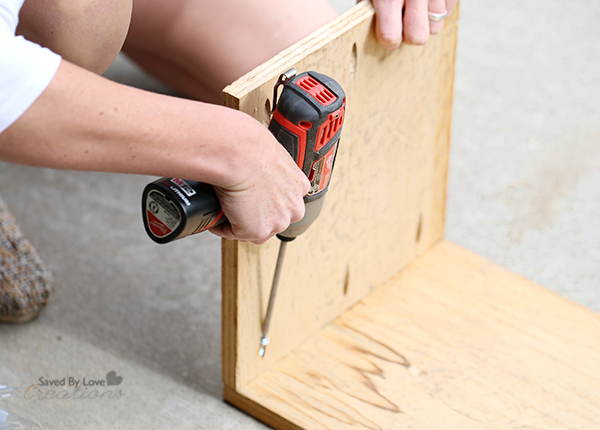
Attach the side pieces to the front piece first using the 1.5 inch Kreg screws.
Next, attach the TOP piece so that it sits inside the sides and flush with the top edge of the front piece. Also attach the top to the side pieces.
Lastly, attach the back piece in the same way you did the front piece.
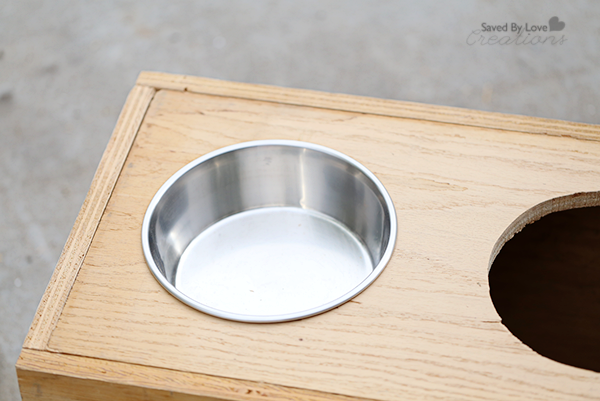
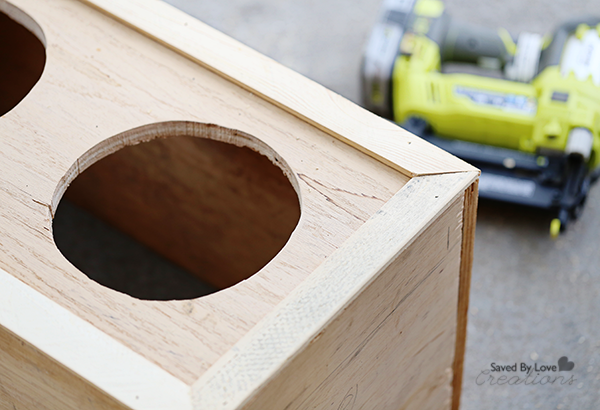
Now you have a box that is extra sturdy, with a recessed top that has holes in it to sit the bowls.
-
- Trim – We decided to cut mitered trim pieces around the perimeter of the Top to cover the little seam and just add a little “finished” look. It’s totally optional. We make our own trim board by using the table saw with the fence set to about ¼ inch and then we rip 1.5 wide boards. You can buy trim board already cut if you prefer. We also mitered the corners but you can butt them if you don’t have confidence in your mitering skill. Just do it like you’re cutting a picture frame and attach it to the box with glue and then small brads in the nail gun.
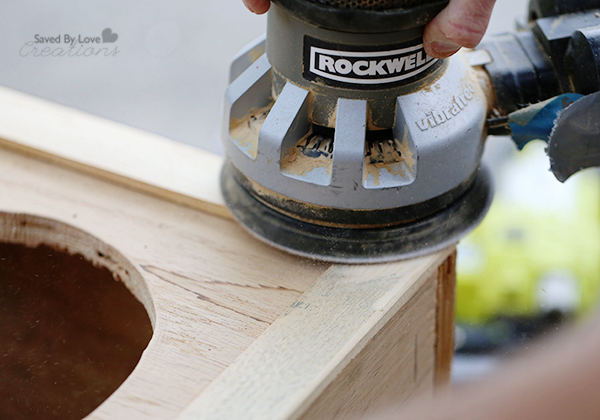 Before painting, sand any uneven areas.
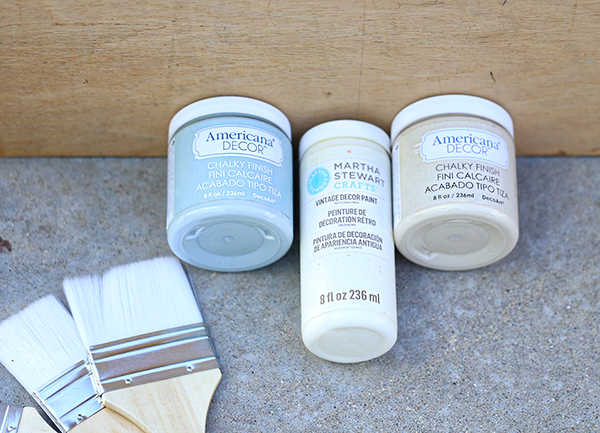
-
- Paint – We wanted a distressed look, and decided to go with a stained top, painted bottom. This is a super easy paint distressing technique that you can apply to any project.
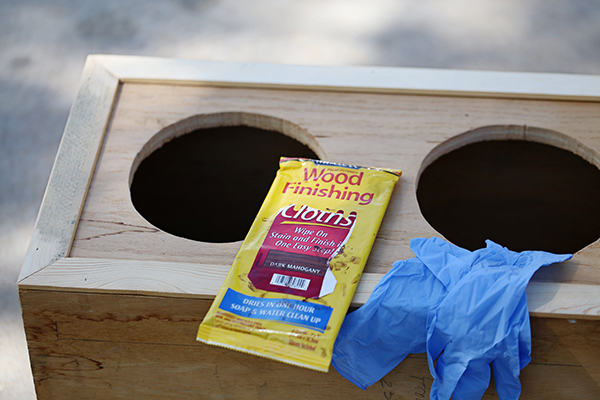
I stained the top with Wood Finishing Cloths. These are super convenient as they aren’t as messy as using stain from a can, and they contain sealant!
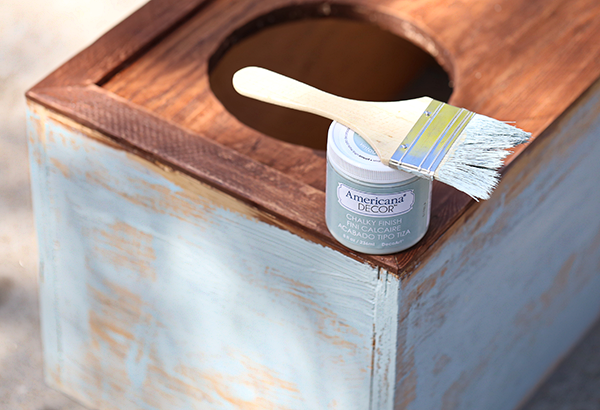
Tape off the top (pictured below). Apply your first base coat color randomly on all sides. This is fun because you paint in every which way, quickly and messily!
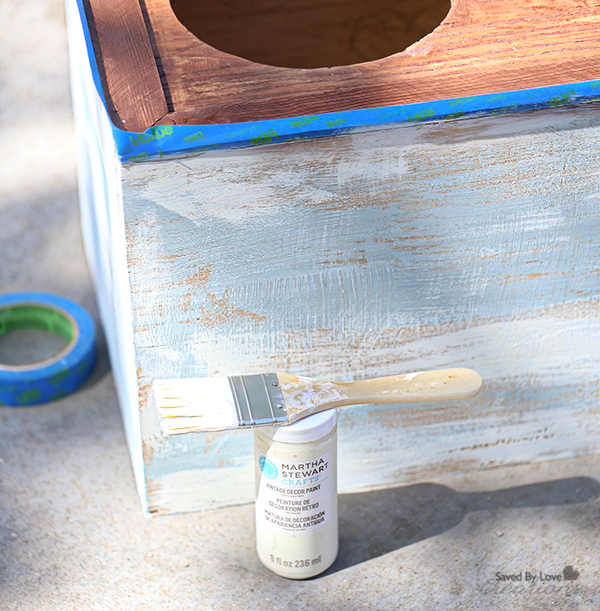
Once the first color is dry, apply the second color in the same fashion. I realized at this point I needed to tape off the top so I wouldn’t get paint on the stained area.
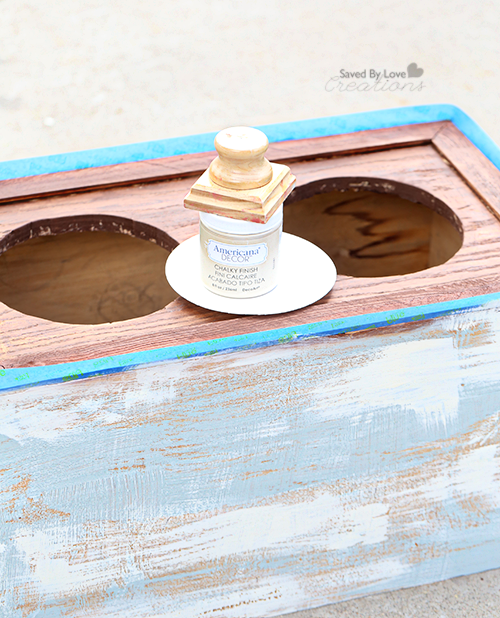
A block of wood is a great tool for creating a chippy paint look. You can use a piece of scrap wood, or this fancy distressing tool with a handle. Just get a glob of paint on the wood, and drag it across your surface, repeating until you are happy with the result.
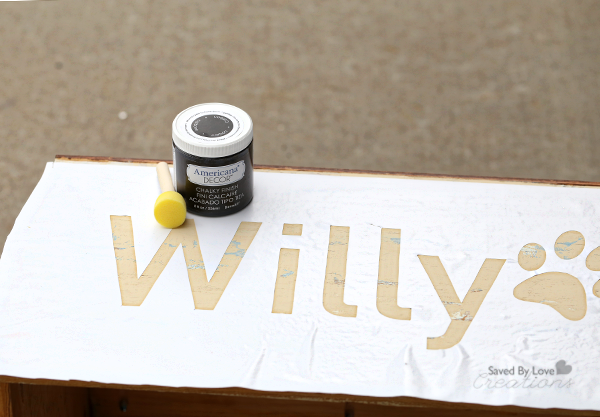
Finally, I created a stencil with my cricut machine and cut it out of white contact paper. I used a dark gray/black chalk paint for this part, applying it with a paint dauber.
Seal as desired and you are finished!
Thanks to DAP for the great new woodworking product. I will be keeping up with them here: DAP Facebook, and for sure using RapidFuse in my future builds!
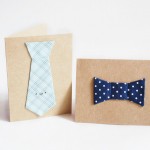
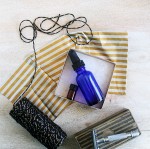
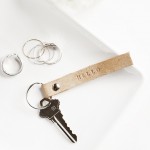
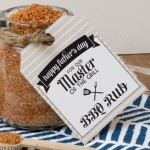
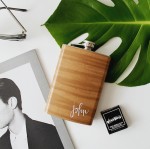
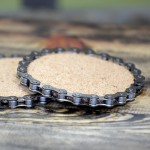
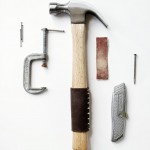
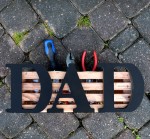
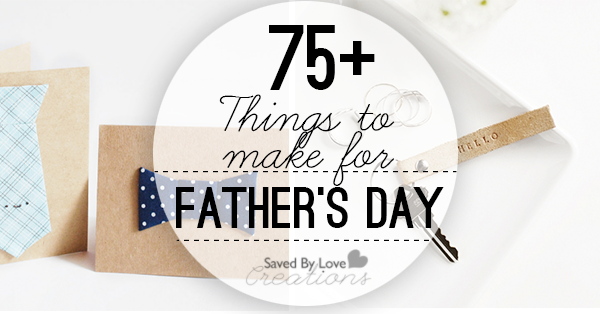
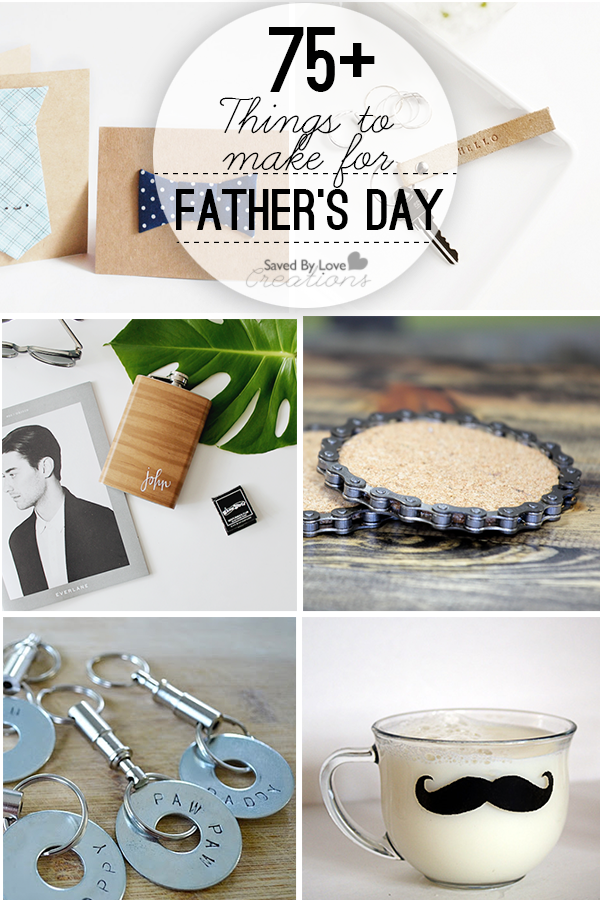 Mother’s Day has come and gone, and Father’s Day will be here in a heartbeat. Nothing is so cherished as a handmade gift, so we have gathered over 75 handmade gift ideas for Dad’s special day. The majority of these projects can be made for less than $10! Enjoy.