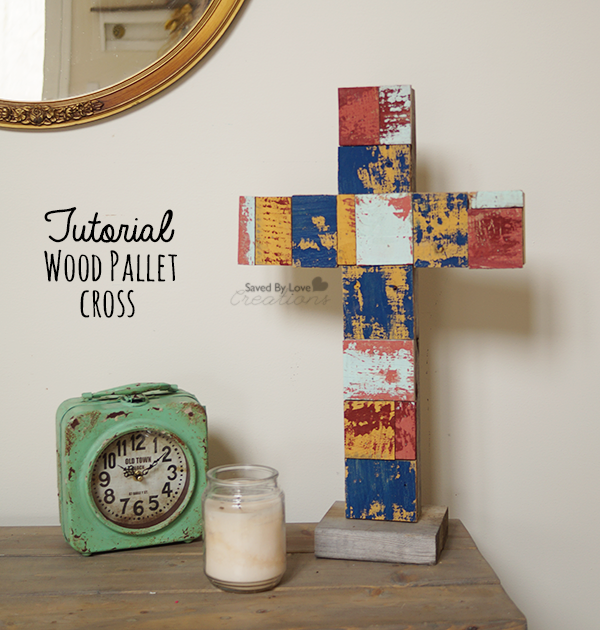
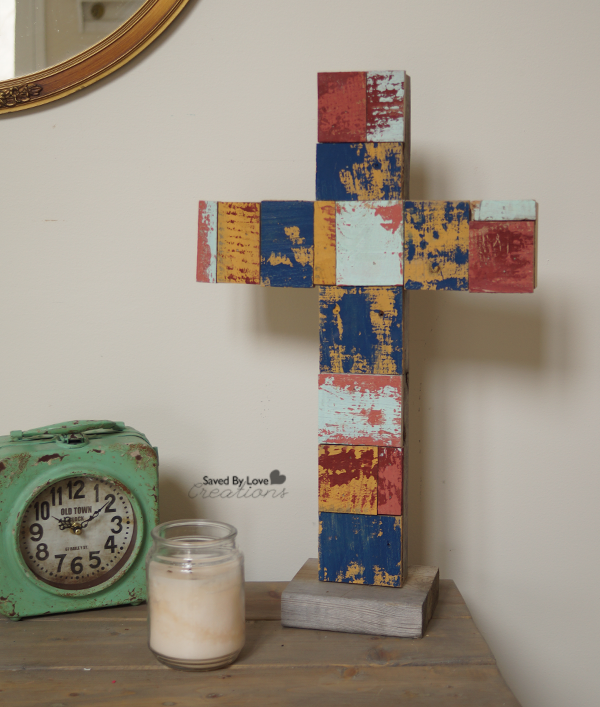
Today’s project is a great way to use up those wood scraps leftover from previous projects. I will show you how to make this sturdy wood cross using pallet scraps and pocket holes. You will also learn how to easily create the chippy, distressed paint look seen here.
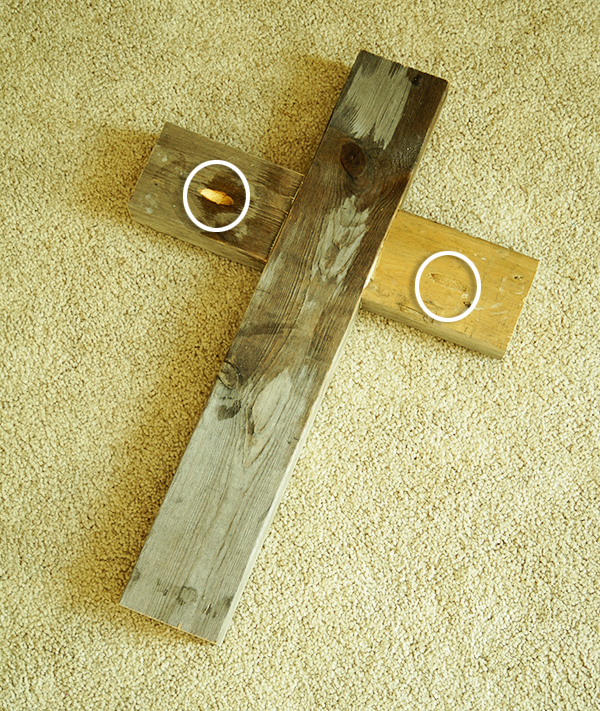
To start, I cut one scrap wood piece (2×4) to 18 inches and two pieces to 5 inches long.
I attached the 5 inch pieces to the 18 inch piece using pocket holes with my Kreg Jig (see How to Use Kreg Jig). The pocket holes are circled in the photo.
*Place a pocket hole on the bottom of the 18 inch piece for attaching the finished cross to a base. You want to do this before attaching the patchwork pieces in the next steps.
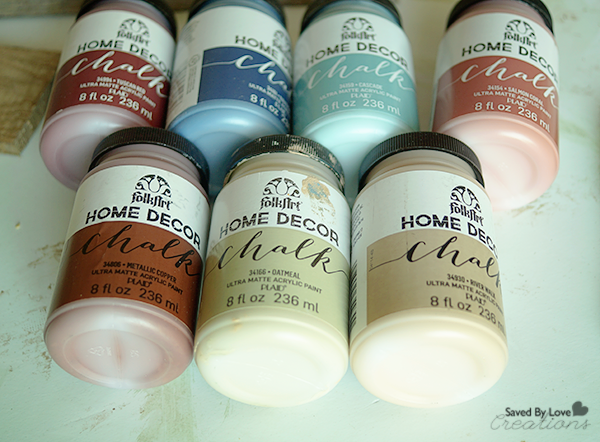
I used Folk Art Home Decor Chalk to create the distressed paint look. It is super easy!
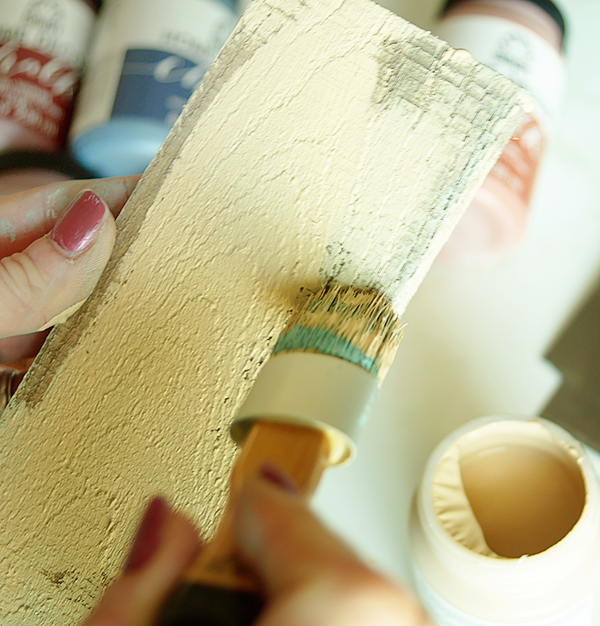
I brushed base coat on thin pallet wood pieces and let that dry.
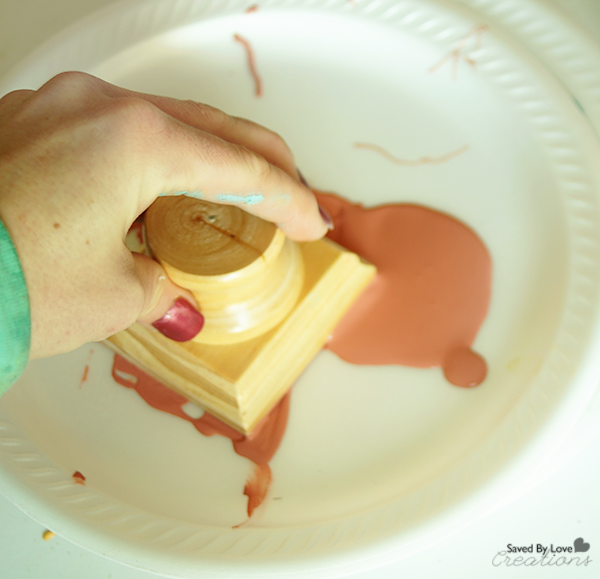
Using the Layering Block, I added more colors.
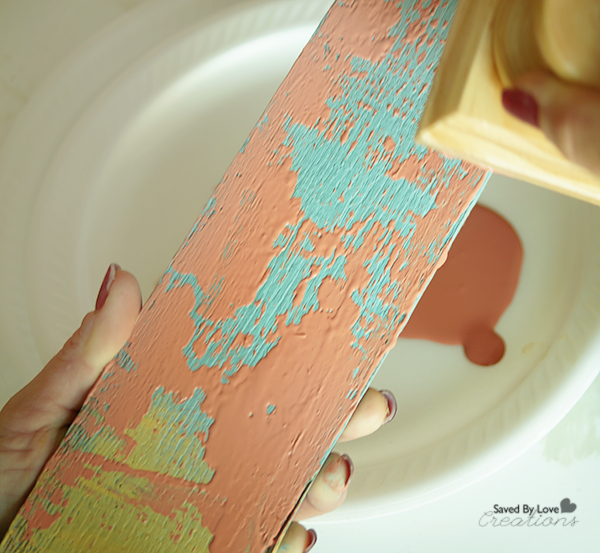
Lightly dragging the block across the dry painted board adds color in a chippy, random distressed fashion. Layer as many colors as you want, drying between each layer.
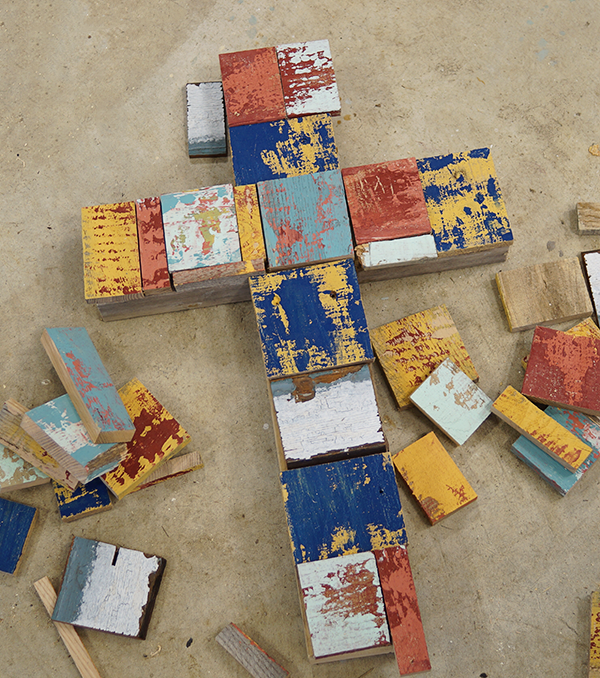
Once I had all the boardws painted, I cut them into random sized pieces and placed them on the cross. I made necessary cuts to the patchwork pieces with my mitre saw until everything fit into place.
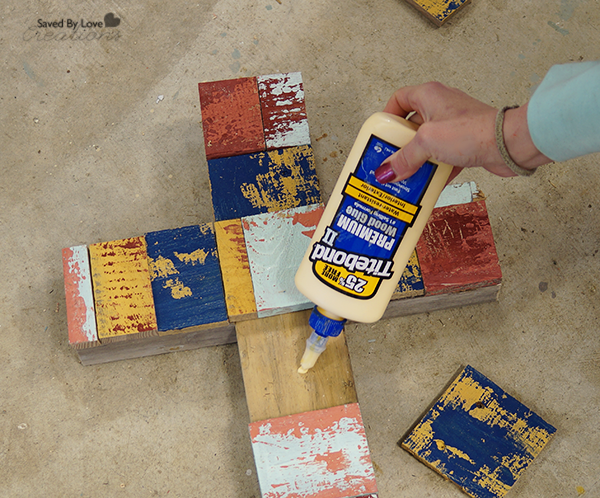
I glued the pieces into place and used my Ryobi AirStrike Nailer with one inch brads to secure them.
To finish, I centered the cross on a 2×4 rectangle and attached it with a pocket hole on the back of the cross and wood glue.

