Archives for February 2015

Wood Pallet Cross Tutorial

Wood Pallet Cross DIY @savedbyloves

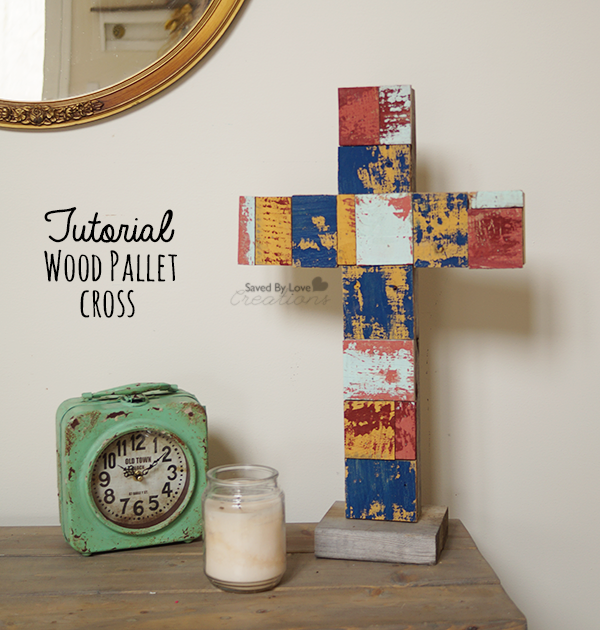
Today’s project is a great way to use up those wood scraps leftover from previous projects. I will show you how to make this sturdy wood cross using pallet scraps and pocket holes. You will also learn how to easily create the chippy, distressed paint look seen here.

Wood Pallet Cross DIY

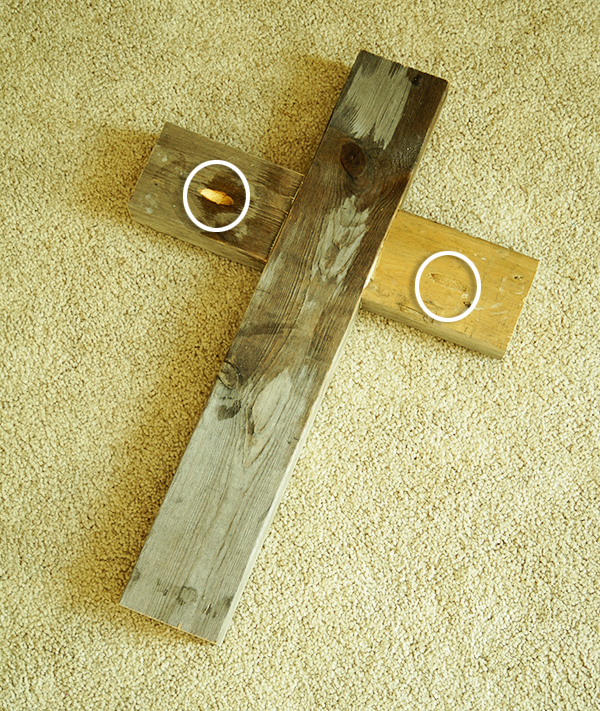
To start, I cut one scrap wood piece (2×4) to 18 inches and two pieces to 5 inches long.

I attached the 5 inch pieces to the 18 inch piece using pocket holes with my Kreg Jig (see How to Use Kreg Jig). The pocket holes are circled in the photo.

*Place a pocket hole on the bottom of the 18 inch piece for attaching the finished cross to a base. You want to do this before attaching the patchwork pieces in the next steps.

Folk Art Home Decor Chalk

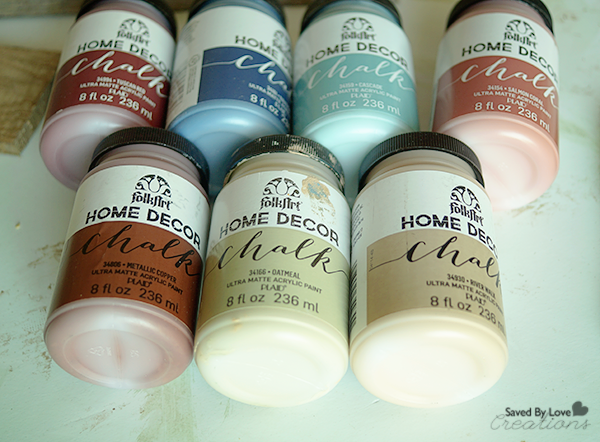
I used Folk Art Home Decor Chalk to create the distressed paint look. It is super easy!

How to Distress Wood

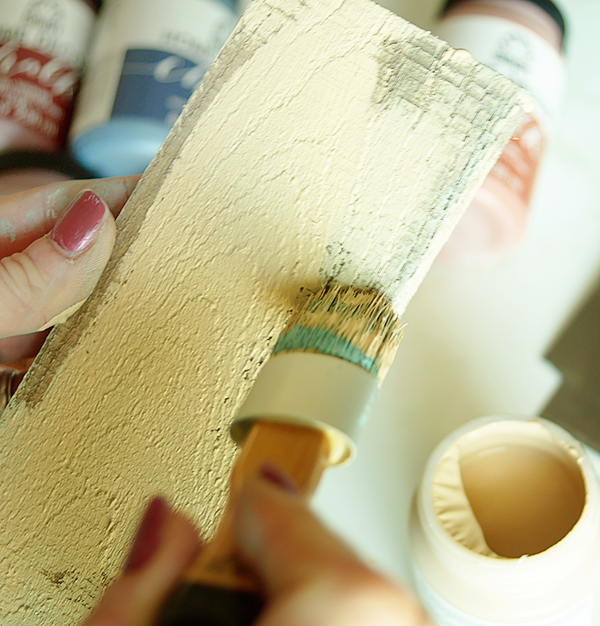
I brushed base coat on thin pallet wood pieces and let that dry.

Create Chippy Paint Look

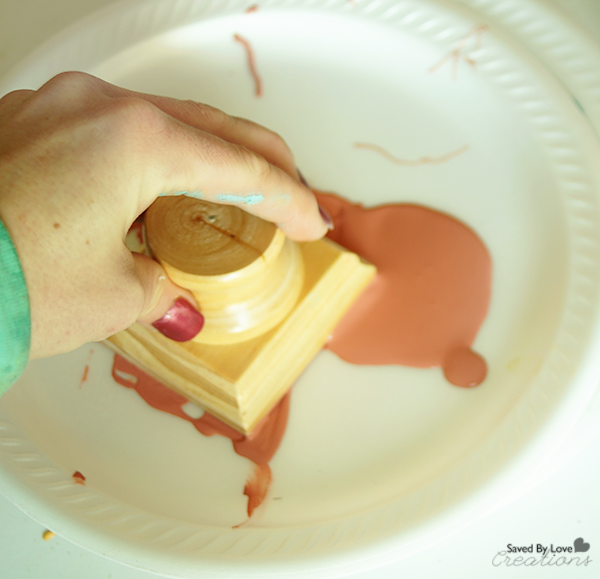
Using the Layering Block, I added more colors.

Create Weathered Wood Look with Paint

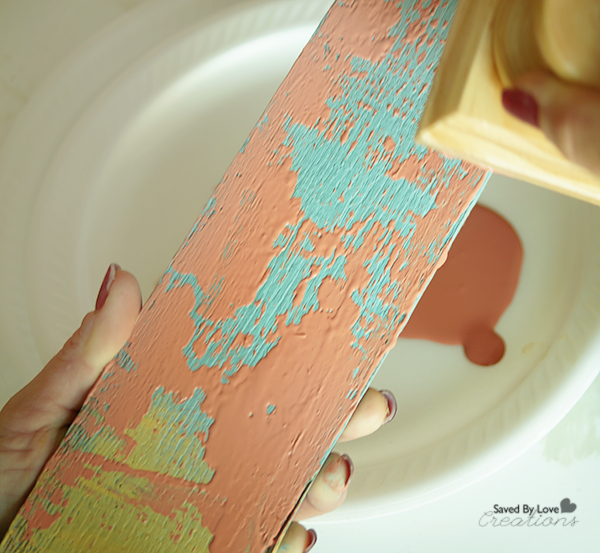
Lightly dragging the block across the dry painted board adds color in a chippy, random distressed fashion. Layer as many colors as you want, drying between each layer.

Patchwork Wood Cross

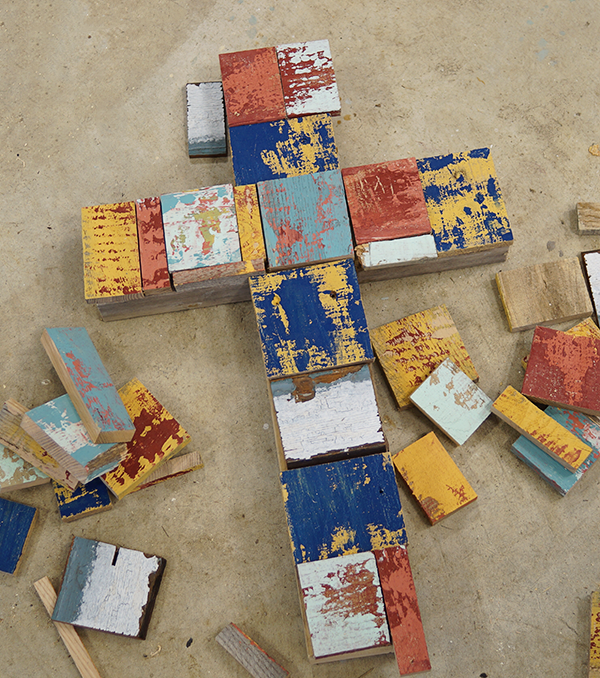
Once I had all the boardws painted, I cut them into random sized pieces and placed them on the cross. I made necessary cuts to the patchwork pieces with my mitre saw until everything fit into place.

Reclaimed Wood Projects

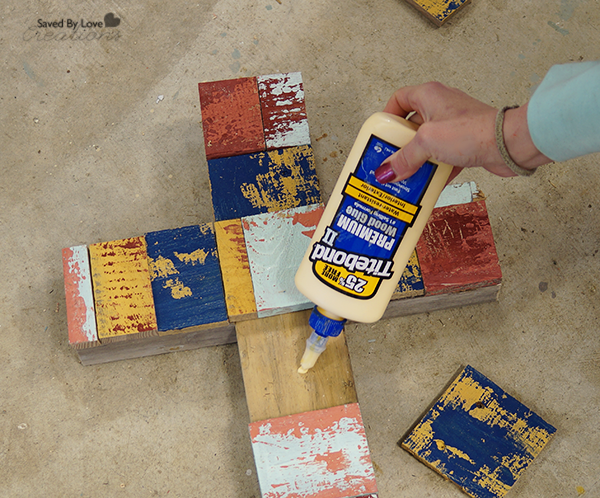
I glued the pieces into place and used my Ryobi AirStrike Nailer with one inch brads to secure them.

Reclaimed Wood Cross Tutorial

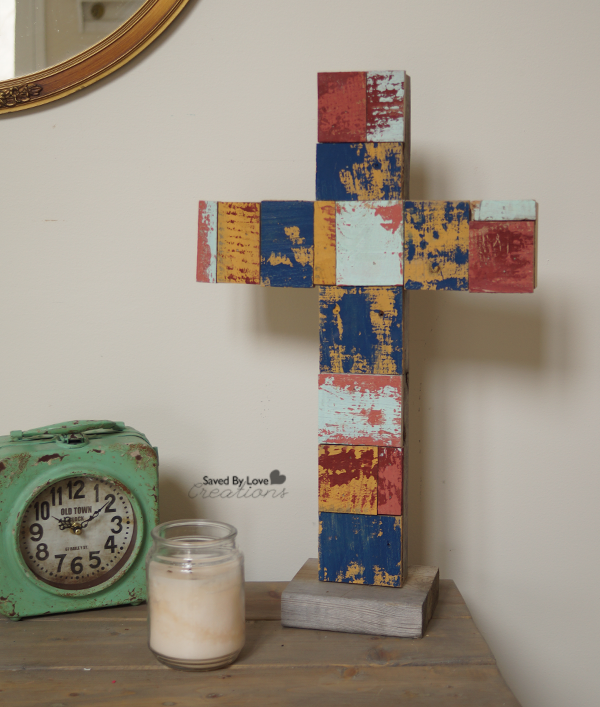
To finish, I centered the cross on a 2×4 rectangle and attached it with a pocket hole on the back of the cross and wood glue.

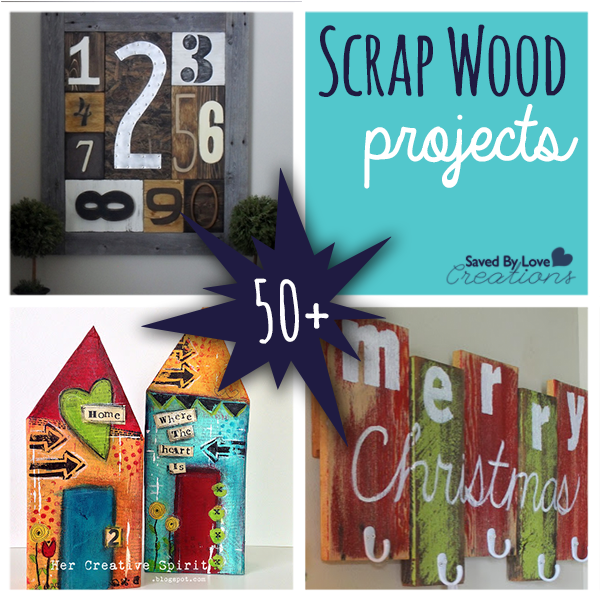
For more inspiration, visit our 50+ Scrap Wood Projects:

And our 50+ Wood Pallet Projects:

DIY Dollar Store Eraser Valentine Earrings

Valentines Day Jewelry Tutorial

I heart creating with dollar store supplies. For one, it is cheap, and it challenges me creatively. When I saw these cute Valentine’s Day erasers over the weekend, I immediately thought they need some resin and ear wires! Follow along to see how I made earrings from dollar store erasers!

Dollar Store Craft Idea

At first I imagined making a pendant, but then I realized the erasers came in pairs, just perfect for earrings. This project is super cheap and easy to do. Don’t be intimidated by resin if you’ve never used it.

ICE Resin Jewelry Tutorial

Especially now that ICE resin has made mixing the two parts so simple.

Dollar Store Resin Craft Idea

When working with 2 part resin, it is crucial to mix equal parts A and B. If you are off even just a little, the resin may no cure properly. ICE resin comes in a plunger that extrudes equal parts automatically.

How to Use Resin

Use a craft stick and mix the 2 parts by stirring for at least 1 minute.

TIP:  After mixing, let resin sit for 5 minutes before applying it. This lets the mixture settle and decreases air bubbles.

How to apply resin

Apply a little bit of resin at a time, starting in the center using the craft stick. It can take awhile to get use to how much resin to use. Just don’t go overboard. You can always add more to create a dome effect after the first layer has dried, but you are in for a mess if you use to much and it spills over the edge.

Let resin cure for 12 hours.

Upcycled Jewelry

I picked up these screw eyes at Walmart for $0.97.

How to Make Earrings

 Upcycling

Just screw the hardware into the top center of your resin eraser.

Jewelry Making Tutorial

Add ear wire and you are set!

Valentines Day Craft

Do you love them as much as I do? You can make 6 pairs with the pack of $1 erasers!

Make Adorable Valentine's Day Earrings Dollar Store Craft @savedbyloves

Find over 50 ways to decorate for Valentine’s Day:

50+Valentine’s Gifts to Make:

DIY Recycled T Shirt Rug Tutorial

How to crochet a round rug from DIY Tshirt yarn @savedbyloves


Last week I shared with you How to Make T-Shirt Yarn along with over 30 projects to make with it. I showed you the pile of yarn I whipped up in various shades of blue:

How to Make tshirt yarn and 30 Plus projects to make @savedbyloves

Today I am sharing the pattern I used to create my round t-shirt rug from my handmade yarn! My rug is worked in the round, and I was able to get 11 double crochet rounds (or rows) from the yarn pictured. To get the gradient effect for the blues, I used Tulip fabric tie dye in turquoise. I just dyed a white shirt, diluted the solution with water, dyed the next white shirt, diluted with water once more and dyed two white shirts. I dried these in the dryer, then cut into continuous t-shirt yarn as shown in the tutorial linked.

Recycled Tshirt Yarn Rug Tutorial

It took some trial and error to make this flat circle rug with my t-shirt yarn. The first attempt, I used a Size P (10.0 mm). I was much happier when I went up a size to Q (15.75 mm). It was WAY easier to work with the yarn using the larger hook! I made my strips 1.5 inches wide and this was the best hook size.

Crochet in the round

Here is the pattern:

To begin, either use the magic ring method, or Ch 4 and join with a slst to form a ring.

Round 1:  Ch3. 11 x dc into the ring. Join by making a slst into the top of the first dc.

Round 2: Ch3. Dc inc in the next st and each st around.The last dc inc will fall in the back end of the sl st join, which is quite tight, but that is how I learned to crochet (and design).  Join to the first dc with a sl st.

Round 3: Ch3. *Dc inc, dc* x 11.  Join to the first st with a sl st.

Round 4: Ch3. *Dc inc, 2 x dc* x 11.  Join to the first st with a sl st.

Round 5: Ch3. *Dc inc, 3 x dc* x 11.  Join to the first st with a sl st.

Round 6: Ch3. *Dc inc, 4 x dc* x 11.  Join to the first st with a sl st.

Round 7: Ch3. *Dc inc, 5 x dc* x 11.  Join to the first st with a sl st.

Round 8: Ch3. *Dc inc, 6 x dc* x 11.  Join to the first st with a sl st.

Round 9: Ch3. *Dc inc, 7 x dc* x 11.  Join to the first st with a sl st.

Round 10: Ch3. *Dc inc, 8 x dc* x 11.  Join to the first st with a sl st.

Round 11: Ch3. *Dc inc, 9 x dc* x 11.  Join to the first st with a sl st.

***I stopped at 11 rounds, but if you want to keep going, just increase the number of single stitches between increases by one for each round.

To finish: Ch 1. Sc in every stitch around. Join by making a sl st into the first st. Ch 1 and bind off.

Double Crochet Round Rug Free Pattern

Privacy Policy