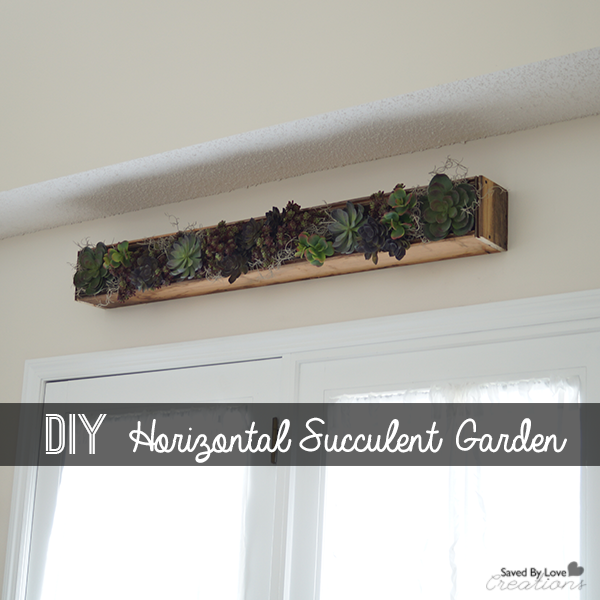
Archives for August 2014

DIY Horizontal Succulent Planter Box Display

[pinit]DIY Horizontal Succulent Garden @savedbyloves[pinit]

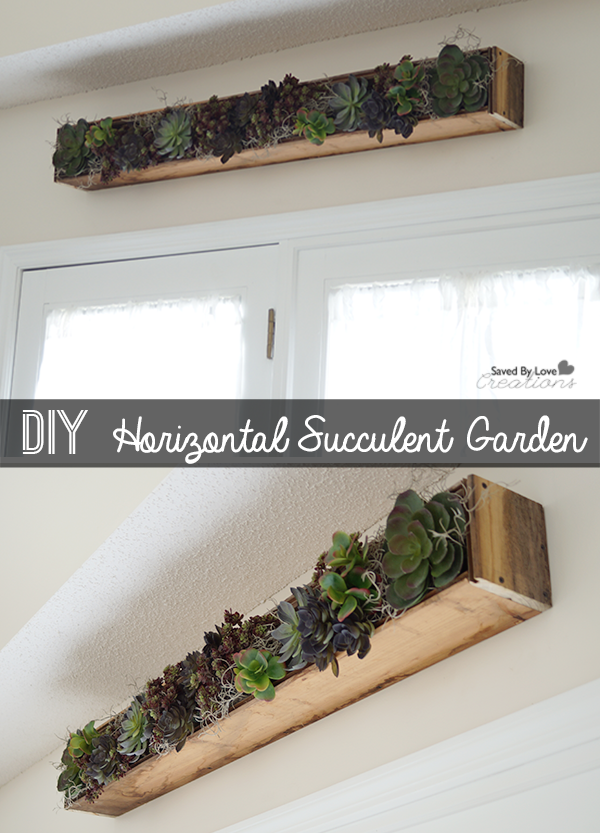
Decorating with succulents is a top design trend that won’t be going away!  That is why I am thrilled to share how we created this horizontal succulent garden placed above our double deck doors.  I took the easy way out and went with artificial plants, even though succulents are easy as can be to grow and maintain.  I was gifted an excess supply of the fakes from Michaels that a friend had leftover and just went with it.  The project was simple and quick, and cheap!  The planter is (no surprise if you have been around here much) made from reclaimed wood.

Here is how I did it!

I had some tongue and groove wood that I picked up from Habitat Restore.  I ripped it with my table saw to about 4 inch wide pieces, and cut 3 of those to 4 feet in length for the 2 long sides and the bottom of the box.  I cut 2 of them to about 5 inches for the short sides.

Ryobi-Airstrike-Nailer

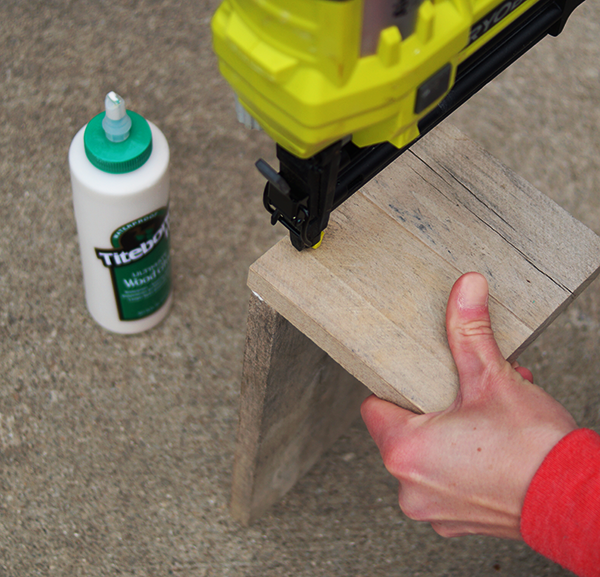
I nailed all of the pieces together with my trusty Ryobi Airstrike Nailer.  The pic shows the creation of this Stenciled Planter Box, but the process was the sam for today’s project.   If I could have just one tool in the whole “stuck on a desert island” scenario, this would be a top contender.

DIY Succuulent Garden

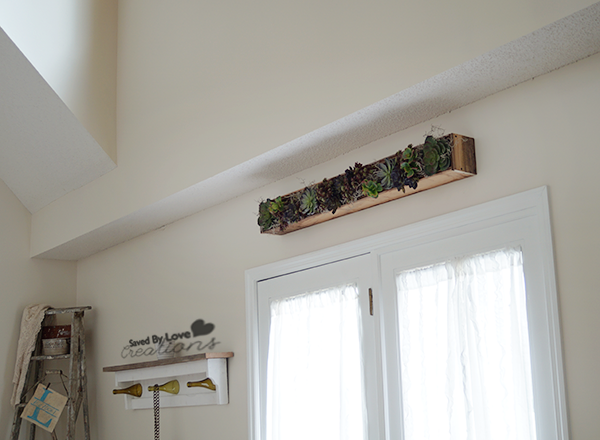
We used 4 3 inch wood screws to attach the finished box into the studs above the double deck doors.  I found a 12x36x2 inch styrofoam sheet in my stash and cut it to fit tightly in the planter box, all the way a cross.

Then I just hopped on a step stool and arranged my faux succulents, shoving the wire stems into the foam to hold them in place.

DIY Succulent Garden

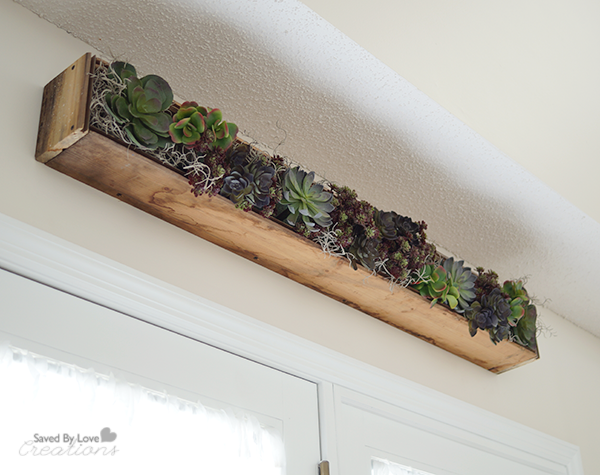
What do you think?  I am going to be honest… I seriously like it bunches.

It is hard to hang things on the freshly painted walls in our new home.  What if I change my mind, what if it looks dumb… so many holes to patch.  Not in this case.  Totally satisified!

If you want to make live succulent gardens, check out our popular DIY Terrariums and Succulent Plants:

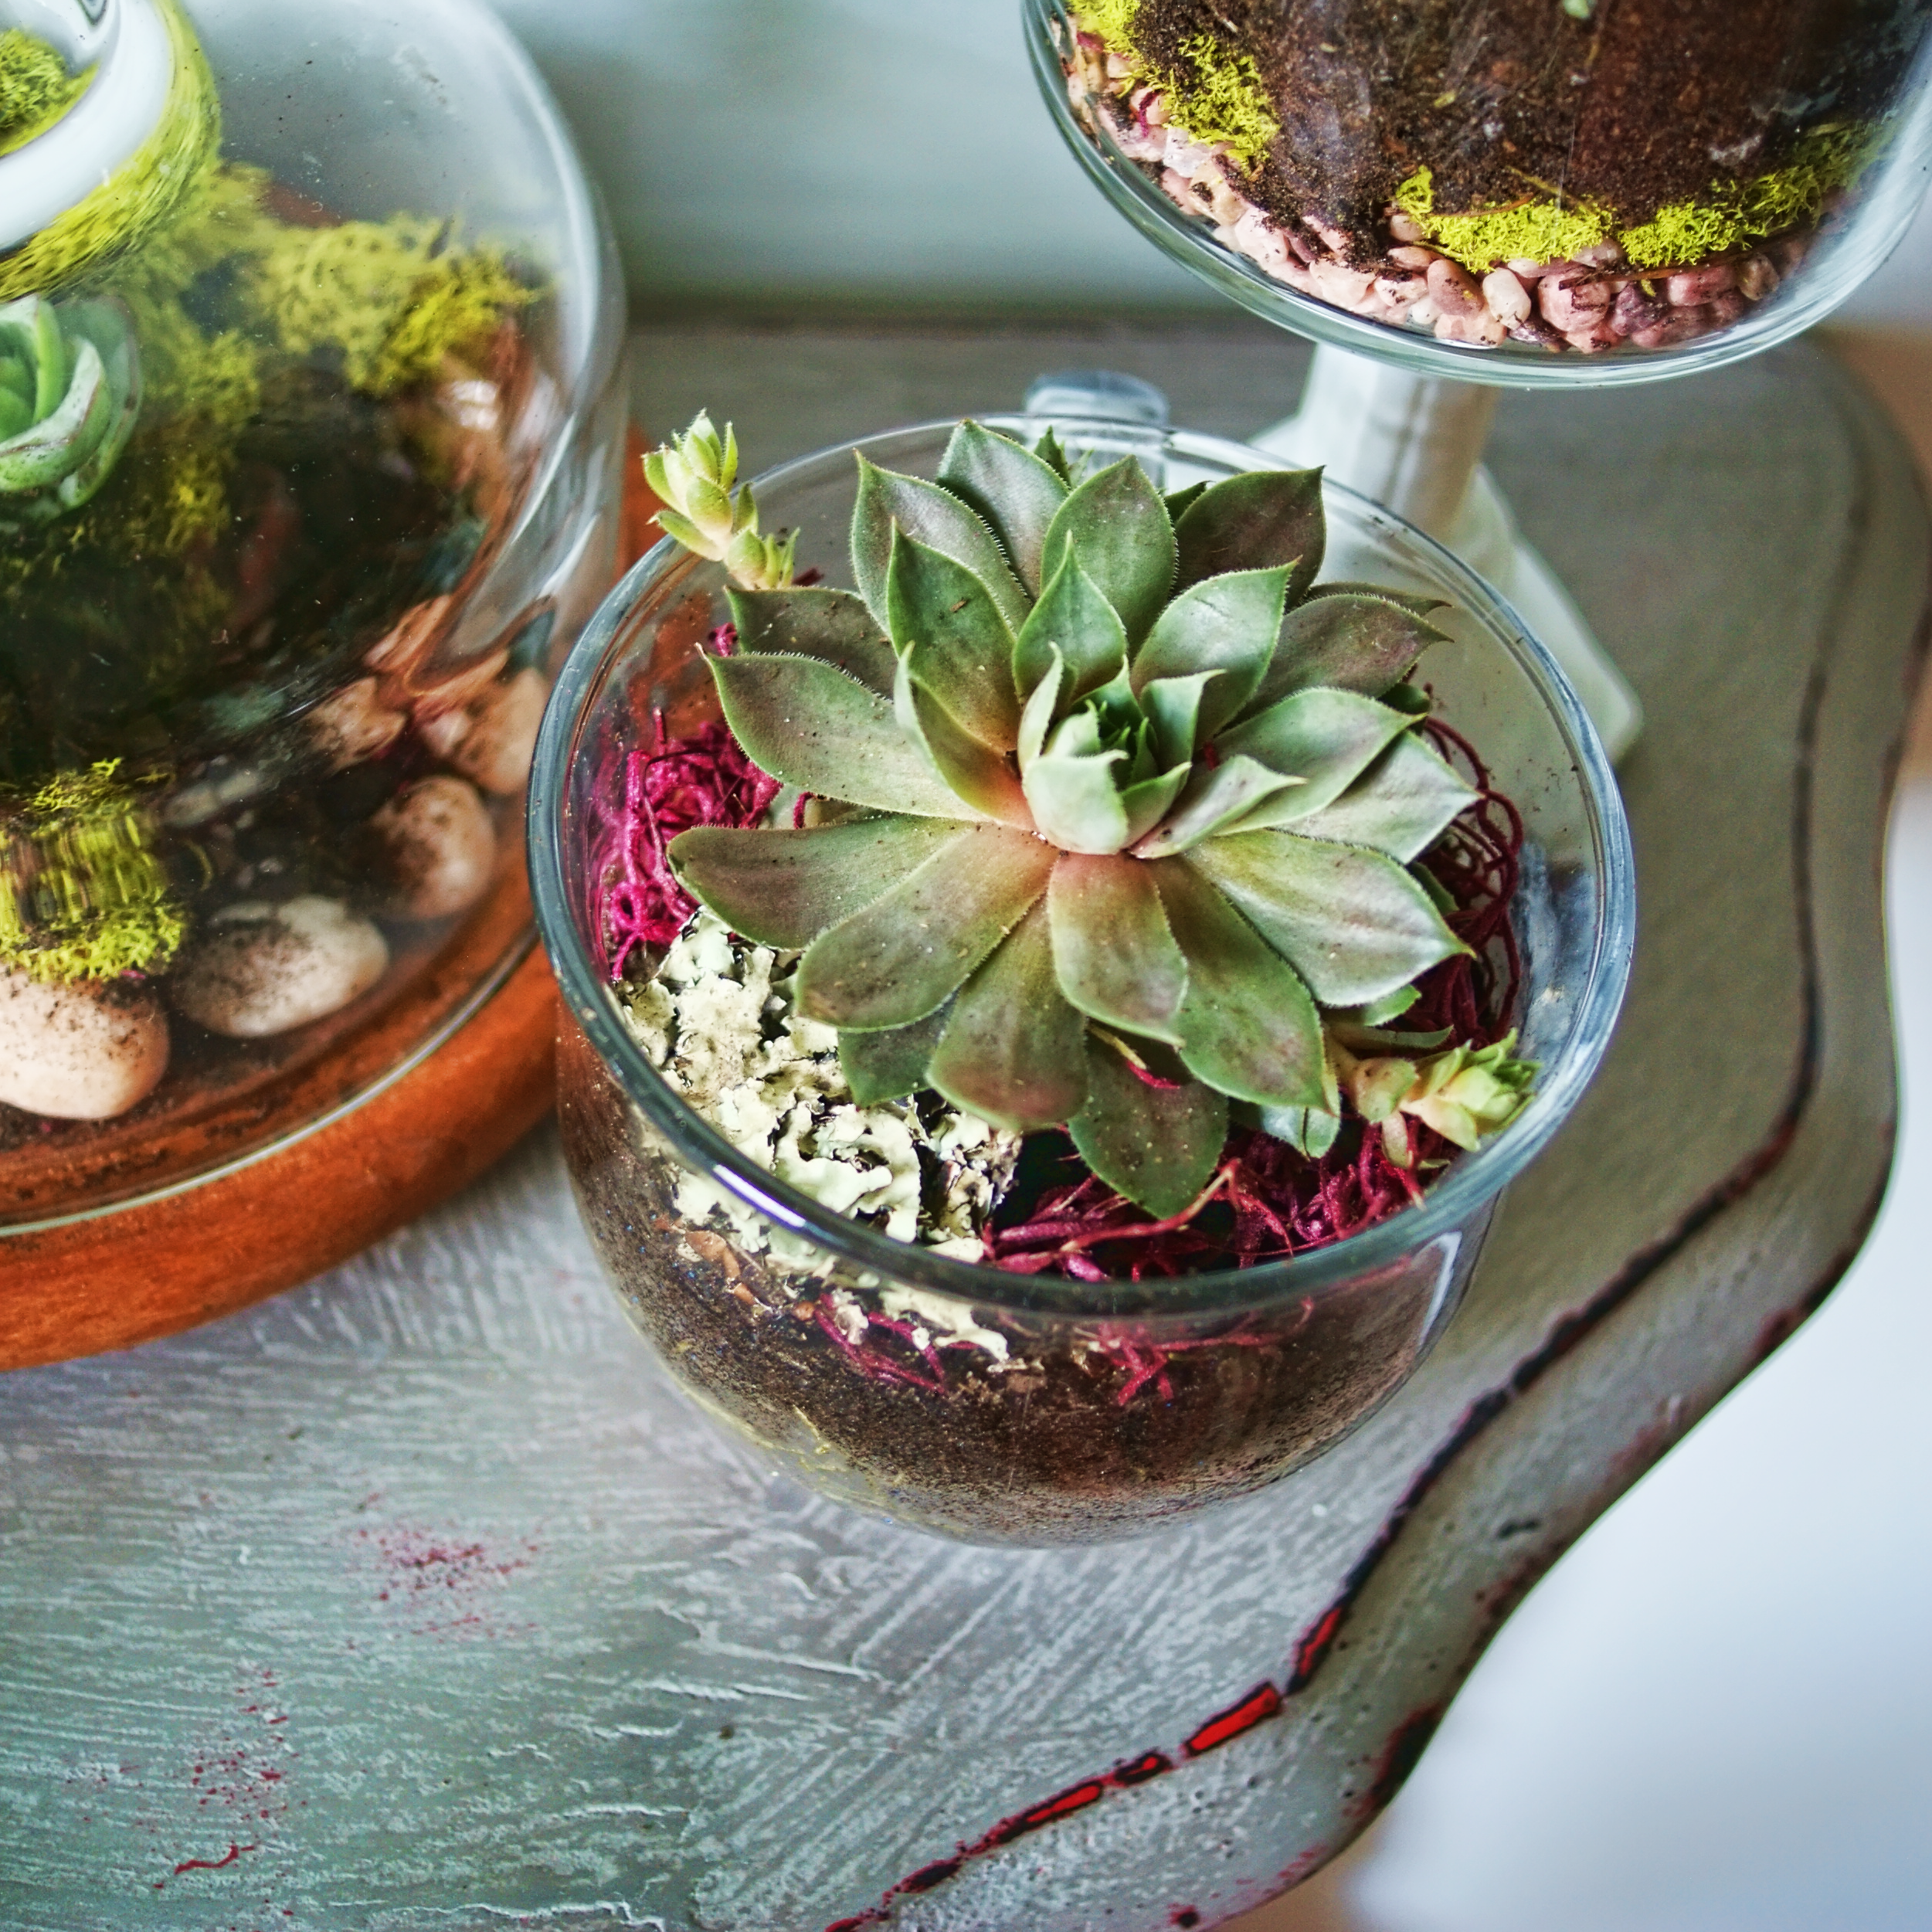
How about our 50+ DIY Terrariums and Creative Planters?


Succulent in Decor DIY Horizontal Planter @savedbyloves

DIY Butcher’s Chart Cow Vintage Kitchen Art With Free Graphic

[pinit]DIY Kitchen Art Tutorial With Free Printable Butcher Cow Art @savedbyloves[pinit]

Vintage kitchen art in the form of the butcher’s beef chart is tops in the design world these days.  That is why I was thrilled to score a cookbook from 1898 with the perfect image for such a piece!  I scanned it in, cleaned it up in Photoshop and enlarged it to fit a 28 in x 14 in piece of art scored from a garage sale.  This tutorial shows you how to transfer a large image to a chalky finish surface, and provides the butcher beef chart cow art for you to download for use in your own projects!

SUPPLIES:

Vintage Butcher’s Beef Chart Image  (Click link for image download page)

Image transfer kitchen cow art

Paint brush

Chalky Finish Paint by DecoArt in Whisper

Image Transfer Medium

Clear Wax DecoArt

Laser Printer and Photoshop or other editing software

Painter’s Tape

Spray bottle with water or cup of water

Image Transfer Cow Butcher Art

TUTORIAL:

Image Transfer Vintage Cow Butcher Art

Prepare the surface for the image transfer by painting with Chalky Finish in your choice of color.  I used Whisper.  It took 3 light coats with 15 minutes of drying in between to cover the image on the garage sale art.

While that is drying, prepare your image.  I resized mine in Photoshop to fit the 28×14 inch recipient surface.

 Make sure you reverse the image before printing it so the numbers won’t be backwards in the transfer!

If you are making art larger than your printer will print, you will need to print it in sections and tape it together like I showed you in the video found here:

DIY Rustic Sign Tutorial Using DecoArt Chalky Finish Paint

How to Make Vintage Wall Art

Print the sections, align them and tape together on the back with painter’s tape.

Chalky Finish Home Decor Project Vintage Kitchen Art

Large Art Image Transfer Tutorial

Paint the surface with a thin layer of Americana Image Transfer Medium, and paint the ink side of the image to be transferred with the medium too.  For more detail on using this product, see my Vintage Image Transfer Coaster Tutorial shared at Printable Decor.

How to do an image transfer

Spray water on the back of the printed image and let soak for 3-5 minutes.

Rub paper backing away with your finger tips (there are detailed pictures of this in the graphic coaster tutorial linked above).

Seal the piece with clear wax and you are all set!

DIY Kitchen Cow Art Tutorial With Free Printable Butcher Cow Art @savedbyloves

Check out more cool ideas in our 50+ Image Transfer Projects

50 Plus Clothespin Crafts To Make

[pinit]Clothespin Crafts to Make Over 50 Great Tutorials @savedbyloves[pinit]

How have we gone this long without sharing a collection of clothespin crafts? It is a mystery.  Whether you have the one piece wooden peg, or the two piece wood or plastic version held together with a spring, you can use these simple laundry inventions to make some cool stuff.  From home decor, to jewelry, to toys and games for kids, we are all sure to find something we can enjoy in this gallery of things to make from clothespins.

clothespin craft for headphone storage

My personal favorite?  This headphone cord organizer found at Buzzfeed.  

Are you with me on this?

What are your favorite clothespin crafts?  Do you have one we missed?  If so, let us know!

ENJOY!!

Recycled Wine Bottle Tiered Veggie Stand

Recycled Wine Bottle Tiered Display[pinit]

Do you love Dollar Store Crafts?  How about making things from recycled materials?  Make an all occasion display in just a few simple steps, using dollar store dishes and cut wine bottles!  This project is perfect for displaying your garden harvest, letting tomatoes ripen in a window sill, filling with holiday themed candies and filler, or  for storing your favorite jewelry in a fashionable way.

 MATERIALS

Dollar store supplies and recycled wine bottles

-2 wine bottles and bottle cutting supplies – See How I Cut Wine Bottles

-E6000 or other industrial adhesive

-3 plates or dishes in varying sizes

 DIRECTIONS


Tiered Candy Display 2

1. Place largest plate or dish on a flat surface and glue a wine bottle top to it as shown.

Tiered Candy Display 3

2. Glue the top of the same bottle and place middle sized dish on top of that. Continue in this fashion until your stand is constructed.

Tiered Candy Display 4

3. Let dry 24 hours before using!

Recycled Glass Art CG

Do you love it?

What are your favorite wine bottle crafts?

Would you like to see more?

VISIT OUR 50+ Dollar Store Crafts:

 And our 50+ Glass Bottle Crafts:

Stylish Craft Storage with Sauder Bookcases

[pinit]

Do you love the look of custom built-ins, but not the hefty price tag that comes with them? If you have unlimited funds at your disposal to do with whatever you like, this is not the post for you. This is for those who want the designer look on a tight budget, like us. As you may know from our recent new home tour, we are remodeling and decorating pretty much every room. Today I am sharing a peak into the studio. See how I am using affordable bookshelves from Sauder to help organize the space in style!

The ultimate plan here is to add trim and crown molding to make these bookshelves look like custom built-ins. I ordered four 5 Shelf Bookcases from the Sauder website for under $250. There is a ton of furniture to select from on the site, which is well organized and easy to navigate. The product was on my doorstep in no time!

Assembly was a cinch with easy to follow directions, taking about 30 minutes per bookshelf. If I could change anything, I would add marks where the nails should go in the backing. It was hard to know if I was on the wood or not, but I got better at it as I went along, and was a pro by the fourth bookshelf!

If you are keenly observant you may have noticed that the bottom shelf in the first image I showed you is raised compared to the initially assembled shelves. That is a part of the custom built-in plan. These bookshelves are perfect for such a project, but I needed the bottom shelf to be a few inches higher to be flush with the baseboard we will be adding for the built-in look. I cut a 1×12 to fit and attached it to the assembled piece with pocket holes. You can see the added shelf is perfeclty flush with my baseboard! More on that project to come.

If you aren’t up for tackling the custom built-in project, these bookcases are still a great solution for stylish storage! I love the white, and they are the perfect size for inexpensive storage bins to keep you organized.

Stay tuned for the built-in transformation!

This is a sponsored conversation written by me on behalf of Sauder. The opinions and text are all mine.

DIY Crafts, Jewelry and Mixed Media with Blitsy

This is a sponsored post written by me on behalf of Blitsy. All opinions are 100% mine.

DIY Leather BraceletIf you love making mixed media art, jewelry, paper crafts and pretty much anything DIY, you are going to want to check out Blitsy. You can visit this online craft store for up to 70% off of the latest products for all of your creative needs. It is no secret I love mixed media, die cutting and creating with resin. I became a member at Blitsy, which took less than 2 minutes, and I was impressed to find some great deals on my favorite products! ICE Resin was way cheaper than what I pay at my local craft store, and about 35% less than other online sources. The same goes for Spellbinders Media Mixage line, and there were some great collage papers that I hadn’t seen and must have. That is exciting!

Why Become a Blitsy Member?

It is free. It takes seconds. Becoming a member gives access to weekly private sales on Blitsy.com. Each sale features collections of crafting products at fantastic deals prices. New sales begin every Monday through Saturday at 10:00am CST and last for 4 days or until the items are gone. You can get free stuff! For each new member you refer that ends up making a purchase, you get $10 dropped into your account for shopping at Blitsy. It’s easy to use your personal referral link to spread the word via Twitter, Facebook, email, and all your favorite places to scream from the rooftop. Blitsy has an Inspira tion Gallery to get your creative wheels spinning, and for sharing your own creations. Leather-Stitched-Bracelet DIY Learn how to make this adorable DIY Leather Stitched Bracelet, and other fun projects. You will be right where you need to be to buy the supplies at a steal of a price and get creating!

Visit Sponsor's Site

Privacy Policy