[pinit]
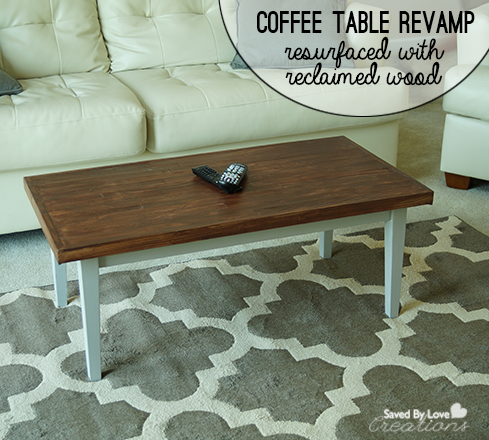
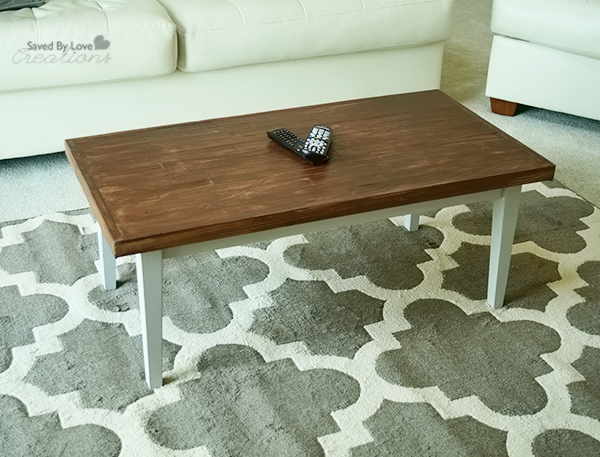
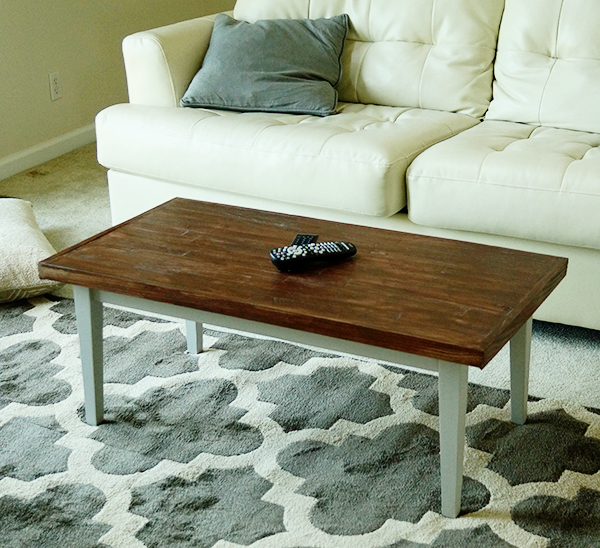
What is better than revamping a garage sale find? Revamping a $5 garage sale find that you got in 2006 a second time, that is what! Today I am sharing how I did just that to create this reclaimed wood resurfaced, chalk painted coffee table. I am super proud of this bad boy. With some old deck wood I inherited when my mom demolished her deck and my table saw, I created wood shims, attached them to the table top, framed them in with the same deck wood, and stained them with Minwax Wood Finishing Cloths. The result is exactly what I was going for, and I am loving it with the decor where it landed. Wanna see how you can make your own? Let’s do this!
TUTORIAL:
Paint your table base as desired. I used gray chalk paint.
Rip thin “wood shims” from reclaimed wood with your table saw, or buy wood shims!
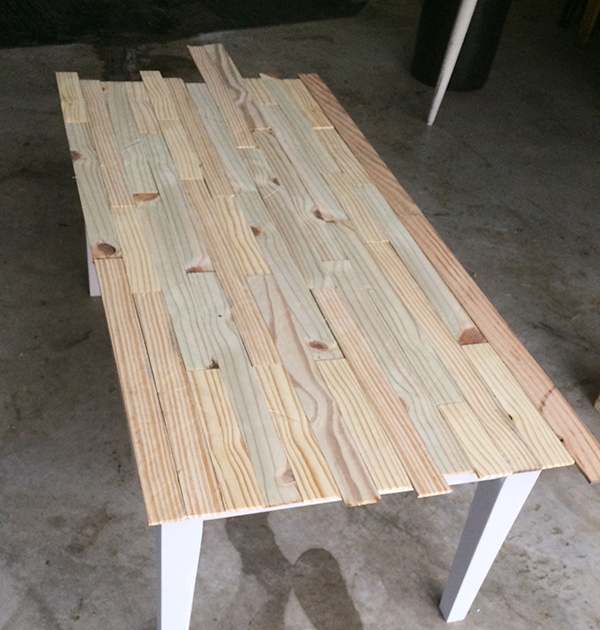
Place your shims with excess stick over both edges.
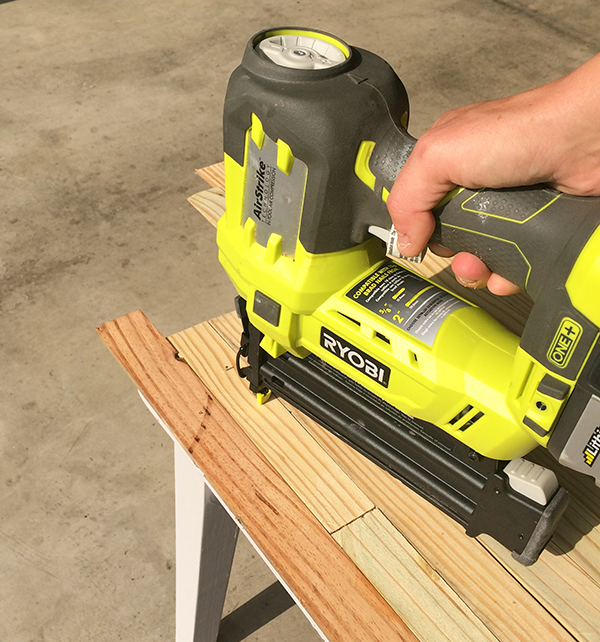
Use wood glue and Air Nailer to secure wood shims into place.
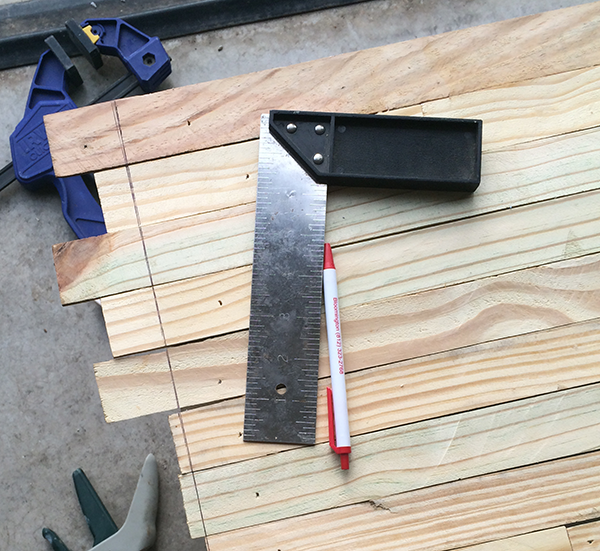
Draw straight edge and cut off excess wood with jigsaw.
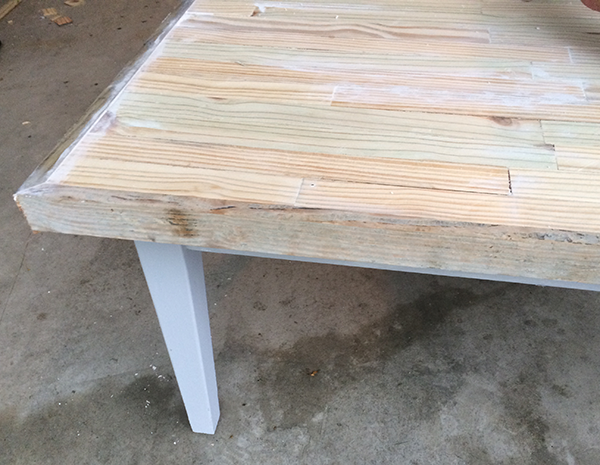
Frame in by measuring length and width of table and cutting wood at 45° with short edge the same length and width as your table. Attach with glue and nail gun. Fill in gaps and holes from nailer with stainable wood putty.
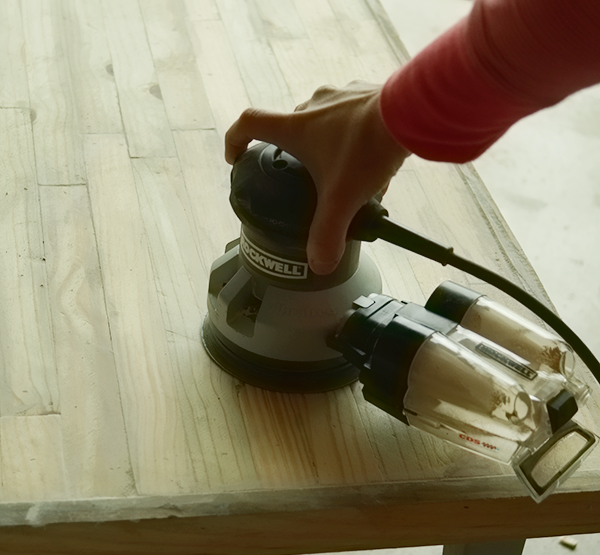
When wood putty dries, sand with orbital sander to smooth out surface.
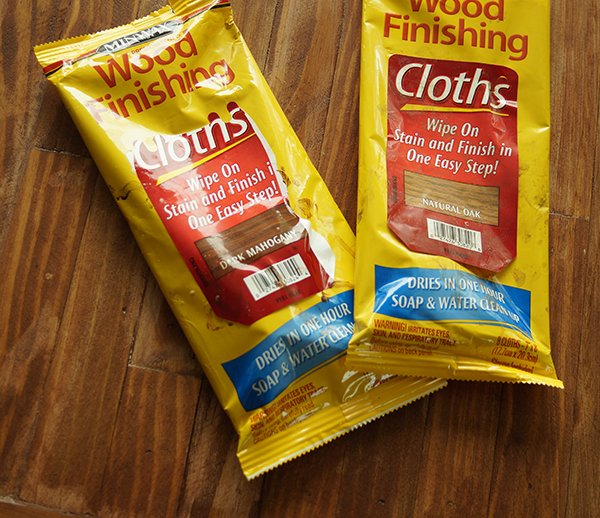
If you have been around here long, you know I am a huge fan of Minwax Wood Finishing ClothsMinwax 30820 Wood Finishing Cloths, Natural Oak. They are super awesome. Stain and seal with just a swipe. Here I used Natural Oak and went over that while still wet with Dark Mahogany for a custom color.
That is it!
The inspiration for this project came from the recent 50+ Wood Shim DIY Projects we shared:
Check it out for tons more inspiration! Enjoy.

