[pinit]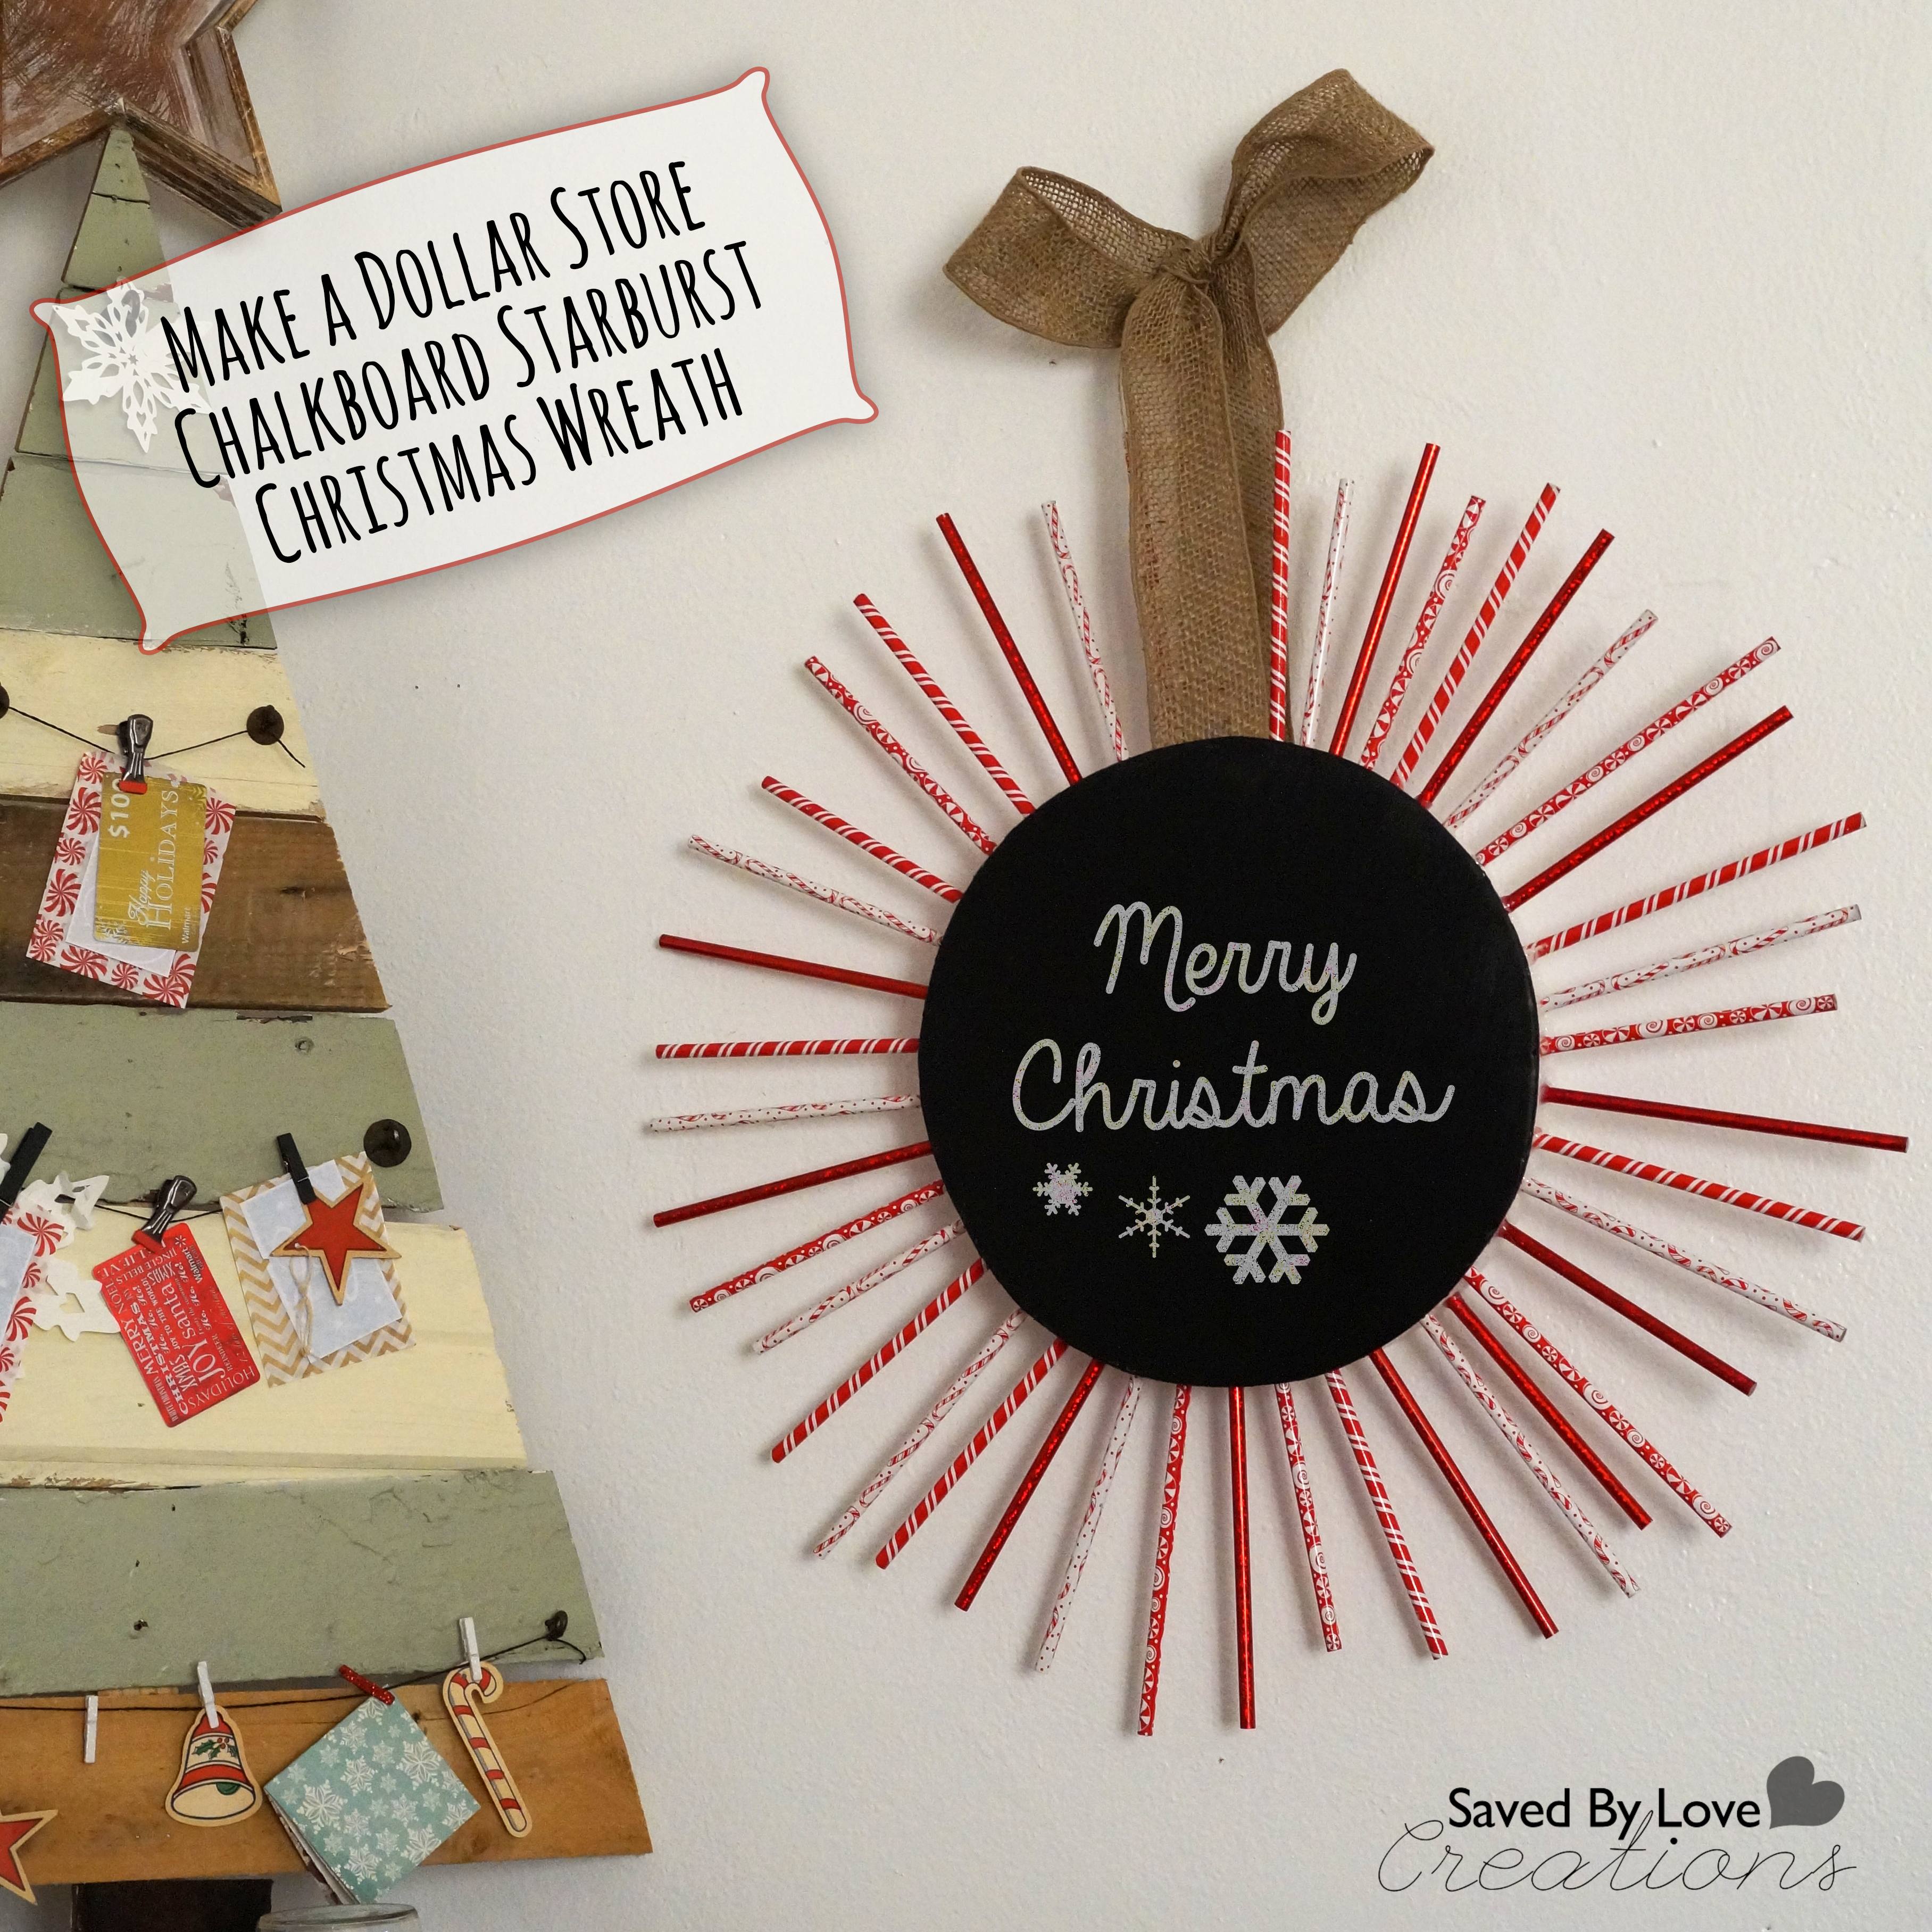 [pinit]
I am a member of the Make It: Fun® Team. This DIY Starburst Christmas Wreath is sponsored FloraCraft® Make It: Fun® Foam. All opinions are honest and mine, like always.
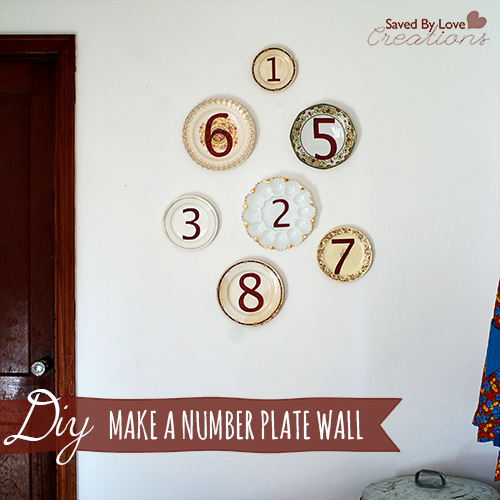
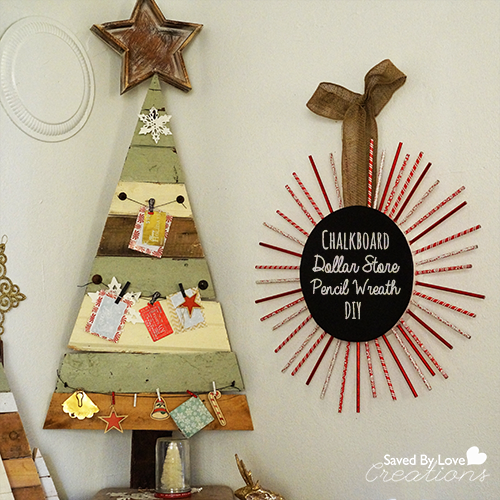
Incorporate the chalkboard craze into a fun starburst Christmas wreath made with dollar store Christmas patterned pencils and a FloraCraft® Make It: Fun® Foam wreath form! This project is easy, quick and cheap. Use it for gift lists, holiday greetings or a letter for santa!
SUPPLIES:
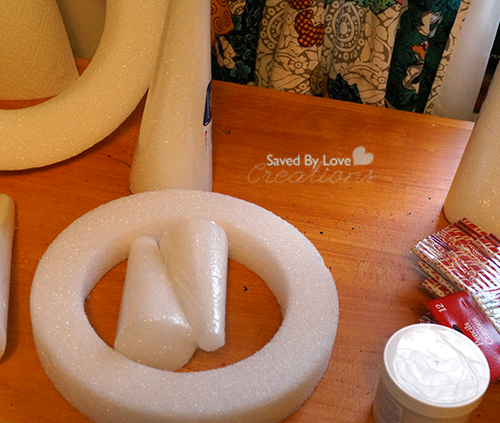
FloraCraft® Make It: Fun® Foam wreath form
Dollar Tree Christmas Pencils
Hot Glue Gun and Sticks
Cardboard cut in a circle the size you want your chalkboard
Burlap Wire Ribbon
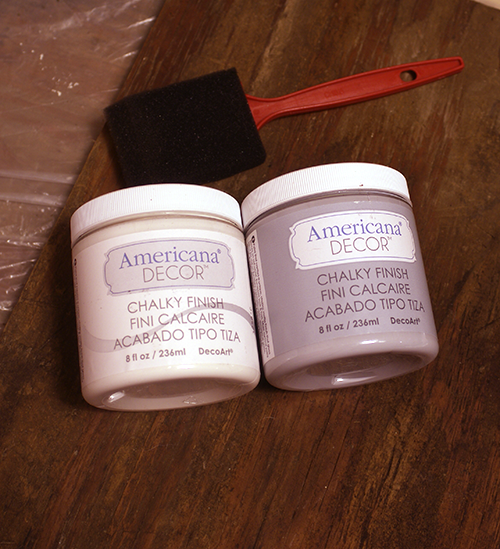
Black chalkboard paint
one inch foam or paint brush
TUTORIAL:

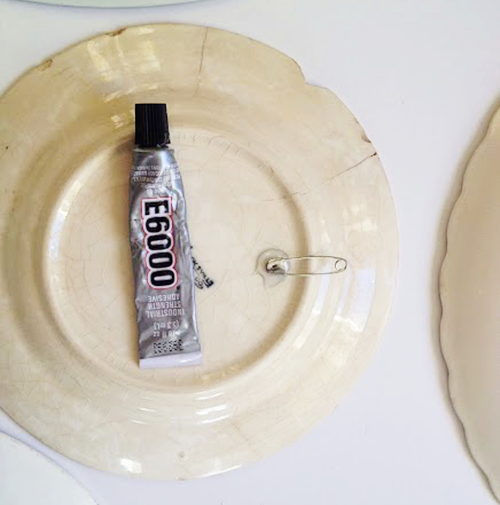
Put a dab of hot glue on the end of the pencils and shove them into wreath at varying depths. It doesn’t matter if the eraser comes through to the center of the wreath because you are covering the hole with your chalkboard later.
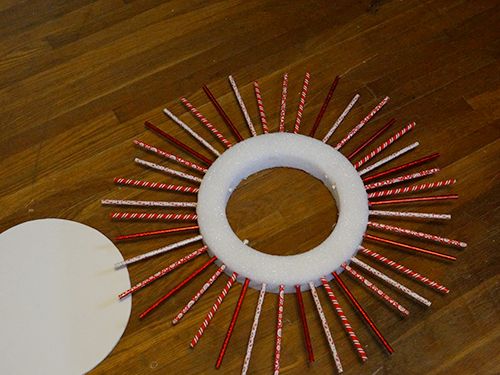
Continue all the way around the wreath.
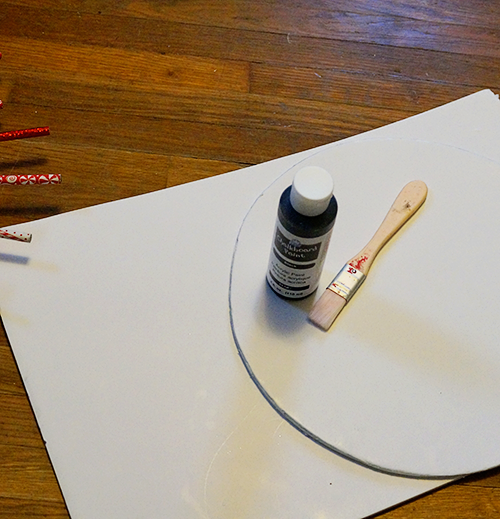
Paint your cardboard with chalkboard paint and let dry. I did 2 coats, sanding lightly between.
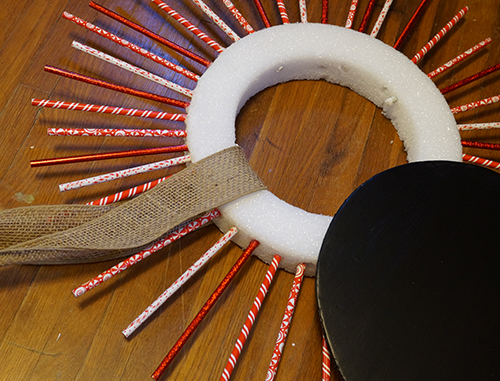
Tie your burlap ribbon in place, then hot glue your chalkboard circle. Hang and enjoy!
For more inspiration on creating with FloraCraft® Make It: Fun® Foam, please also check out Crafts n’ Coffee or follow the hashtag #MakeitFunCrafts.