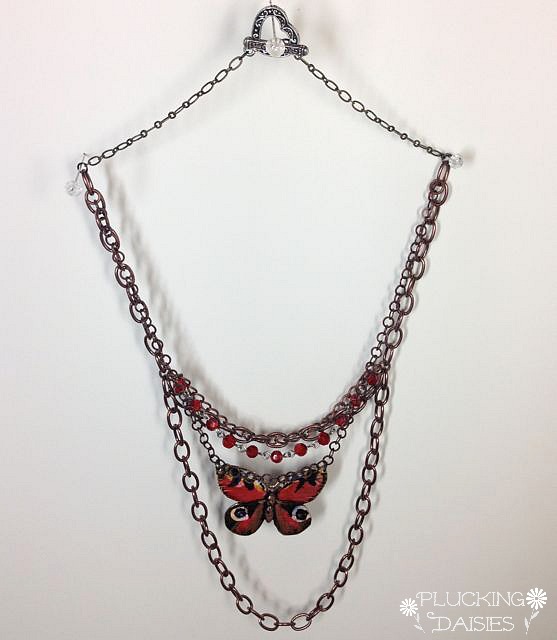
Hi there SBLC friends! Amy from Plucking Daisies here to share a Butterfly Necklace tutorial with you. I created this Necklace using art metals and patinas from Vintaj. This was my first time playing with Vintaj Patinas and I’m so excited to share what I discovered along the way!
Generally I am not much of a Jewelry maker. If I have to open more than a few jump rings I get squeamish so fear not this jewelry tutorial will be relatively easy. I completed this project in about an hour and had a lot of fun doing it and I think you will too.
There were a lot of good sales in the jewelry section of my local craft store this week and I wanted to try something new. I grabbed a few pieces from the Vintaj collection and this multi-strand chain from Industrial Chic to use as the base of my necklace design.

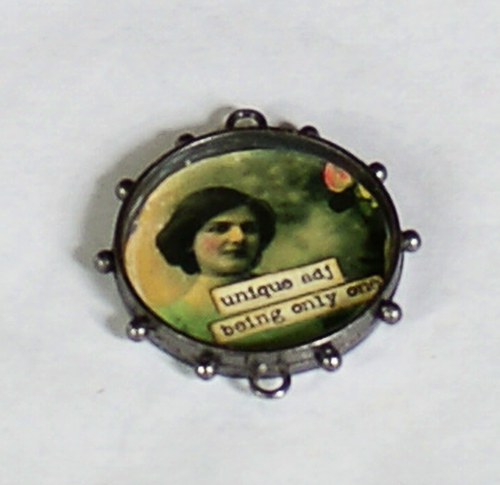
I fell in love with this Vintaj butterfly and decided to try the Vintaj Patinas out to add some color to it.

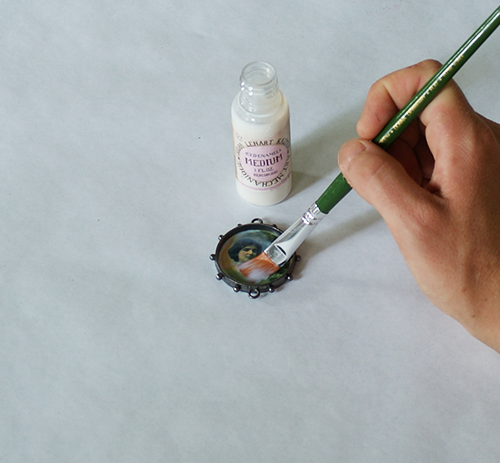
Start by adding Vintaj Patinas with a paint brush. Allow Patina to dry between coats. You can experiment by layering different colors on top of one another or mixing them together on a craft sheet.

After coloring my butterfly with Vintaj Patinas I added highlights to the wings with Snow Cap Alcohol Ink using a q-tip. I layered on several other colors of Alcohol Ink (with q-tips ) to the outer edges of the wings as well.

Once the Alcohol inks were dry I tore a small piece of cotton from the end of a clean q-tip and wrapped it around the end of a toothpick. By squeezing a few drops of Pitch Black Alcohol Ink on my craft sheet I was able to use the tooth pick to add bold details to the butterfly.

When the detailing was finished I gave the butterfly the once over and touched up areas that needed more Alcohol Ink.

Using a soft file I removed some of the ink from the raised areas and edges of the butterfly to bring out a lovely metallic sheen.

This was my Inspiration photo. Pretty close eh? You can find this inspiring photo and more on my Doodle Diva Pinboard.

To create the necklace I used a bead board to measure the Industrial Chic chain. It was just a touch short so I added some chain from my stash and attached it with Vintaj Jump rings. So far Vintaj Jump rings are the best I’ve ever seen! So sturdy and easy to work with!

Here I have attached toggle clasps to the end of the chain with Vintaj jump rings. When it comes to clasps for jewelry I’m a huge fan of the toggle clasp. I always struggle with lobster clasps and have found that toggles make putting on jewelry a breeze.

Now all that’s left to do is attach that freshly Patina-d Vintaj butterfly with…you guessed it…Vintaj jumprings.
I hope you get a chance to play with Vintaj Patinas and create some fun jewelry pieces of your own.
Wear your art with pride 🙂
Amy*