Archives for August 2013

Over 50 Ways to Repurposed Old Doors

[pinit]

SalvagedDoorSquare

 [pinit]

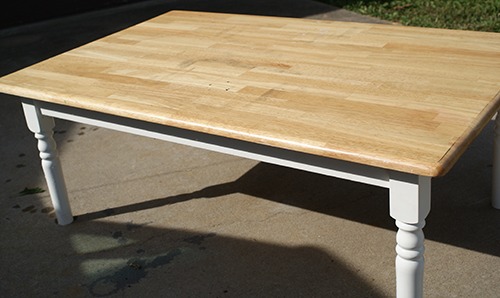
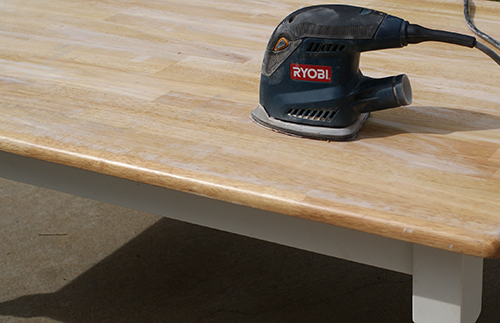
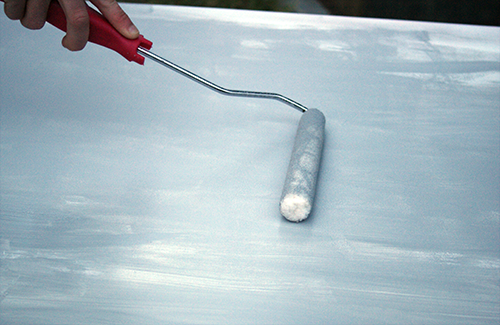
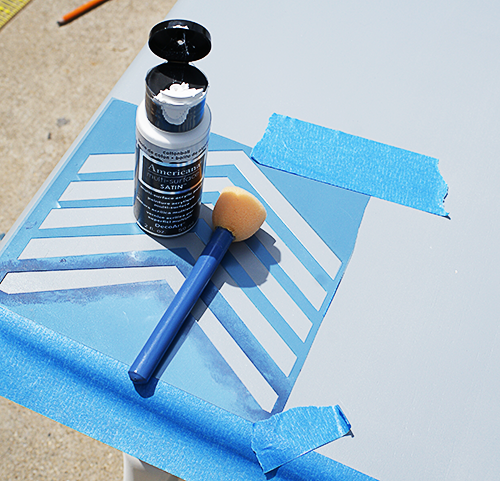
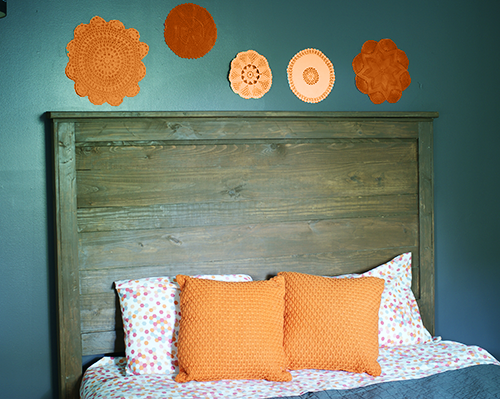
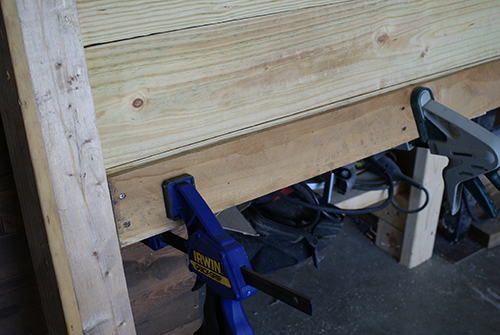
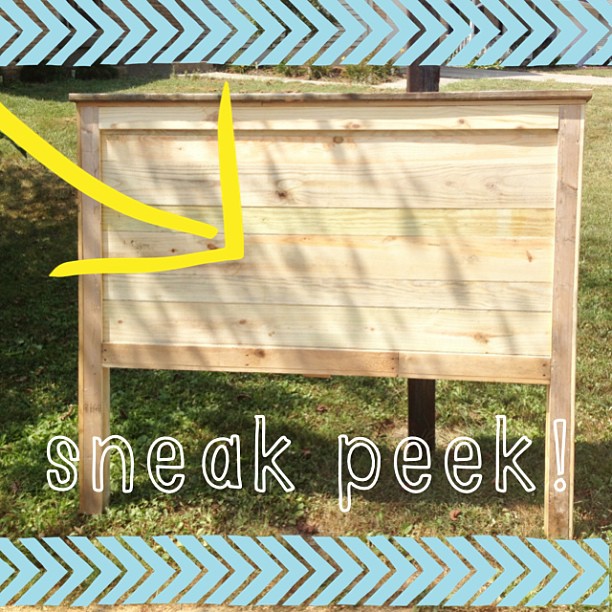
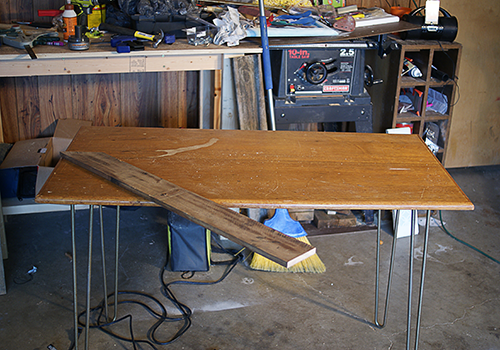
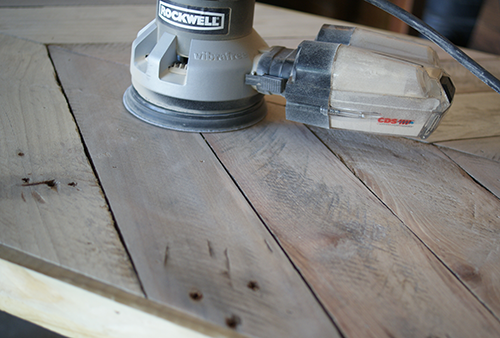
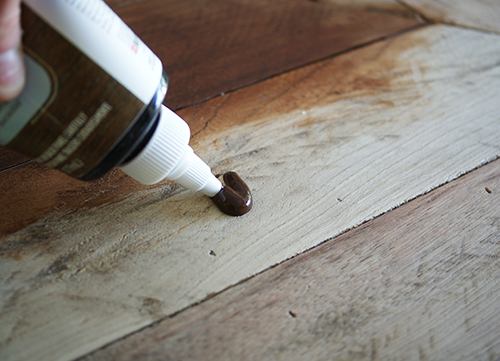
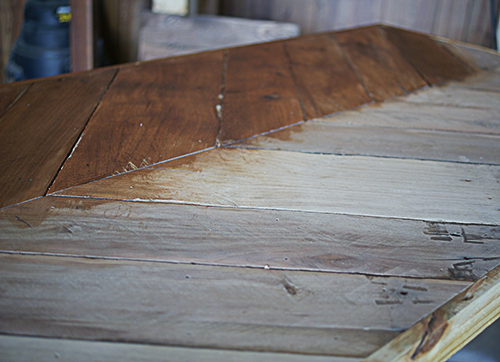
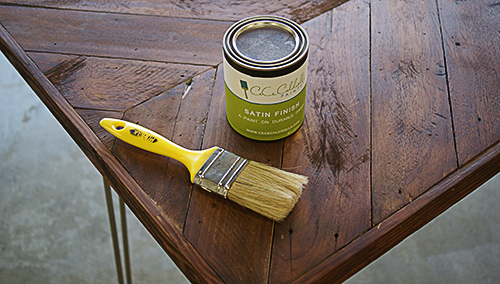
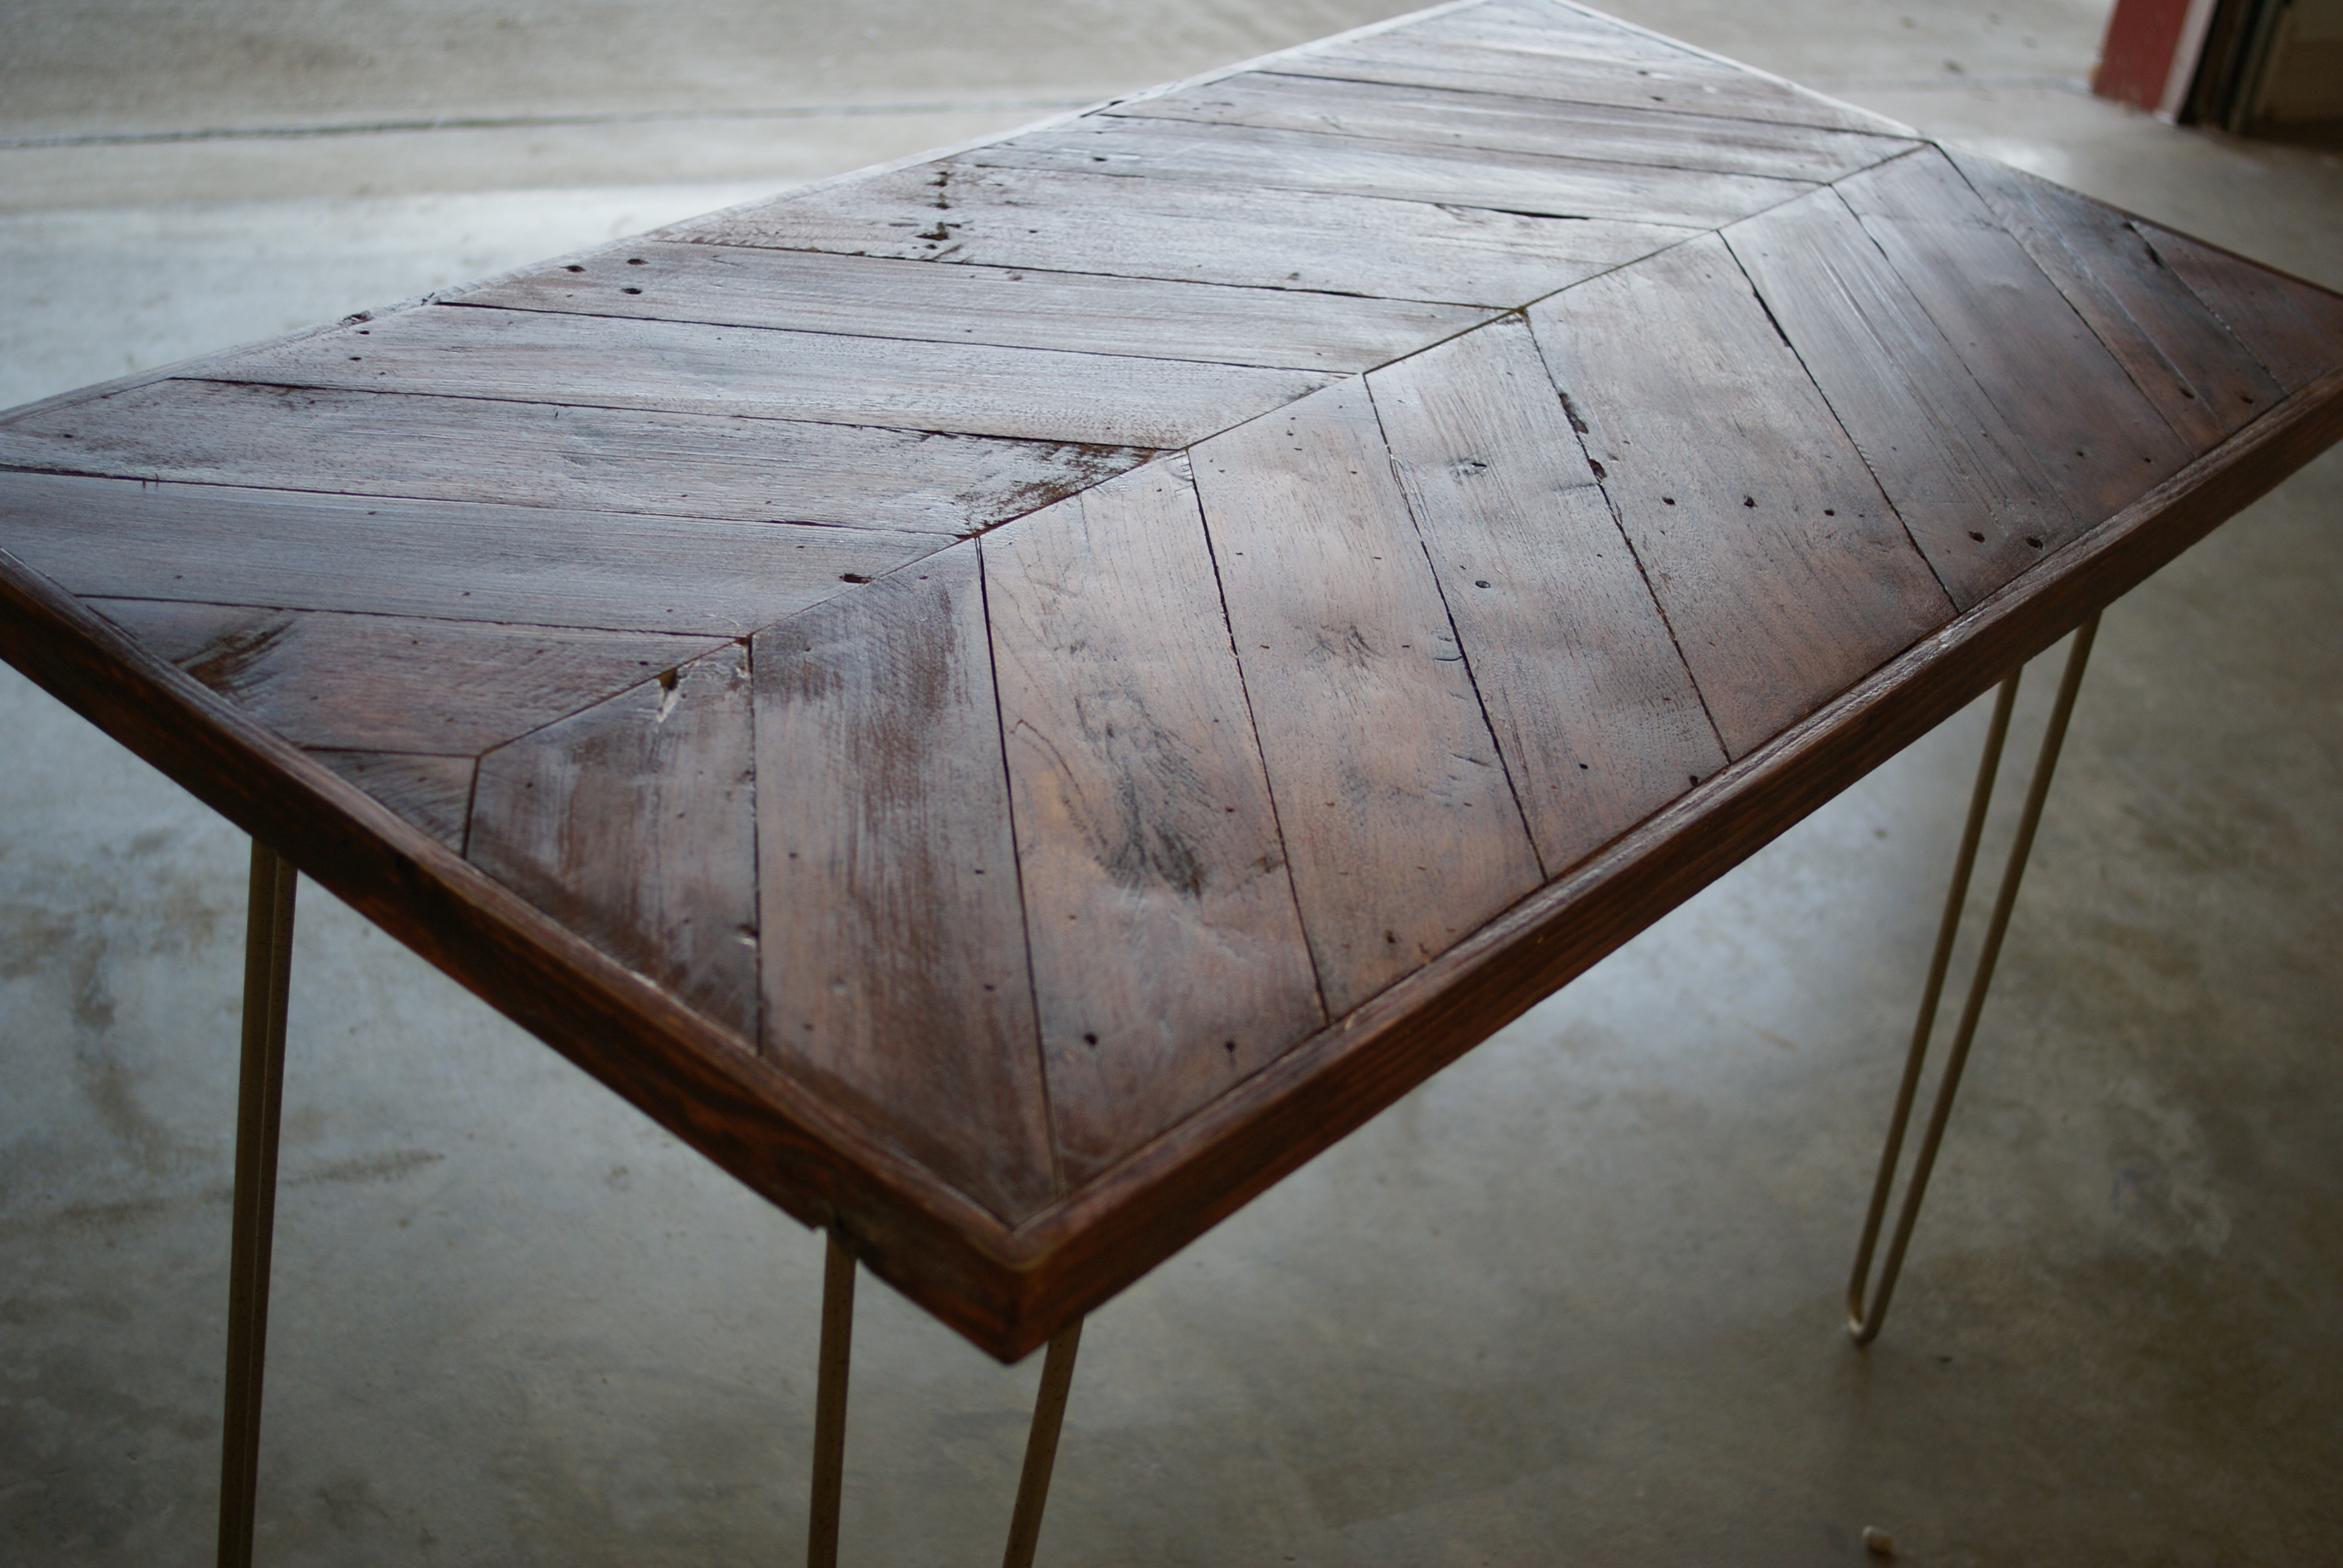
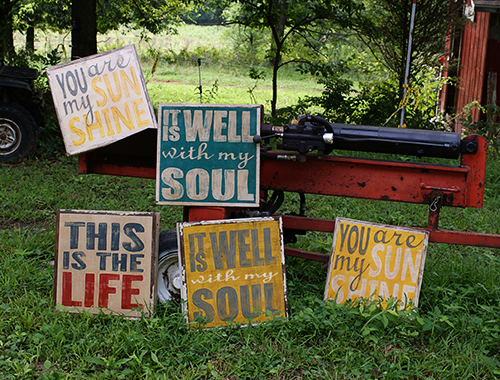
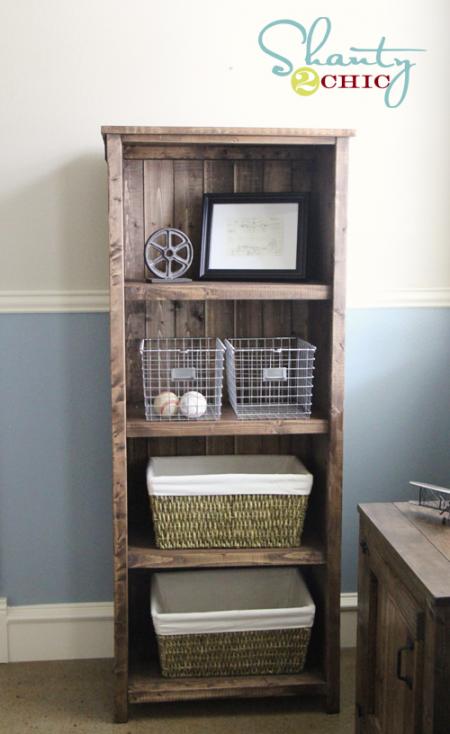
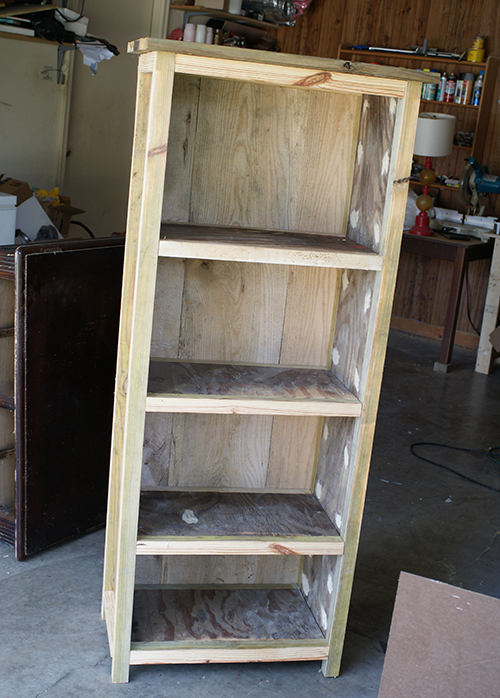
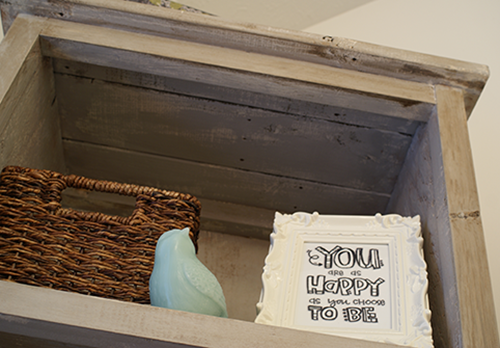
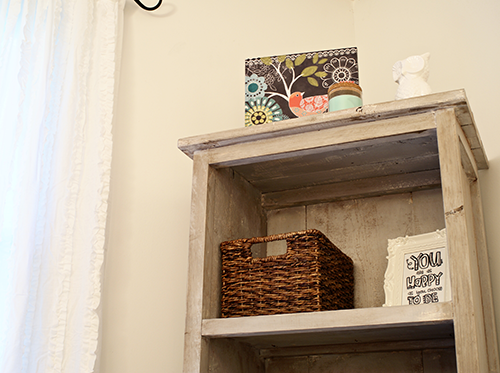
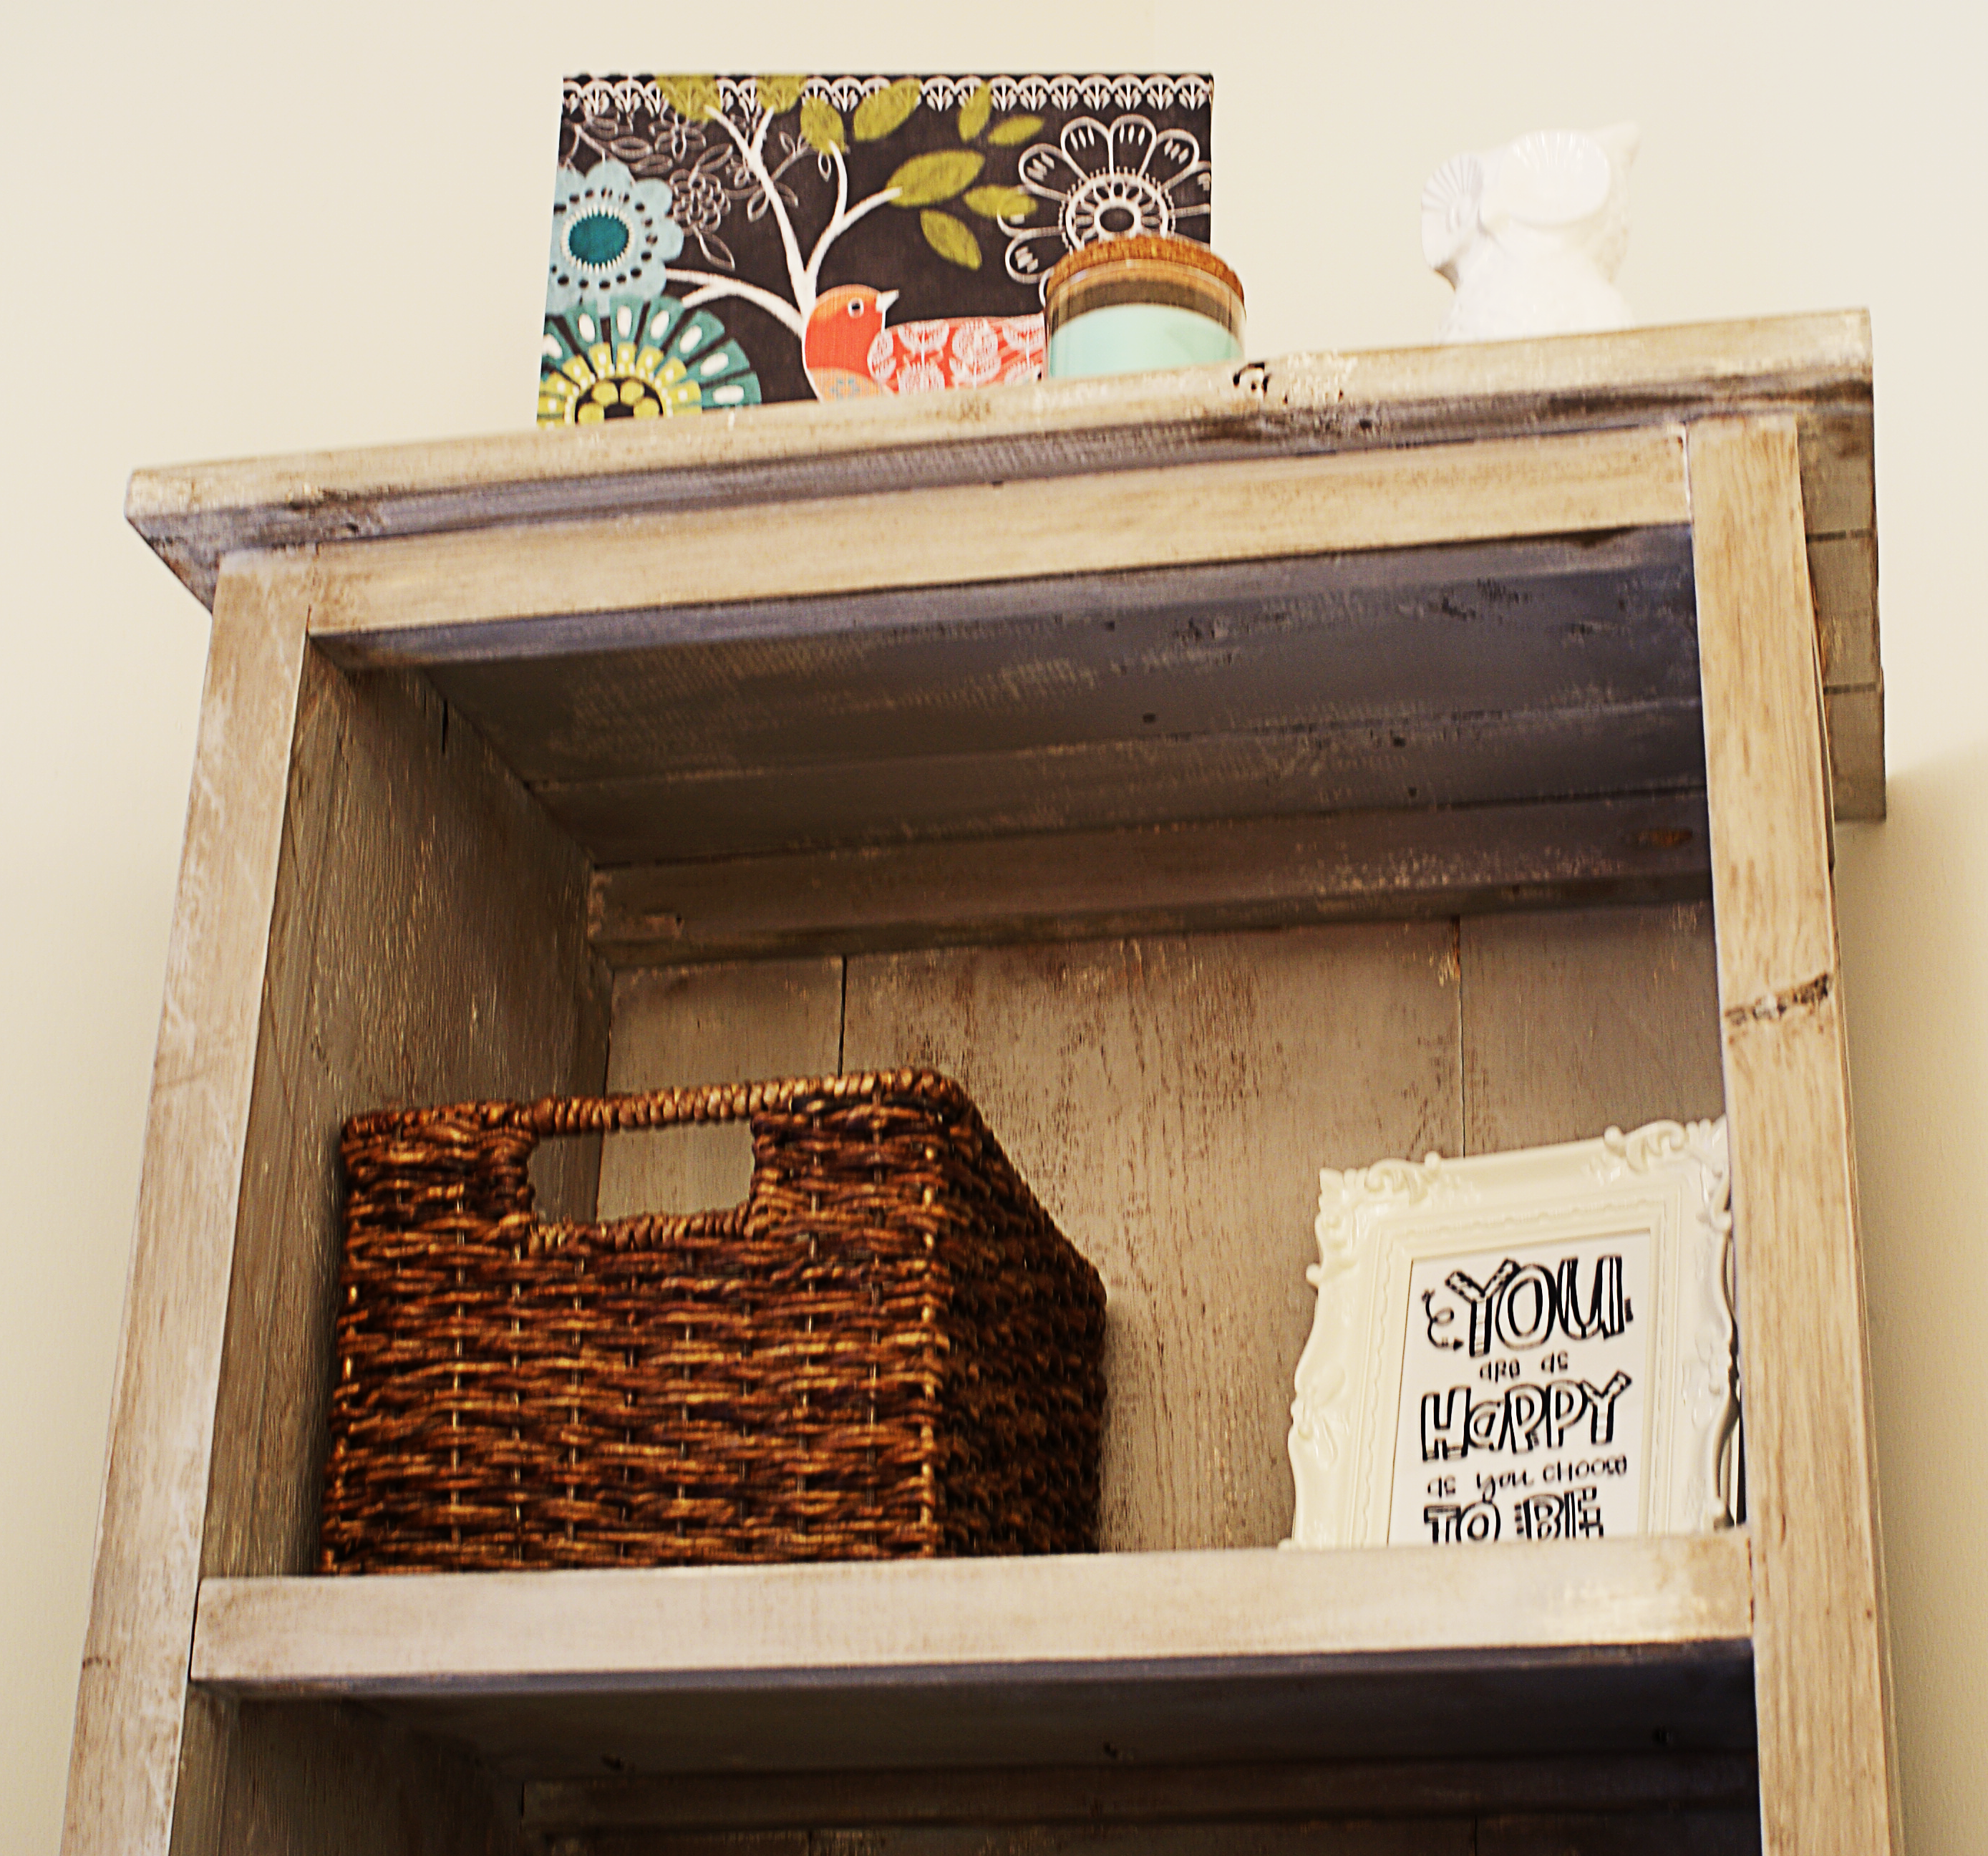
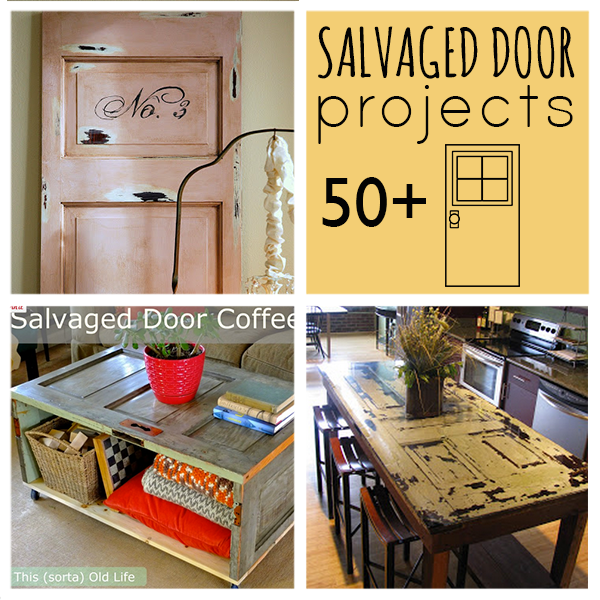
Driving down the road yesterday, I came across a discarded wooden door. In the back of the truck she went! I have been searching for salvaged door project inspiration for the past day and decided to create a roundup so you can be inspired too. I hope you happen upon one of these like I did, because there are some great things you can do with an old door.  I have picked out one of the projects in this compilation to do.  Can you guess which one?  If you have an old door project to share, please do!


New Americana Multi-Surface Satins & Stencils

[pinit]
Paint a Chevron Coffee Table with @DecoArt_Inc @savedbyloves

[pinit]

Have you seen the new Americana Multi-Surface Satins and Mixed Media Stencils yet?  I had a chance to try them out, so I used the opportunity to work some magic on a curbside find.  You are going to love not only the colors and stencil designs in this line, but the paint quality is outstanding to boot.  Today I am sharing how I created this modern chevron painted coffee table with my box of goodies!

DecoArt Americana Multi-Surface Satins and Mixed Media Stencils

SUPPLIES:

Americana Multi-Surface Satins

Americana Black Chalkboard Paint

Americana Mixed Media Stencils

Sponge Brushes

Painters Tape

Medium Grit Sand Paper

Coffee Table

DecoArt Americana Multi-Surface Satins and Mixed Media Stencils

TUTORIAL:

Table Makeover

Here is the curbside rescued table before any revamping.

Sanding a Table

I sanded with medium grit paper to give the paint surface something to grab.

Applying paint with a roller

I primered the table top rolled on Multi-Surface Satin color Dolphin.

How to Refinish a Table

I cut the segment of the stencil I wanted to use off of the main 12×12 inch sheet and taped it into place.

How to Stencil a Table

How to Paint Chevron on a Table

I worked my way down the table, using the sponge pouncer to apply the paint.  Coverage is fantastic.  I decided I wanted thicker chevron strips, so I taped off around the strips and filled in the space between them.

Sand Distress a Table

I continued on like this, using various colors of this fabulous paint.  I sand distressed lightly when I was finished.

Glue on Casters

The legs were cut off when I found the table and looked unfinished, so I glued on these caster cups I found at Lowe’s for $1-ish.

Painted Chevron Pattern

DecoArtStenciledTable

I painted the legs and lower part of table (including caster cups) with Americana chalkboard paint and a soft 1 inch paint brush.

DecoArt Multi-Surface Satin Paint Rebate

Americana Multi-Surface Satins are available for purchase at Michaels, A.C. Moore, Hobby Lobby, and other fine craft retailers.  Go get them now!

Find out more about them at DecoArt!

DISCLAIMER:  The paint and stencils mentioned in this post were provided to me by DecoArt.  All opinions are still 100% my own!

DIY Reclaimed Wood Headboard

[pinit]
How to Make a Reclaimed Wood DIY Headboard @savedbyloves

[pinit]

 If you have shipping pallets or other reclaimed wood you would like to make great furniture with, this DIY headboard project is a great place to start.  The plan is from Ana White’s Reclaimed Wood Queen Size Headboard, with a little tweaking to fit the wood I had on hand.  My version is made using fence board, old deck board from my mom’s deck demolition, and pallet wood.  The finish is what I am most excited about, and you will see why.  It is a new (to me at least) product from Minwax that makes staining and finishing as simple as the wipe of a cloth.  You are going to want to use this stuff.

Pallet Wood Furniture Plans @savedbyloves

HOW I DID IT:

Make Legs for Headboard using table saw


Instead of attaching a 1×2 and 1×3 for the legs like Ana shows in her plan (linked above), I used my table saw to notch out a segment from 2×3 pieces of wood I ripped from 2×8 reclaimed lumber.  I did this by adjusting the height of the saw blade and making perpendicular cuts down the length of each leg to remove that segment.

How to build your own headboard

I nailed a supporting piece to the back of the planks to stabilize them in the center.

Ryobi Air Strike Brad Nailer

Here is my favorite tool these days; Ryobi Air Strike Brad Nailer.  I have talked about it before, but I will say it again.  This thing is super handy.  It is lightweight, requires no air compressor, is cordless and works like a charm.  The price can’t be beat.  Worth every penny.

DIY Pallet wood furniture plans

This picture shows pallet wood clamped to the base of the headboard for trim.  I put 2 pieces of pallet wood at the bottom to make it all the way across the width of the headboard.  I hid the seam with wood putty before staining, and you can’t see it.  Make do with what you have.  It is cheaper, more sustainable and presents a fun challenge!

Pallet wood Headboard Tutorial

Here is the sneak peek I showed you before staining.  I sanded with my orbital sander; 60 grit, 120 grit, 180 grit, then stained with the awesome new product I eluded to earlier…

Minwax Wood Finish Cloths

I was at Lowes and saw these Minwax Wood Finishing Cloths.  I was highly skeptical when I read “Wipe on Stain and Finish in One Easy Step… Dries in One Hour”.  I used Walnut for this project, and was completely amazed by how easy it was to apply.  The stain looks great!  I finished the piece in 15 minutes.  Stained and sealed.  I may never use anything else.  Seriously awesome.

How to Make a Headboard

Spray Paint Lamp Makeover

[pinit]Spray Paint Lamp Makeover @savedbyloves[pinit]

One of the easiest, most inexpensive and foolproof ways to revamp a good thrift store find is with a little spray paint.  It has been awhile since I took advantage of this fact.  If you are like me, always getting tired of your decor and wanting to change things up without breaking the bank, a few bucks on a can of color is the way to go.

SUPPLIES:

Lamp that you are sick of

Krylon Dual (Paint and Primer in one) Spray Paint in choice of color – Gray

Painter’s Tape

TUTORIAL:

You can see in this Lamp Makeover Tutorial, that this is not the first go around for this particular lamp.

This was the original lamp I found for $1

How to Redo a Lamp with Spray Paint

Here she is now after a simple, quick coat of Krylon Dual.  That simple!

Make a Doily Rug – Free Crochet Pattern @CraftFoxes

[pinit]Make a Doily Crochet Rug @craftfoxes[pinit]

Crochet projects that use chunky yarn are fantastic in the fact that they work up quickly.  If you are like me, instant gratification is a plus.  Especially when we are talking about things that tend to take forever, like finishing a crochet project!  That is why I am excited to share this beautiful, free Doily Rug Crochet Pattern from Craft Foxes.  They used Lion Brand Wool-Ease for this 18 round pattern.  I am all over it!

Do you have any favorite chunky yarn projects to share?

How to Make a Chevron Table from Reclaimed Wood Pallet

[pinit]

Chevron coffee table DIY from Reclaimed wood shipping pallets @savedbyloves[pinit]

I am a little smitten with today’s project, which is made from shipping pallets and a $5 table I picked up at Habitat Restore.  Reclaimed wood projects are here to stay, folks – at least for this DIYer.  This modern chevron wood plank table took an afternoon to create, but will be enjoyed indefinitely!

Make a Chevron Table

SUPPLIES:

Pallet wood

Ryobi AirStrike Nailer

1 3/4 inch 18 gauge brad nails

Wood Glue

Circluar Saw

Mitre Saw

Wood Clamps

Random Orbital Sander

Rustoleum Wood Stain Dark Walnut

CeCe Caldwell Satin Finish

Lent free cloth

Paint brush

Tack cloth

Yard stick

Pencil

How to Build Furniture for Beginners

TUTORIAL:

How to make a reclaimed pallet wood table

Find a really awesome hairpin leg table for $5 at Habitat Restore and tackle anyone in the way of you and it.  Bring it home.

Make a Chevron Table from Pallet wood

Cut pallet wood to 45° angles using mitre saw.  Meet wood in center to form 90° angles(I drew a line down center of table with pencil using a yardstick).

Glue and nail down with air nailer or hammer and finishing nails.  This is where I use my Ryobi AirStrike brad nailer.  The thing is amazing.  I can’t believe how powerful, lightweight and inexpensive it is.  I use it in all of my reclaimed pallet wood projects and it makes my life worth living, or at least way easier when building.

How to Resurface a Wood Table

Use the circular saw to cut off excess wood extending over edge of original table top.  This is way easier than cutting each individual plank to size.  Way.  Easier.  And.  Faster.  Trim with 1x2s or rips from 2x8s like i did.  I mitered the edges to 45° for a more finished look.

Ryobi Air Strike Nailer

Again with awesome nailer (this is not a Ryobi sponsored post, btw) – glue and nail the trim in place.

Reclaimed Wood Furniture Projects

Orbital sander on wood top

Sand with orbital sander.

Rustoleum Wood Stain

How to apply wood stain

Staining a Wood Table Top

Wipe on Stain per directions, with the wood grain.  This is the first time I have used this Rustoleum stain and I love it.  Gorgeous color, easy to use, what is not to love?

Finishing Wood Table Top

How to Finish Wood Table

Over 50 Great DIY Pillows to Make

[pinit]

Over 50 Easy DIY Pillows to Make @savedbyloves

[pinit]
A great way to update and refresh a room is through accent pillows. Even if you sewing isn’t your thing, you can make a easy pillow cover. There are even several no sew tutorials that will have you with some beautiful places to land. Check out this weeks 50+ roundup for tons of inspiration to get you going.


Reclaimed Wood Hand Painted Sign Giveaway

[pinit]

Get your own free rustic hand painted reclaimed wood sign @savedbyloves There is also a detailed tutorial if you want to make your own![pinit]

You all loved this DIY Rustic Hand Painted Sign Tutorial from Pam at The Little Red Porch so much, that she has decided to love you back with a sign giveaway!  The lucky winner gets to pick their favorite from five of these fantastic distressed signs made from reclaimed wood.

Click the thumbnail if you missed the DIY.  It is detailed and pretty dang awesome, I must say.  I learned some great tips and tricks tagging along with Pam for a day.

Reclaimed Wood Distressed Signs

Scripture Word Art

Distressing Wood

These are the 5 signs from which the winner gets to choose.  You will be notified by email on Aug. 25th and happy mail will come your way!

GIVEAWAY:

U.S. Residents Only

Aug. 17-24th


a Rafflecopter giveaway

Video Tutorial – DIY Gorgeous Soldered Pendants + GIVEAWAY

[pinit}

how to make a vintage soldered pendant

[pinit]

UPDATE:  WE HAVE A WINNER!  Do you love the look of soldered jewelry, but feel totally intimidated by that hot freaking iron and molten metal?  My creative friend Hope is here to break it down for us in a detailed How to Solder Jewelry video that demystifies the process and will have you making jaw dropping pieces lickity split!  As if that isn’t enough, Hope has teamed up with Saved By Love Creations to give you lovely readers a chance to win your choice of 3 gorgeous pendants!

Soldering Tips for Jewelry

Hope invited me in to record her process!  Before jumping into the video, I want to let you know the supplies you see will being used are from GlassSupplies on Etsy, a shop owned by Robin Ramsden.

Foil Tape For Soldering

This tape used in the video is 3/8 inch wide copper backed foil tape, which you can get at the linked store and probably elsewhere.  Hope recommends black backed foil tape for most simple projects since it holds the pieces together better and is just strong/less frustrating for us newbies!  She was out of it or we would have been using it for sure.  It is available in the linked shop above (GlassSupplies on Etsy).

Obviously if you are using thicker glass pieces than we did, you may need wider tape.  You will have to experiment.

More info on supplies is found below and in the video tutorial.

I did a soldered pendant experiment and shared it with you here:

I took my pendants to Hope’s with me and she helped me figure out how to make them more what I was going for.  I learned so much from hanging out with her that I haven’t seen elsewhere.  It turns out I wasn’t using near enough solder, and oh yeah, my soldering iron tip is disintegrating.   There is a solution for that, and many soldering woes.  This woman solders A LOT and is a wonderful resource!  She is also super sweet, so if something isn’t covered that you want to know about, you can find her on Facebook:  Hope Ellington.  She even takes custom orders, although she is pretty swamped with them right now from what I have seen so hurry if you are interested.

There were so many tips and tricks that I had to break the video up into 2 parts, and they are still long.  You will learn a ton, and if you are like me, your soldering will be vastly improved.  I made a pendant this morning and love it!  Don’t worry, you will see it soon.

SUPPLIES (the video goes over specific brands Hope loves):

Supplies for Soldering Jewelry

Jewelry Soldering Techniques

VIDEO TUTORIAL Parts 1 & 2:

GIVEAWAY

Now for the best part.  You get a chance to win a free handmade soldered pendant from Hope’s Bloomington Indiana Shop, Girlfriends on the Farm!

Pendant 1 – A fancy pants, blinged out vintage ephemeral piece

how to make a vintage soldered pendant

Pendant 2 – A message in a bottle “LOVE”

Jewelry Soldering Techniques

Pendant 3 – Vintage Lace under beveled glass

Soldered Doily Pendant

a Rafflecopter giveaway

How to Build a DIY Reclaimed Wood Bookshelf

How to build a reclaimed barnwood Bookcase @savedbyloves

How to Build a Bookshelf

I have another reclaimed wood DIY project for you today.  I got a truck load (it probably should have been two truckloads, but we squeezed it into one) of 4×8 plywood sheets, 2×6 and 2×8 boards from a craigslist ad.  It was salvaged from a home that these folks tore down and they were happy to have it hauled off and out of their yard.  This project is made mainly from that wood.  The panels that back the bookshelf were milled by a friend of mine who passed them along to me, where they have patiently waited for me to put them to use.  I came up with this cool bookshelf that i finished with homemade chalkboard paint and sand distressed.  CeCe caldwell Clear Wax then Aging Wax sealed the deal and added just the amount of antiquing to suit my vision.  You can finish this project in a day if you are committed, over a weekend if you have some distractions.

Ana White Kentwood Bookshelf Plans by Shanty2Chic

This fine Kentwood Bookshelf by Shanty2Chic that I spied at AnaWhite.com was my inspiration.  I had just taken a woodworking DIY class by Whitney and Ashley of Shanty2Chic at Haven Conference, and I came home on fire to build.  These girls are amazing!  They shared their journey coming from zero knowledge of building or power tools, to being able to build some amazing furniture for their homes.  I have been building since April, and before I started, I was totally intimidated.  I still am by lots of projects, but I am so glad that I broke into the power tool world.  It is way easier than I thought, and not much is more gratifying than building custom pieces, from reclaimed wood no less.  Go check out Shanty2Chic, walk through some of their detailed tutorials and you can build awesome stuff too!  You really can.

One thing they taught me at Haven was to measure as I go instead of cutting all of my pieces called for in the plan.  I hadn’t been doing that, and my pieces would be off almost every time.  Wood is going to curve and bow and do funky things, especially reclaimed lumber and shipping pallets.  I am so glad they emphasized measuring and cutting based on reality and not on the perfect plan.  I decided to scrap the plan entirely for this shelf, and just go with my own dimensions based on what pieces I had on hand, and the measurements as I built.

Bookshelf DIY Tutorial

I made my own 2×2 pieces by ripping the 2×6 boards from the house demolition that I scored.  This is what I used to frame the side planks, which I cut 11.5 x60 inches from the 4×8 sheets of 5/8 inch plywood also from the house demo.   Shanty2Chic used 1×12 boards for the side panels.  I went with plywood since I had it on hand, and I knew I was going to paint the final piece.

Building Bookshelf With Kreg Jig

How to Build your own furniture

You can see the Kreg pocket holes in the plywood side planks that I drilled to attach 2×2 framing.  Attach shelves and top.

How to Build a shelf from reclaimed wood

I  used 3 pieces of the wood my friend milled for the backing.  They were different thicknesses, but since that would only be visible from the back, I didn’t much care.  I just measured and cut to length the center piece, and ripped what I needed off the 2 side pieces so that they didn’t stick out over the edge.  I counter sank 2 inch wood screws to attach the back panels.

How to distress paint furniture

I love the larger panels for the backing, and that I didn’t have to buy any wood for this piece!  Fill Kreg holes with wood putty, liquid nail or caulking.  It doesn’t need to be something that takes stain if you are painting the piece anyway.

ReclaimedSmall Wood Furniture Tutorial

I sanded the unfinished bookshelf with medium grit paper and painted a base coat of CeCe Caldwell Paint in Vintage White  (You can see my other CeCe Caldwell Chalk and Clay Paint projects by clicking the thumbnails below).  After that was dry (about 1 hour indoors) I made a gray DIY Chalk finish Paint using the Make Your Own ChalkBoard Paint Recipe I showed you in an earlier post.

How to Build Furniture From Reclaimed Wood

For a little more aging, I added a coat of CeCe Caldwell Clear wax, then Aging Wax.  I buffed with a soft cloth an hour later and that was that.

Build your own furniture

LOVE!  Thank you Whitney and Ashley.  Can’t wait to see you again!!

Privacy Policy