Archives for June 2013

How to Make a Paper Feather Wreath

Learn how to make this paper feather wreath by Lia Griffith, featured @savedbyloves

[pinit]

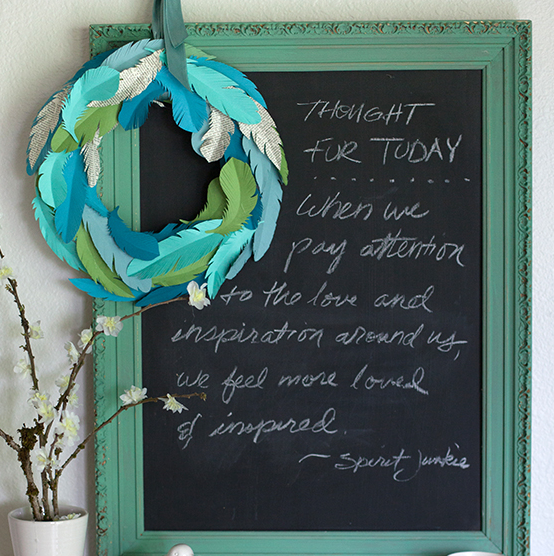
This paper feather wreath by Lia Griffith is just the accessory to top off your summer home decor.  Lia used 36 paper feathers and a 12 inch wreath form to make this beauty.  Head over to her post for the link to the leaf template and create your own inexpensive, fabulous wreath in colors that scream you.

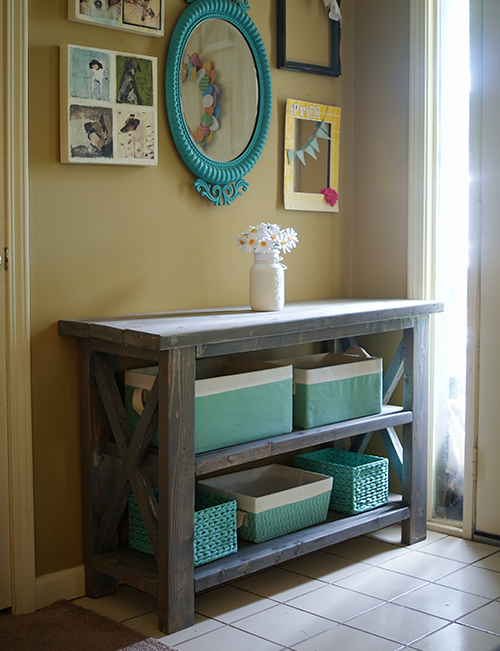
To make it even cheaper, check out this aluminum can leaf wreath post where I showed you how to make your own wreath from from cardboard.

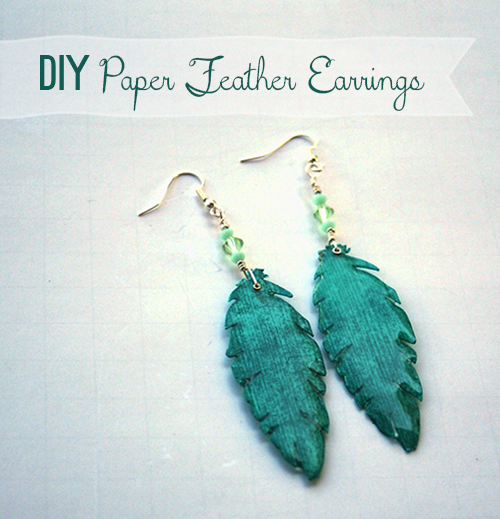
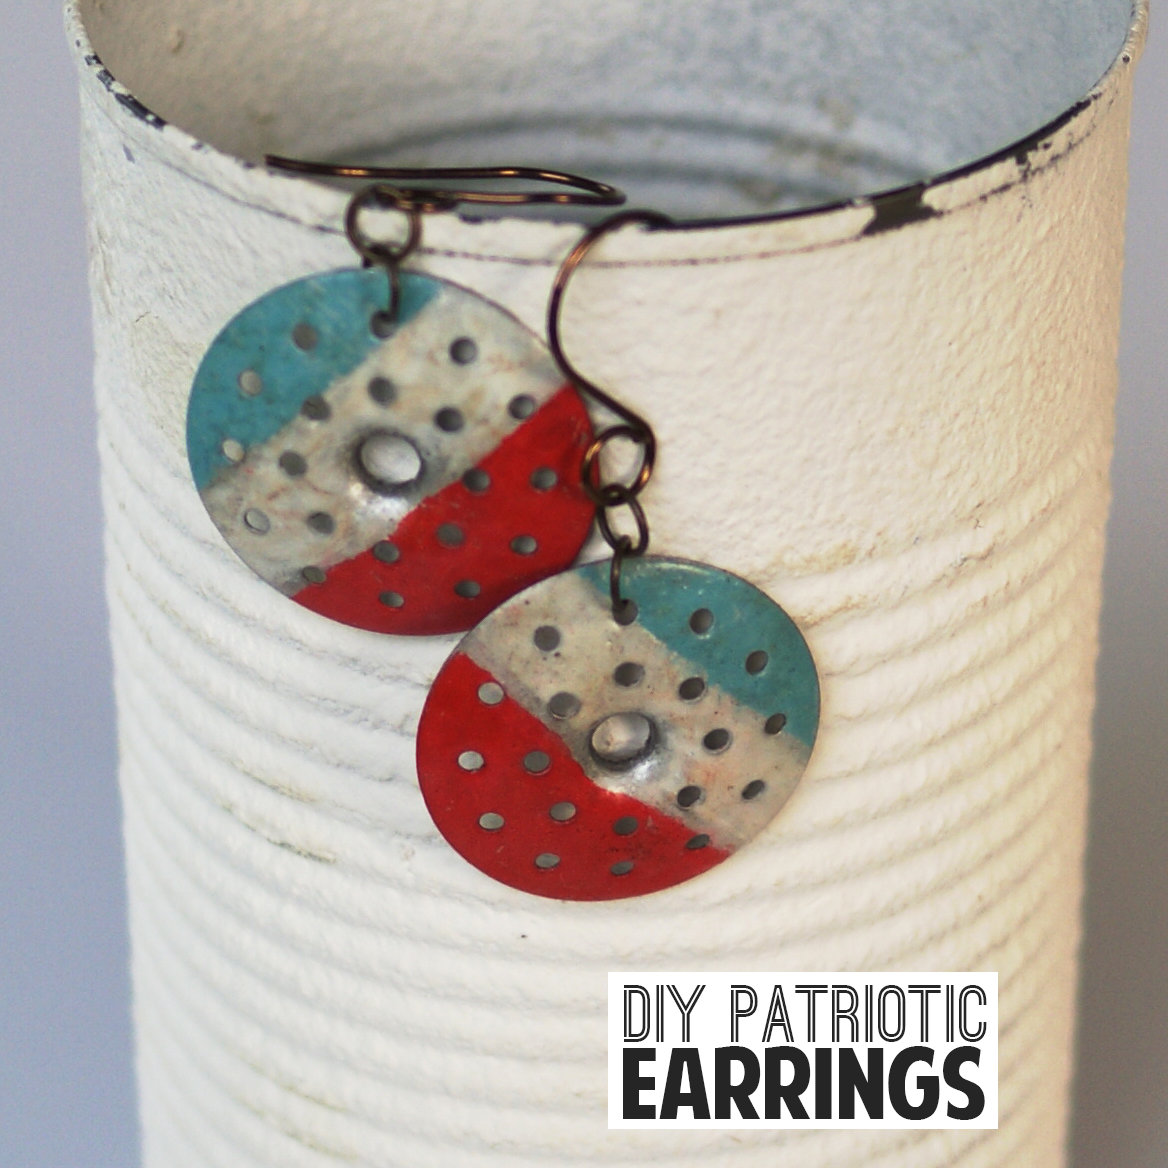
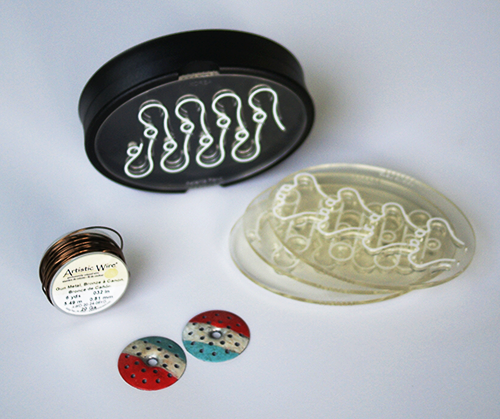
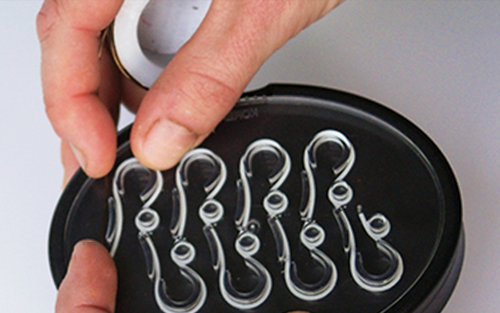
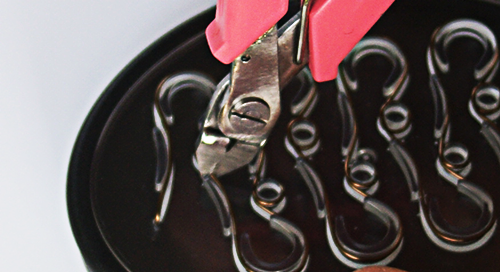
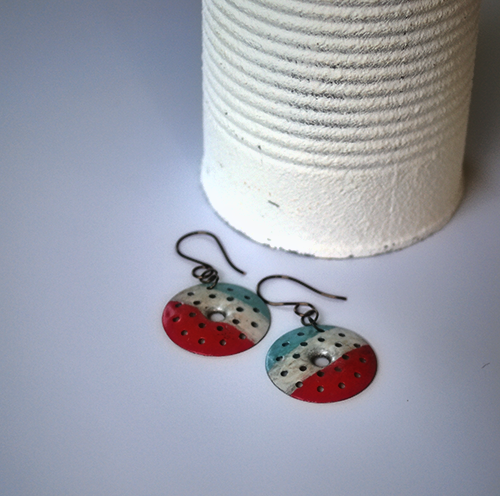
Speaking of paper feathers, check out how to make these earrings I shared recently.  Might as well cut 38 instead of 36, right?!

Mason Jar Shrink Film Necklace

Hello SBLC friends! Amy here from Plucking Daisies to share a Shrink Plastic Mason Jar Necklace tutorial. Shrink Plastic isn’t just for kids anymore. You may feel like a kid again when working on Shrink Plastic projects (it is oh so fun) but the end results are all grown up! Grab your favorite stamps and pre-heat that toaster oven, we’re about to make some shrink plastic jewelry!

[pinit]How to make a mason jar shrink plastic necklace and 50+ Shrink film crafts @savedbyloves

 [pinit]

There are many ways to use shrink plastic for jewelry making. You can make necklaces, earrings, charm bracelets and more! Believe it or not, aside from stamping there are a variety of ways to apply images and add color to shrink plastic creations. For more info and inspiration check out my latest Shrink Plastic Charm Tutorial.

Shrink Plastic Mason Jar Necklace Tutorial

I created this Mason Jar Necklace for Johnnie when we attended SNAP! together this past April. We all know that Johnnie is the Mason Jar Maven after all.

Inkadinkadoo Mason Jar Stamp

I found this Mason Jar Stamp from Inkadinkadoo (available at Michael’s) and thought it would be perfect for a shrink plastic necklace.

How to make a Shrink Plastic Necklace

You can create your necklace with any stamp your heart desires! Be sure to check the size of your image as it will shrink down to 1/3 of its original size. Not into necklaces? No problem! How about a pair of earrings, a pin, or charms for a bracelet? Be creative and have fun…it’s pretty hard not to when Shrink Plastic is involved 🙂

Supplies:

  • Shrink Plastic
  • Copic Markers (or other)
  • Favorite Stamps
  • Archival Ink (Black)
  • Embossing Powder (optional)
  • Hole Punch

STEP 1: Start by stamping your images on Shrink Plastic in Archival ink. I used the Mason Jar Stamp (inkadinkadoo), Collections from the Journey Letters (7 Gypsies), and Fanciful Swirl Alphabet (Hero Arts)

*TIP* You can “Try on” different stamp combinations by stamping on a piece of cardstock and laying a sheet of shrink plastic over top to see how it looks.

Shrink Plastic Mason Jar Necklace Tutorial

STEP 2 (optional): Sprinkle embossing powder over stamped image. I like using Ranger Holographic embossing powder for a hint of sparkle and shine.

Shrink Plastic Mason Jar Necklace Tutorial

STEP 3: Color your image with Copic Markers. If you used embossing powder don’t worry if some of it rubs off during coloring. Just do your best to avoid it if you can.

Check out the link below for an awesome Mason Jar coloring tutorial by Sweet November Stamp designer Amy Young

http://www.youtube.com/watch?v=aV_fRE5zxi0

STEP 4: Use a hole punch to punch a hole at the top of your image or wherever you want it to hang. Cut your image out leaving a wide band around the punched hole to prevent breakage when you add jump rings.

Shrink Plastic Mason Jar Necklace Tutorial

STEP 5: Bake according to package directions. One thing I learned by actually READING the directions for once was that you can press down on your shrink plastic piece while it cools (15 sec) with a piece of paper to get it really flat. *Beware if you used embossing powder you will need to press very gently on the raised portions so you don’t pull them up.

Shrink Plastic Mason Jar Necklace Tutorial

How cute is this? An itty bitty Mason Jar charm complete with a Twitter handle. Saved by Love Creations is where it’s @ in my humble opinion.

STEP 6: Just add Jump rings, chain, and some cute toggle clasps and your Shrink Plastic Mason Jar Necklace is ready to wear!

Shrink Plastic Mason Jar Necklace Tutorial

If you are planning on creating one of these fun shrink plastic necklaces for a gift why not up-cycle an old jewelry box and embellish it with a few pretty bits and bobs from your stash? Have some extra charms you don’t know what to do with? Add them to your necklace. There’s nothing wrong with throwing on a little “extra charm”.

Hope you all have fun creating shrink plastic jewelry for gifts or for yourselves! I wear my shrink plastic charms with pride…and I’m sure Johnnie does too. See you all next time!

Have a charming day!

Amy*

Want more Shrink Film Crafts?  Check out our 50+ Shrink Film Projects Round-up:

Make a Necklace from Colored Pencils

Repurpose colored pencils into this unique necklace - perfect for teachers and artists!  By Caught on a Whim, featured @savedbyloves[pinit]

If you are looking for a unique handmade gift that the artist in your life will cherish, look no more.  This colored pencil necklace DIY from Caught On a Whim is for you.  What a great idea for art teacher appreciation, or anyone who loves color!  I have never seen anything like it, and I seen and made jewelry from all kinds of things.  It doesn’t get much easier, cheaper or more creative!  Great idea.

How to Make Patriotic Earrings from Plaster Buttons


[pinit]
Easy to Make Patriotic Earrings with #distressPaint from @savedbyloves

Easy to Make Patriotic Earrings with #distressPaint from @savedbylovesPatriotic jewelry and accessories are one of my favorite things about summer time.  Today I am sharing how I created these grungy americana earrings from plaster buttons (which I had never heard of or seen until one fateful day at a salvage shop) and Tim Holtz Distress Paint.  This project is quick, fun and easy.  I am also going to show you how I make my own lovely ear wires using a cool jewelry  jig from Bead Landing.

SUPPLIES:

Fourth of July accessories

Plaster Buttons

Plaster Buttons (These were a dime each at a local salvage store)

Tim Holtz Distress Paint Barn  Door, Broken China and Pickett Fence 

Masking tape

Bead Landing Jewelry Jig

Artistic Wire Gunmetal Bronze 20 Gauge

Flush Cutters

Paint Brush (LOVING this new Martha Stewart Silicone Jewelry paint brush from her new jewelry line)

Ranger Distress Ink Antique linen

Clear Embossing ink

Clear Embossing Powder

Heat Gun

TUTORIAL:

PatrioiticEarrings2

Use masking tape to tape off stripes and paint one at a time, letting each one dry for 30 min before moving onto the next.  I painted directly with the dauber then touched up after all three colors were on, using the silicone paint brush.

PatrioticEarrings7

This is what they looked like after just the Distress paint.  I decided I wanted a grungier look, so I dabbed my Antique Linen distress inkpad directly on the earrings.  I poured clear embossing powder over that and melted it to set with my heat gun.  Then to seal the entire painted surface, I applied clear embossing ink all over and then clear embossing powder, again heat setting it.

PatrioticEarrings8I picked out a pattern for ear wire findings.  The jig linked above comes with 5 options for ear wires.  It is super easy to use. It works best with 20 gauge wire.

PatrioticEarrings9Just insert the end of the wire into the hole to secure and wrap following the white lines.

JewelryJig

Cut at the dotted lines to separate the ear wires.  You make 8 at a time!  File the cut ends and you are set.

PatrioticEarrings13

For more Patriotic Crafts, be sure to visit our 50+ Patriotic Projects Round-up!

PatrioticPin

60 Handmade Father’s Day Gift Ideas

[pinit]
60 Fathers Day Gift Ideas to make @savedbyloves

[pinit]

It is time to start creating if you are planning to hand make Father’s Day gifts this year. We have updated our guy gift collection to include this year’s best DIY Father’s Day gift tutorials. You are sure to find the perfect gift for him in this collection of 60 project ideas!


Make a Custom Console Table

DIY Rustic Console Table  @savedbyloves

I just can’t seem to leave the garage these days.  Who knew I woodworking was so addictive?!  Today’s project is a variation on Ana White’s Rustic X Console. The only thing I changed from Ana’s plan is the width of the piece. I needed it to fit in a four foot space, so I adjusted the plan so that the top of the table measures 47 inches end to end.

Rustic Console Table #woodworking #DIY plan from Ana White, built by @savedbyloves

The table took the weekend to make.  Ana’s instructions are awesome.

Console

I finished with Minwax wood conditioner and Classic Grey Minwax stain.

Rustic Console Table #woodworking #DIY plan from Ana White, built by @savedbyloves

Make an Easy Leather Wrap Bracelet

Leather Wrap Bracelet Tutorial by www.lebenslustiger.com featured @savedbyloves

[pinit]

I am a little bit in love with this Leather Wrap Bracelet Tutorial by www.lebenslustiger.com.  Stepping away from the wood shop to get back to the jewelry table, and wanted to share this lovely piece with you.  The tutorial is quite detailed and the project looks simple enough.  I will update with pics when I am finished!

For plenty more DIY bracelets, see SBLC’s bracelet tutorials, and our 50+ bracelet roundup!

Privacy Policy