[pinit]
[pinit]
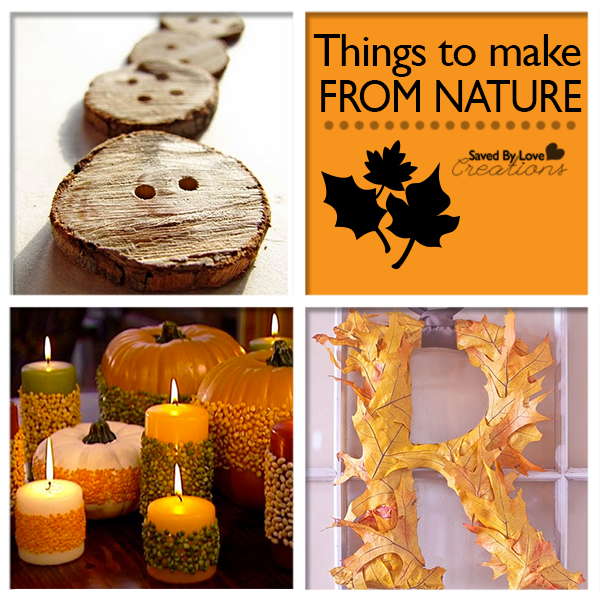
Upcycling DIY home decor, woodworking and Crafts

[pinit]
[pinit]

This project is the latest in upcycled wine bottles here at SBLC. It is super simple to create, and pretty dang Halloweeny. All you need is some glass paint, LED light strings and a few basic supplies to create your own illuminated, eco-friendly Halloween decor.

You can see how I made the shelf for the bottles in my DecoArt address lantern DIY. I added some black duct tape that I cut with a decorative edge sizzix die by Tim Holtz.
Here is how I made the bottles:


This post is not sponsored by Deco Art. I just want to say again, thank you to them for such great paint! The wine bottle lantern project is what I created for my sponsored Deco Art tutorial, and I have several more creations in mind with this fun glass line. You can pick it up at your local Michael’s, or visit DecoArt for product and project tips, tricks and inspiration.


This is one of my favorite projects ever. I cost pennies to create, I absolutely love fall decorating and crafting, and upcycling is my thing. To make this wreath, I used my Sizzix and Tim Holtz leaf die, but if you don’t have a die cutter, you could do this part by hand with a leaf template, or use leaf shaped paper punches. They work great on aluminum cans. Let’s get started on this vibrant, eco-friendly autumn leaf wreath!

Tim Holtz Tattered Leaves die
Sizzix
Ranger Alcohol Inks in your fave fall colors; Check out my friend Amy’s awesome color palate for fall, and how she used the inks on a shower curtain cut with the leaf die
Felt applicator for alcohol inks
Straw
Aluminum cans
Metal snips
Cardboard
Circle shapes to trace for inner and outer diameter of wreath
Pen
Scissors
3D Foam Mounts
Duct tape (optional, but recommended if you are putting your wreath outside)
Non stick craft mat

Rinse out your cans with soapy water and cut them into sheets like my aluminum can rose video:


I just love to see what Jessica from How About Orange has up her sleeve. This paper origami necklace DIY is a fine example of why I could spend hours browsing her projects. She makes it look simple to make, and if you are a craft supply hoarder like myself, you probably have all of the materials on hand.


Today I am sharing with you a loom woven bracelet video tutorial. I mentioned it in my Dollar Store Wrapped Bangle Bracelet Tutorial since I was on a mason line bracelet kick. In the video you will see how to make the loom from a piece of cardboard (yay!! – recycled craft project) and how to use your cardboard loom to make a 7 stranded braid bracelet using mason line. You can use any cording you want, that is just what I used in the video because I have tons of it and I love the colors. The smaller, multicolored bracelet pictured was made using the exact same technique with embroidery floss in 7 fall shades.

Cording (I used this mason line)
Scissors
Cardboard
Small Plate or other circle to trace (about 4 inches in diameter)
Pen or pencil
Lighter to melt end of mason line knot together


This video tutorial shows you how to use those belts in your donate pile to make customizable cuff bracelets. The idea came to me when my husband gave me the belt that with a pair of shorts. He was going to get rid of it, but passed it my way in and challenged me to repurpose it. It is a perfect frugal handmade gift for all occasions. I have already made and gifted several of these.

When you love someone’s creation, why not just ask them to mail it to you? That is what I did when I saw my friend Laura’s faux mini wood pallet art tutorial at Pet Scribbles. It went a little something like this, acutally:

For Laura’s version of this fun tale, visit her Macrame bracelet post.
A facebook chat and swap arrangement later, this beautiful piece now adorns the wall of my bedroom.

What’s that? Oh, the flower. Glad you asked. Laura made it from a dryer sheet, and she made it my favorite color. Doesn’t it just look like it was made to go in it’s spot? I love it with my cardstock paper rose topiary!

Laura’s tutorial is linked above. Stop by and see the detailed, step by step photos and create your own faux mini wood pallet art.
And remember, it never hurts to ask. Thank you, Laura. I adore it!

Are you looking for fast, easy, inexpensive bracelet that is perfect for fall? Do you have tons of yarn skein remnants you have been hoarding for just the right little project? This post is for you. Many would be knitters are turned off by how long it takes to finish a project. I personally find it way slower than crochet. That’s why this knitted bracelet pattern from Sascha-Love to Knit is right up my alley. It feeds my need for instant gratification and my bracelet obsession simultaneously. What a perfect way to stash bust and knock out some handmade gifts while you’re at it!
![]()
![]()
Have you heard? Totally Green Crafts is hosting their first monthly contest where the contestant with the best green craft made from the contest’s theme wins a prize package worth over $350! Yes, that is three hundred and fifty dollars worth of awesomeness for the best green craft. The theme is boxes for the challenge is boxes! Any box will do as long as it is from the recycling – cereal boxes, macaroni, shipping boxes, you name it. Visit Totally Green Crafts Contest – Box Challenge for the full scoop.


I had the opportunity to try out a cool new product called Scrapbooking Attitude, and am excited to tell you about it. This is a printable, transparent film you use with your inkjet printer for endless creative possibilities. Being a huge fan of image transfers, I was thrilled to give this a whirl.

Image transfers are done onto glass, wood, paper, polymer clay, ceramic and more, using a variety of techniques, from acrylic mediums to packing tape. What I love about Scrapbooking Attitude is that it is simple to use, the results are fantastic (even on the embossed, textured surface I used in this project), and it requires an inkjet. In my experience, inkjet transfers techniques compared to laserjet are not as abundant, are more difficult, and don’t come out as nicely. This is bad news since most people, myself included, have the less costly inkjet printer at home. Scrapbooking Attitude is a fantastic solution. My only problem was focusing in on a single project. You will be seeing me use this product more in future projects. For this post, I went all Halloween on you.

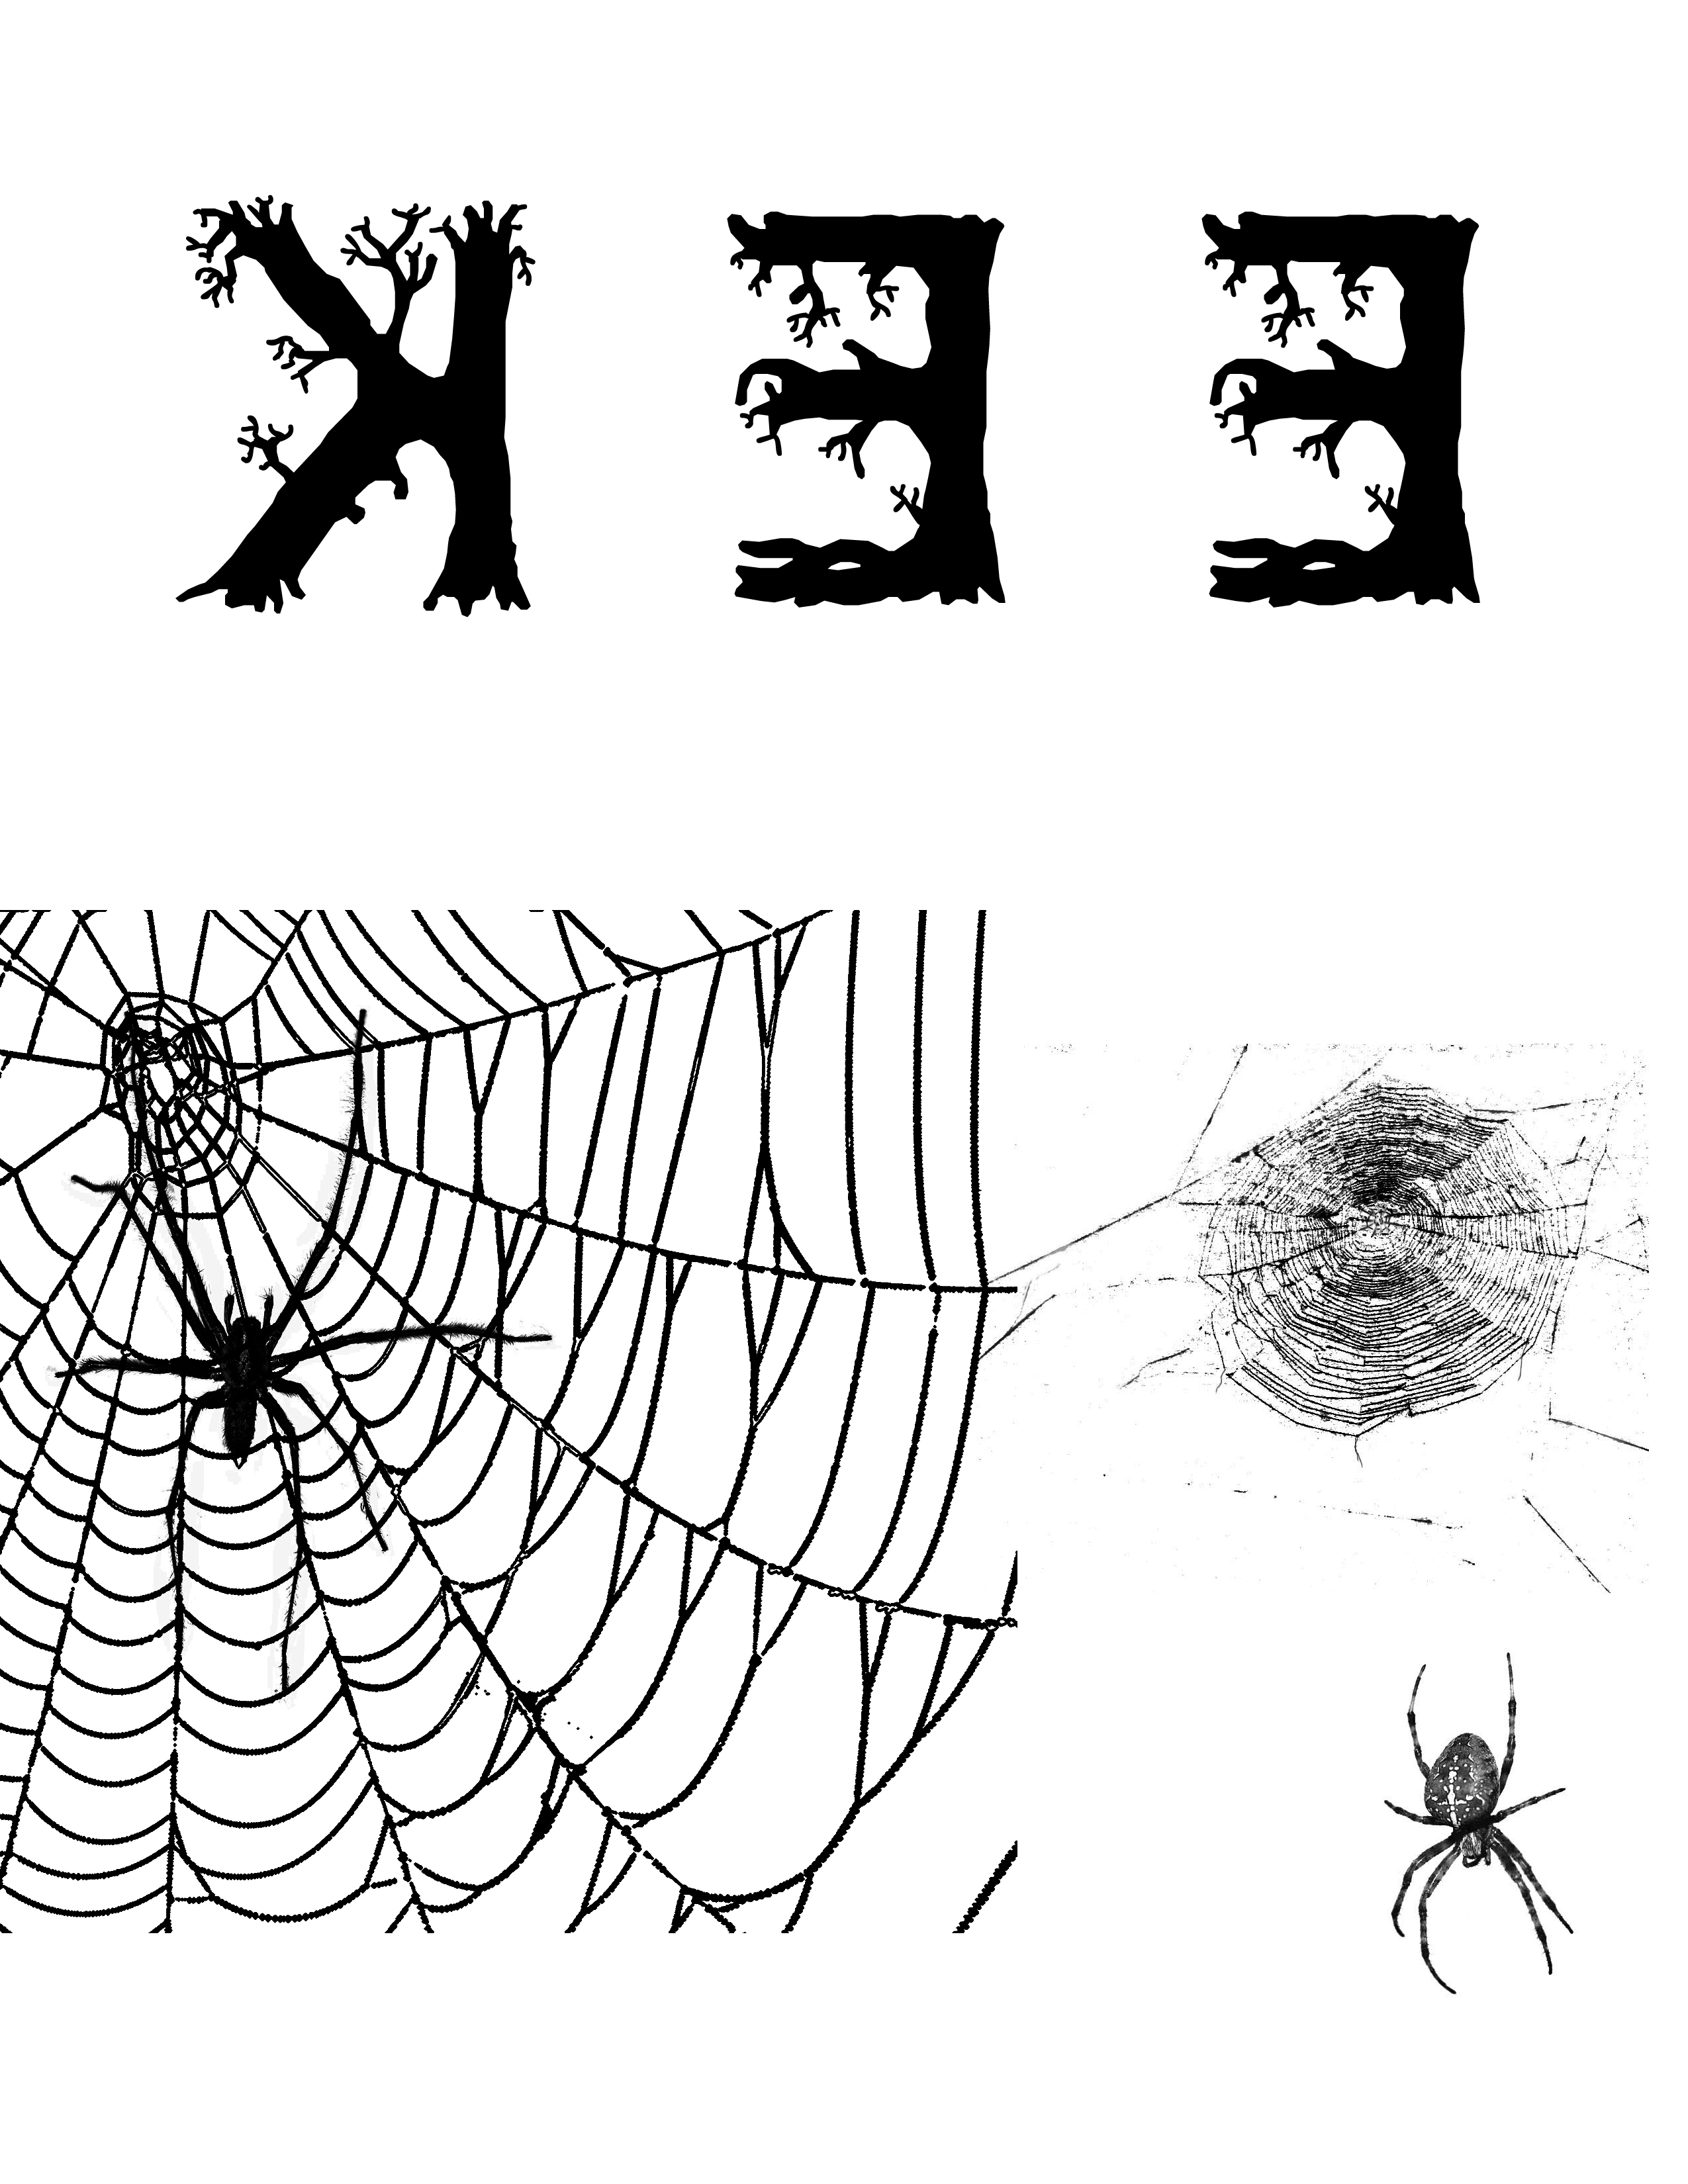
The following step-by-step photo tutorial shows you how I transfered “EEK” and spider graphics I created in Photoshop (available for you use as a free Halloween Printable) onto die cut, embossed paper for the banner. I used the same steps to transfer the spider web graphics onto an old book with a solid orange cover.


![]()

Scrapbooking Attitude
Die Cut, embossed white cardstock (I used this Tim Holtz die for Sizzix, and this Tim Holtz embossing folder)
Antique Linen Distress Ink Pad to ink the raised areas of the embossed cardstock
Mod Podge
Foam brush
Twine
Tiny white clothespins
Black Cardstock Die Cut Scalloped rectangle (I used a Sizzix scallop rectangle die)
Antique Linen Distress Ink Pad
Scissors
Inkjet Printer
Mod Podge 3D foam mounts

Once dry, I layered the transferred image and shape onto a black cardstock scalloped rectangle cut using Sizzix. I used Mod Podge 3D foam mounts to adhere the layers. Then I just clipped them into place on the twine with my tiny white clothespins.
I just love how this transferred into the grooves of the texture. It looks like it is one with the paper and you can see the background through the image. You can achieve the transfer with a lamination machine, an iron, or a glue stick, or use Mod Podge like I did here. The instructions with the product are extremely detailed, and my craft blogging cohorts are posting their techniques, tips and tricks as well. At the end of this post is a gallery of other blogger’s creations usiing Scrapbooking Attitude for you to see more of what is possible.

To purchase Scrapbooking Attitude packs, visit the website linked. While you are at it, join me in following them on Facebook, Twitter and YouTube for the latest tips and projects.
*I wrote this post as a part of a paid campaign with Scrapbooking Attitude and The Blueprint Social. All opinions are mine and honest.

