Archives for July 2012

Video Tutorial: Make your own Tube Bead Bracelets

How to Make Easy Bracelets with Tube Beads

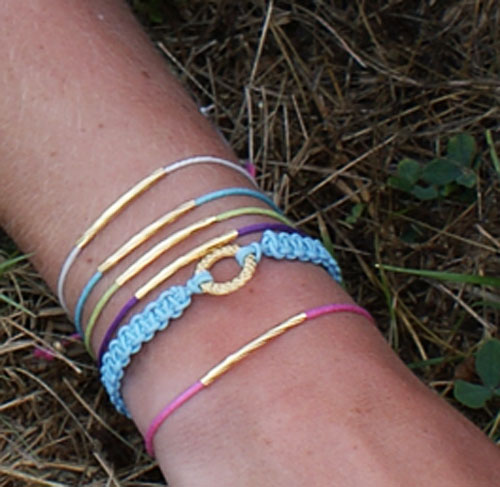
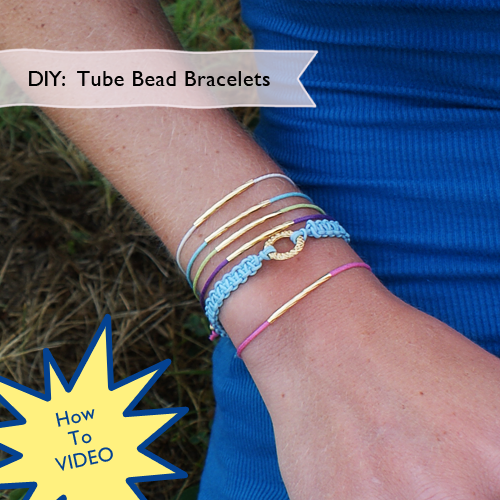
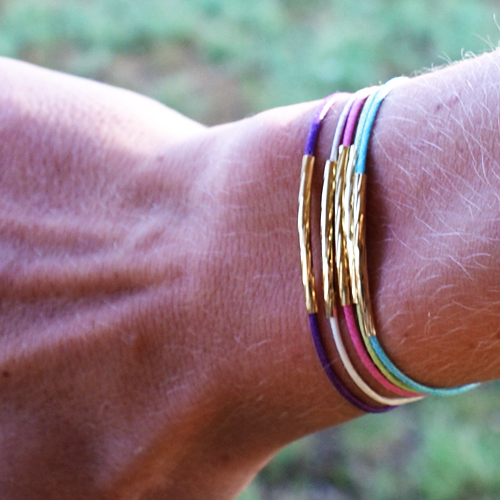
These posts I showed you a couple of weeks back featuring Honestly WTF’s bracelet tutorial finally made it from my “To Do” list to my “I made that” list.  What is even better about it is that I made my first ever video.  I am not saying it will be nominated for an oscar, or that my hands weren’t in the way to an annoying degree, but I finally broke that “make a video” barrier.  You will love this project.  Just slip the gold tube beads onto the cord, then you make the adjustable macrame closure I show you in the video.

DIY Macrame Knot Adjustable Bracelet

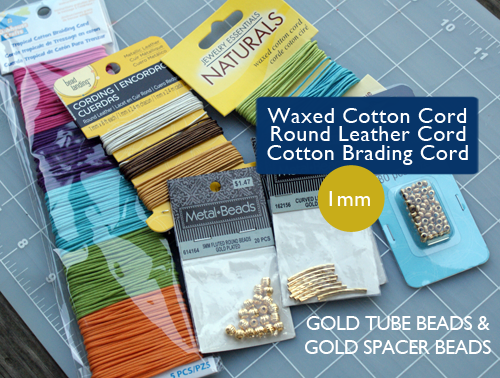
Honestly WTF used chinese knotting cord (1mm), which I didn’t have, so I hit Joann’s and Michaels for 1mm cord of my own.  I found the gold tube beads at Hobby Lobby, a package of 8 for $1.47.  I also found the gold spacer beads at Hobby Lobby, but you can find gold beads anywhere.

Supplies:

DIY Macrame Adjustable Knot Video

VIDEO TUTORIAL:

Add Gold Spacer beads to ends before knotting for additional flair!
DIY Gold Tube Bracelets
For how I made the baby blue macrame ring bracelet (also learned at Honestly WTF), see this post.

What to do With That Cool Empty Frame

Empty Frame Project Idea

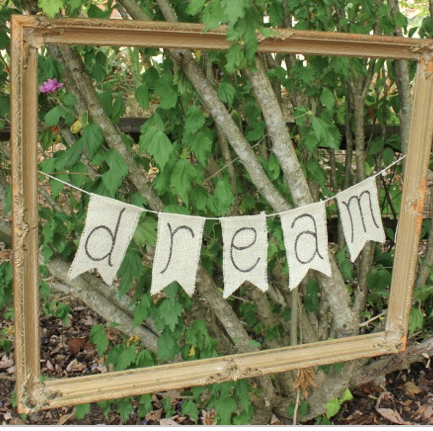
I have been seeking out empty frame projects since my friend brought me this cool frame she got 3 of at a garage sale for $1 each.  That is how I came across this cute framed “dream” banner from Daisy Mae Belle.  She walks you through the step by step tutorial in her post.

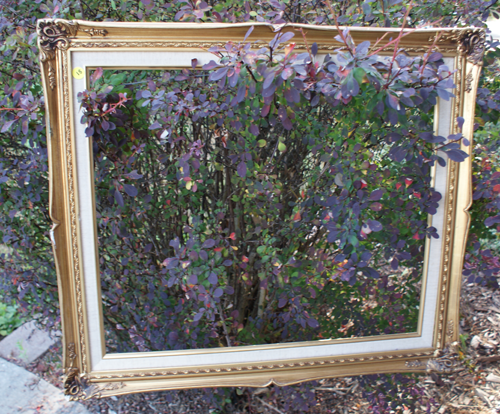
Here is my frame…

Empty Frame Ideas

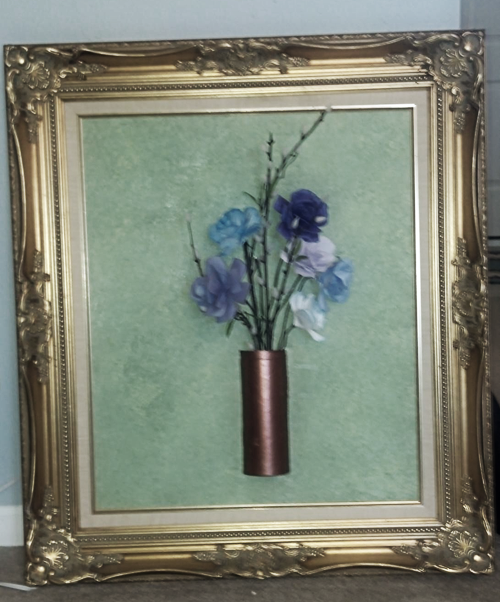
My friend Debbie went all 3D with hers and created this cool framed vase and paper roses.  She sent me the pic taken with her phone.  Since then I have seen it in person and it is gorgeous.  The photo does not do it justice, but you get the idea.  For the background, she cut white foam board to fit, and painted a background color with metallic glaze over that.  She cut a tea canister in half and painted it metallic copper for the vase, glued it to the background and stuck paper roses she had left over from another project in there.  Love it!

Frame 3D Paper Roses

What would you do with the empty frame I showed you?

Instagram Photo to Uprinting Rolled Canvas

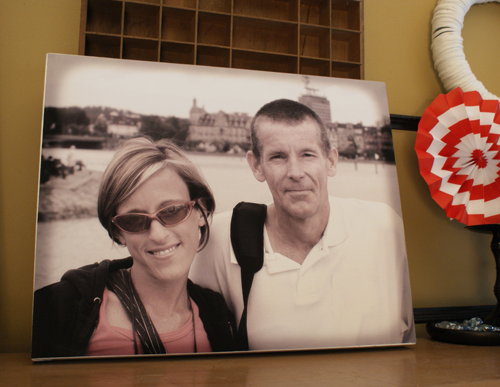
Instagram to Canvas

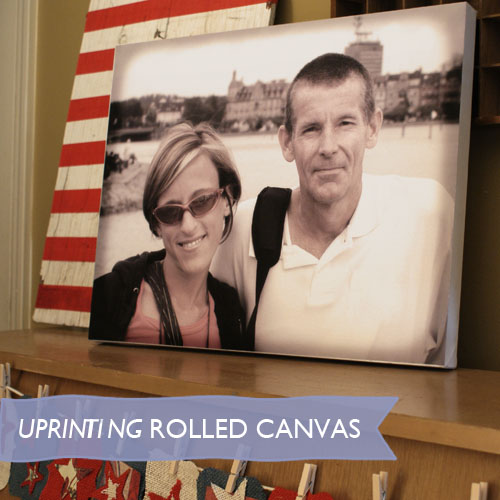
Do you wish you could have your Instagram filtered photos on a big canvas to display, with0ut spending big bucks?  UPrinting canvas prints are the way to go.  You apply a free Instagram Photoshop action to your photo, upload it to the UPrinting site to get a rolled canvas print for half the cost of a stretched canvas print, and mount it on a garage sale or thrift store painting with Mod Podge!

Here is how I did it:

Download and install Daniel Box’s free instagram Photoshop Actions

Instagram Canvas Print

Photo to Canvas Print

How great is this?!  When I got my rolled canvas print, I was absolutely amazed with the quality.   The canvas is thick and tough, the print just like the file I uploaded.   The user interface and ordering process at UPrinting.com are super user friendly and hassle free.   At such reasonable price, I will be ordering  more.

Join me in following UPrinting on Facebook, Twitter, and Pinterest.

Disclosure:  I received product and payment for this post.  All opinions expressed in this post are honest and mine.  I believe in everything I promote.  My readers are first.

See what others are doing with these great rolled canvas prints:


Tutorial: Upcycled T-shirt Bracelets

How to Make TShirt Bracelets

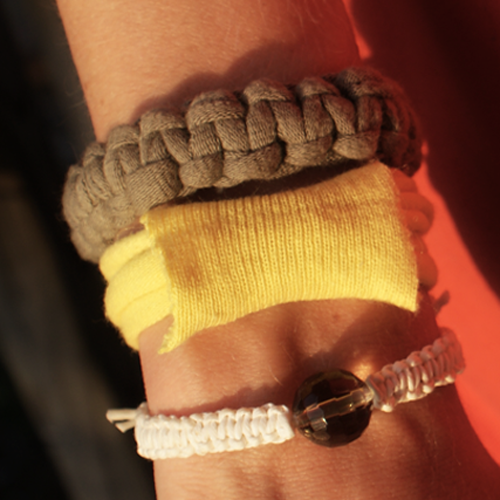
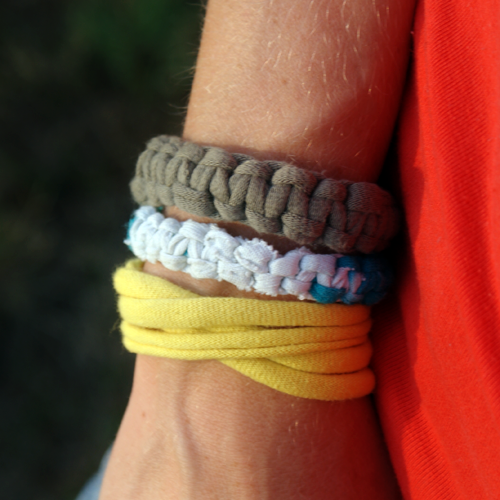
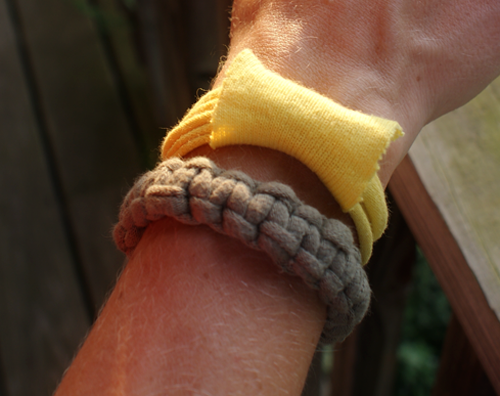
Summer has brought a serious bracelet obsession, worldwide.  Here is a fun, eco-friendly project using old t-shirts to create stack-able wrist decor for little or no cost.

You will need:

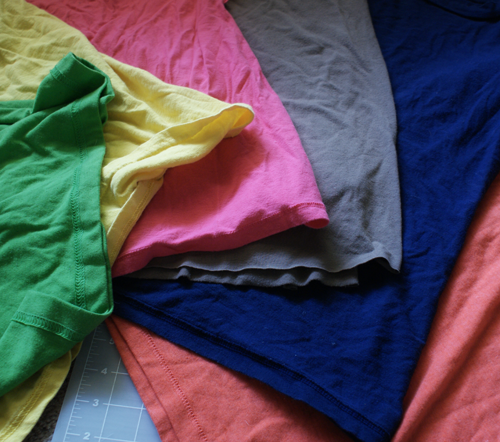
Old T-shirts

Scissors

Old T-shirt Crafts

Tutorial:

Recycled T-Shirt Crafts

T-Shirt Upcycle

The cuff made from the collar is optional.  The above pic shows it without.

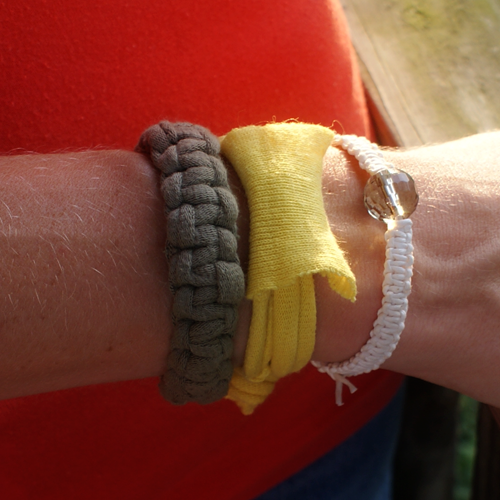
For the other 2 T-shirt bracelets, I did macrame knotting.  Just start out like I showed you above, making a loop at one end .  Then follow the macrame instructions I linked in this macrame bracelet DIY.

TShirt Bracelets

T-Shirt Bracelets

Want some more T-Shirt Crafts?  Check out my round-up of over 50 projects you can make from old t-shirts!

50+ Cereal Box Projects to Make

cereal box ideas

The Average American eats 160 bowls of cereal per year (source). That is over 300,000,000 people at 160 bowls each, every year. What to do with all those empty boxes? This week’s Top 50 round-up with give you plenty of ways to repurpose them into decor, storage, jewelry and more. Enjoy!


DIY Crafter’s Clay Flowers

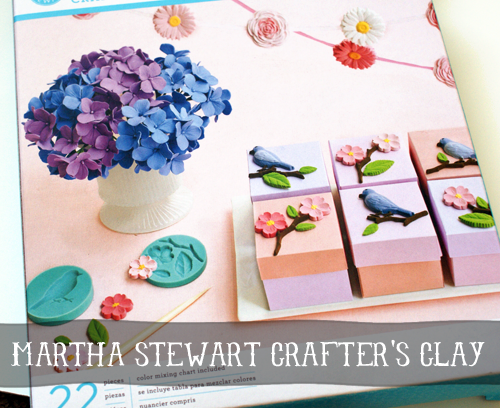
As much of a polymer clay fanatic as I am, I was a unsure how Martha Stewart’s Crafter’s Clay would compare.  I finally got my hands on some, and I am loving the stuff.

There are several differences between this clay and polymer clay.  Like polymer clay, this is pretty easy to use, and you can mix some amazing colors.  It doesn’t fingerprint as easily as polymer clay, which is nice.  You don’t have to condition it, so prep time is essentially zero.  Just mix the color you want and start creating.  It has a different, lighter, spongy kind of feel compared to polymer clay.  One down side is that it starts to dry pretty quickly when exposed to air, even though the instructions say to let it dry for 24 hours.  I would say the working time is about 25 minutes before it becomes to dry to shape.

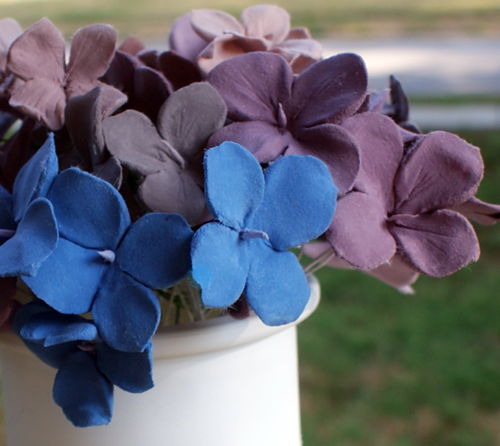
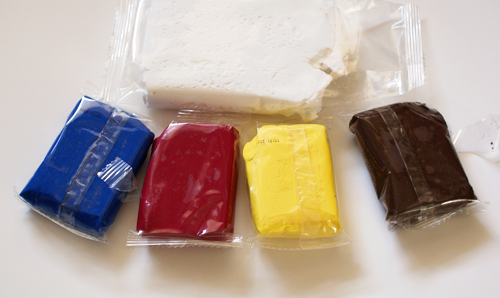
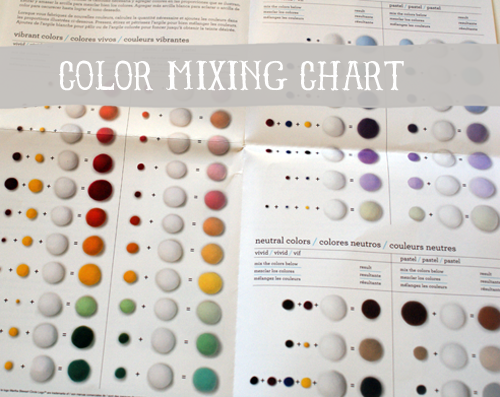
The kit I got came with instructions for making these lovely hydrangeas, a color mixing chart, crafter’s clay in white, brown, yellow, red and blue, detailing tools, 4 silicone molds, floral tape and floral wire.  Read on to see how to make your own hydrangea bouquet.

Crafter's Clay Tutorial

Crafter's Clay Tutorial

Aside from what comes in the Martha Stewart Crafter’s Clay kit, you will need craft glue (I used Glossy Accents).

TUTORIAL:

Clay Hydrangeas Tutorial

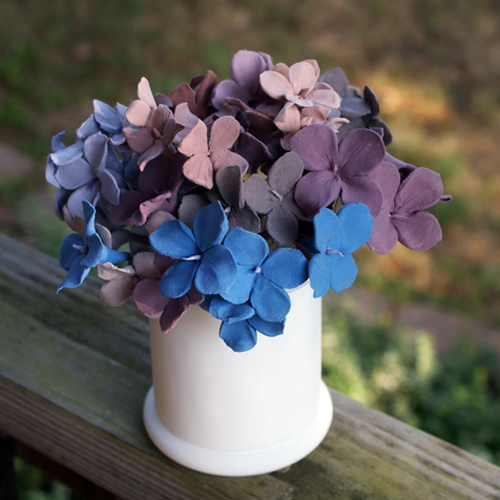
I bunched my flowers into groups of 4 by wrapping the wires together and placed in a glass jar from Goodwill that I spray painted white.

Clay Hydrangeas

If you get a chance to work with this, take it.  You can easily make your own lovely bouquet.  I got my kit from Michael’s recently, using my 40% off coupon.

Clay Hydrangeas

DIY Stamped Dollar Store Rugs

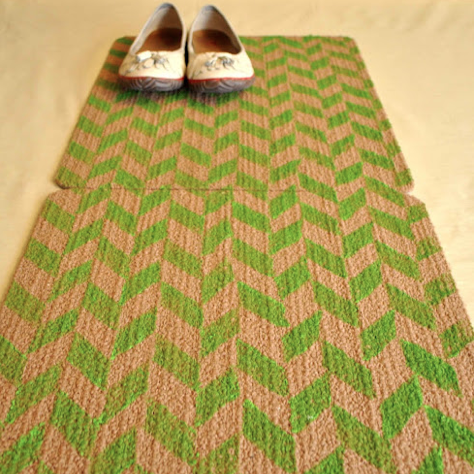
Stamped Herringbone Rugs

Need a quick, inexpensive way to bring a modern, geometric print into your space?  Why not hand stamp this herringbone print onto dollar store rugs, using a dish sponge, no less!  That is what Caroline from C.W. Frosting decided to do.  You can use colors to coordinate with you decor, and make one for every room.

Stamped Dollar Store Rug Tutorial

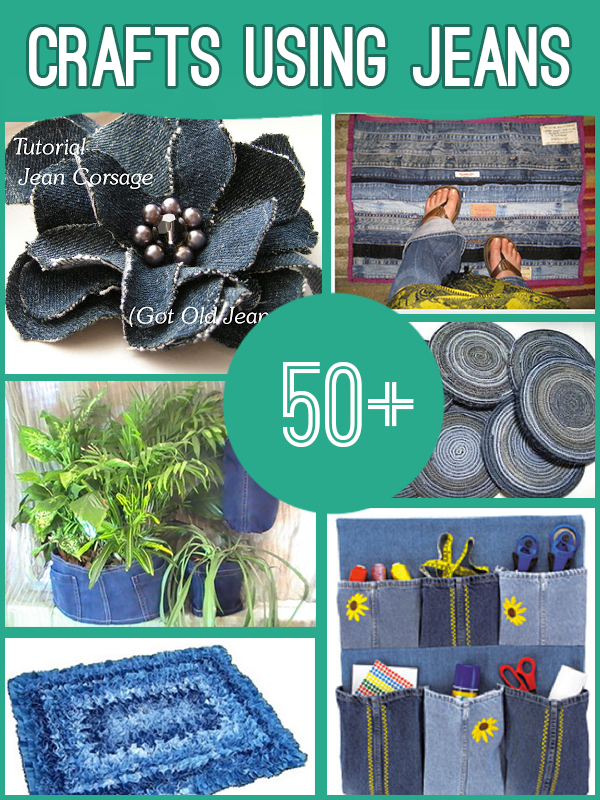
50+ Things to Make From Old Jeans

50+ projects to make using old jeans #recycledjeans #upcycle #repurpose

[pinit]

Before you haul off those worn out jeans, you may want to take a look at this growing list of things you can make with them. As with all of our round-ups, if you have a great project that you think should be in the list, just email us. Check back often, as we continually add new projects weekly. Enjoy!


Guest Post: Cute Toddler Mattress Topper

http://salttree.net/

Hello everyone!  My name is Amber and I blog over at SaltTree.  Food, family, crafting and all things DIY is what you will find there.  I do hope you will come by for visit.  I’m sure you will find something you like!

Thanks so much to Johnnie for having me guest post here on Saved By Love Creations.  As a reader of SBLC, I am honored to be posting here!

Often, we create out of necessity.  Having children usually kicks that into overdrive, especially babies and toddlers.  I know all of you mothers are nodding your heads in agreement!

We very recently transitioned our 20 month old son to his big boy bed.  Foster is very tall (like his Mom & Dad) and could escape his crib.  Needless to say, it was time to switch!

We put his bed together, popped in the new mattress and made it up for the night.  It was then that I realized I didn’t have a protector for the mattress.  I thought… “he should be fine for one night… he probably wont leak his diaper”…. wrong!  First night and the mattress was christened.  I should have known better.

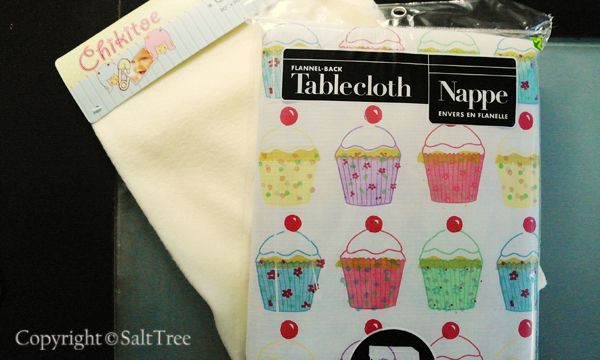
The next day, I made a trip to my local dollar store to get some supplies.  A 30×30 inch blanket from the baby section, and a flannel backed vinyl tablecloth from the kitchen aisle.  I couldn’t resist the cupcakes!  I was now armed with everything I needed to make my own, $2 mattress protector.  This project took approximately 15-20 minutes to complete.  A do-able nap time project indeed.  Here’s how!

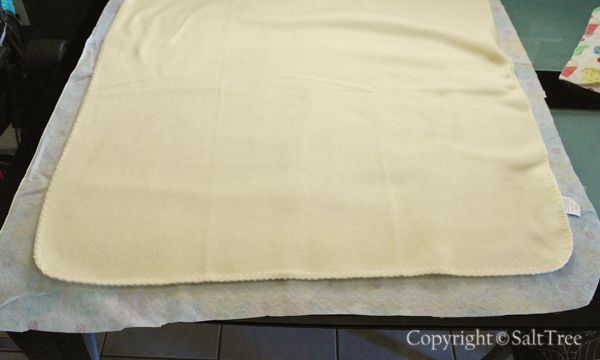
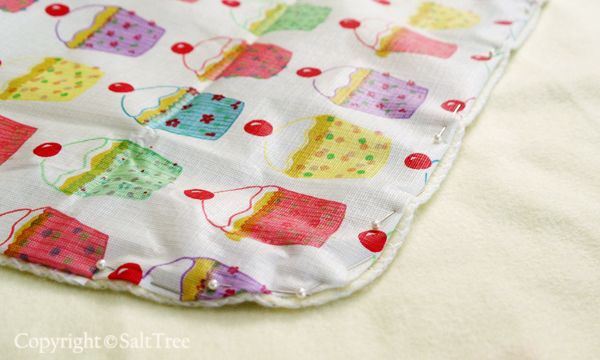
Spread out the table cloth and lay the blanket out over top of it.  Cut out the table cloth so it is an inch or so larger then the blanket, all the way around.  I had enough table cloth left over to make a second mattress protector.  It’s always good to have a back up when one is in the wash.

Pin the back side of the blanket and flannel side of the table cloth together, folding under the table cloth so it ends up with a finished looking edge.

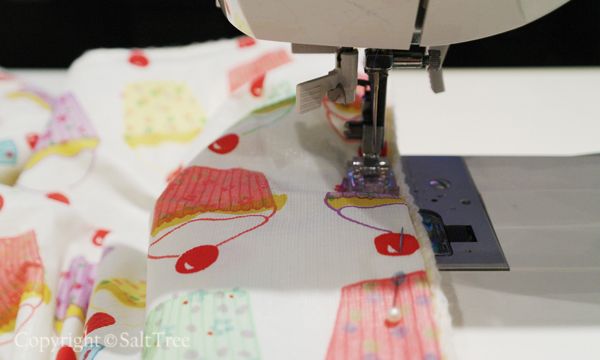
Sew the fabric together all the way around.  I used blue thread so you could see what I was doing, but you may want your thread to blend in.  In the end, it’s going under the bedding, so nobody will really see it.

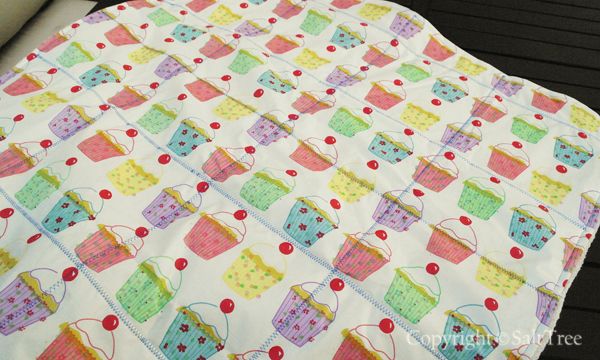
I added extra stitching in a grid pattern across the fabric so that it wouldn’t shift or bunch up while on the bed or in the wash.

Done!  A crinkle free, soft mattress protector for your toddlers bed.  The table cloth side will keep things dry, the blanket side will absorb any leaks, keep the pad from shifting under the bedding and make it softer to lay on.  (Use it blanket side up).

This would also be great to take on an overnight trip to slip under the bedding.  I’m sure your friends / relatives would appreciate it!

For washing, I recommend cold wash, hang to dry.  Remember, sunshine is the best bleach.

Thanks again to Johnnie for having me here at Saved By Love Creations!

I look forward to seeing you over at SaltTree!

Recycled Magazine Page Art

Cut paper art

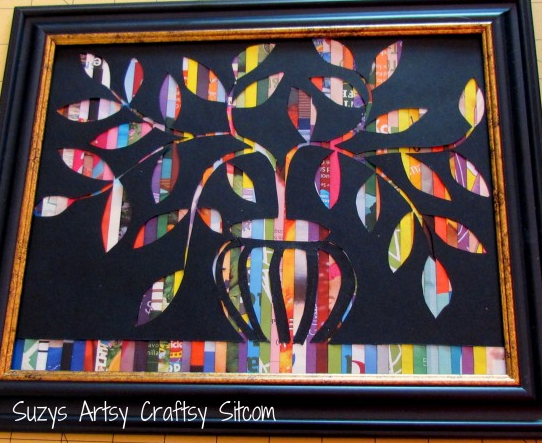
I get so excited when I see new creative ways to recycle magazine pages, like this cut paper art from Suzy’s Artsy Crafty Sitcom.  What a great idea!  Suzy shares the full step by step, and even the patterns of the cut outs for you to download (of course, I already want to take a shortcut and use my cricut to cut out the overlay).

SuzysSitcom.com

If you aren’t familiar with Suzy’s site, you are going to want to carve out some time to get cozy and explore her amazing paper crafts.  Enjoy!

Privacy Policy