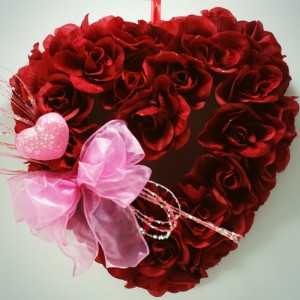
Need a g0rgeous Valentine’s Day wreath you can make in no time? Hot glue some roses onto a heart shaped wreath form, or a cardboard heart shape, and embellish with ribbon and sparkly fibers. Top it off with a pink glittery heart and a piece of ribbon to hang. You are finished!
Archives for February 2012
50+ Image Transfer Projects
Image transfers are huge in the craft/mixed media world, and it is no surprise. They are a great way to add interest, layers, text and dimension to your art projects, home decor, jewelry, even fingernails! Check out this great roundup of tutorials involving image transfers and get started on your own!
Thrifty Thursday Week 61 {Early Edition}

Thrifty Thursday is up way early this week. It would be more appropriately named Thrifty Wednesday, but that just doesn’t roll. Same party, different day. Thanks for being here. I always love seeing what you share. You inspire me!
LINKY STUFF:
How it Works: No giveaways, shop or links to your main blog, please. That way we know when we come to Thrifty Thursday, we will only encounter DIY projects and not end up sifting through a bunch of other links. Entries not related, or to main blog pages/shops/giveaways will be deleted.
Other stuff:
*Please add a text link or my button to your post!
*2 projects from the previous week’s linky will be spotlighted, so let them know they ROCK!
*Please visit the at least the 2 blogs above you and shower them with comment love.
*Leave me a comment and let me know you were here. I love hearing from you.
*Have fun and be inspired!
*My friend Nikki knows how to throw a great party too. Be there…

FEATURES:
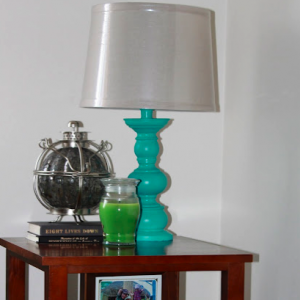 This Fabulous Z Gallerie Lamp Knock Off is brought to you by Gardeners 2 Bergers.
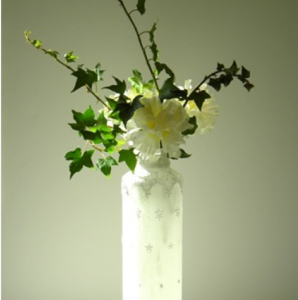 Leave it to Carolyn from Homework to create this gorgeous vase from a water bottle.
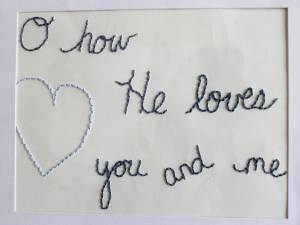
Visit Adventures of our Fami-Ly for this detailed hand sewing on paper tutorial.
PARTY!!
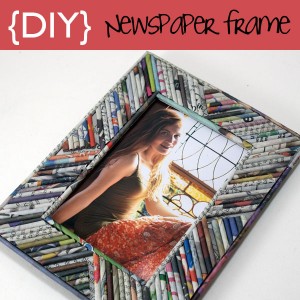
Picture Frame From Rolled Newspaper “Reeds”
If you love the idea of recycling newsprint into beautiful handmade home decor accessories, keep reading. This is a picture frame from newspaper pages rolled into reeds. Essentially free, green and functional, these picture frames make wonderful gifts for all occasions.
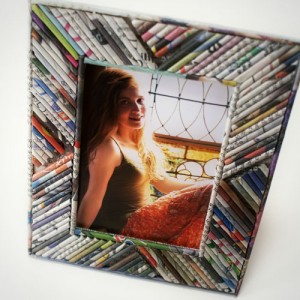
For how to roll pages into reeds, visit the Craft Stylish magazine reed box tutorial. I just cut a piece of cardboard for the overall frame size, and cut out an opening for the picture in the middle. Then I outlined the inner rectangle and outer rectangle with reeds, and cut smaller reeds to fill in the rest of the frame as shown in the photos.
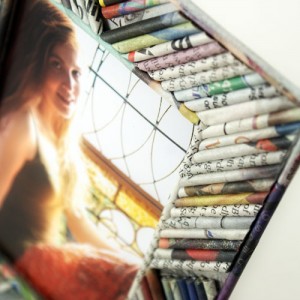 For the back, just cut a piece of cardboard slightly smaller than the front and cover it in newspaper. Line its perimeter with a border of reeds, then adhere the backing by applying a thin line of hot glue, or whatever craft glue you prefer, to the reed border then placing that onto the backside of the front piece (I use Glossy Accents for almost all of my paper projects). Sorry no pics for this part. When I make the next one, I will add some. It is pretty easy to figure out by just looking at the finished piece.
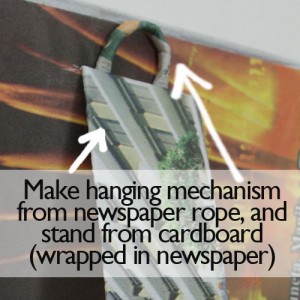 I wanted the option of hanging and stand alone for this frame, so I made a loop to hang and a leg to stand as shown.
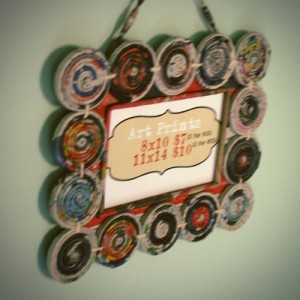
I love it! Here is the newspaper frame I showed you awhile back…
Have you delved into the world of recycled paper crafts yet? If so, do share. I would love to see what you have done!
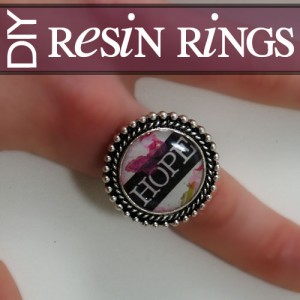
Resin Rings With Plaid Ring Bling
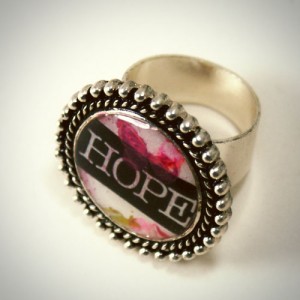 Make your own customized ring using Plaid Ring Bling bezels and ring forms. These are simple, quick and inexpensive, and the possibilities are endless. Follow along and you will have your own image immortalized in bling form in no time.
Supplies:
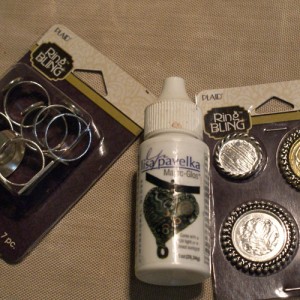
- Plaid Ring Bling forms and bezels (I got mine a Joanne’s)
- Magic Glos resin (shown in this tutorial), or Diamond Glaze, or Dimensional Magic
- Glossy Accents
- Image to place in bezel (I used a sheet of paper I stamped for the colorful background and ran through my inkjet printer for the words
- Sunlight or UV curing lamp if using Magic Glos resin
Instructions:
- Cut out your images to fit the bezels, and glue them into place using Glossy Accents inside the bezel.
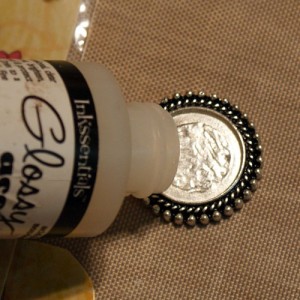
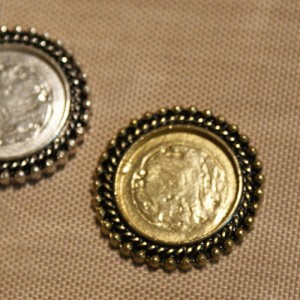
- Burnish image to make sure in is secure using a popsicle stick or toothpick. Use your finger to spread the excess Glossy Accents over the top of the image. If you need to add more to completely cover the top, do so. This seals the paper and prevents the resin from discoloring it.
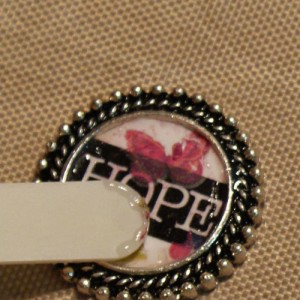
- Let this dry completely before applying Magic Glos, otherwise the Glossy Accents will interfere with curing. I use a heat tool to speed this up. If you do not use a heat tool, about 20 minutes dry time will do.
- Apply Magic Glos and cure under your UV lamp or in direct sunlight.
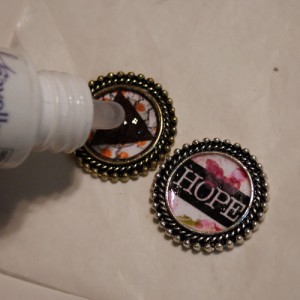
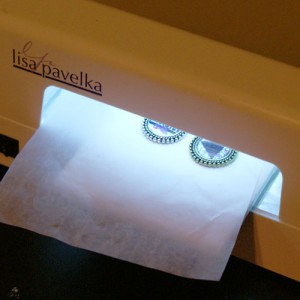
I use Lisa Pavelka’s 9 watt curing lamp, which works great for Magic Gloss. My pieces cure in 10 minutes or less.
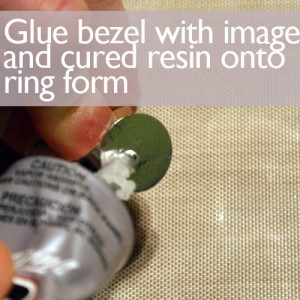
- Now just glue the bezel with image and cured resin onto the ring form using E6000. Let that dry and you are finished. I love the bezel and ring form being separate so that the bezel is easier to set completely flat while the resin is curing. It makes using the UV lamp way easier for making these rings.
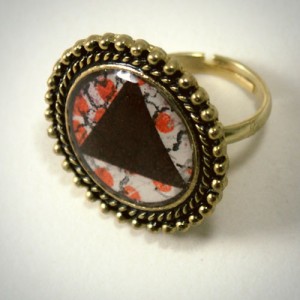
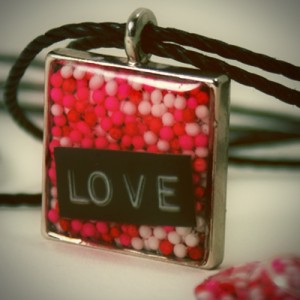
I am planning to make a ring using the Valentine’s Day sprinkles and resin I showed you a couple of weeks ago…
What have you submerged in resin lately?
New Way to Take Credit Cards at Your Show
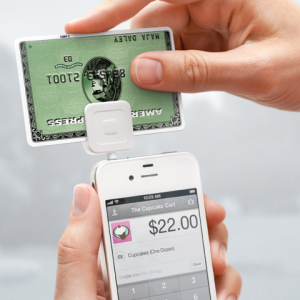 Have you contemplated accepting credit card payments for your handmade goods, but been overwhelmed by the high cost of getting started, and the complicated transaction fees? Square Up is the best option out there, and we have searched high and low.
How easy is it? As you can see in the photo, you plug the FREE card reader into your phone’s headphone port and swipe. The reader works with:
- Apple iOS devices running 4.0 and up
- Google Android devices running 2.1 and up
The best part is… the fee is 2.75% per credit card swipe. That is that. No hidden fees or minimum transaction requirements.
To get paid, you just link your bank account to your free Square Up account, and your earnings are directly deposited into your linked account within 36 hours.
This could not be easier, and is way cheaper than investing in the other credit card services available. Increase you revenue significantly by accepting credit card payments. Do so easily and inexpensively with Square Up!
Thrifty Thursday Week 60


It is Thursday again and I am grateful to you for stopping by to be a part of this crafty/DIY link party.
Thanks to all of you who connected with me on pinterest as a result of last Thursday’s soapbox. I have found hours upon hours of eye candy on your rockin boards. If we aren’t connected, let’s fix that…
![]()
LINKY STUFF:
How it Works: No giveaways, shop or links to your main blog, please. That way we know when we come to Thrifty Thursday, we will only encounter DIY projects and not end up sifting through a bunch of other links. Entries not related, or to main blog pages/shops/giveaways will be deleted.
Other stuff:
*Please add a text link or my button to your post!
*2 projects from the previous week’s linky will be spotlighted, so let them know they ROCK!
*Please visit the at least the 2 blogs above you and shower them with comment love.
*Leave me a comment and let me know you were here. I love hearing from you.
*Have fun and be inspired!
*My friend Nikki knows how to throw a great party too. Be there…
thrifty decorating 019 button 3 Thrifty Thursday Week 59
FEATURES:
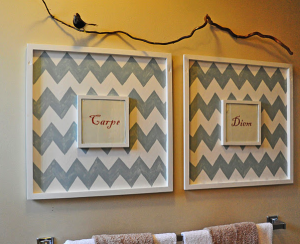 It is chevron, it says Carpe Diem, and how cool is that? Get the low down at Creatively Living.
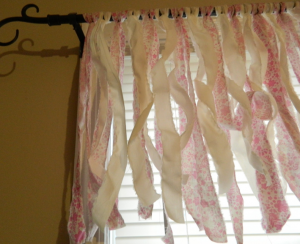 Anytime I see “no sew” I get all excited, even though I am kinda bonding with my machine (love/hate… like Pinterest). This is one of those “why didn’t I think of that” projects. Genius. It is perfect for this sliding glass window I have been stumped by. Check it out at Loopy Loop; no sew curtains.
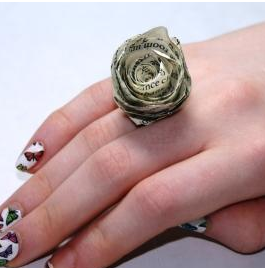
If you make it from paper, and it is jewelry, and it is cute, it will be featured at SBLC. This book page rosette ring is right up my alley. You could use a meaningful page from your favorite book. Word Up, Nerd Up… you made my day.

