Archives for February 2012

TIP: Improve Your Photos With Photoshop Filter

Improve you blog photos

While taking in your favorite projects from your fellow craft bloggers, do you sometimes feel like the photos you see are above and beyond what you are capable of with your current camera and lens?  I have felt that way for awhile.  With the massive amount of photos I see daily as pins, I decided it was time to take action.  But what kind?

I am not a photographer.  I know very little.  I bought a DSLR when I got serious about blogging, and have never manually adjusted anything.  For close ups, I turn the dial to the macro flower icon, for portraits, the face silhouette.  That was all I needed for awhile.  Now my blog is my baby, and I want to make it beautiful.  The standard lens set that comes with my particular DSLR takes great shots, but I notice blur when I zoom in using Photoshop for a close ups of my jewelry and other projects.  From my research, I deduced I needed to buy a macro lens… not cheap.  I decided to stop in my local camera shop and ask someone more knowledgeable what they recommend.  That is when I learned this about the Photoshop high pass filter.

Digital camera sensors and lenses blur the photo.  They just do.  The effect is negligible to many, but when you want that perfect shot with pristine detail to grab your reader’s eye, it is significant. You can easily resharpen using the high pass filter if you have Photoshop.

Here is an image I shot on my DLSR’s macro setting in my lightbox, before and after correcting the blur with the high pass filter.
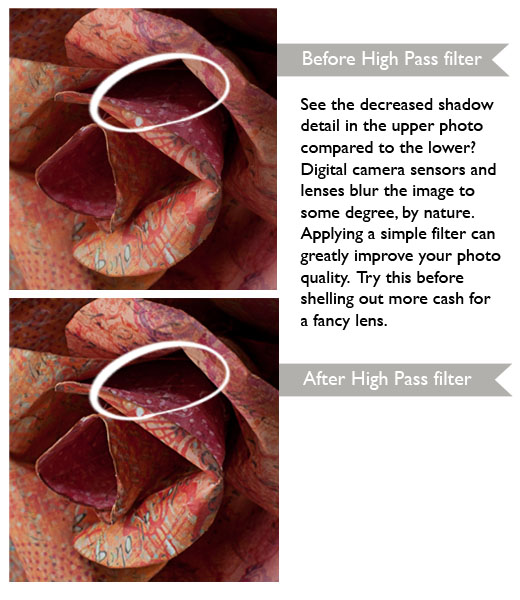
Take Better Jewelry PhotosPretty big difference for a few simple editing steps.  According to the camera guy, this fix can be more profound than a high end lens.

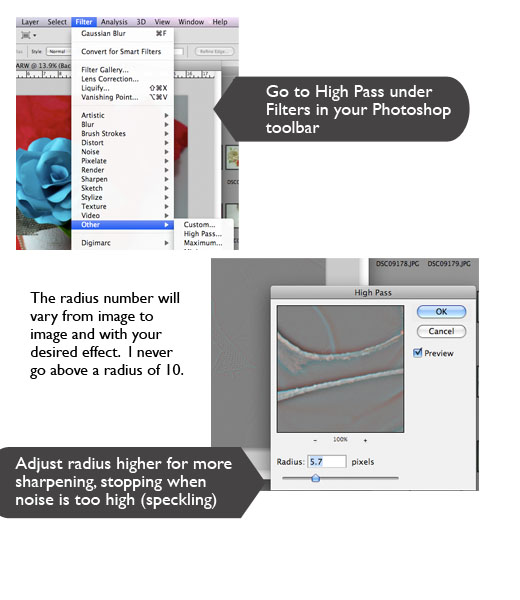
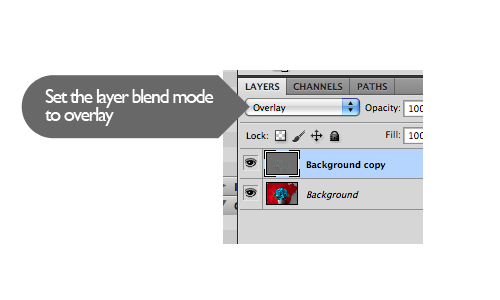
It is easy as pie.  Just duplicate your background layer in Photoshop, then follow the steps below.

Sharpening your images

This works best if you shoot in RAW vs. shooting in jpg, as there is more information in the RAW file, so more detail to work with when sharpening.  Most DSLRs have the option to shoot in RAW or jpg.  Shooting RAW with take up more space on your card, and requires software capable of handling the file type (which Photoshop is).  From what I have read, even if you don’t shoot RAW, you can still see improvement with this filter.Craft blog photo tips
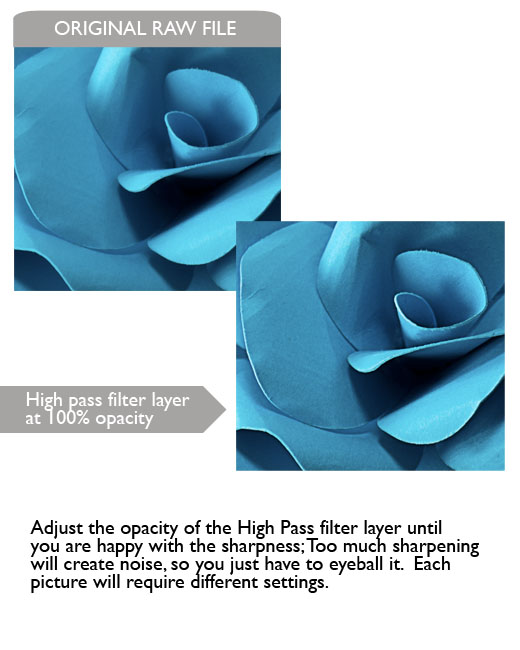
I am impressed with the difference and no longer feel the need to invest in a new lens.  Yay!  Thank you camera guy.

What are your favorite photo editing tricks?

If you want to learn more about this filter, and other sharpening methods, check out this informative guide to image sharpening at Cambridge in Colour.

DIY Paper Rose Embellished Frame

Paper flowers

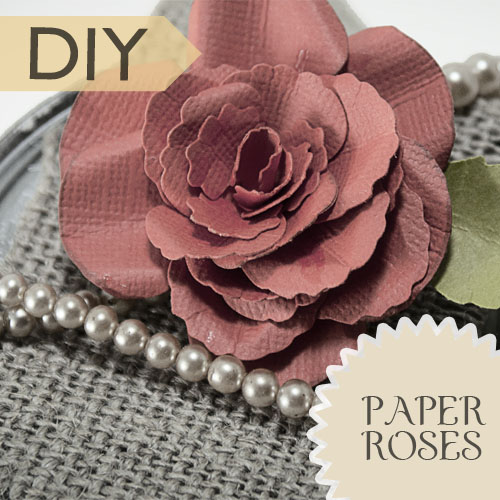
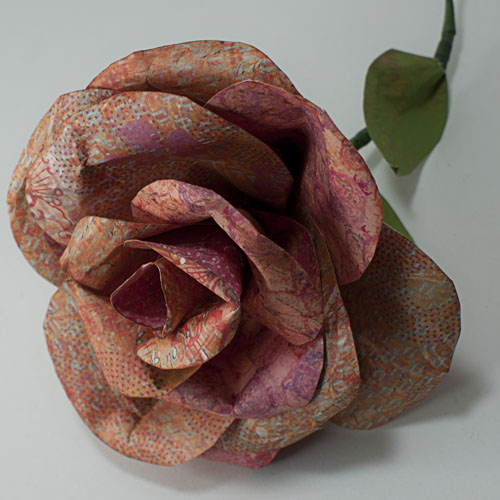
Paper can be used to create stunning roses for embellishing cards, frames, gift packages and more.  The most time consuming and tedious part of the process is cutting the petal and leaf shapes, especially if you want detailed edges.  Paper shape punches have made getting great, consistent shapes easy and quick.  Now they even come in sets of shapes needed to create a variety of flowers and layered embellishments, like the rose set used in this project.


DIY paper roses

Supplies:

  • Paper for petals and leaves (card stock used in this project)
  • Paper glue like Glossy Accents
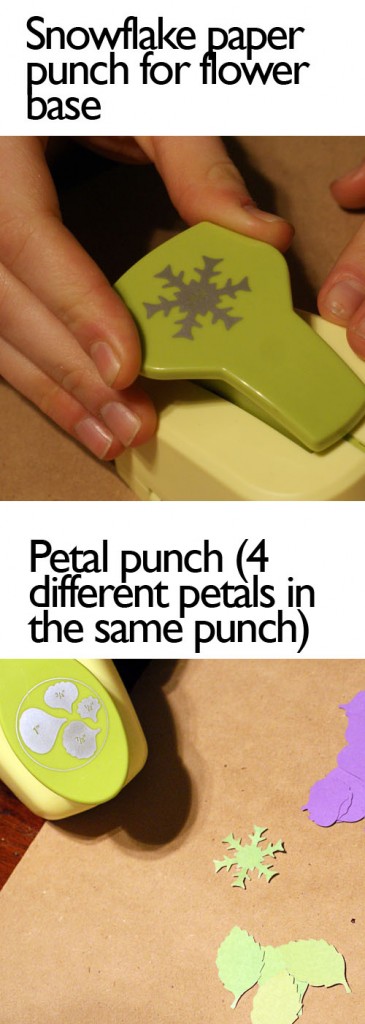
  • Floral Rose Paper Blossom punch set by McGill (got mine at Hobby Lobby).  At amazon (click linked text) you can get the punch for all 4 petals for $12.  The set includes 3 punches (one with the 4 petals, one with the leaf shape and one snowflake for the base) and costs $40.  Had I known this, I would have gone for just the petals since they are there are so many of them for each rose.  The leaves and base would be easy to do by hand since it is only a few shapes to have to cut.
  • Stylus
  • tweezers or bamboo skewers or toothpicks


Instructions:

  • Cut six sets of the 4 petals, one snowflake base and 2-4 leaves per rosemake paper roses
  • Now you will use stylus and tweezers or bamboo skewer to shape petals

How to make paper roses

Make roses from paper

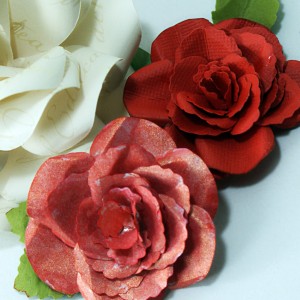
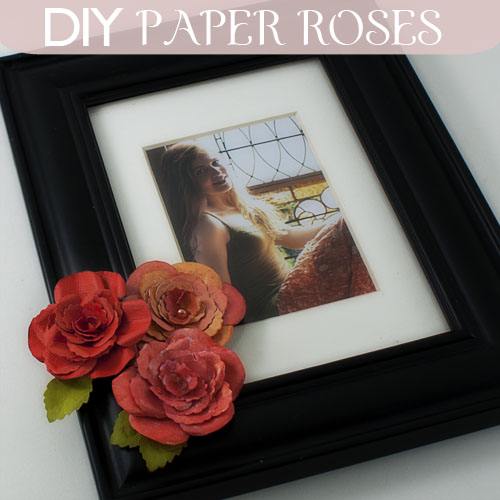
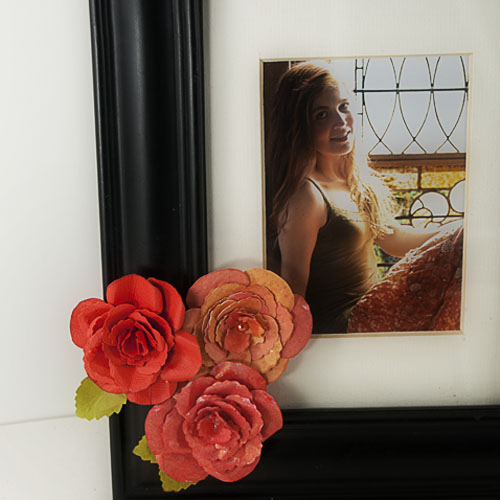
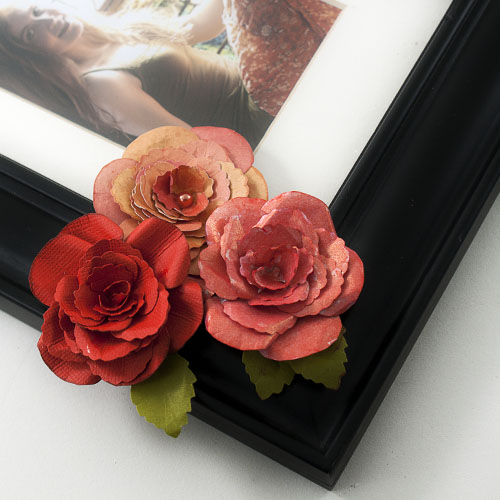
Now you have gorgeous paper roses to add that special touch of spring to your projects!  I used 3 of mine to embellish a frame for my niece’s high school picture.  I love how the orange roses bring out the orange in her skirt.

Paper rose tutorial

Make sure you come back for Wednesday’s tutorial,

another paper rose that you don’t want to miss. 

Sneak peek…

Yarn Bomb Comes to Town

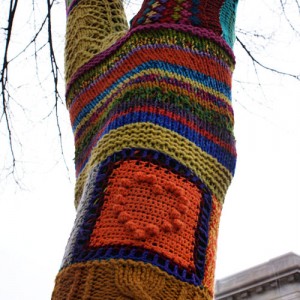
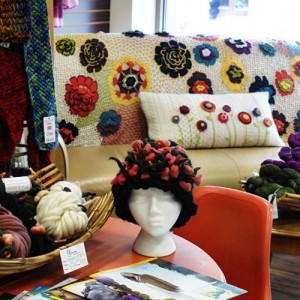
art with yarnHave you had the chance to see a yarn bomb in person?  I have been fascinated with these urban landscape upgrades since I first ran across a post about them, not only because yarn art is just beautiful, but because of the commitment involved in installing these things.  If you have knitted or crocheted, you know what I am talking about.  While it can be meditative and relaxing, lets face it, it is time consuming.  I admire the selflessness of someone willing to give themselves in this way to beautify their surroundings, fiber style.

How thrilled was I when on my visit to downtown, I parked my car next to this tree cozy on Friday?

yarn bombIt sits in front of a splendid local yarn store, Yarns Unlimited.  I decided to go inside, and see if I could locate those responsible for this particular yarn bomb, and wouldn’t you know it… there they were!

Yarns UnlimitedThe central knitting table was surround by six ladies, needles moving, conversation and laughter flowing.  “Did you do that?”, I asked pointing to the stylish tree.  They explained there were several contributors, each knitting a piece that was unique to their particular style.  One loves chunky yarn, so her contributions were thick and made with huge needles, another crocheted her part, and another used multiple colors.  Together they pieced their portions around the tree, commemorating their individual uniqueness and group unity, while brightening their community.

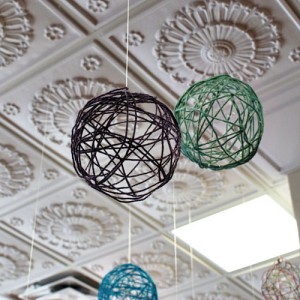
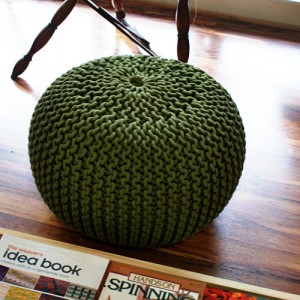
yarn bombBravo ladies!  How I would love to have participated.  I may just have to join their cozy table and hope they plan a 2nd bombing.  If you are local or ever in town, be sure and visit this store.  There are amazing pieces of fiber art, from footstools to wreaths, even wire crocheted pendants and hanging yarn globes… a definite yarn lover’s paradise.  They offer several classes, even some for free, so go on over and treat your creative self.   You know you want to see it in person.

hanging yarn globe

knitted footstool

fiber art

Upcycle Cans into Vases

Repurpose tin cans

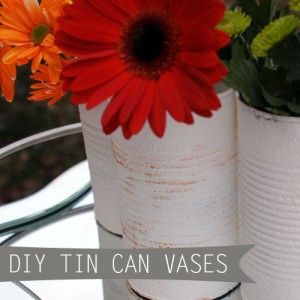
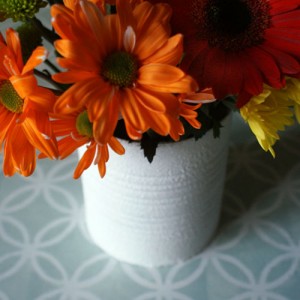
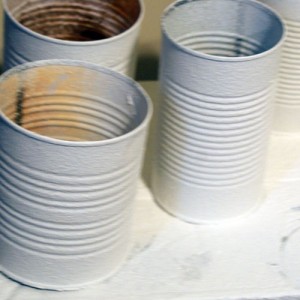
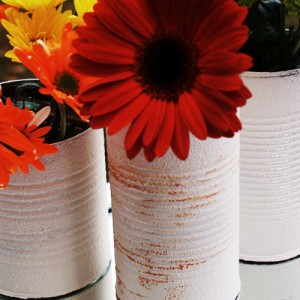
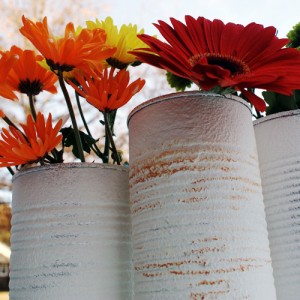
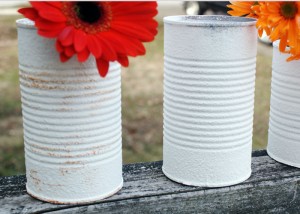
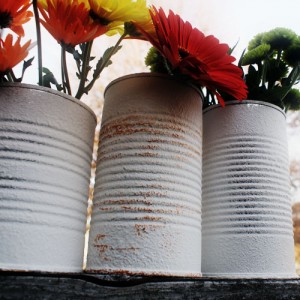
Wait!  Don’t take out the recycling just yet.  Did you know you can turn your empty tin cans into lovely flower vases in a snap?  In just a couple of easy steps, you will be on your way to gorgeous, simple, chic decor. I think these would make great mother’s day gifts, filled with her favorite fresh florals.  How about centerpieces for that upcoming dinner party or summer barbecue?
Recycled Craft projects

When I say easy, I mean easy.

Supplies:

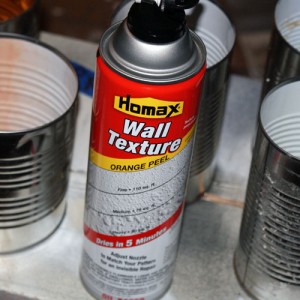
  • Wall texture spray; I got mine at the local hardware store in the paint section
  • Tin cans
  • Distress Ink Pad by Ranger in Rusty Hinge

Instructions:

  • Remove labels from cans and clean inside and out will with soapy water.  Rinse and dry with lint free cloth
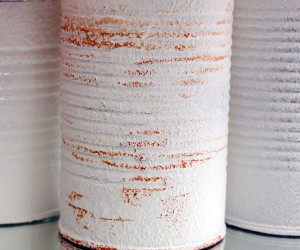
  • Spray cans with wall texture per can instructions on protected work surface.  I did mine with the nozzle set to fine.  I don’t think it really matters.  When you are happy with the coverage, let dry.  I let mine dry overnight.  Tin can crafts
  • If you want the rusty look, run your distress inkpad lightly over the surface of the can, randomly to achieve the desired effect.   I did this on one can, and love the look…

The End!  This is my first time ever using spray wall texture, and it was pretty darn cool.  You have not seen the last of it around here.

Have you upcycled your tin cans another way?  I would love to hear your ideas!

Recycled Craft projects

DIY centerpiece ideas

DIY centerpiece ideas

Thrifty Thursday Week 62

ThriftyThursday

Featured


Hope you all enjoyed your Valentine’s Day.  I am sure going to miss the heart themed projects.  Time to move into spring inspired creativity.  I can’t wait to see what you have been up to.  Thanks for stopping by Thrifty Thursday.  If we aren’t connected on Pintrest yet, we should fix that.  You can find me here…

Follow Me on Pinterest

LINKY STUFF:

How it Works: No giveaways, shop or links to your main blog, please. That way we know when we come to Thrifty Thursday, we will only encounter DIY projects and not end up sifting through a bunch of other links. Entries not related, or to main blog pages/shops/giveaways will be deleted.
Other stuff:
*Please add a text link or my button to your post!
*2 projects from the previous week’s linky will be spotlighted, so let them know they ROCK!
*Please visit the at least the 2 blogs above you and shower them with comment love.
*Leave me a comment and let me know you were here. I love hearing from you.
*Have fun and be inspired!
*My friend Nikki knows how to throw a great party too. Be there…
thrifty decorating 019 button 3 Thrifty Thursday Week 61 {Early Edition}

FEATURES:

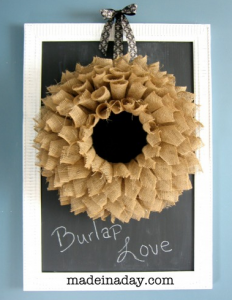
Burlap Wreath DIYKim at Made in a Day crafted this gorgeous wreath from burlap, inspired by the book page wreaths that have become so popular.  I love this version!

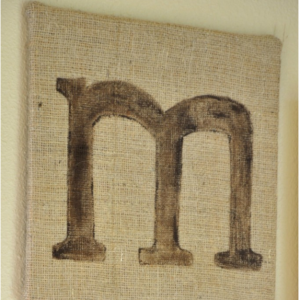
Burlap home decorBulldogs and Bullfrogs shared this lovely burlap wall art.  Check out the full tutorial there!

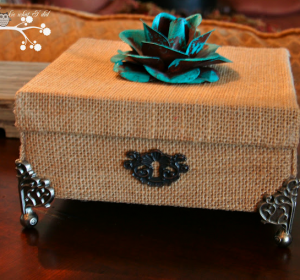
Burlap craftsMissy at Lookie What I did shared this burlap covered box, to keep with this week’s burlap love!  Great tutorial over there.

PARTY!


Spray Paint Thrift Store Frame Makeover

Thrift store frame makeover

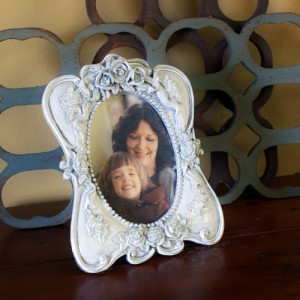
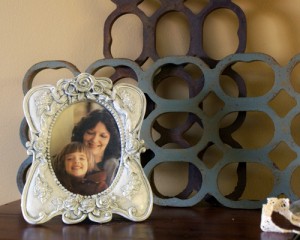
There is nothing quite like the excitement that comes over me when I find that perfect thrift store frame.  As soon as my eyes landed on this little ornate thing, I knew exactly what I was going to do to it, what picture was going to go in it, and where it was going to sit.  That doesn’t happen for me often, so this was a treat!

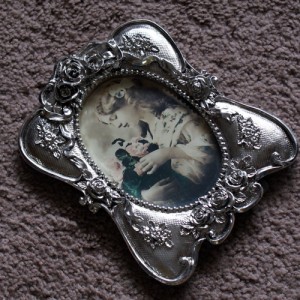
Here she was as is…

spray paint frame

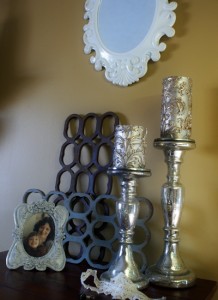
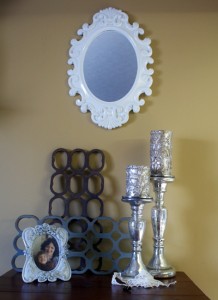
I just cleaned her off with soap and water, dried her with a lint free towel, and spray painted her with Valspar for plastic in white.  Once dry, I put my pic in and placed it in this little vintage vignette.

Spray paint home decor

Do you love the iron grate thingies?  I got these at a thrift store a couple of years ago.  They sat in my closet until now.  Aren’t they cool?!

Vintage home decor

How to spray paint a frame

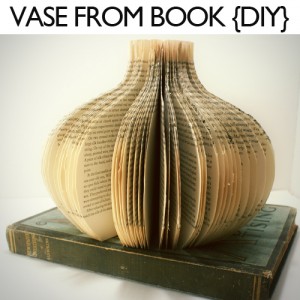
How to Make a Vase From an Old Book

Book Page Vase DIY

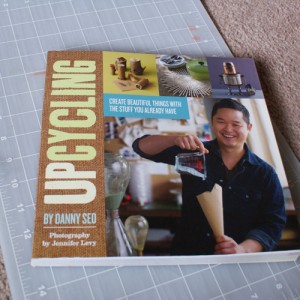
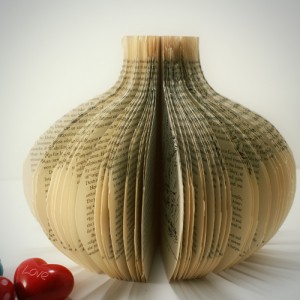
Ever wonder what to do with those old hardcover books you have lying around?  This project is super gratifying as it is simple, quick and you most likely have all the necessary supplies on hand.  I made this cutie in under 25 minutes, beginning to end.  The inspiration came from a fantastic book titled “UPCYCLING” by Danny Seo.  I highly recommend you pick this book up if you can.  You can get it at Amazon for $8.99, and it is filled with wonderful ideas to create with what you have at home.  There are so many projects I want to do in there.  My recycle bin pile will be getting smaller and smaller!

Upcycling

Supplies:

  • Old hardcover book
  • craft glue (Glossy Accents used here)
  • Utility knife
  • Cardboard or card stock for template
  • Pen or pencil to draw vase outline

Upcycled home decor

Instructions:

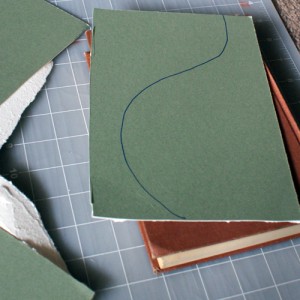
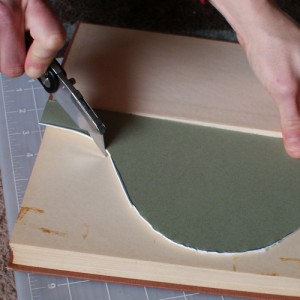
  • Cut the cardboard to fit the same size as the book cover, and draw a half vase on it.Repurpose old books


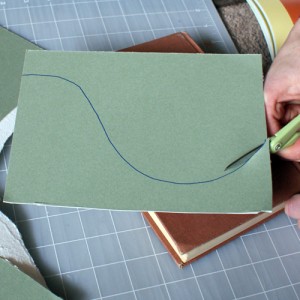
  • Cut around the outline to create a templateUpcycled home decor


  • With the edge of your template against the spine of the book, begin cutting around it, several pages at a time.  Continue this until you are through the entire book.  I ditched the template after 50 pages or so, and just used the cut pages as my guide.  It is super easy.  It doesn’t have to be perfect. Crafts using old books
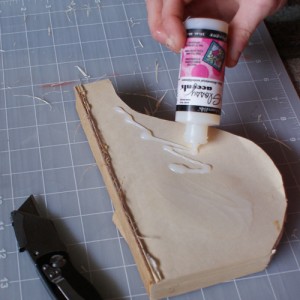
  • When you have cut through the entire book, remove the cover and glue the back of the last page to the front of the front page.  I put a lot of glue on the spine too, and paper clipped to hold together until glue dried.

old book crafts

Vase from old book pages

Repurpose old booksI love it!  I am not compensated in anyway for mentioning this book.  It just rocks.  This is my first project inspired from it.  I am sure there will be more!

DecoArt Instant Images Picture Frames

Stenciled picture frame

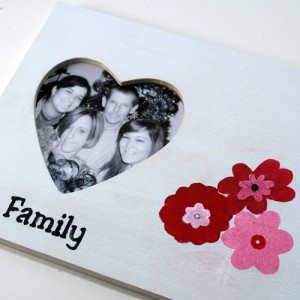
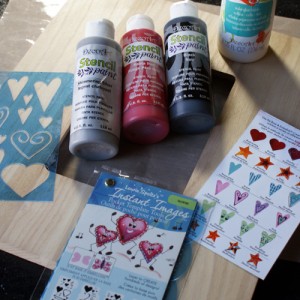
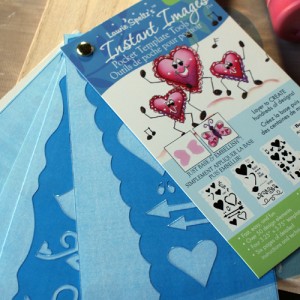
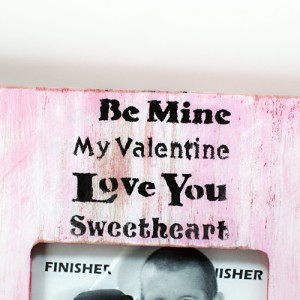
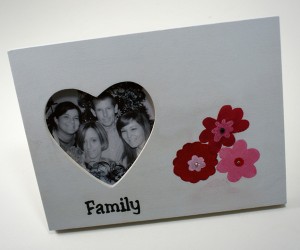
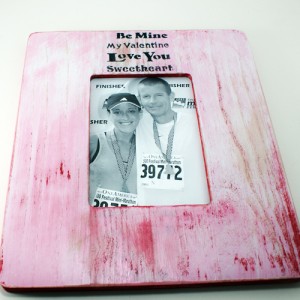
Have you heard of Lisa Speltz’s Instant Images from DecoArt?  I had the chance to try them out in this picture frame project, and I will definitely be using them more.  They come in journal size and smaller pocket size, in several different themes, including floral, inspirational, winter, spring, celebration and tons more.  This project shows the journal sized Garden Blooms template and the pocket Valentine themes.

Valentine's Day Picture FrameSupplies used:

  • Instant images stencils in desired themes
  • Unfinished wood picture frames
  • Acrylic stencil paint from DecoArt
  • DecoArt Duo Tool
  • Painter’s tape
  • medium grit sandpaper

Valentine's Day Picture Frame

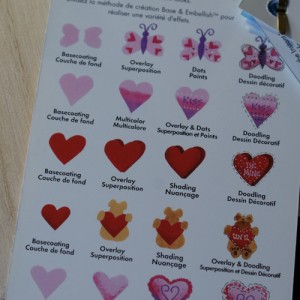
Valentine's Day Picture FrameI love the packaging these stencils come in, because it provides an easy, neat way to store them when not in use.  Not only that, but there are great instructions with photos included with the packaging to give you ideas on layering and creating different cool effects with the Instant Images.

Valentine's Day Picture Frame

Instructions:

  • Spray paint unfinished frame with white (I used Krylon Dual)
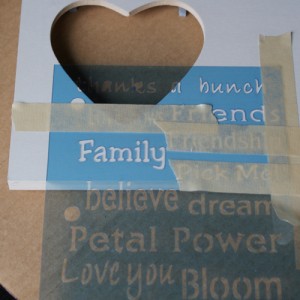
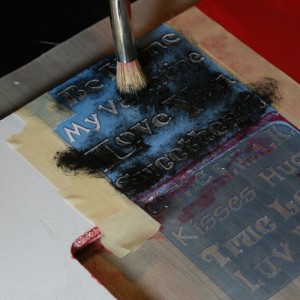
  • For the “Family” frame, I stenciled after the white.  For the Valentines frame, I dry brushed red over the entire frame, the sanded for a distressed look before stenciling.  To hold the stencil in place, I used painters tape.  I also used this to mask any open parts of the stencil I didn’t want in the design.  Using the stencil brush end of the DecoArt Duo Tool, I painted in the open parts of the stencil.  Here is a great video on how to get the best results from you Instant Images template.DecoArt Stencil Paint.

DecoArt Stencil PaintI love my end results!  These Instant Images are so fun to play with.  I am in the midst of a jewelry project that incorporates the small pocket size stencils.  They are perfect pendant size, and both sizes can be used in anything from home decor to paper crafts and more.


DecoArt Stencil Paint

DecoArt Stencil PaintDecoArt Stencil Paint

I would love to see what you have done, those of you who have played with these!

Valentine’s Day Kisses Bag Topper

Valentine's Day gift printable

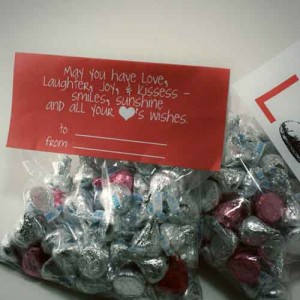
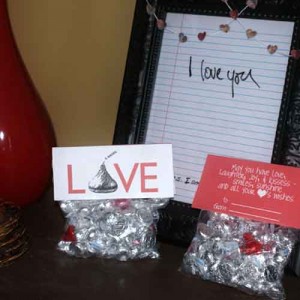
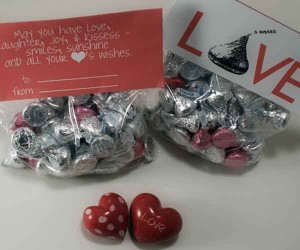
Here is a great last minute Valentine’s Day gift you can put together in minutes, with a sandwich bag, some kisses, tape and a printer.  Who doesn’t love chocolate kisses?  There is a sweet poem too accompany the chocolate on this 2 sided bag topper.  Here is the free printable, sized to fit a ziploc sandwich bag.

Just print it on 8.5×11 inch white cardstock or photo paper, fold in half and adhere to kiss filled baggie using double sided tape.

Valentine's Day gift printable

Valentine's Day gift printable

Valentine's Day gift printable

Clipix; A New Way To Organize Your Search Findings

Clipix

Have you heard of Clipix yet?  I recently discovered it, and I am impressed.  It is a free service that allows the user to clip their favorite internet finds to clipboards for later reference.  You can clip anything from your favorite hairstyles to Valentine’s Day ideas, and anything else you can conjure up.  That way you don’t have to search again later, when you are ready to want to find what you love!

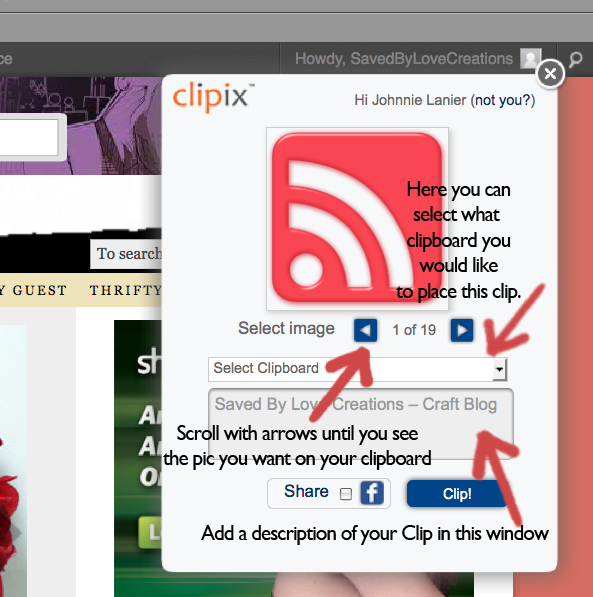
This site is very user friendly.  I signed up using my facebook account with the click of a button.  Then, I drug a “clip” button to my toolbar.  You just click it while on the page you want to come back to later.  It looks like this…


You can easily create boards of any topic, then grab clips and choose which board they should go in, like the picture above.

You can also place the Clip button after your blog posts so that users can easily clip your content.  Here is what mine looks like…

I like the feature of being able to keep your clipboards private, share with friends, or with everyone.  I am also looking forward to trying out the iPhone app.  You can even group clipboards together in multiboards for better organization.  So far, I have a Valentine’s Day board (shown at beginning of post) and a printables board, but this multiboard feature will be handy as I continue to clip.  I often feature top 50 lists on my blog, so to have a “Craft” multiboard with clipboards on the various top 50 topics will come in handy.

Yet another feature I haven’t gotten to take advantage of yet is Syncboards, which can have multiple contributors.  What a great way to keep up with your friends and colleagues in real time.

This is going to be another addiction, I can tell already.  Insomnia, I have a feeling we will be getting together soon.

Watch the YouTube informational video , and join me on clipix!

Promoted Post
Visit Sponsor's Site

Privacy Policy