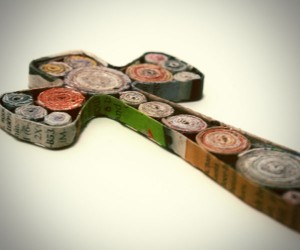
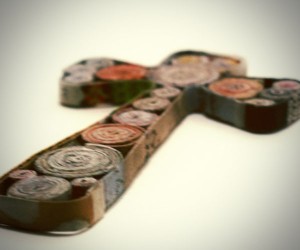
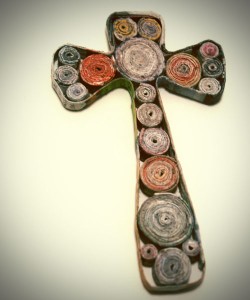
 Here is the most recent addition to the coiled magazine page family here at SBLC. This cross is about 5 inches tall, made from coiled magazine page circles, outlined with folded magazine page strips to for the cross shape. I used a cross cookie cutter to create the outline, then filled it in with the circles, just eyeballing the sizes I would need. Very simple project.
Archives for December 2011
Little Quilled Magazine Page Cross
Top 10 Posts of 2011
 10. Candy Wrapper Magazine Page Vase 9. Recycled Newspaper Picture Frame 8. Recycled Newspaper Coasters 7. Recycled Magazine Page Bowl 6. Pottery Barn Organizer Knock-Off 5. Coiled Magazine Page Round Coasters 4. Plaid’s New “Easy to Paint” Line Project 3. Awesome Subway Art DIY 2. Recycled Paper Wall Art 1. Coiled Magazine Dish With Lid
Thrifty Thursday Week 55


Hi crafters! I hope you enjoyed your Christmas. Thank you for stopping by and partying here at Thrifty Thursday. If it is your first time, welcome. So glad you are here.
How it Works: No giveaways, shop or links to your main blog, please. That way we know when we come to Thrifty Thursday, we will only encounter DIY projects and not end up sifting through a bunch of other links. Entries not related, or to main blog pages/shops/giveaways will be deleted.
Other stuff:
*Please add a text link or my button to your post!
*I will choose 2 participants to feature the following Thursday, Please drop by and love on the features! Their links are in the post where their projects are featured.
*Please visit the at least the 2 blogs above you and shower them with comment love.
*Leave me a comment and let me know you were here. I love hearing from you.
*Have fun and be inspired!
*Stop by and say hello to my crafty friend Nikki and link up to her thrifty party too…

Featured Projects:
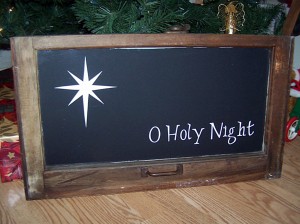 I adore this old window makeover at Creative Princess.
 Faux texture birch tree DIY canvas art by Just the Bee’s Knees
It is our last party of 2011. Woohoo!
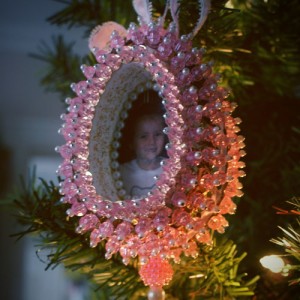
Grandma’s Handmade Photo Ornament
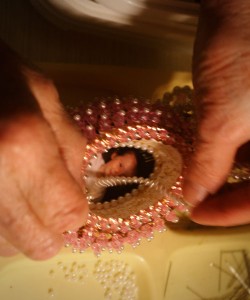
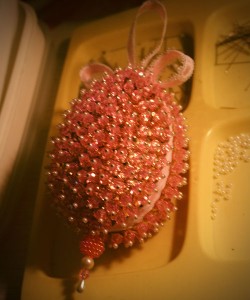
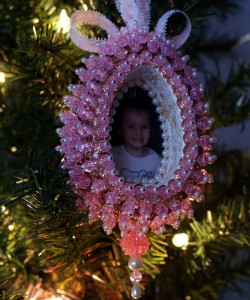 These precious ornaments adorned the Christmas tree every year of my life growing up. My grandmother makes each one by hand. I showed you some of her handmade decorations last year. This is the newest addition to the group. This time, my grandma posed a little for you all.
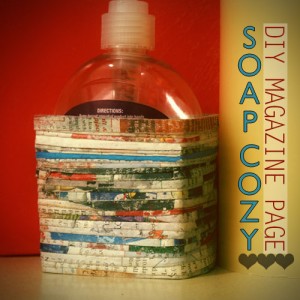
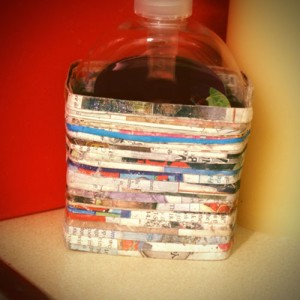
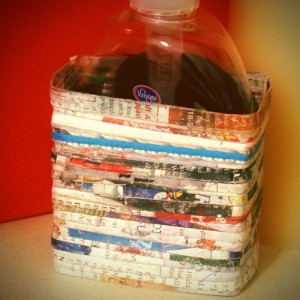
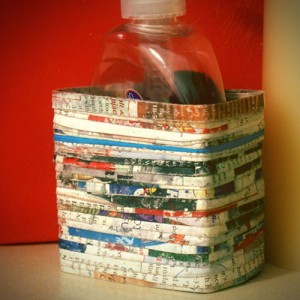
Magazine Page Soap Cozy
Dec. 26th brought an entire day of nothing but folding magazine pages into those beloved strips. I have several projects in mind for these, which you will be seeing over the next few days. Video tutorial is in the works!! There have been tons of requests for one, and I am excited to say it is coming.
For this, I just shaped my strips into a bottomless rectangle and put it over my soap dispenser. We will see just how waterproof it is over time. This project was quick, if you don’t count strip folding. I recommend spending a couple of days just rolling strips and having a ton before you start a project. Splitting it up over days always makes it seem less time consuming for me. If I make strips and a project all in the same day, I get pretty sick of the whole thing.
So, tomorrow’s project is along the same lines. It will be in the same room. If you guess it, I will send it to you to use in your very own kitchen. Leave your guess in the comments! Hurry. You must guess before I post tomorrow.
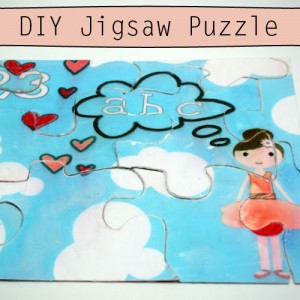
Diy Puzzle With Free Printable
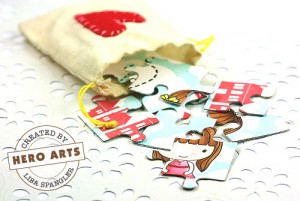
Need a unique, custom gift for young kiddos? I did, which is how this project came about. I still needed a gift for my 3 year old niece, and I just couldn’t land on anything. Enter Pinterest, where I saw an adorable jigsaw puzzle idea by Lisa Spangler posted at Hero Arts.
Here is the inspiration puzzle…
Here is how I made mine.
- Using their stamped image as inspiration, I designed both sides of the puzzle in Photoshop and printed them on 8.5×11 inch white cardstock. I have provided the three images I made for this project, which you are free to use. I left the thought bubble shown on the second image blank for you to insert your own text. You can find them here: 1-Free puzzle printable side 1 2- Free puzzle printable side 2 3-Jigsaw tempate lines printable.
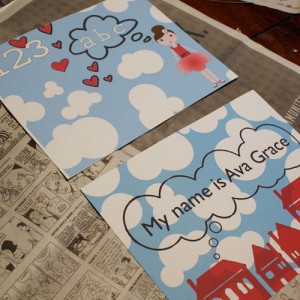
- .Using my cricut and the Jigsaw template (free download #3 above), I cut out the puzzle pieces from each image. I then cut a piece of cardboard (actually the flap on a 12×12 pad of scrapbook paper – a piece of cardstock or cereal box would work too) with the same cut file. This is to sandwich between each side of the puzzle for increase durability. You could adhere each image to a side of the cardstock, then cut the entire sandwich together if your die cut machine cuts deeply. I wasn’t sure if my cricut would cut it all the way through, plus I didn’t want to get the adhesive used to adhere the pages to get all over my cricut, so I cut all three individually.
- Next I ran each piece of puzzle cut from the images through my xyron machine to make a sticker, then adhered them each to the corresponding shape of cardstock inner layer. Keep the pieces from both sides of the puzzle in a separate stack and be aware of the orientation when you are adhering them to the cardstock so that everything matches up on the correct sides when you are finished.

- Finally, I coated each puzzle piece with Mod Podge, twice. Turn over and repeat for the other side once the first side is dry.
- Finally, I decorated a paper mache box to keep the puzzle in, with an image of each puzzle side on the lid to give the recipient a reference. This is a great time to bust out the glitter paint and go to town.
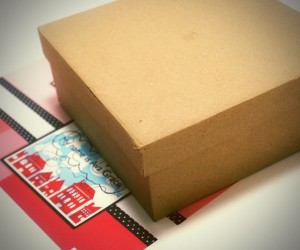
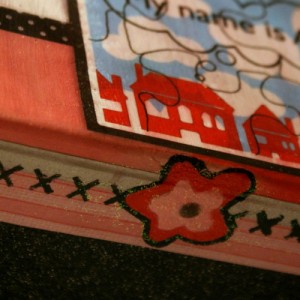
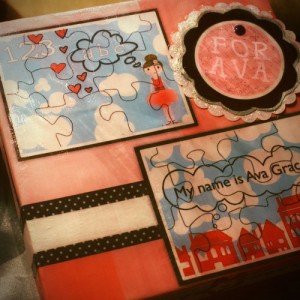
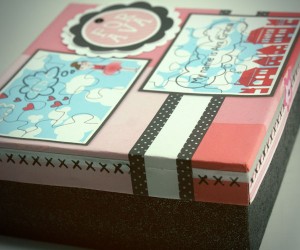
That is it! Cute cute cute custom handmade puzzle. I can’t wait to give this to my niece. Have you ever made a jigsaw puzzle? Other kid’s games by hand?
Quick Knitted Hat With Brim Pattern
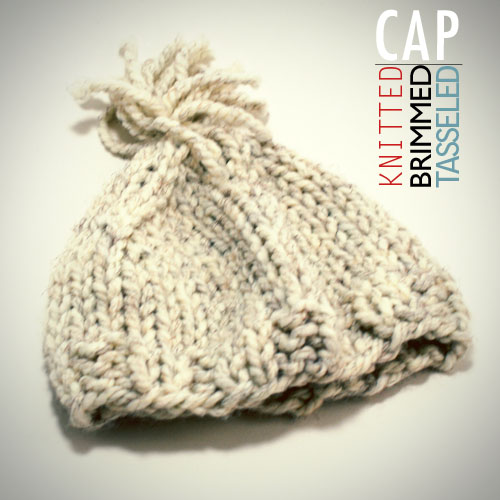
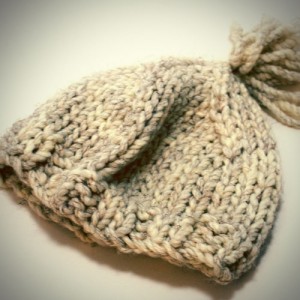
Get those needles flying and have a warm, cozy, beautiful handmade hat in no time, using this pattern with super bulky yarn. I whipped up several of these for gift giving this Christmas. Who doesn’t love a brimmed hat with tassels in the winter?
Supplies:
- Long circular needles size 13 and 11 (you can use DPN’s too, I prefer circulars)
- Super bulky yarn
- 3 x 3 inch piece of cardboard
- stitch marker
- crochet hook to weave in ends
GAUGE:
9 sts x 12 r = 4” x 4” (10 cm x 10 cm) in Stockinette Stitch on US 13.
PATTERN: Fits most adults (stretchy)
CO 36 stitches onto your size 11 circular needles and join for working in the round; place marker at beginning of rounds
Row 1-3: K2P2 around for ribbing then switch to size 13 needles
Row 4-12: Knit around
Begin decrease rounds:
Row 13: *Knit 7, K2tog* around (32 stitches at end)
Row 14: Knit around
Row 15: *Knit 6, K2tog* around (28 stitches remaining on needles)
Row 16: knit around
Row 17: *Knit 5, K2tog* around (24 stitches remaining on needles)
Row 18: knit around
Row 19: *Knit 4, K2tog* around (20stitches remaining on needles)
Row 20: knit around
Row 21: *Knit 3, K2tog* around (16 stitches remaining on needles)
Row 22: knit around
Row 23: *Knit 2, K2tog* around (12 stitches remaining on needles)
Row 24: knit around
Row 25: *Knit, K2tog* around (8 stitches remaining on needles)
Row 26: knit around
Row 27: K2tog around (4 stitches remaining on needles)
Row 28: knit around
Leaving a 5-inch tail, break yarn. With crochet hook, pull tail through the loops.
Pull tightly.
Pom Pom:
Wrap yarn around a 3 x 3 piece of cardboard around 100 times. Run a 20” piece of yarn through one folded edge of the pom pom. Tie the yarn tightly into a bundle. Cut the other folded edge, remove the cardboard, and stitch the pom pom to the top of the hat.
Last Minute Handmade Gifts
Need a handmade gift, stat? Procrastination happens, it is o.k.. Here are some great ideas that work up fast and won’t break the bank.
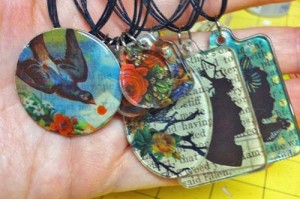
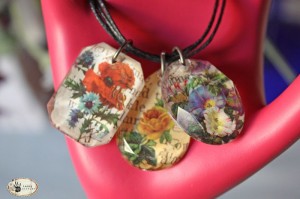 Acrylic facet jewelry from Tammie Tutterow
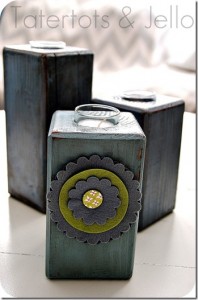 DIY wood votives from Tatertots and Jello
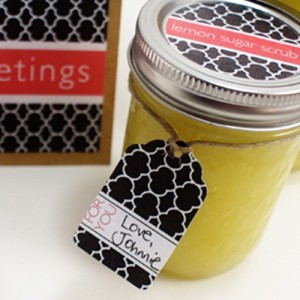 Lemon sugar scrub with printables at Printable decor
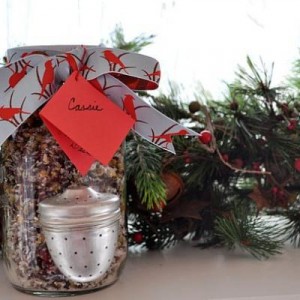 Holiday bath tea from The Mother Huddle
 Tissue paper candles from The Ivy Cottage Blog
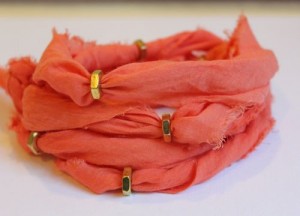 Hex nut wrap bracelet from Henry Happened
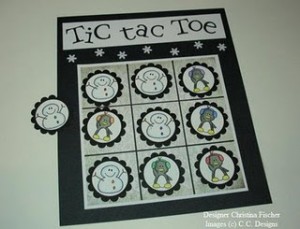 Tic tac toe board from Flowers and Ink.
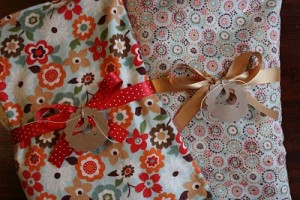 Rice filled heat packs from Pie Birds, Buttons and Muddy Puddles
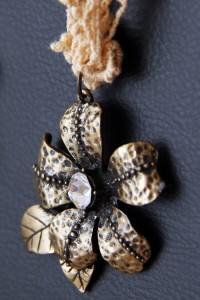 Vintage inspired jewelry from Aussie Scrap Source
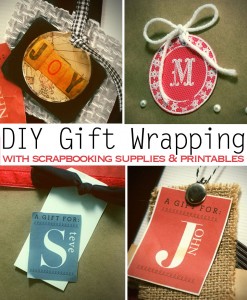
Gift Wrap With Printables and Stamping
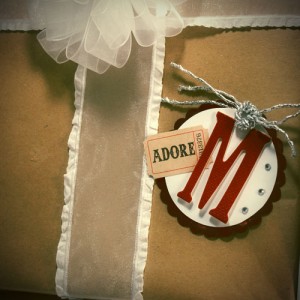
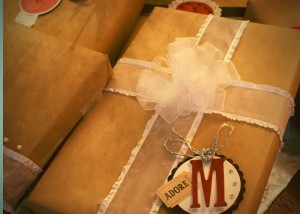
This year, I wanted to keep the gift wrap simple and elegant. I decided on Dollar Tree craft paper, and white boxes with embellishments in red, white, silver and black. I spent the majority of the time on the tags, combining digital printables with stamping, embossing and other scrapbooking techniques. It had been awhile since I embossed, cut, punched, glued with all of my digital design, so I got really into being with my supplies!
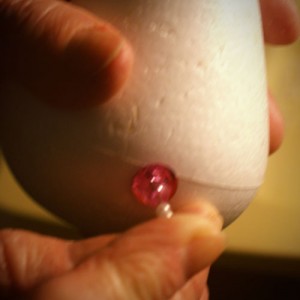
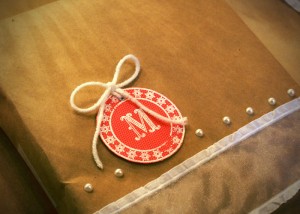
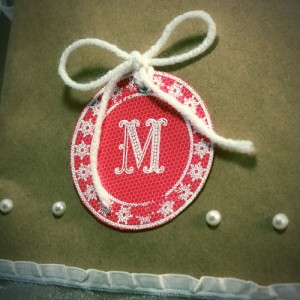
For this tag, I stamped the M and boarder with white pigment ink onto a red circle, then embossed with white embossing powder and a heat gun. It is tied with a piece of white yarn, and the package is finished with adhesive pears and wide, shear white ribbon.
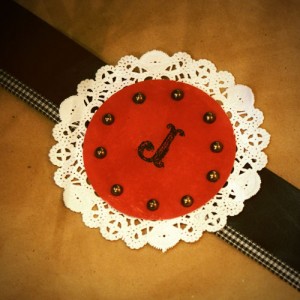
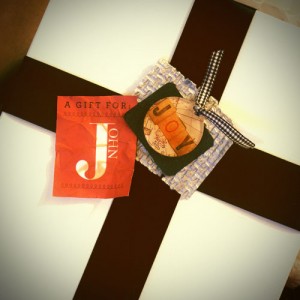
The red tag below is an alteration of Martha Stewart’s free printable monogram gift tags I shared at Printable Decor. I downloaded the file, then made some changes in Photoshop. The Joy embellishment is a Tim Holtz fragment i glued over the word on scrapbook paper. I finished it will a thin black and white checked ribbon.
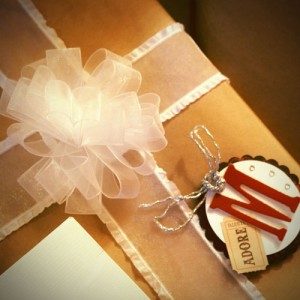
 This tags is a black scalloped circle under a white circle with a chipboard letter and Tim Holtz “adore” tag. It is finished with black and white baker’s twine.
It might be a little painful when the kids tear into their gifts. I will try to remain calm and let them open as they wish. The fun was in the making!
What are you doing for gift wrap. Are you finished?
Thrifty Thursday Week 54


You all ready for Santa? This is my second Christmas as a crafty blogger, and I am amazed by all of the handmade beauty in the spirit of the season. I don’t remember ever being this energized creatively. The more I do and see from you all, the more ideas I have, the more I do. It is an awesome cycle. You all help me in the process of growing into my creativity and… well, I love ya for it. Thank you for all of your hard work, encouragement and generosity. You rock.
Ok. Business now. This is the last Thrifty Thursday between now and Christmas. Whatcha got? If you need tags for those gifts, stop and grab some of the adorable free printable tags at Printable Decor. Shameless self promotion over now.
How it Works: No giveaways, shop or links to your main blog, please. That way we know when we come to Thrifty Thursday, we will only encounter DIY projects and not end up sifting through a bunch of other links. Entries not related, or to main blog pages/shops/giveaways will be deleted.
Other stuff:
*Please add a text link or my button to your post!
*I will choose 2 participants to feature the following Thursday, Please drop by and love on the features! Their links are in the post where their projects are featured.
*Please visit the at least the 2 blogs above you and shower them with comment love.
*Leave me a comment and let me know you were here. I love hearing from you.
*Have fun and be inspired!
*Stop by and say hello to my crafty friend Nikki and link up to her thrifty party too…

Featured Projects:
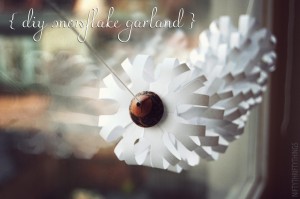
- Meet Vanessa, the woman behind Nifty Thrifty Things. Her blog is full of beautiful photographs, design, recipes, crafts and more, with a vintage flair that always keeps me interested. I love this paper snowflake garland she shared last week.
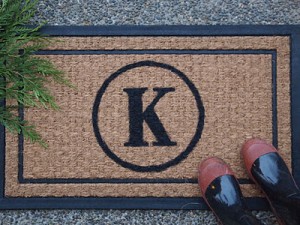
- Jen from At Home in the Northwest caught my eye with this monogram welcome mat for a whopping $7. I can’t get enough of monograms these days and this take on it is one I hadn’t considered. Great look, simple and cheap… that’s all I need.
Now for the best part…

