Archives for November 2011

DIY Foamboard Lightbox

Photography tips

Do you want beautiful product photos without the cost of a professional studio?  This DIY light box will do the trick, and you won’t have to dip into your holiday gift fund!  There are many versions of this contraption using cardboard boxes.  I made one here, but it is small and therefore restrictive.  Today, I will show you how I used white foam board to create a big ol’ photo tent.

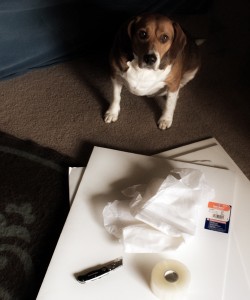
Supplies:

  • 5 pieces of foam board
  • White tissue paper
  • Clear packing tape
  • Utility knife
  • Overweight beagle (optional)

Photographing jewelry

Instructions:

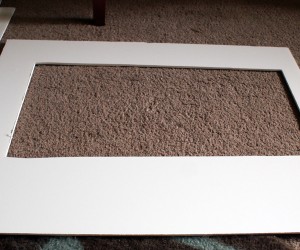
  • Cut large windows out of three foam board pieces (2 sides, and top)

Photography tips

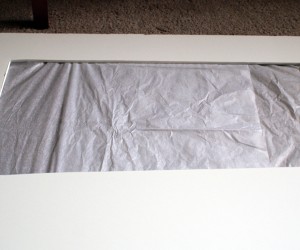
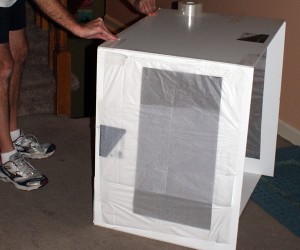
  • Tape tissue paper over the opening.  I taped it to the side of the box that would be facing towards the outside, so you are looking at what will be on the inside…

Photography tips

  • Tape your foam board pieces together to make a box, leaving the front open.  If your husband wants to put entirely too much tape on there after you are done, let him.  He loves you.

Photography tips

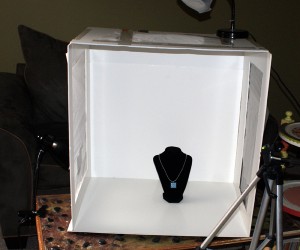
Here it is all set up.

Photography Tips

I use lamps I pick up at thrift stores, and 100W DAYTIME energy saving bulbs by GE.  Here I have a light source on top and on the left.  For more light, I would put one on the right.  You can just play with the lighting until you get the results you like.  Pretty hard not to get great photos with this bad boy.  Eliminate any unnatural lighting in the room besides your “studio” lamps.

What are your favorite photography tips and tricks?

Be Kind Event

I don’t know about you all, but this time of year, it is easy for me to miss the point entirely.  I can easily get consumed with the tasks at hand, my schedule, doing, doing, doing and forget what matters.  That is why I am so excited to spread the word about this upcoming challenge…

Nikki at Everything Under the Moon has decided to challenge the blog world to commit random kindness, write about it, and link it up. Go on over and get the details here.

10 DIY Gift Packaging Ideas

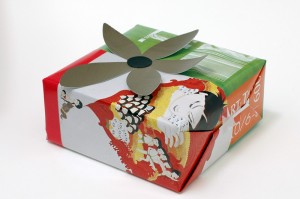
It is that time of year to bust out the gift wrapping supplies to adorn all the goodies. I am making a commitment this year to increase the green-ness of my gifting. If you want to do the same, while saving a few bucks, here are some creative DIY alternatives to store bought boxes and bags.

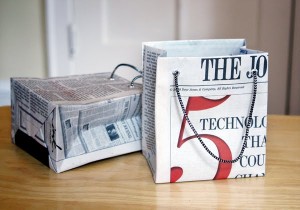
*Newspaper to Gift Bag (if you can spare them from the paper bead pile) over at How About Orange:

Newspaper crafts

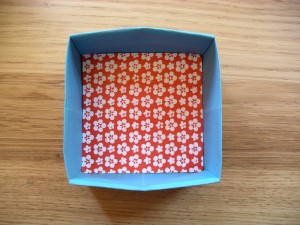
*Origami gift box with lid at Uhandbag:

Origami Box How to

*Gift bag made from envelopes, again at How About Orange:

How to Make Gift Bag

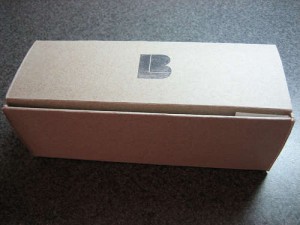
*Cereal Box to Gift Box at Instructables:

Gift Box DIY

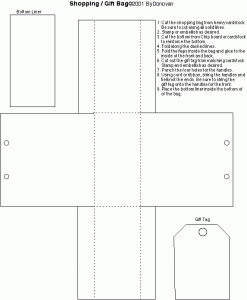
*Tons of free printable packaging templates at Yayoi.Senri:

Gift bag template

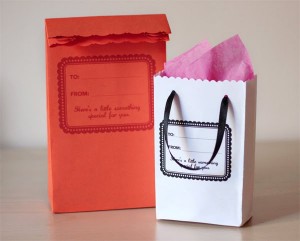
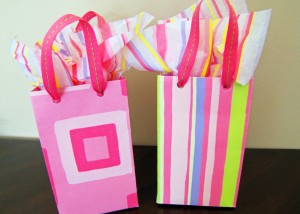
*Scrapbook paper gift bags at From an Igloo:

Diy Gift Bags

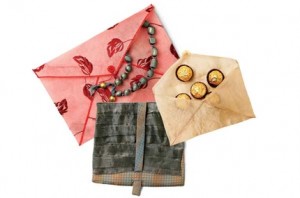
*These organza envelopes over at Craftstylish are beautiful:

Organza crafts

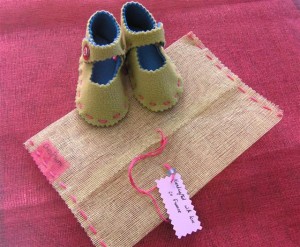
*Handmade Tulle gift pouch at Chez Plum:

DIY gift bag

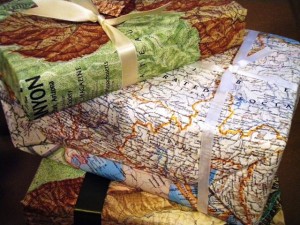
*Gifts wrapped in vintage maps at Living Green:

Gift wrap alternatives

*Art magazine gift wrap at Made by Joel

Magazine gift wrap

Thrifty Thursday Week 47

ThriftyThursday

Featured
What is going to fill the space occupied by so many wonderful pumpkin projects?!  I can’t wait to see what you are doing in your post Halloween craft rooms.  Thanks for stopping by Thrifty Thursday.  If you are new, welcome!!

How it Works: No giveaways, shops or links to your main blog, please. That way we know when we come to Thrifty Thursday, we will only encounter DIY projects and not end up sifting through a bunch of other links. Entries not related, or to main blog pages/shops/giveaways will be deleted.
Other stuff:

*Stop by my new Facebook page and Like it, if you like it – Click here.
*Please add a text link or my button to your post!
*I will choose 2 participants to feature the following Thursday, Please drop by and love on the features! Their links are in the post where their projects are featured.
*Please visit the at least the 2 blogs above you and shower them with comment love.
*Leave me a comment and let me know you were here. I love hearing from you.
*Have fun and be inspired!
*Stop by and say hello to my crafty friend Nikki and link up to her thrifty party too…
thrifty decorating 019 button 3 Thrifty Thursday Week 46

Weekly featured blogs:


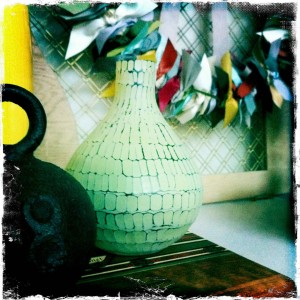
  • I am crushing on this West Elm vase knock off by Brandi at Blue Cedar Lane.  Beautiful!  I will be scouring Goodwill for my very own.

West Elm Vase

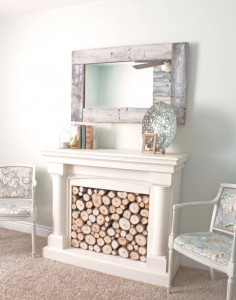
  • Look at this gorgeous shipping pallet mirror (with detailed tutorial) over at The Rooster and the Hen!  Must do this.

Wood Pallet Crafts

Inspire…now!

Newspaper Bead Necklace

Paper Bead Necklace

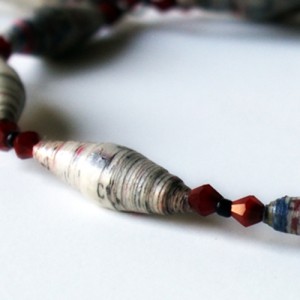
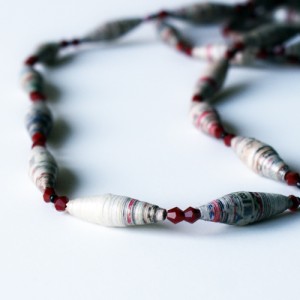
I am completely out of control with this paper bead rolling thing.  I have tried newspaper, magazine pages, giftwrap, junk mail, you name it.  This piece is newspaper beads, paired with 4mm garnet bicones and black glass seed beads.  I love how the red garnet pulls out the red in the paper beads.  You can pretty much pair these rolled paper beads with any color, and bring that color out of them.  This necklace is 48 inches, so you can loop it once or twice.

Check out this all inclusive video on how to roll the beads, with tips on how to achieve specific colors in your paper beads.


Paper Bead Jewelry

Paper Bead Jewelry

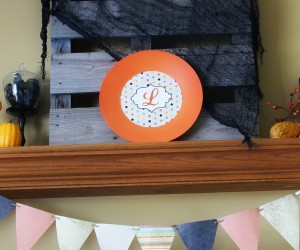
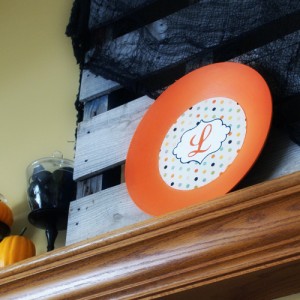
Monogram Plate Tutorial

Painted Plate

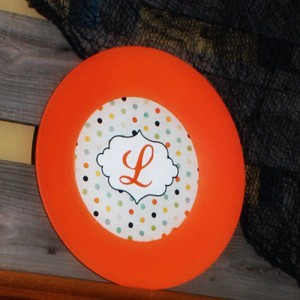
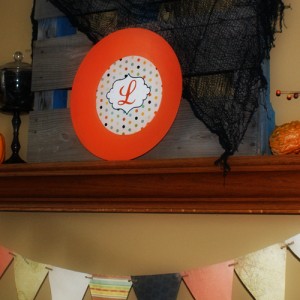
Ready to add a quick splash of color to a room, while celebrating the family name with a lovely monogram?  This project is super simple, and you most likely have all of the supplies on hand.  All you need is a plate or candle holder, a printer, and some craft paint, and you are on your way.

Supplies:

  • Image made in photoshop to fit plate center: Click here to download blank version
  • Super 77
  • Orange craft paint
  • Paint brush

Instructions:

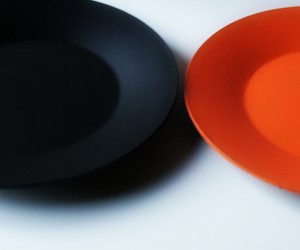
  • Paint plate desired color:  You may want to use a coat of primer.  I used folk art Enamel (color Orange Poppy) paint and just painted the orange directly onto the black plate.  It took 2 coats.

How to paint plate

  • Open the above free download in you favorite editing program and add your monogram letter.  Size to fit your plate, and print on glossy photo paper.
  • Cut out circle and spray Super 77 on back (liberally), then press onto plate.  That is it!

Monogram Decor

Monogram Plate

Monogram Plate

Privacy Policy