Archives for October 2011

Quick Guide to Bathroom Vanity Units

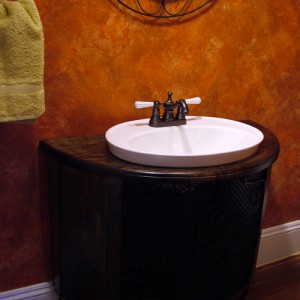
Bathroom Vanity Ideas

When thinking about bathroom renovation, most people focus on items such as tiles, sanitary-ware, flooring and even lights. Yet one of the most dramatic and effective changes you can make to a bathroom is by selecting a new bathroom vanity unit which updates or reflects the décor in the rest of the room.

Bathroom vanity units are the perfect mix of form and function. They enable you to put your own stamp on a bathroom inherited from a previous owner for relatively low cost, or to integrate a new style motif in the midst of a refit. They are practical, providing important storage, and also can be chosen in a range of designs that creates an attractive theme.

There is a massive selection of units to select from, depending on your needs and budgets. Do you want a stand-alone item or one which integrates with your bathroom counters and sink? Would shelving and drawers suit your purposes, or deep cupboards? What material would fit in with the rest of the design? All of these are important questions that will help you make the right decision.

First things first: it’s important to remember that space is of a premium in most bathrooms and, as such, you should choose a unit which properly fits the dimensions of your room. Common unit sizes range from 24-inch wide to 60-inch wide.

If space is tight, then units which incorporate hand basins, with cupboards and drawers beneath the counter, are ideal. However, for those with more space at their disposal, stand alone units create an elegant and stylish effect.

Next, there is the design of unit. In keeping with the current retro trend, there is a vast array of vintage-styled units reproduction units, which use a variety of materials to achieve the desired aesthetic result. Alternatively, more contemporary designs can be made from all manner of materials, including some which use Perspex, granite or even treated metals.

The choice of storage is also important, as it can contribute to the overall look. Traditionally, drawers and cupboards have been used to hide the (sometimes unsightly) necessary items for a bathroom (cleaning products, etcetera). However, open shelving allows you to display ornamental or stylish items – even linens – while also allowing you to place decorative baskets on them to store the essentials.

Whatever you choose to go with, bathroom vanity units are as important a selection as any other when designing a relaxing and inviting environment.

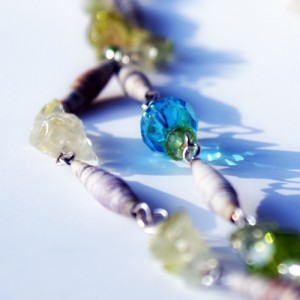
Rolled Paper Bead Necklace

Paper Beads

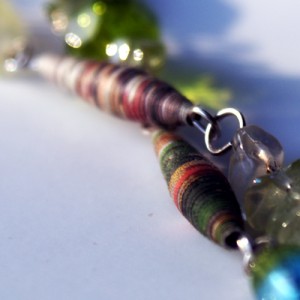
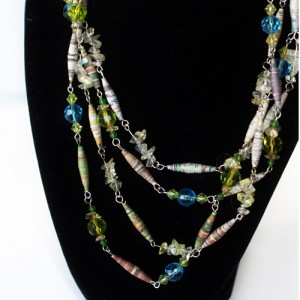
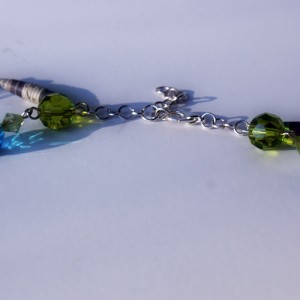
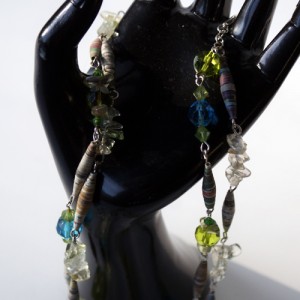
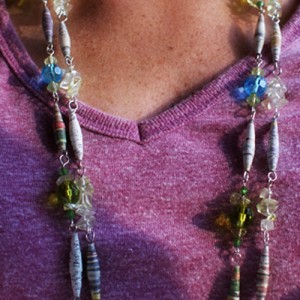
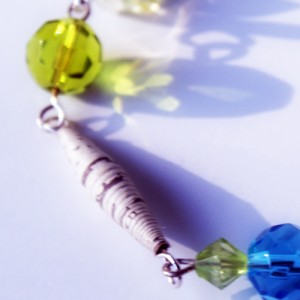
Are you planning your handmade gift lists?  Today’s project is a lovely penny saving piece of unique jewelry, made from paper beads, wire, and glass beads.  This piece is a two stranded necklace that can be casual or dressy.  The general concept can be applied to bracelets, earrings, eyeglass holders, bookmarks and more.

Supplies:

  • Paper beads (see this post for instructions)
  • Round nose pliers, wire cutters
  • glass beads (I used crystals and rock beads)
  • Closure Mechanism
  • Small chain length (to connect beaded strands to closure)

necklace from paper beads

Instructions:

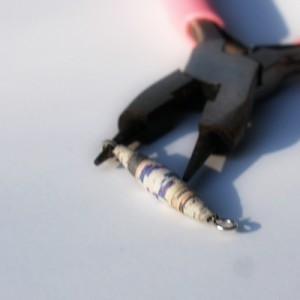
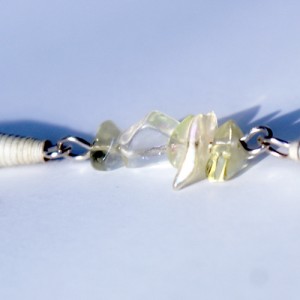
  • Make loop on one end of 2 inch wire segment, add beads in desired order, then loop other end using round nose pliers.

necklace from paper beads

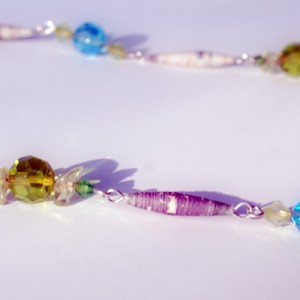
  • Make as many of them as you need to get the desired length of your chain, and connect them, loop end to loop end.

paper beaded necklace

  • For a double stranded piece, connect both strands to a small segment of chain (or jump rings), then connect that to your clasp.  See pictures to better understand!

necklace from paper beads

necklace from paper beads

make paper beads

necklace from paper beads

make paper beads

make paper beads

Fall Pennant Bunting DIY


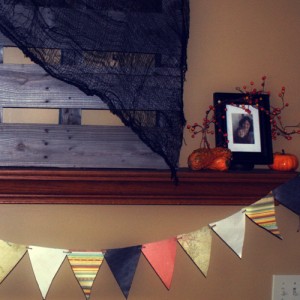
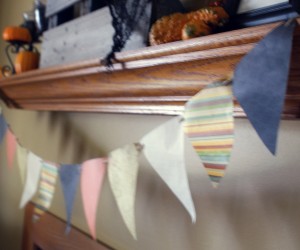
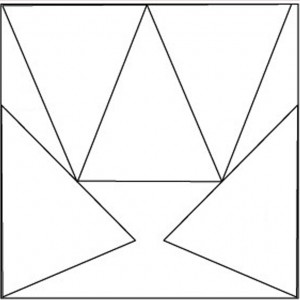
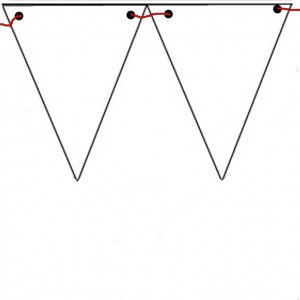
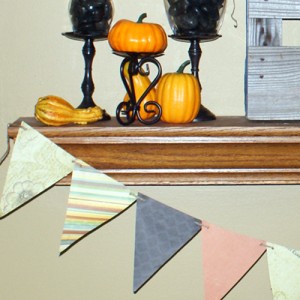
Paper BuntingPaper pennant bunting is super easy to make, and adds instant festivity to your decor, whatever the season or occasion.  This holds true for Halloween and harvest accessorizing too.  I used scrapbook paper in fall colors that will go with both Halloween and Thanksgiving so that I could leave it up until time for Christmas decorating.  Read on for this no sew, no glue paper bunting tutorial, complete with cut file template for Cricut!

Paper Bunting


Supplies:

  • Scrapbook paper
  • Die Cut machine, or scissors to cut freehand
  • circle hole punch
  • jute

Instructions:

  • Download template jpg for use with 12×12 inch paper and die cut machine, here.

Paper Bunting Template

  • Pull the image up in SCAL and cut triangles out of coordinating patterned papers.
  • Punch holes with hole punch near top 2 corners of each triangle and insert jute string from front back in left side hole, then bring it through right side hole back to front.  Continue this until all your triangle are strung…
  • How to Make BuntingHang and enjoy.  You can stencil word on there if you want, or otherwise embellish.

Paper Bunting

Halloween Mantel


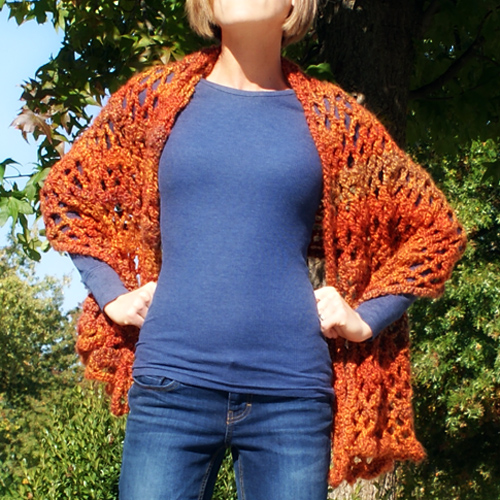
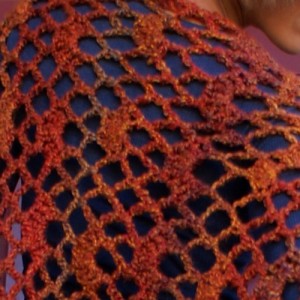
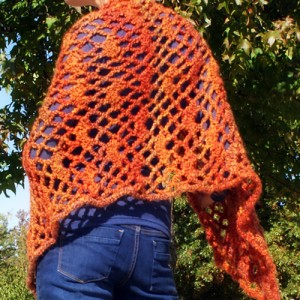
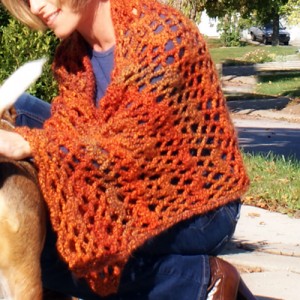
Quick Lacy Shawl Crochet Pattern

Free shawl pattern

It is time for crochet hooks and knitting needles everywhere to get stitching on those handmade holiday gifts.  As wonderful as it would be to have the time to make everyone on our lists a luxurious afghan, that just isn’t a possibility for me, and I am assuming you are in the same boat!  Prayer shawls make perfect gifts and work up in a jiffy.  Here is one that I recently created with  the intention of gifting it, however the verdict is still out on whether or not I will be able to part with it.  I should have know better than to make it in my favorite color.

Crochet Shawl

Supplies:

  • Size K Crochet Hook
  • Homespun yarn or bulky weight (5) yarn of your choice; 2 skeins (I used Homespun Wildfire
  • Yarn needle for hiding tails

Instructions:

  • Ch 74.
  • Row 1: Sc in 2nd ch from hook, ♥ch 5, skip 3 chs, sc in next ch; repeat from ♥ to last 4 chs, ch 2, skip next 3 chs, tr in last ch; 18 sps
  • Row 2: Ch 1, turn; sc in first tr, skip next ch-2 sp, ♥♣ (2 dc, ch1, 3 dc, ch 1, 2 dc) in next ch-5 sp ♣ ch 5, sc in next ch-5 sp; repeat from ♥ four more times, then repeat from ♣ to ♣ once, ch 2, tr in last sc.
  • Row 3: Ch-1, turn; sc in first tr, ch 5, skip next ch-2 sp, ♥(sc in next ch-1 space, ch 5) twice, sc in next ch-5 sp, ch 5; repeat from ♥ acrossto last 2 ch-1 sps, sc in next ch-1 sp, ch 5, sc in last ch-1 sp, ch 2, tr in last sc.
  • Row 4: Ch 1, turn; sc in first tr, ch 5, skip next ch-2 sp, sc in next ch-5 sp, (ch 5, sc in next ch-5 sp) across, ch 2, tr in last sc.
  • Row 5: Ch-1, turn; sc in first tr, ch 5, skip next ch-2 sp, ♥ sc in next ch-5 sp, ch 5, sc in next ch-5 sp (2 dc, ch1, 3 dc, ch 1, 2 dc) in next ch-5 sp, sc in next ch-5 sp, ch 5; repeat from ♥ across to last ch-5 sp, sc in last ch-5 sp, ch 2, tr in last sc.
  • Row 6:  Ch 1, turn; sc in first tr, ch 5, skip next ch-2 sp, sc in next ch-5 sp, ch-5, (sc in next ch-1 space, ch 5) twice, ♥ (sc in next ch-5 space, ch 5) twice, (sc in next ch-1 space, ch 5) twice, repeat from ♥ across to last 2 ch-5 sps, sc in next ch-5 sp, ch 5, sc in last ch-5 sp, ch 2, tr in last sc.
  • Row 7: Same as Row 4.
  • Row 8: Ch 1, turn; sc in first tr, skip next ch-2 sp, ♥♣ (2 dc, ch1, 3 dc, ch 1, 2 dc) in next ch-5 sp, sc in next ch-5 sp ♣ ch 5, sc in next ch-5 sp; repeat from ♥ four more times, then repeat from ♣ to ♣ once, ch 2, tr in last sc.
  • REPEAT rows 3-8 until shawl measures about 50 inches in length.  End on row 8, but don’t tie off.  Continue to edging.
  • Edging:  Ch-1, do not turn sc evenly  all the way around with 3sc in the corner stitches.  Join with sl st to first sc.  Weave in any ends.  Finished.

Crochet Shawl Pattern

Crochet gift ideas


Thrifty Thursday Week 44

ThriftyThursday

Featured
It is mid October already!  Unbelievable.  Thanks for stopping by to inspire and be inspired on my favorite day of the blogging week.  What an awesome bunch of creatives you all are.  If it is your first time here, WELCOME!

How it Works: No giveaways, shops or links to your main blog, please. That way we know when we come to Thrifty Thursday, we will only encounter DIY projects and not end up sifting through a bunch of other links. Entries not related, or to main blog pages/shops/giveaways will be deleted.
Other stuff:

*Stop by my new Facebook page and Like it, if you like it – Click here.
*Please add a text link or my button to your post!
*I will choose 2 participants to feature the following Thursday, Please drop by and love on the features! Their links are in the post where their projects are featured.
*Please visit the at least the 2 blogs above you and shower them with comment love.
*Leave me a comment and let me know you were here. I love hearing from you.
*Have fun and be inspired!
*Stop by and say hello to my crafty friend Nikki and link up to her thrifty party too…

Weekly featured projects:

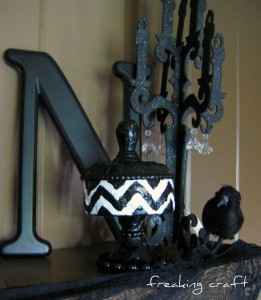
  • Since I am completely obsessed with chevron at the moment, this cute candy dish at Freaking Craft caught my eye.  I love the surrounding decor as well, especially the crow peering all sideways.  Stop on over for the full thrifty story!

Chevron Pattern

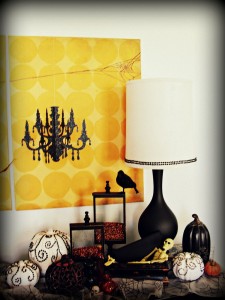
  • How fun is this Halloween decor by Laura at Corner House?!  Very, that is how.  The bejeweled pumpkins rock, and the whole scene has me drowning in festive creativity envy.

Halloween Decorating

Partaaay!

Recipe: Game Day Cheese Straws

Cheese Straws

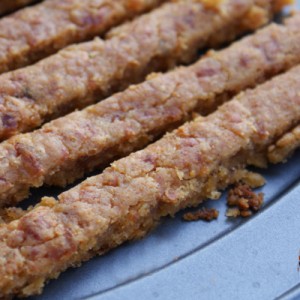
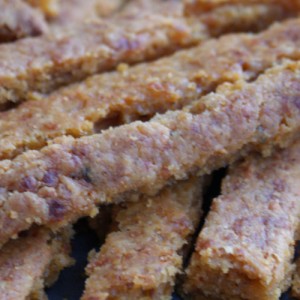
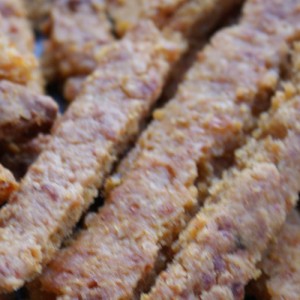
Need a quick, easy, crowd pleasing appetizer with no baking experience required?  These scrumptious cheese straws are sure to fit the bill. With just five common ingredients, you are looking at 5 minutes prep time, 15 minutes in the oven, taste… priceless.

Ingredients:

  • 1 cup flour
  • 1 1/2 cup shredded sharp cheddar cheese
  • 1 tbsp BBQ powdered seasoning, or seasoning of your choice (I have used cajun and ranch and loved them both)
  • 1 1/2 tbsp heavy whipping cream
  • 3/4 stick unsalted butter – sliced into pieces 1/4 inch or so thick

Directions:

Place ingredients into food processor and mix, or mix by hand into a dough.  Roll out into sheet 1/4 inch thick on flour coated parchment paper lined cookie sheet.  Don’t over knead or roll as the straws won’t be as flaky.  Cut into long straws about 1/2 inch wide.  Bake in preheated oven for 15-18 min at 350.

Salt and pepper to taste.  Serve with ranch dressing or you choice of condiments!

Game Day Appetizers

Easy Game Day Appetizer

DIY Apothecary Set

DIY decor apothecary jars

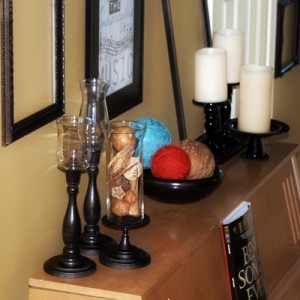
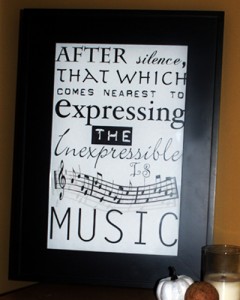
If someone in your household happens to acquire a surprise piano for his birthday, congratulations.  You have just inherited a lovely surface and area to express your creative DIY skills.  Yesterday I showed you the music quote subway art (click here for free printable).  Today I will demonstrate how to create these cheap and easy dollar store apothecary jars.

Diy Home Decor Apothecary Jars

Supplies:

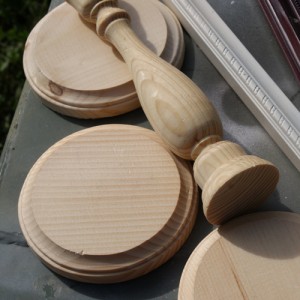
  • 5 inch round wooden plaques (got mine at Michaels)
  • candle sticks
  • glass jars from dollar tree
  • black spray paint (I used rustoleum oil rubbed bronze from Lowe’s)
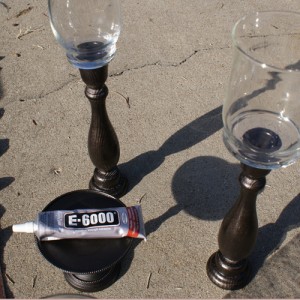
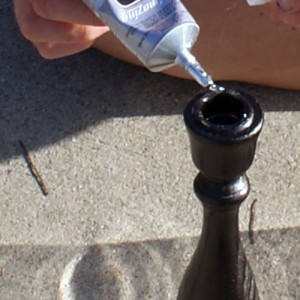
  • E6000 craft glue

Diy Home Decor Apothecary Jars

Instructions:

  • Spray paint your bases and candle sticks and let dry

Diy Home Decor Apothecary Jars

  • Glue candlesticks to bases and glass jars to candlesticks.  And you are done… Magic!

Diy Home Decor Apothecary Jars

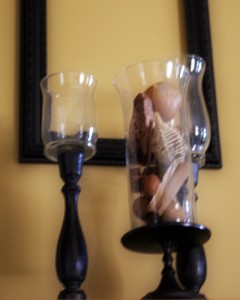
Put them in place and fill them with whatever.  I love how these look, and the fact that their fillers can be changed out to coordinate with the seasons, for a year round accent.  Snatch up those goodwill candlesticks and jars and make your very own!
Diy Home Decor Apothecary Jars


Music Subway Art Printable

Subway Art Printable

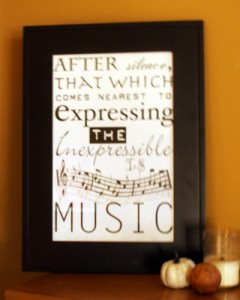
I am thrilled to bring you this free downloadable subway art printable for the music lovers out there.  I am decorating the space above my husbands new piano, and came up with this design in Photoshop that incorporates a quote by Aldous Huxley.  It is 11×17 inches, and I had it printed at Office Depot this morning for a whopping $0.21!!   I hope it inspires him, and you, to put your music out there.

Here is my tutorial on creating your very own subway art using Photoshop, but you don’t need it for to print this file.  Just linking it in case you would like to use your own quote or words.

Here are two versions of the music quote subway art for you to download:

Version One: You can download full size here.  It is a jpg file.

Free Printable Subway Art

Version 2 is picutred in the teaser.  It has music notes instead of the piano and the fonts vary a little.  Download here.  It is a pdf file.

Free Subway art printable


Plaid Painted Pumpkin

How to Decorate For Halloween

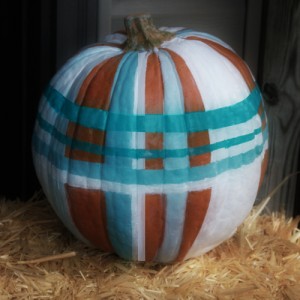
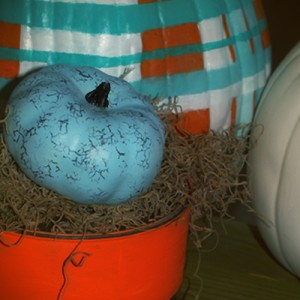
Are you as obsessed with decorating pumpkins as we are here at SBLC?  What a fun time of year for creative festivity.  There are some amazing painted pumpkins circulating out there.  I was inspired by some of the plaid painted designs to create my own.  Grab some painters tape and join me!

Supplies:

Painters tape, pumpkin, acrylic paint in colors of your choice

Instructions:

Tape off stripes and paint!  I just randomly placed my stripes as I went.  No plan.  You may want to have a plaid pattern in front of you for inspiration, or just wing it.  When you switch colors, make sure the paint is dry before applying tape over it.  I used my handy heat tool to speed along the drying process.  Simple as that!

No Carve Pumpkin ideas

What do you think.  How are you decorating your pumpkins this year?

Dimensional Polka Dot Pumpkins and Fall Porch

No Carve Pumpkin Decorating

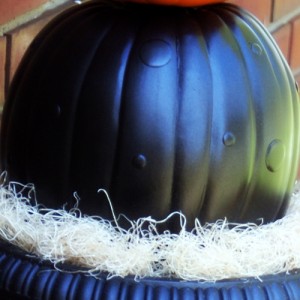
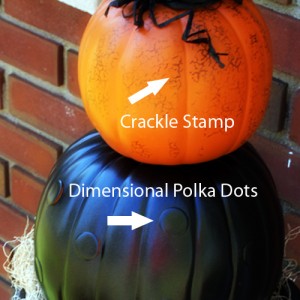
Not all unintentional crafting outcomes are craft fails.  Sometimes they are happy accidents.  Here, I had planned on using vinyl paper punched circles as stencils to create black pumpkins with orange polka dots.  However, my circle paper punch kept snagging on the vinyl, cutting choppy and irregular circles.  This led to my unplanned,  but loved,  dimensional dot pumpkins.   Tutorial below!

Supplies:

  • Pumpkins (I used craft pumpkins from Michaels)
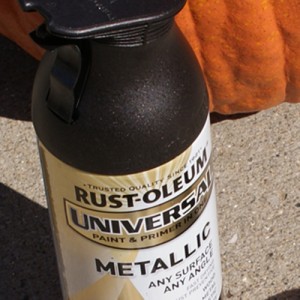
  • Oil Rubbed Bronze spray paint by Rustoleum, or color of your choice
  • How to Paint PumpkinsCircle dimensional stickers – I think I got mine at Michaels, but I am sure they have them anywhere there are stickers.  They don’t have to be cute, just puffy.  You are spray painting over them.

Instructions:

  • Apply dimensional stickers in desired patter onto clean, dry pumpkin.
  • Spray paint entire pumkin and enjoy!

No Carve Pumpkin Decorating

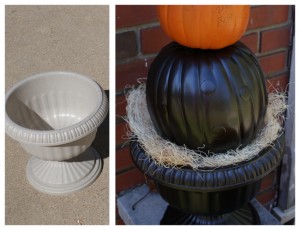
The orange crackle pumpkin I made using the technique I showed you here.  The urns are plastic and came from Lowes for $6 each.  I spray painted them with the same black I used on the dimensional dot pumpkins.

Halloween Decorating

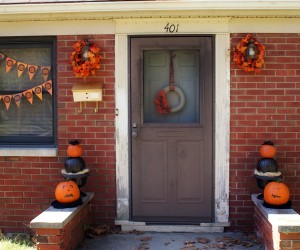
Some window bunting from Halloween patterned cardstock, and harvest bomb is now complete.  The girls love their front porch, and aside from a brief unpleasant encounter with the parking police, I had a blast.  Before and after…

Fall Porch

Halloween Decorating

Privacy Policy