Archives for September 2011

Six on Sunday: Fall Decor DIY Round-Up

I am so behind this fall!  There are tons of beautiful projects piling up in my bookmarks.  Maybe sharing with you six of my favorites will inspire me to get going.  A little bit of my procrastination has to do with the fact that I don’t want pool days to be over just yet, and marathon training is wearing me out.  That will all be over soon, and my fall decor will be in full swing.  Here are some great ideas I want to share.

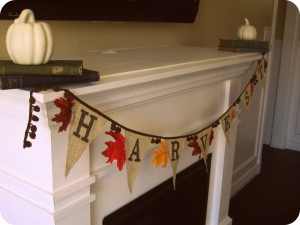
  • Adri at Dream Book Design shared this lovely burlap harvest banner.  This is from last year, and guess what… It is a fave.  Go over and check out the detailed tutorial!

Fall DIY Home Decor

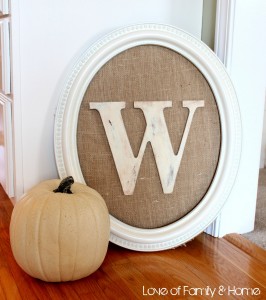
  • Over at Love of Family and Home, I spied this burlap framed monogram.  There are certain things that always catch my eye.  Monograms and burlap are 2 of them.  The pumpkin is a great touch.

Fall DIY home decor

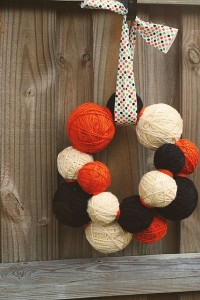
  • Kristin at Write it Down made a precious yarn ball wreath in fall colors.  I have so much yarn, and am obsessed with unique wreaths.

Fall DIY home Decor

  • Look at these adorable glittered pumpkin place holders by Beckie at Infarrantly Creative.  I had the privilege of watching her showcase this project on Indianapolis’s Indy Style show.  Visit IC for the full tutorial.

fall diy home decor

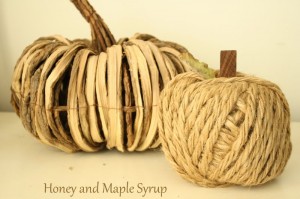
  • I pinned these as soon as I saw them at Honey and Maple Syrup.   Precious rustic twine pumpkins, and easy to whip up!  Awesome job, Ali!

DIY fall home decor

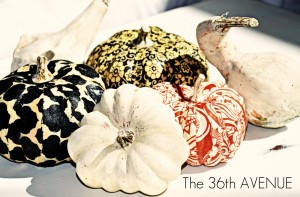
  • Desiree at 36th Avenue shared these gorgeous pumpkins at Tatertots and Jello, here.  Check out the detailed tutorial.  I am amazed at these.  Can’t wait to give this a shot!

Fall DIY home decor

Curbside Chair Makeover

How to reupholster a chair

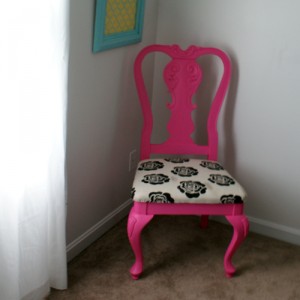
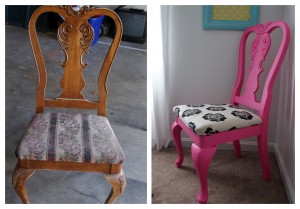
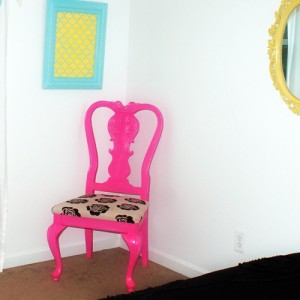
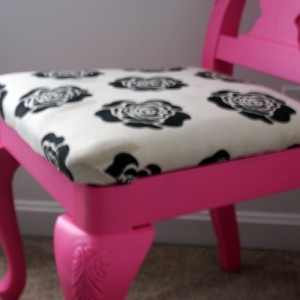
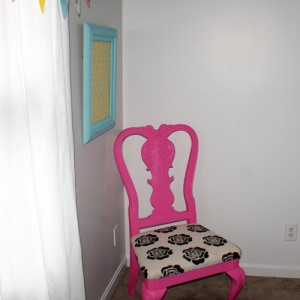
Who doesn’t love a good curbside rescue?!  A friend and I were driving to have dinner when I saw this dumpy chair in my periphery, pulled over and heaved it into the back seat.  I knew it was a good find by how heavy and solid it felt.  With a little love and a lot of hot pink, it has been transformed into the perfect accent for my stepdaughter’s recently made over bedroom.  Check out my first rendezvous with chair reupholstering!

Supplies:

  • Old chair
  • Primer
  • Acrylic paint in color of your choice for chair frame and cushion stenciling
  • sand paper medium grit
  • canvas drop cloth
  • stencil
  • stencil brush
  • paintbrush

How to reupholster a chair

Chair Makeover

Instructions:

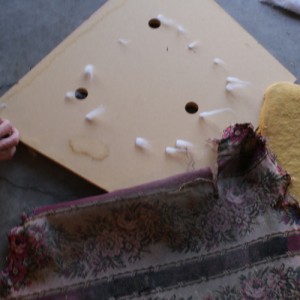
  • Turn chair over and remove screws holding the seat down.  Remove seat from frame and take off fabric and padding.  Depending on the condition of the padding, you can either replace it or reuse it under the new fabric.  Here it is after I took off the fabric.

Chair reupholstering

  • Lightly sand the chair and wipe away the debris with a damp, lint free cloth
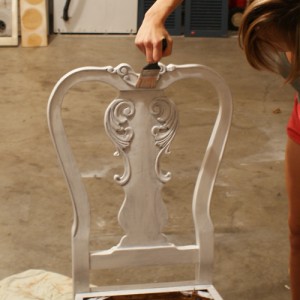
  • Primer and let dry per instructions.  I left mine to dry overnight.  You could just spray paint and skip the primer step, but I wanted to take my time with this one.  It was worth waiting.

Paint wood with primer

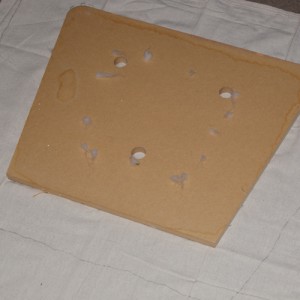
  • While that was drying, I cut the fabric from a canvas drop cloth I picked up at Lowe’s for $5.  I just put the seat form on top of the fabric and traced around it, allowing about 5 inches all around to account for the padding.

Chair reupholstering

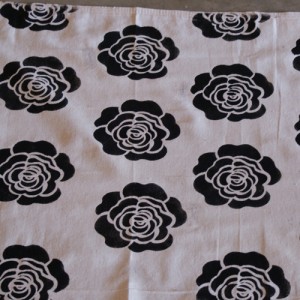
  • Using a plaid stencil I picked up at Michaels, I stenciled the cut piece of fabric.  I used spray adhesive and a stippling brush.

Chair reupholstering

  • I painted the frame with Martha Stewart’s new craft paint in Raspberry Ice and sealed with Krylon spray matte finish.
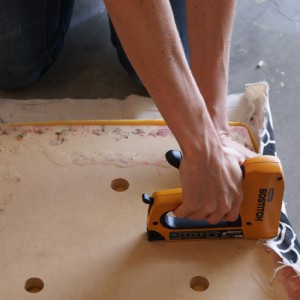
  • Cover the seat with the newly stenciled fabric by stapling one side over the padding and seat form, then pull it tight and staple the other side.  Finish by stapling all around , tucking in the corners like you are wrapping a present.  That is it!
How to reupholster chair

Chair reupholstering

How to reupholster chair

What do you think?  Not bad for a curbside find!  I can’t wait to submit it to the new site, Roadkill Rescue!
Thrifty Thursday Week 40


Thank you for stopping by Thrifty Thursday. This is such a fun, creative time of year. I love seeing all the cool harvest decor projects!

What I want:  No giveaways, shops or links to your main blog, please. That way we know when we come to Thrifty Thursday, we will only encounter DIY projects and not end up sifting through a bunch of other links. Entries not related, or to main blog pages/shops/giveaways will be deleted.
Other stuff:

*Totally unrelated to this linky, if you are a fan of SBLC please follow my new FB page. I started over since the original page I opened when I started blogging just doesn’t fit anymore.  I would love your support on my new fan page!!

*Please add a link or my button to your post!
*I will choose 2 participants to feature the following Thursday, Please drop by and follow the features! Their links are in the post where their projects are featured.
*Please visit the at least the 2 blogs above you and shower them with comment love.
*Leave me a comment and let me know you were here. I love hearing from you.
*Have fun and be inspired!
*Stop by and say hello to Nikki and link up to her thrifty party too…
Weekly featured projects:

  • I am so impressed by this stenciled wall over at The Project Queen.  It must have taken such patience, and I am just not sure I could pull it off.  I love how the satin finish base color contrasts with the metallic paint lines.  Great job!

Quatrefoil Stencil

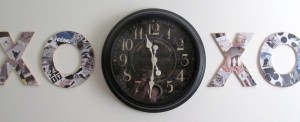
  • I am crushing on this cute his and hers XOXO art over at Love Notes By Lauryn.  She Mod Podged images from her guy’s favorite magazines onto one XO set, and from hers onto the other.  My hubby doesn’t read magazines… but he plays piano.  I am thinking sheet music.  Great project to customize!

his and hers decor

Inspiration…


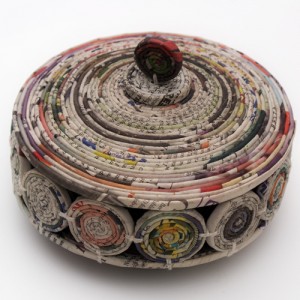
Coiled Newspaper Dish

Recycled Paper Gift

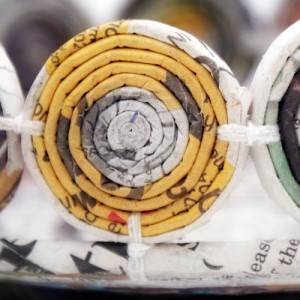
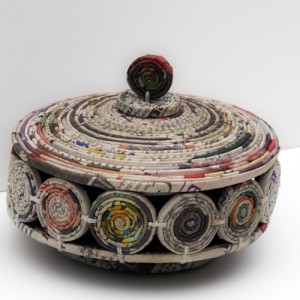
The recycled magazine page dish was such a hit, I thought I would take a crack at similar project I spied at a local fair trade store.  This time I used folded newspaper strips to make coils, and attached them with crochet thread as shown in the pictures.  Again, a practically free, unique handmade gift idea.  Just remember that these projects are time consuming, so if you want a stock pile by Christmas, get started yesterday.

For instructions on how to make the strips and coil them, see this post.  Attach 13 one inch coils side by side with crochet thread or other durable string like the pic below.  I used a large, blunt yarn needle to push the thread between the “rings” of the coils.

Recycled Paper Bowl

The lid is composed of 1 large coil with a slight upward curve from outside edge inward, and 2 smaller coils as shown.  I attached the vertical small coil to the horizontal small coil then hot glued that to the large coil…

How to Make Recycled Paper Gift

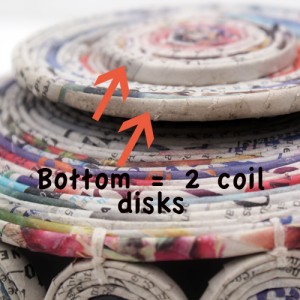
The bottom of the dish is made from one large coil that curves downward from its outer edge to the center, a medium and small coil.   Make the largest coil’s diameter the same as the lid and as the circle formed by the 13 side coils.  I just kept coiling til everything fit together.  Not to scientific.  The bottom coils are all attached to one another with hot glue.

How to Make Recycled Paper Dish

That is really it.  Don’t forget to mod podge or otherwise seal your coils.  I like to do this before attaching them to one another.  I let them dry overnight and then assemble.  I supposed you could attach them and then seal.  I am soooo obsessed with paper strips!  Off to see what else I can conjure up with them.

Spray Painted Chevron Stencil Rug


How to Make Chevron Rug


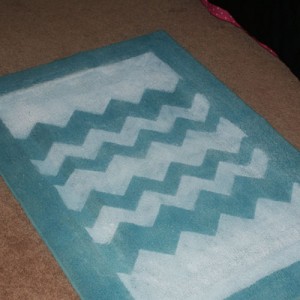
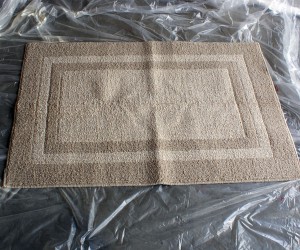
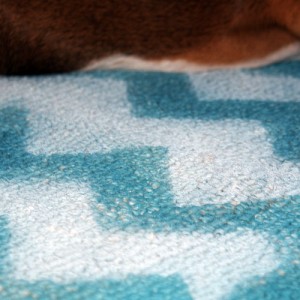
Have you been wanting to jump on the chevron home decor wagon?  This simple spray painted rug is just the way to do it.  I picked up a light colored throw rug from a garage sale, and with some spray paint and a vinyl stencil, transformed it into the blue and white beauty you see here!  Follow along as I show you the step by step.

Supplies:

  • Lightly colored rug
  • Vinyl Chevron Stencil (I created the pattern in photoshop and cut it with my cricut)
  • Spray paint in 2 contrasting colors
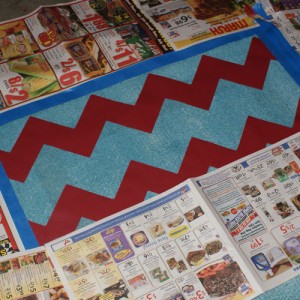
  • Painters tape and old newspaper

Instructions:

  • Protect your work surface and spray paint the base coat color.  I used Valspar in a shade of blue.

How to Make Chevron Rug

  • Once your base coat is dry (I had to do 2 coats to get the coverage I wanted), you are ready to stencil.  Here is the jpg image I made in photoshop and opened in Sure Cuts Alot to create a cut file for my cricut.  Feel free to use it!  I cut 2 zig zags and did my rug in segments, taping off the areas I didn’t want painted as I went along.

How to Make a Chevron

  • That is all!  I placed my stencils varying distances apart, in such away as to get this result…

How to Make Chevron Rug

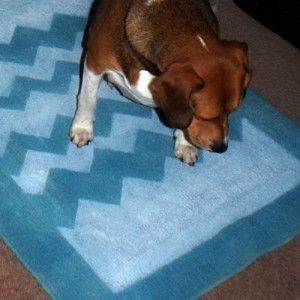
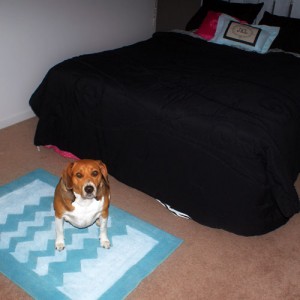
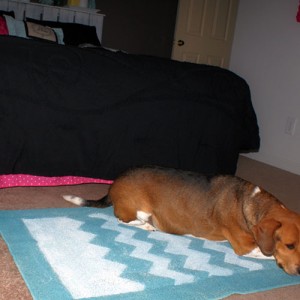
My beagle likes the new addition to the room, or maybe he just wanted some camera time!

How to Make Chevron

How to Make Chevron

How to Make ChevronOh joy!  I love how this room is coming together.  What do you think?

Coiled Magazine Page Round Coasters

DIY Coasters

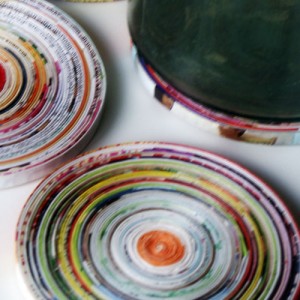
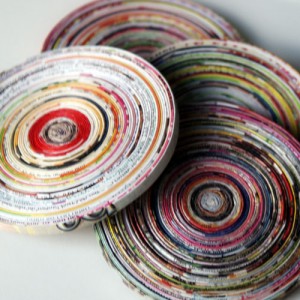
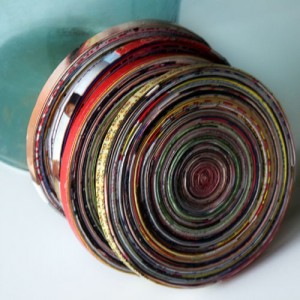
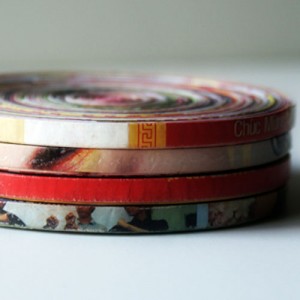
Yes, you guessed it, more coiled magazine page crafts.  This obsession is not leaving anytime soon.  Ready for another unique, practically free, handmade gift idea.  These are the easiest of the magazine/newspaper crafts I have shared so far.  You are going to want to grab a captivating mini series to get lost in while you fold.

Paper Crafts

I showed you how to make the round coils in this earlier post.  Just follow the instructions and make the coils coaster sized.  That is it.  Tie a piece of ribbon or twine around them and give them as Christmas gifts.  So cute!!!

DIY CoastersFun Coasters


How to Make Coasters

What are your favorite recycled paper projects?

Spinach Tomato Feta Chicken

Tomato Recipe

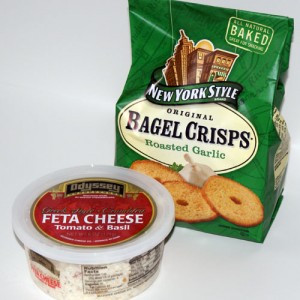
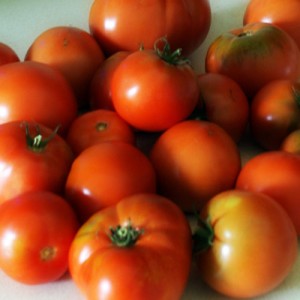
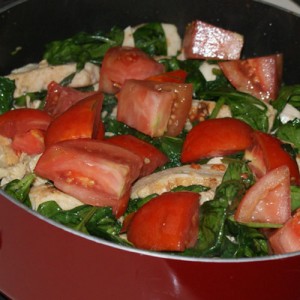
Looking for an easy, way healthy recipe to use up those garden tomatoes?  I started making this dish in college, and it is still a nutritious, tasty favorite.  Just perfect for this time of year, when the tomato harvest is abundant.

Ingredients:

  • 1 bag fresh baby spinach – exact amount not important; you can use frozen spinach, but it is better fresh
  • Crumbled feta – I prefer tomato basil flavor
  • Seasonings of your choice to taste – garlic, salt, pepper are essential
  • 1.5 pounds boneless chicken breast
  • Olive oil – 1-2 tbsp
  • Garlic bagel chips
  • 4-6 tomatoes cut in large chunks.

Spinach recipe
Instructions:

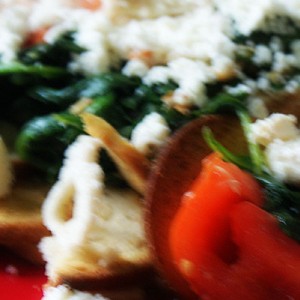
Cook chicken in  stove top pan with 1-2 tbsp olive oil.  Add garlic powder, salt and pepper to taste.  Once completely cooked, add spinach, stirring in and cooking down.  Add big chunks of tomato once spinach is cooked.  Let warm for 5 min and serve over garlic bagel chips with feta sprinkled on top.  YUMMY.  The tomatoes make it watery, which I love putting over the bagel chips.  You may want to drain some of the water off.

Tomato recipe

Spinach recipe

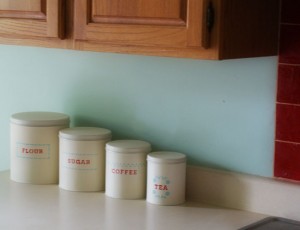
Stenciled Kitchen Canister Set

Martha Stewart Stencils

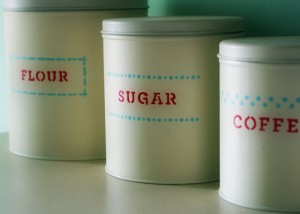
I am so happy to show you this quick and easy kitchen canister revamp, using the new Martha Stewart stencils available at Michaels.  I am sure you have seen the beautiful projects out there debuting this new line.  I showed you my stenciled cork board, here.  This time I used the adhesive stencils, and loved them!  Follow along as I take you from thrift store junk, to adorable kitchen set…

Supplies:

  • Old canisters
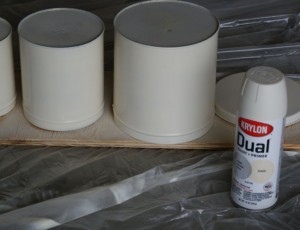
  • Krylon Dual Ivory
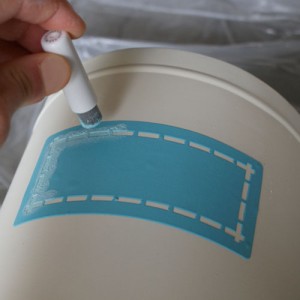
  • Martha Stewart Adhesive Stencils
  • Stencil brush or sponge
  • Acrylic paint in red and blue
  • Krylon Clear Coat to seal

Instructions:

  • Clean canisters with soapy water and dry with lint free cloth
  • Martha Stewart StencilsSpray paint with Krylon Dual.  I used Ivory.  It took several coats to cover the dark images on the tin canisters.  Krylon dual is primer and paint in one and I LOVE it.  It has wonderful coverage and doesn’t run.  Very easy to use.  They are not paying me for this post.  It’s just that good.

Krylon Dual

  • Let this be overnight.  Otherwise the stencil adhesive will pull off the paint and you will be really annoyed (trust me).  Choose your design and place stencils accordingly.  I used Martha’s sponge pouncer for paint application.  Worked great.

Martha Stewart Stencils

  • Remove stencil while paint is still wet.  Let that color completely dry before moving on to a new color.  Once dry, seal project with your favorite sealant and that is it!  I am in love with them.  Thinking about adding an antique knob to the top.  What do you think?

Martha Stewart Stencils

Martha Stewart Stencils


Thrifty Thursday Week 39


Thank you so much for stopping by Thrifty Thursday. I look forward to the creative projects shared each week! I am asking that you only link DIY home decor and craft projects. No giveaways, shops or links to your main blog, please. That way we know when we come to Thrifty Thursday, we will only encounter DIY projects and not end up sifting through a bunch of other links. Entries not related, or to main blog pages/shops/giveaways will be deleted.
Other stuff:

*Totally unrelated to this linky, if you are a fan of SBLC please follow my new FB page. I started over since the original page I opened when I started blogging just doesn’t fit anymore.  I would love your support on my new fan page!!

*Please add a link or my button to your post!
*I will choose 2 participants to feature the following Thursday, Please drop by and follow the features! Their links are in the post where their projects are featured.
*Please visit the at least the 2 blogs above you and shower them with comment love.
*Leave me a comment and let me know you were here. I love hearing from you.
*Have fun and be inspired!
*Stop by and say hello to Nikki and link up to her thrifty party too…
Weekly Featured Projects:

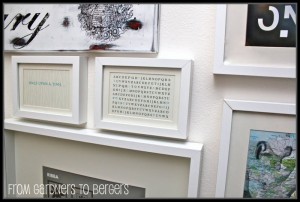
  • I love this alphabet art by Becca over at From Gardners to Bergers.  Go check it out and be inspired by the hidden message.  I am not telling you.  Nope.

Subway Art

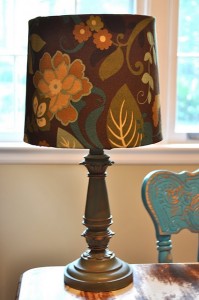
  • Gotta dig this 10 minute lampshade revamp at Johnny in a Dress.  So go ahead and grab that lamp with the ugly shade at Goodwill, and head over to see Natalie’s quick tutorial.

Cover a lampshadeBe inspired!


Coiled Magazine Page Dish With Lid

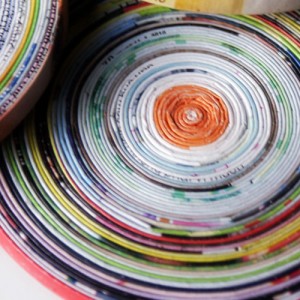
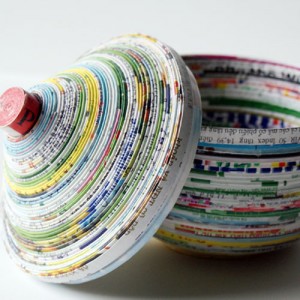
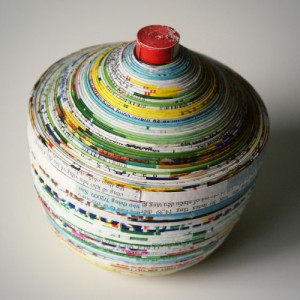
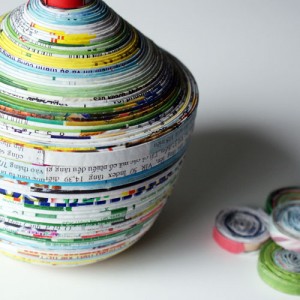
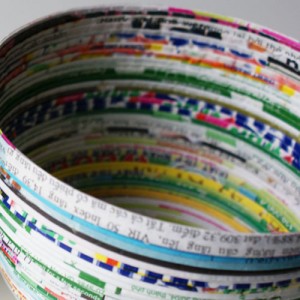
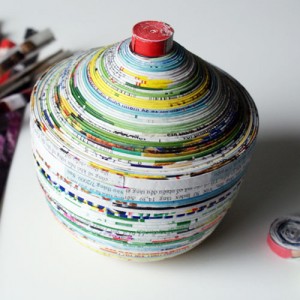
Recycled Craft IdeasAre you looking for that unique, beautiful handmade gift that will make a big splash without breaking your bank account?  Look no further.  Coiled magazine page craft projects are the way to go.  This little container with adorable lid costs nothing but your time, a stack of old magazines and some Mod Podge.  Grab your glue gun and start coiling.

Supplies:

  • Old magazines
  • Glue gun
  • Bone Folder
  • Mod Podge

Instructions:

  • I started with the top of the lid and made a coil like I showed you in this post.  I put a thin line of hot glue around the bottom of my coil (the red coil shown below) and began wrapping a new strip, lining its top up with the bottom of the original coil to give the sloped shape of the lid.  I continued wrapping strips in this fashion until I couldn’t take it any longer my lid was the diameter I wanted.

Green Crafts

  • For the bowl part, I again started with a flat coil at the bottom, and worked my way up and out, adding strip by strip with hot glue until the diameter matched the lid!  Super easy.  Not all that fast, but totally worth it, don’t you think?

Recycled Paper Art

  • Finish up with a couple of coats of mod podge.  I prefer matte for these coiled paper projects.  I tried gloss on a coiled paper pendant and didn’t like the look.

How to make a paper bowl

Recycled Paper CraftsTIP:  Go to your local Asian market and grab some magazines for super bright ads and pages.  Alternate white with color strips for a contrast striped effect.

I am so excited about this dish.  I think I will put spare change it there, or maybe earrings.  What are your favorite green craft projects?

Privacy Policy