
Create an oil paint effect on prints, using Mod Podge Brushstrokes.
These prints were mounted on plywood and painted with Mod Podge to create beautiful faux oil paintings! Read on for full tutorial…
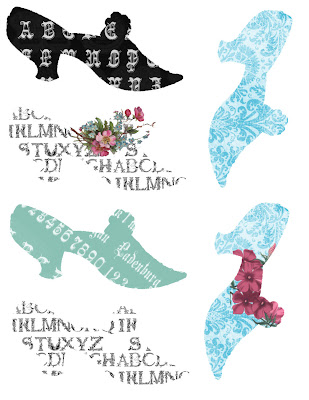
 I am so excited about the way this project went! As mentioned in the prior post, here, I created these prints in Photoshop with the idea in mind that I would try something similar to the project over at Infarrantly Creative (see this post).
I had the images printed at 12×12′ on glossy stock. At Michael’s, I picked up 1/2x12x12′ birch plywood squares. Since I wanted the pictures mounted on 1′ backing, I used Gorilla Glue to adhere 2 pieces of birch plywood together for each of the 3 prints. You could also use MDF in for the backing, cut to the size of your prints. I used the plywood because it was already cut to the size I wanted, and it was cheap.

 Once the gorilla glue was dry, I was ready to adhere the prints to the wood. Super 77 has minimal overspray, but make sure you cover your work surface, cause this stuff is sti-iii-cky, for real. Spray a thin coat on both the back of the print and on the wood surface and lay the print in place, smoothing flat with your hand. This holds big time and bonds immediately, so make sure you have the pic lined up before placing it. I turned the piece over on a flat surface and applied pressure to the back to ensure I hadn’t missed any air bubbles. This part was really much easier than I thought it would be. I had no problem with air bubbles.
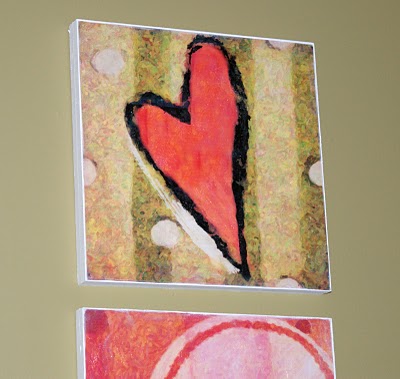
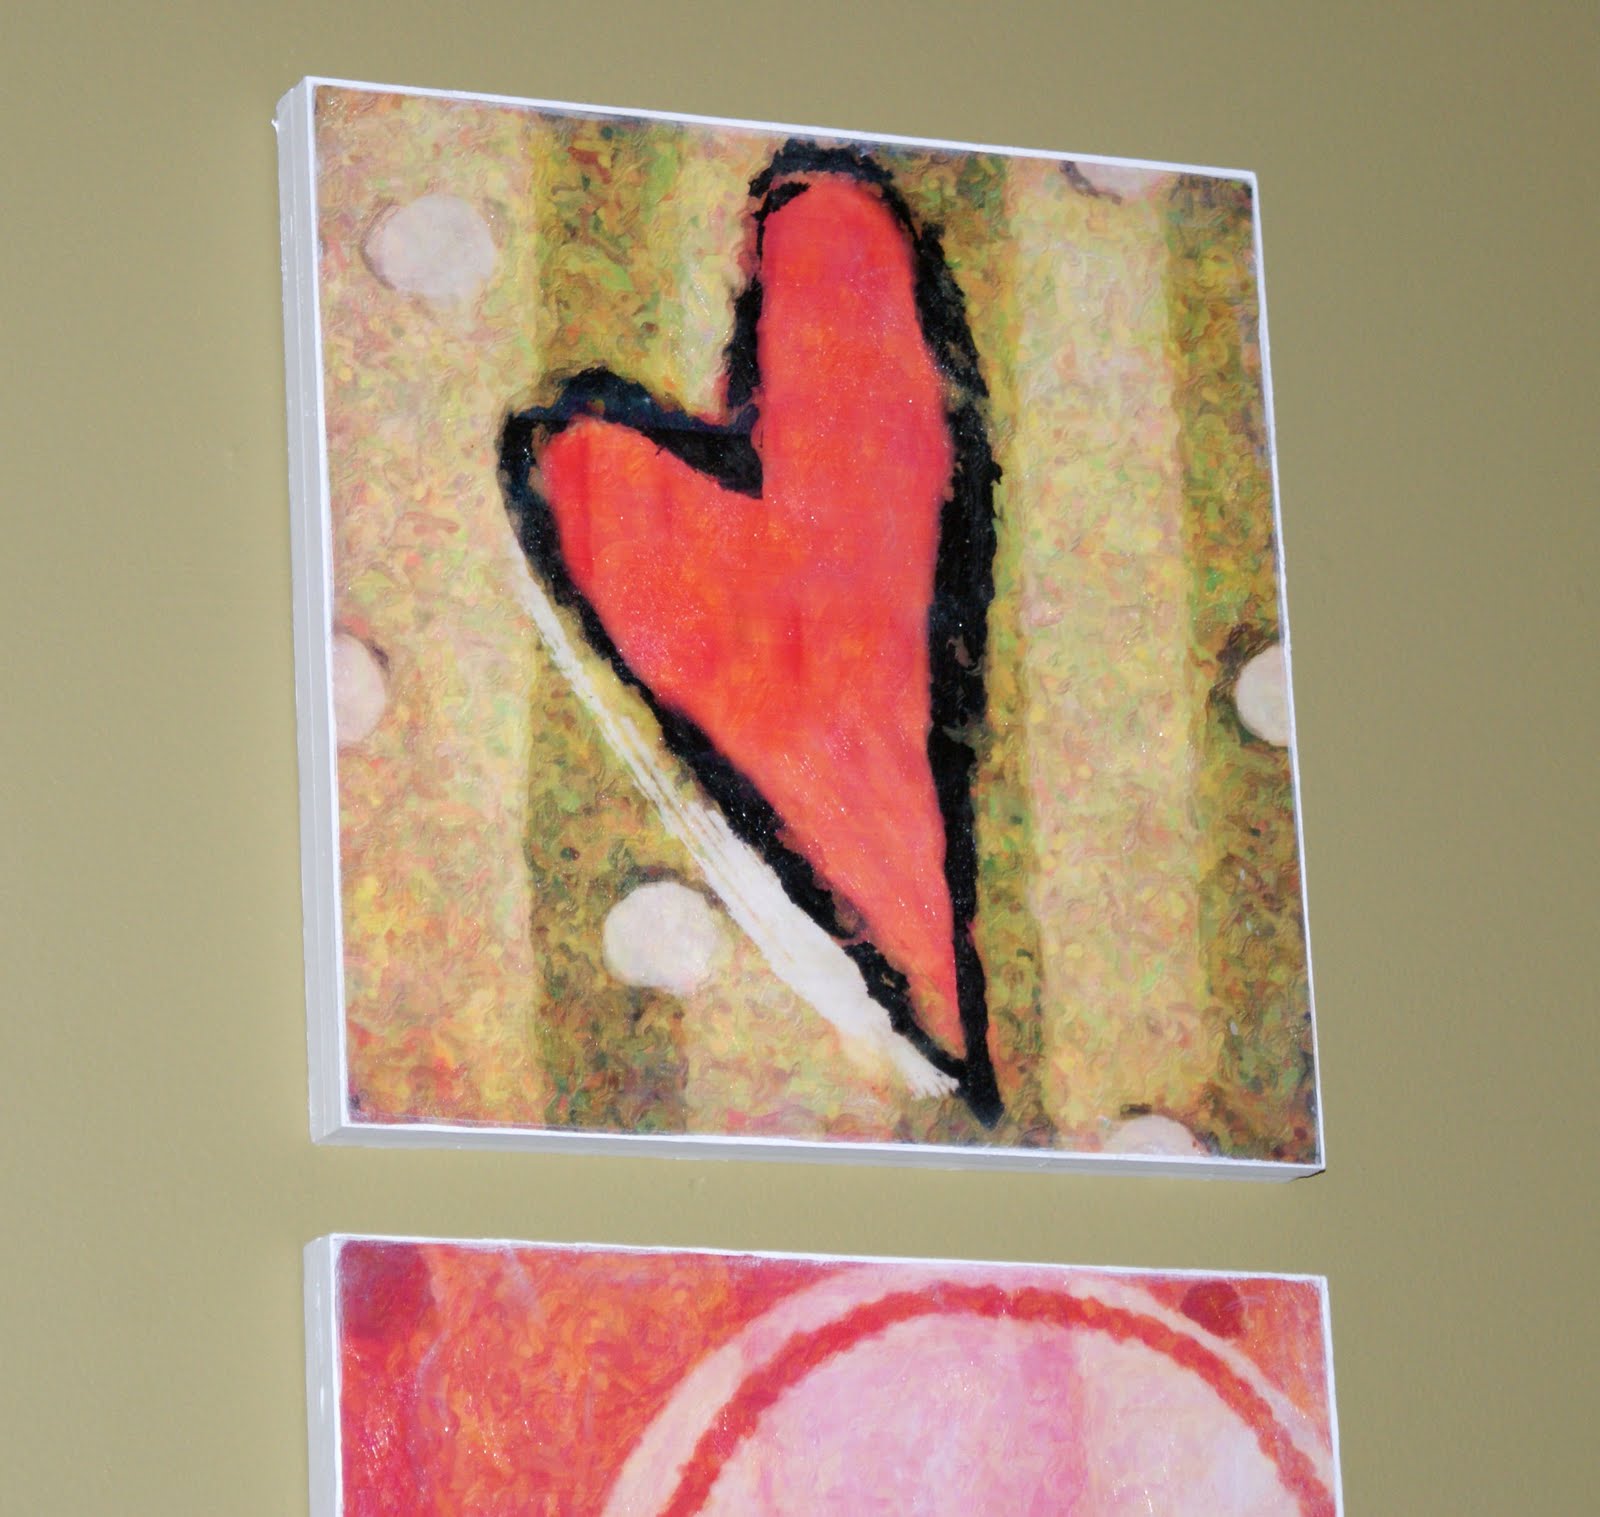
 Next, the fun step using Mod Podge Brushstrokes. I just recently ran across a post using this medium and I am in love. I used a 1 inch foam bruse and small texturizing brush. I read that if you are painting the Mod Podge onto photo paper, you should use an acrylic sealer before applying. This was just glossy stock, and I had no problem with ink bleeding. You may want to test a small area before painting your entire work. I just applied strokes randomly. There wasn’t a lot of strategy. The prints themselves I made with a painted effect in photoshop, so I kinda followed along the strokes in the images, but mostly it was just random. Look how cool they are. They look like for real oil paintings!
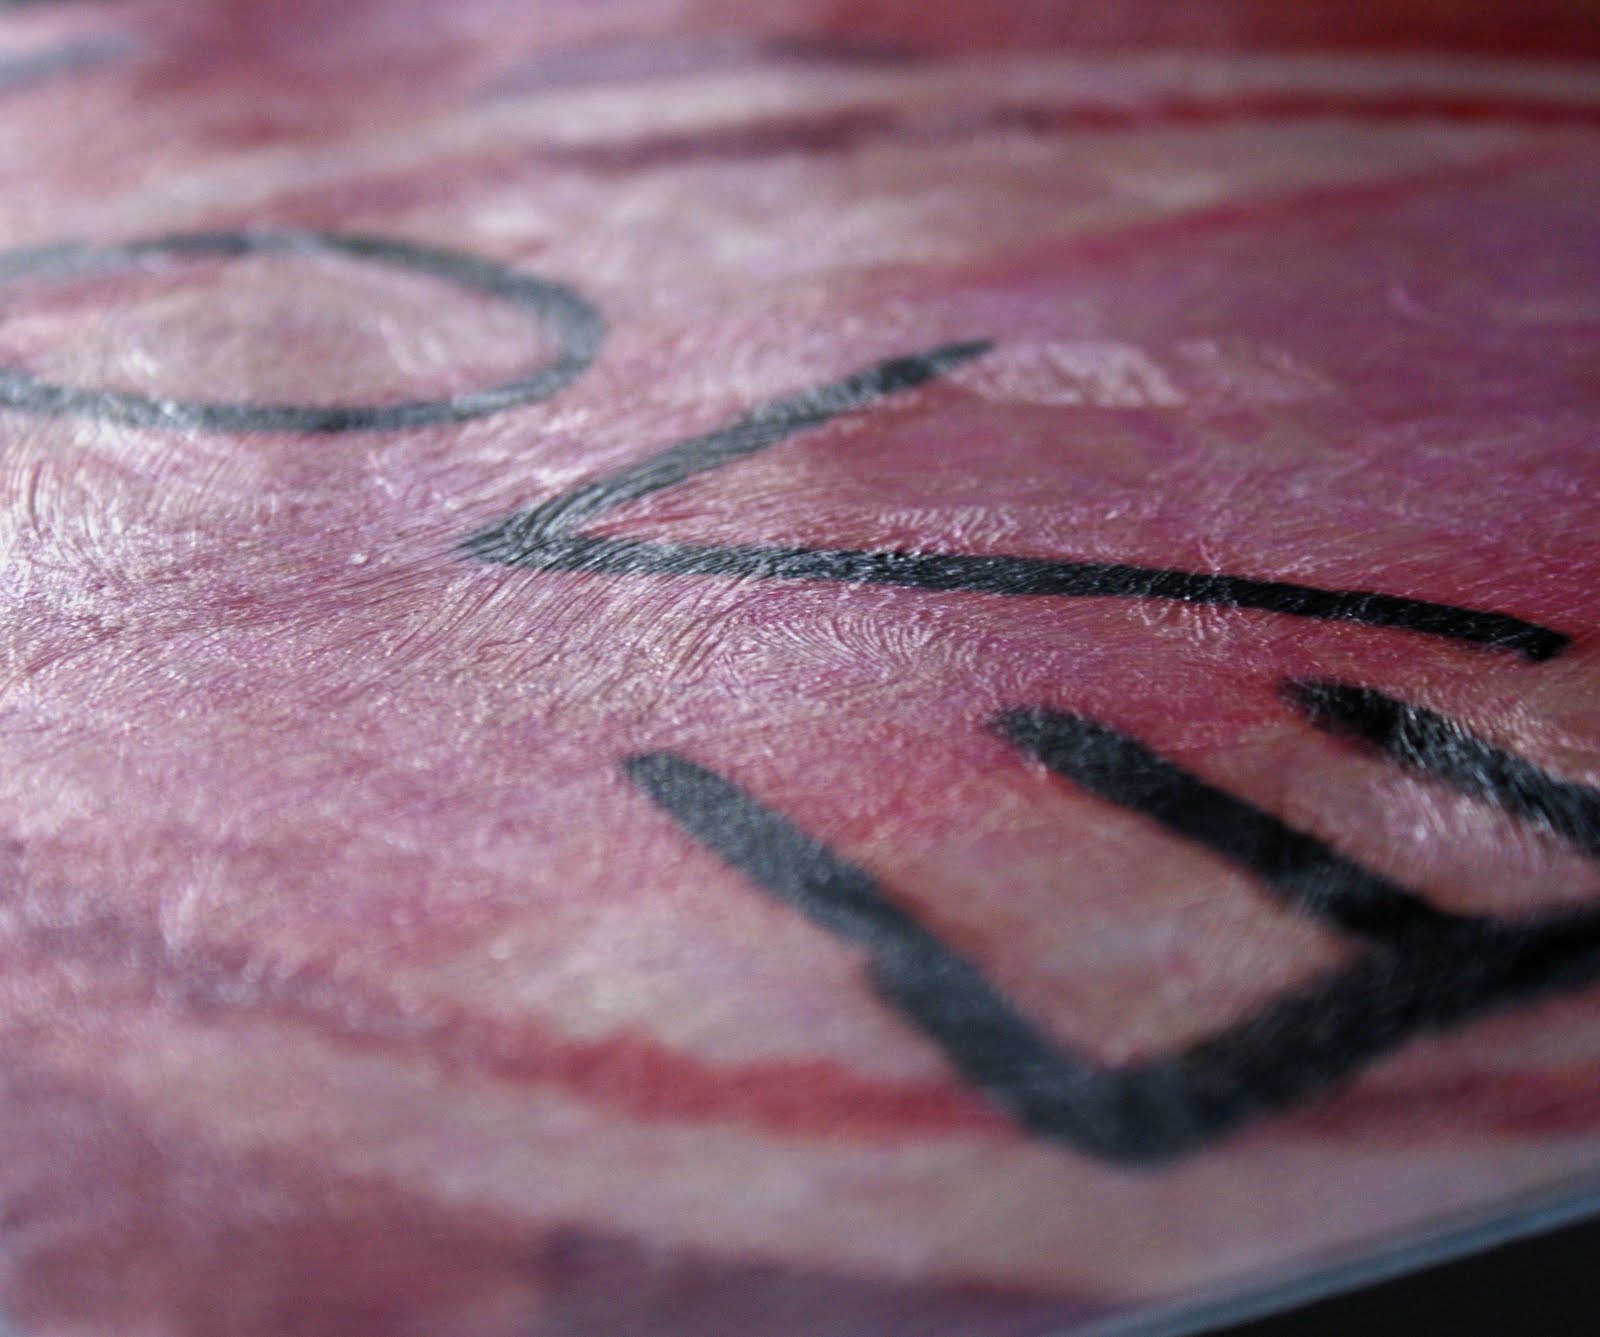
 After the Mod Podge dried for about 30 mintues, I applied gesso to the sides of the wood (you could also use primer), then painted with white acrylic over that.
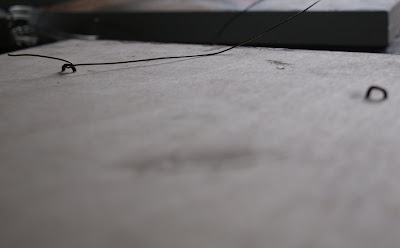
 I used thick tacks (U-shaped) and wire for the hanging mechanism.
Here they are on the wall…
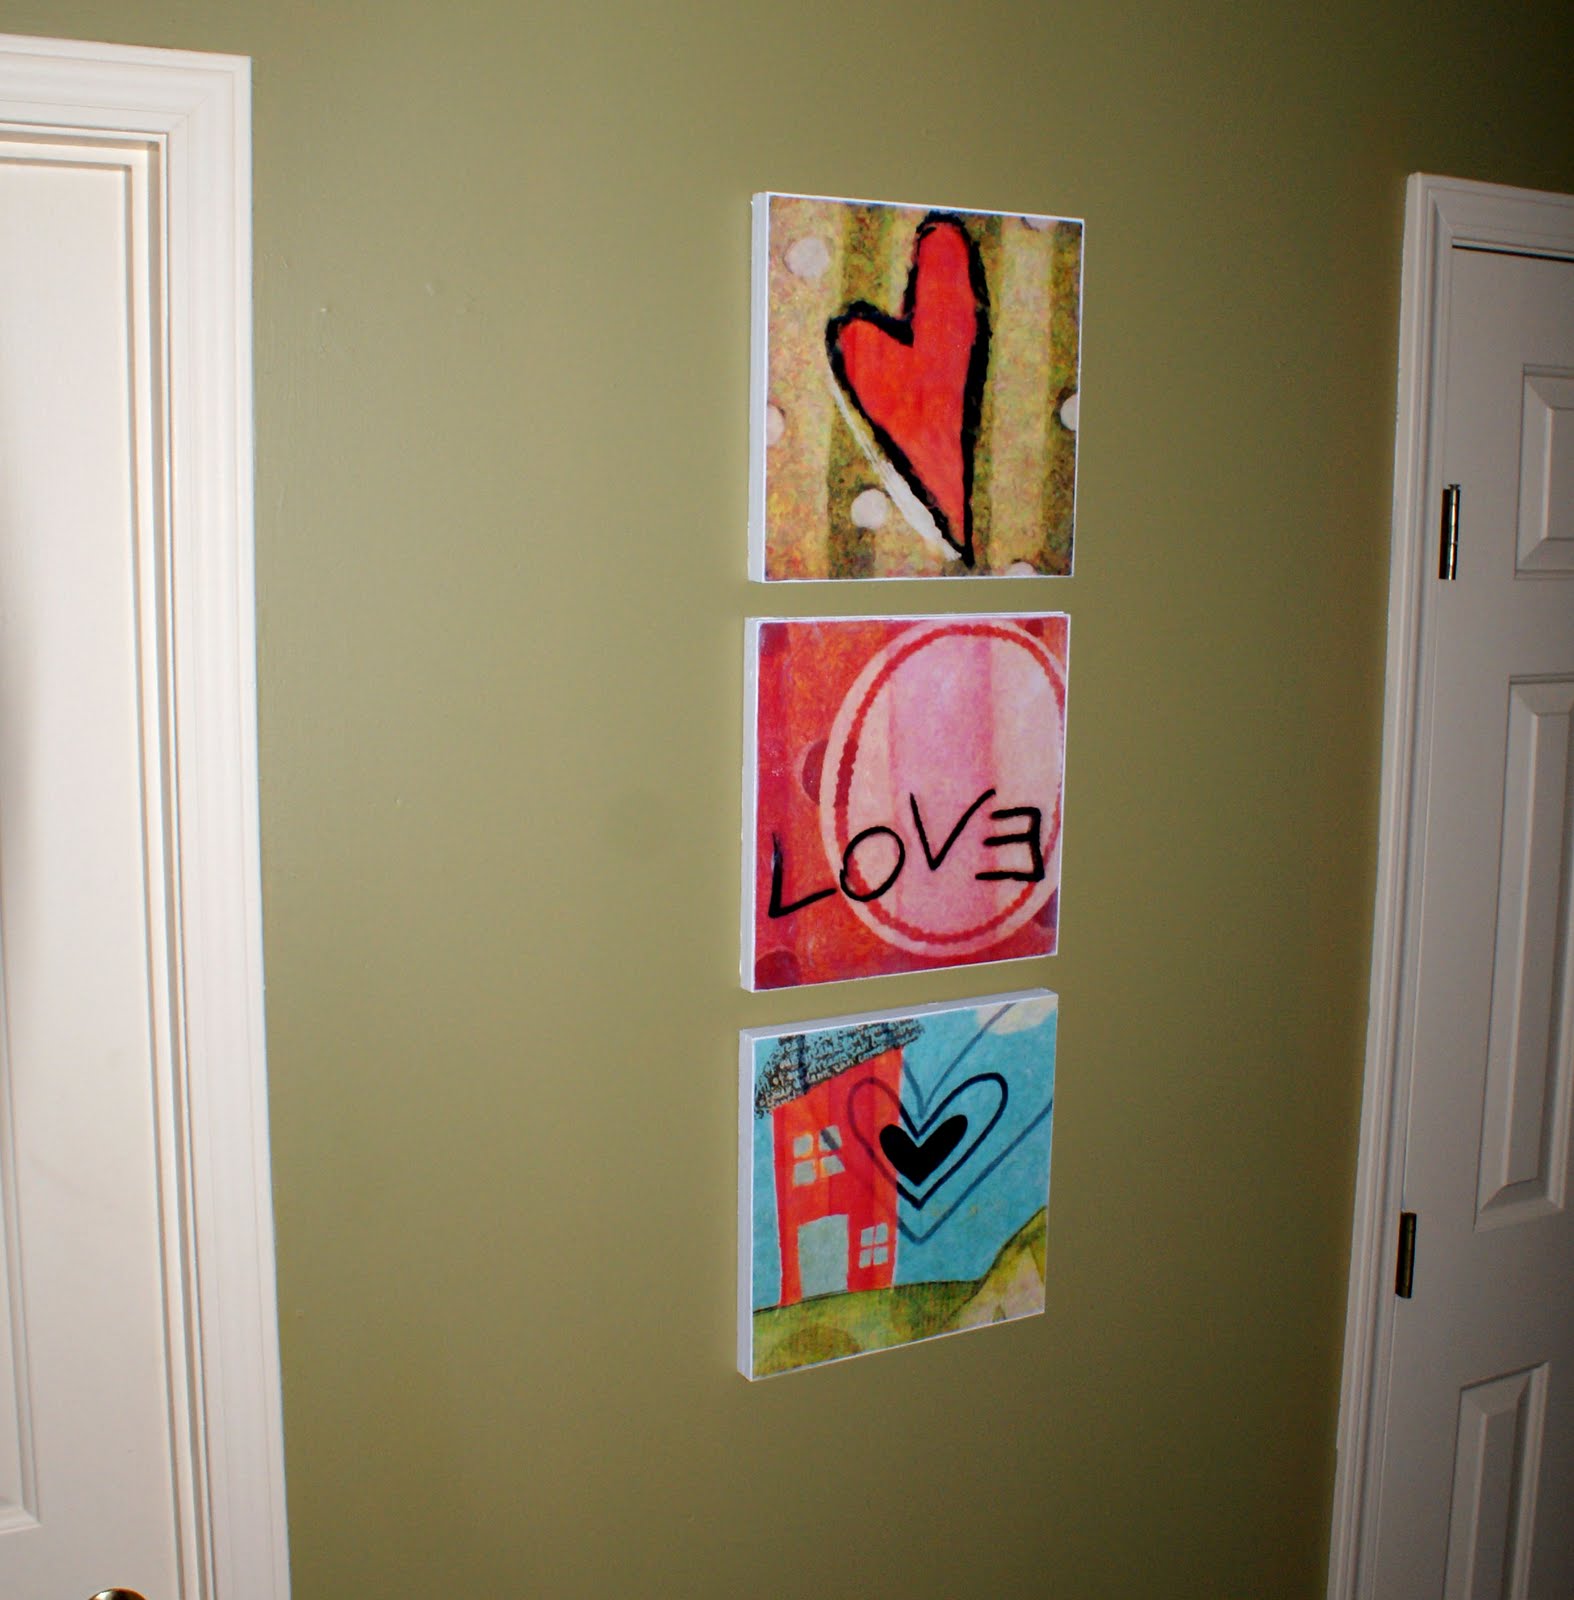

You can do this with your own images, posters or garage sale finds. The Mod Podge brushstroke effect looks particularly impressive with photos that have been digitally altered using paint effects. That is a photoshop lesson for another day.


