


Upcycling DIY home decor, woodworking and Crafts


You can see the customer’s original photo and the pop art portrait I created from that. How it works: send me the photo you would like as art, pick out a style from my “Custom Photos to Art” Gallery, here, and I will provide you with 3 proofs from which you can choose. If you want something different than what you see in my gallery, just talk to me. I am happy to customize to your specs. Once you are happy with a proof, I will have it printed and sent to you (price varies depending on size). You can also buy the high res electronic file for $10 and have it printed as you wish, instead of or in addition to purchasing a print from me. This customer chose 11×14 for $20 total (for the artwork and final print).
My prices are pretty awesome compared to other sites that offer similar services (usually starting at $100). The reason I am able to provide this service at such a low cost is because… Photoshop is amazing, really. I put in the hours of photo editing for each of the styles you see available 2 years ago and saved the steps in Photoshop as “Actions”, which I can apply to your photos with a click. I end up doing some tweaking, as each photo is obviously different, but what would normally take several hours per pic is achieved in a fraction of the time. You can see an example of my work on child portraits at Infarrantly Creative, here.
I would very much like to get the word out about this great deal. If you are a blogger and would like to trade, I am open to doing work in exchange for a review/feature, or a giveaway on your site. Lets work together!


I haven’t busted out the pasta machine and clay since “100 Days of Polymer Clay”. Clay is so FUN. This is a gift I made for my stepson’s girlfriend. I stamped “HOPE” onto the faux stone clay, inked, baked…accessorized with steampunk findings, and there you go. A cute little keychain or backpack dangly. Easier than a paper airplane. I missed you clay.

Other stuff:
*Grab my “Thrifty Thursday” button above and throw it on your lovely site. Let’s grow this!
*I will choose 2 participants to feature the following Thursday, please drop by and say hello to the feature bloggers. And follow them if it pleases!
*Follow the blogs that toot your horn, and feel free to follow anyone who follows you. Leave a comment when you follow so that the blogger will know you are a new follower.
*Leave me a comment and let me know you were here. I love hearing from you and will visit you back.
*These are not rules, just suggestions!
*Have fun 🙂
This week I had a hard time choosing because of all of the wonderful entries from last week’s hop!! Thank you to everyone who participated, and keep at it, you will be chosen eventually!
1. Clara’s Crochet Room


Stop by and let yourself be inspired by Clara!
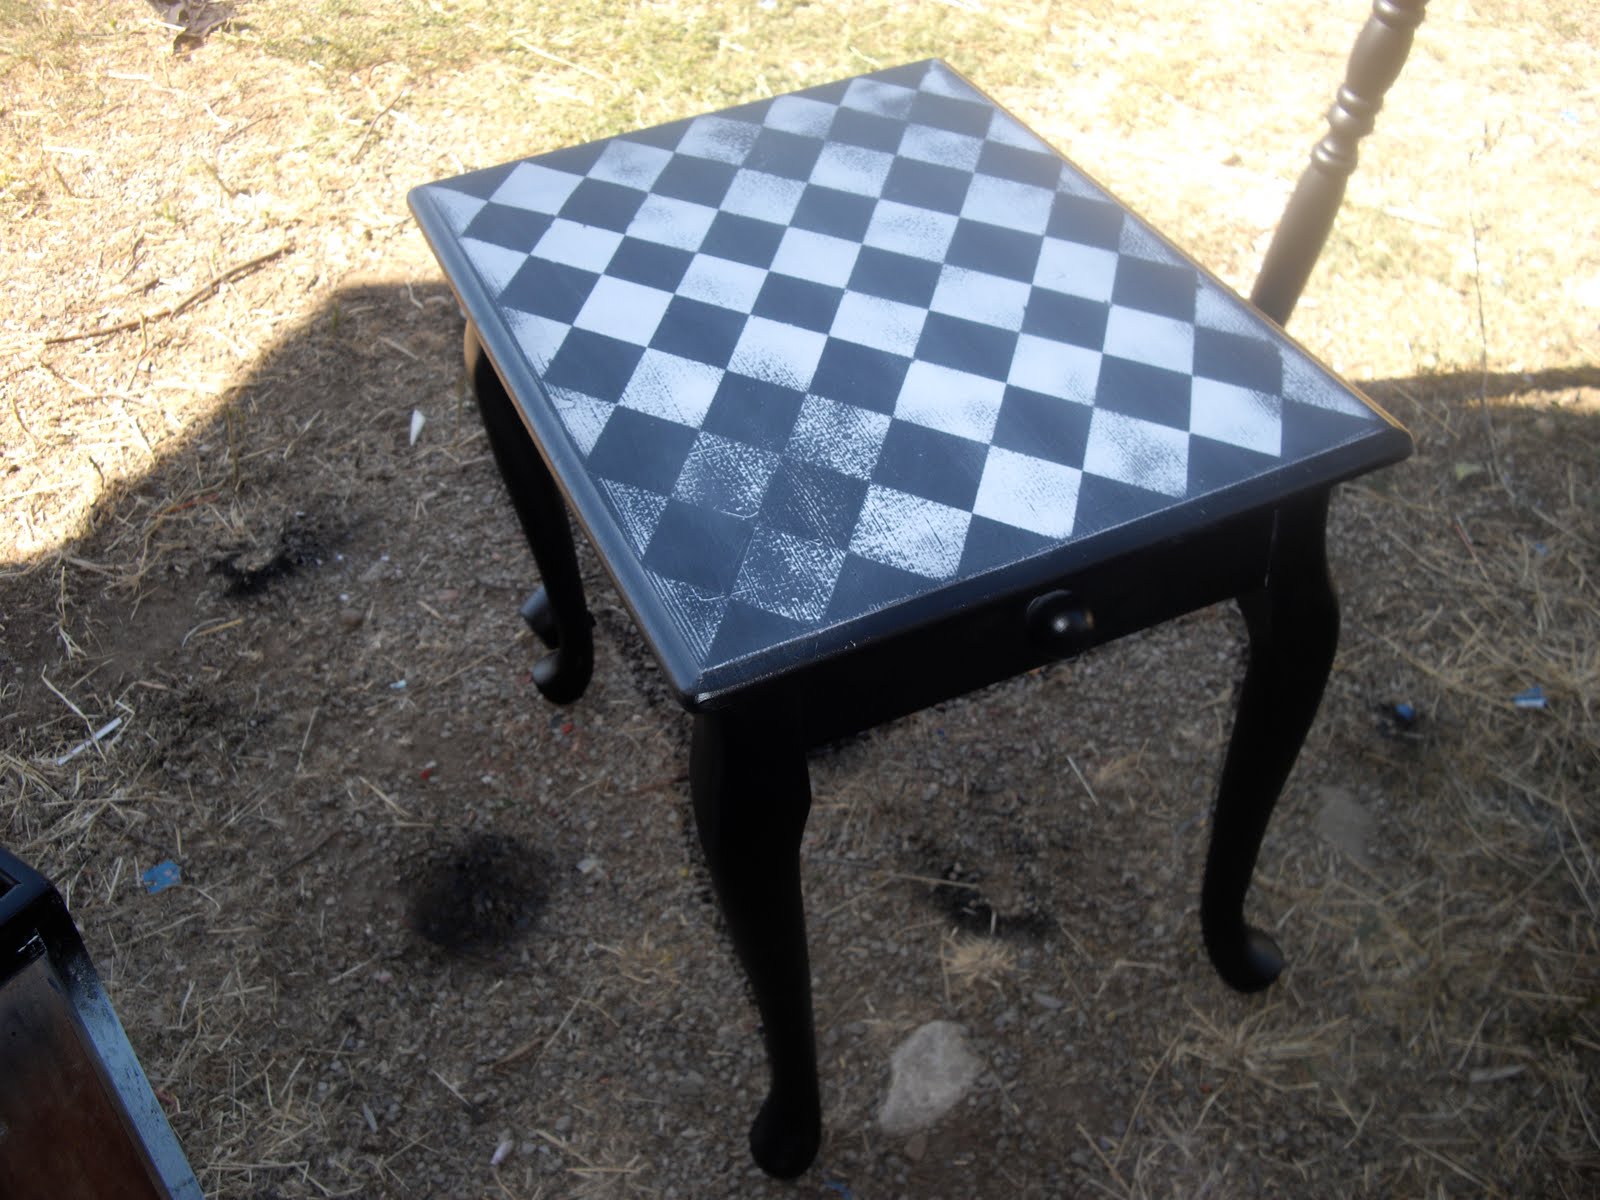
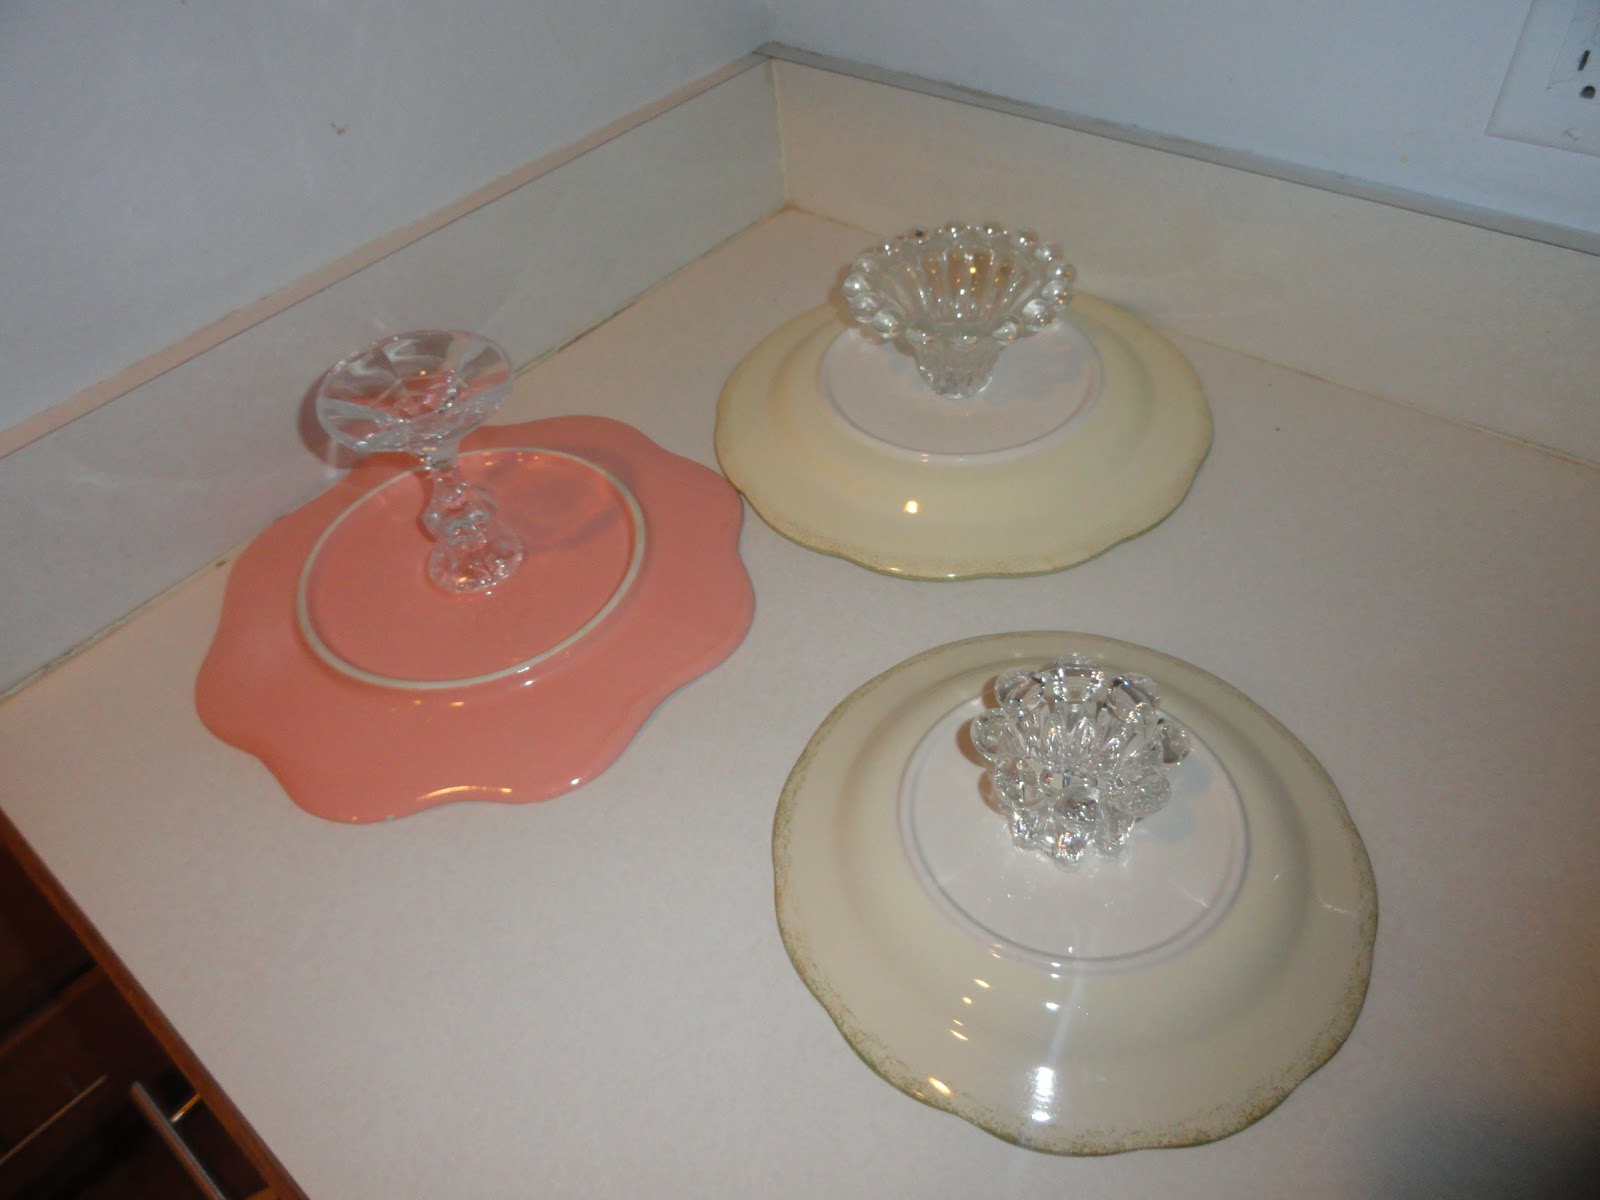
2. Skitt A Skatt Furniture: Felicia over at Skitt A Skatt has some amazing furniture makeovers and other tutorials. I love the harlequin table, and these adorable DIY cake plates (with a detailed tutorial). Check out her Etsy store while you are there!!

 Visiting a dear friend, we ended up doing yoga in her kitchen. Her dog Max decided to join, providing this wonderful wordless wednesday photo!


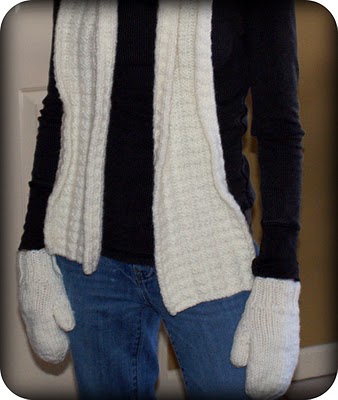
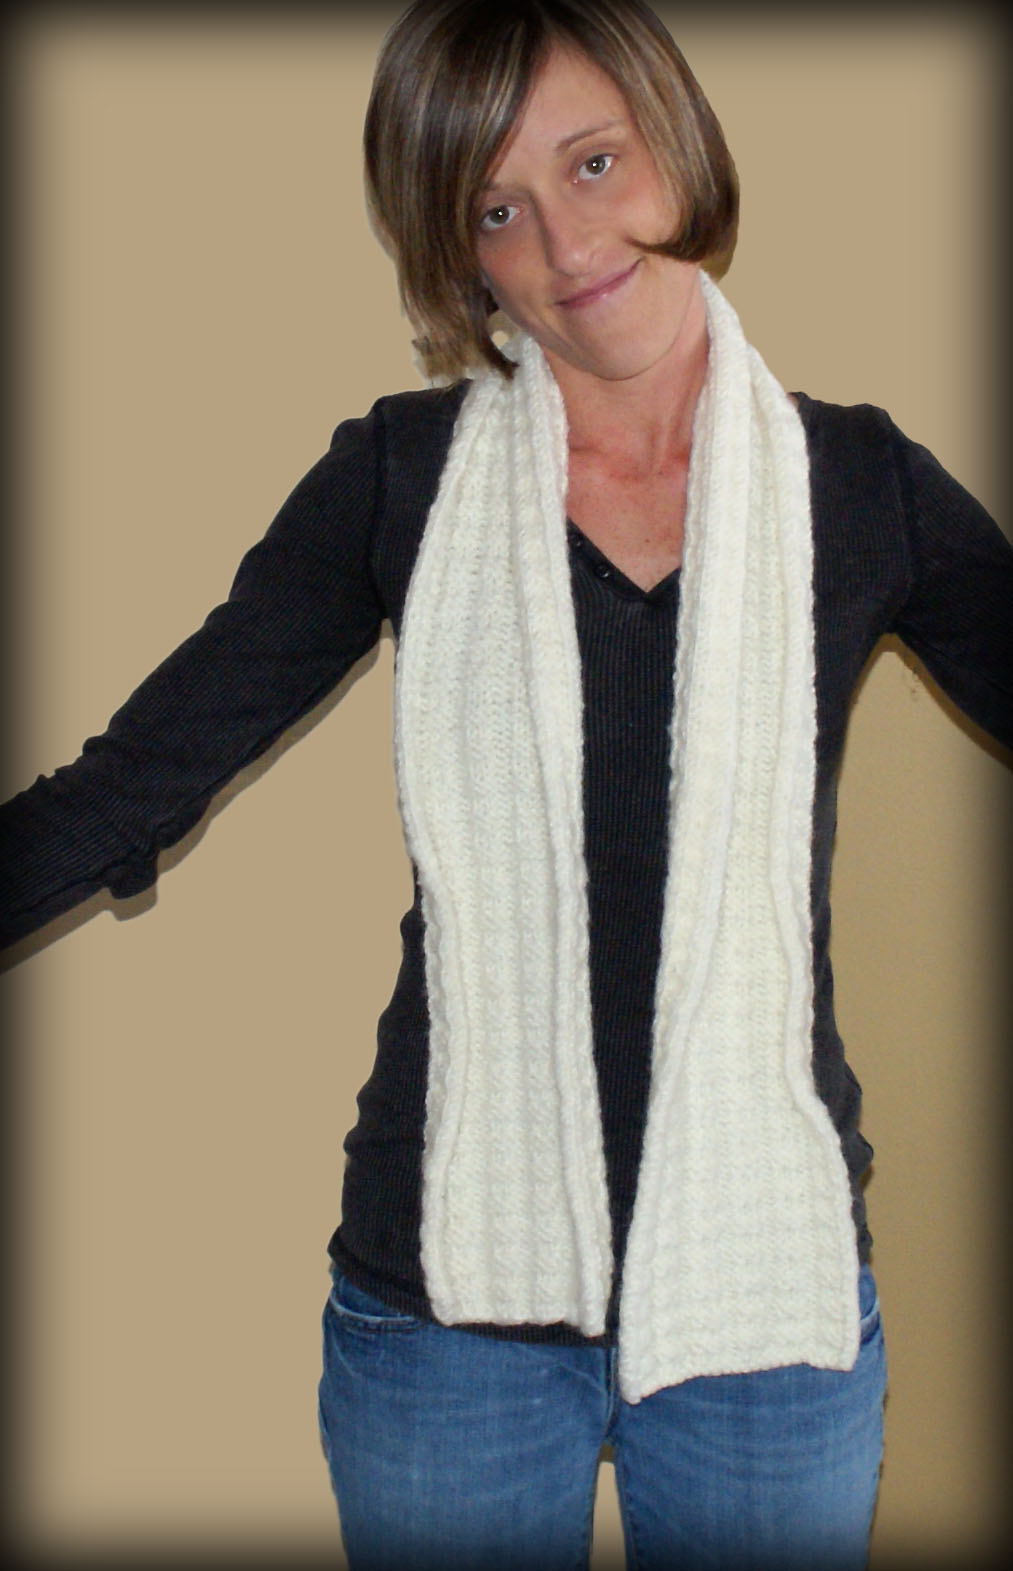
This project was inspired by my niece, who has always adored cats. I knew she would rock this look and I was right! Read on for pattern.
Left ear:
using the size 7 needles (or size desired – not crucial to be exact gauge here)
decrease seam, in desired position beginning with the WS:
Rnd 1-3 knit in seed st pattern to end. (11 sts)
Rnd 4 (RS) ssk, seed st pattern to last 2 sts, k2tog. (9 sts)
Rnd 5 and al l WS rows knit in established seed st pattern.
Rnd 6, 8, 10 (RS) as Row 4.
Rnd 12 (RS) k3tog.
Right ear:
using the size 7 needles (or size desired – not crucial to be exact gauge here) , pick up 13 sts along
decrease seam, beginning with the WS, continue as for the left.
FInishing:
Weave in all loose ends. Lightly felt my machine washing in HOT water. Let air dry. This tightens up and neatens the stitches. *IMPORTANT* If you used wool, from this point on, hand wash in cold water only, air dry.


