

Join me in this fun blog hop by clicking below!

Upcycling DIY home decor, woodworking and Crafts


Happy Cyber Monday! Enjoy free shipping this week in my Etsy and Artfire stores. I have several gifts for runners, for inspiration…If the total shown includes shipping, just subtract it and pay that amount. I am so very grateful for my awesome followers. Blessings…
It’s not 101.. it may be even more.. but they are really easy to make! You only have to print, cut and assemble with some glue!
With Christmas on the way I decided to search for some easy decorations you can do yourself. And what’s easier than print, cut and glue?
Here his a big list of paper-crafts and paper toys that you can use to decorate your home and, as most of them are really easy, you can share the activity with your kids that will love it, for sure!
There’s a lot of funny, cute and beautiful crafts all ready to download and print. There are paper toys and also useful boxes and bags for your presents. And more, you can also find some beautiful cards and even origami! There’s a lot of fun in all these links, I can assure you!
So, prepare your printer and get your scissors and glue to start!
Content Source: Bukisa – 101 Diy Christmas Paper Crafts
With the barrage of medical shows on prime time, it is no wonder that scrubs are kinda… stylish (thank you Patrick Dempsey).They are one of my favorite aspects of working in the medical field as they are so comfy, and are seemingly coming out in cuter cuts, colors and prints.
My momma is a registered nurse and recently turned me on to Blue Sky Scrubs, where she heads for her favorite nursing uniforms. By “turned me on to” I, of course, mean she stated plainly that she would like a gift certificate from Blue Sky for Christmas. She swears these scrubs make anyone look good.
I decided to investigate, and was happy to find there is a variety of cheap medical scrubs, with cute stitching detail around the pockets on both the top and pants. They even have a variety of clearance scrubs.
I plan to order while getting my mom’s Christmas gift. I will let you know how it goes!
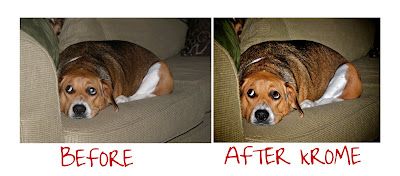
I found this website, Krome, that offers professional photo editing services and must share the treasure with you. With the amount of time I spend photo editing in photoshop, this is very appealing. The results are wonderful, and you get 25 free “Krome Treatments” just for signing up for the free account. I Love it!! I was excited at the prospect of 25 photo edits for free, and the low rates even after the freebies ran out, so I uploaded some pics that I knew needed some major editing. Uploading was easy with the software made available on the site (here), much like uploading to photobucket or facebook. I was notified that my photos would be edited and I would be notified when they were finished, within 24-48 hours. That was yesterday. Today, I went to the site to find my photos had been edited. Lets check them out a couple out:
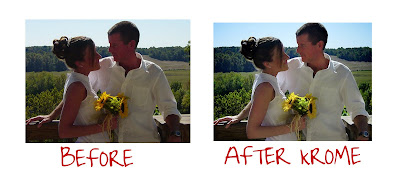
 So, the picture of my sweetie and I was taken on our wedding day by a cheap disposable camera. It has always been one of my favorites, except for its poor image quality. You can our faces are red and lacking in detail because of poor exposure. The sky and background are dull in color. The Krome treated photo is much improved. Our faces are clearer, our skin no longer looks burnt, the sky is a more vibrant blue, the green greener, and the contrast way better. They even cropped out the random tree on the far right, and some extraneous sky off of the top. I consider myself quite the little photoshop photo editor, and I have to admit that my attempts to beautify this picture did not quite measure up to the Krome treatment.

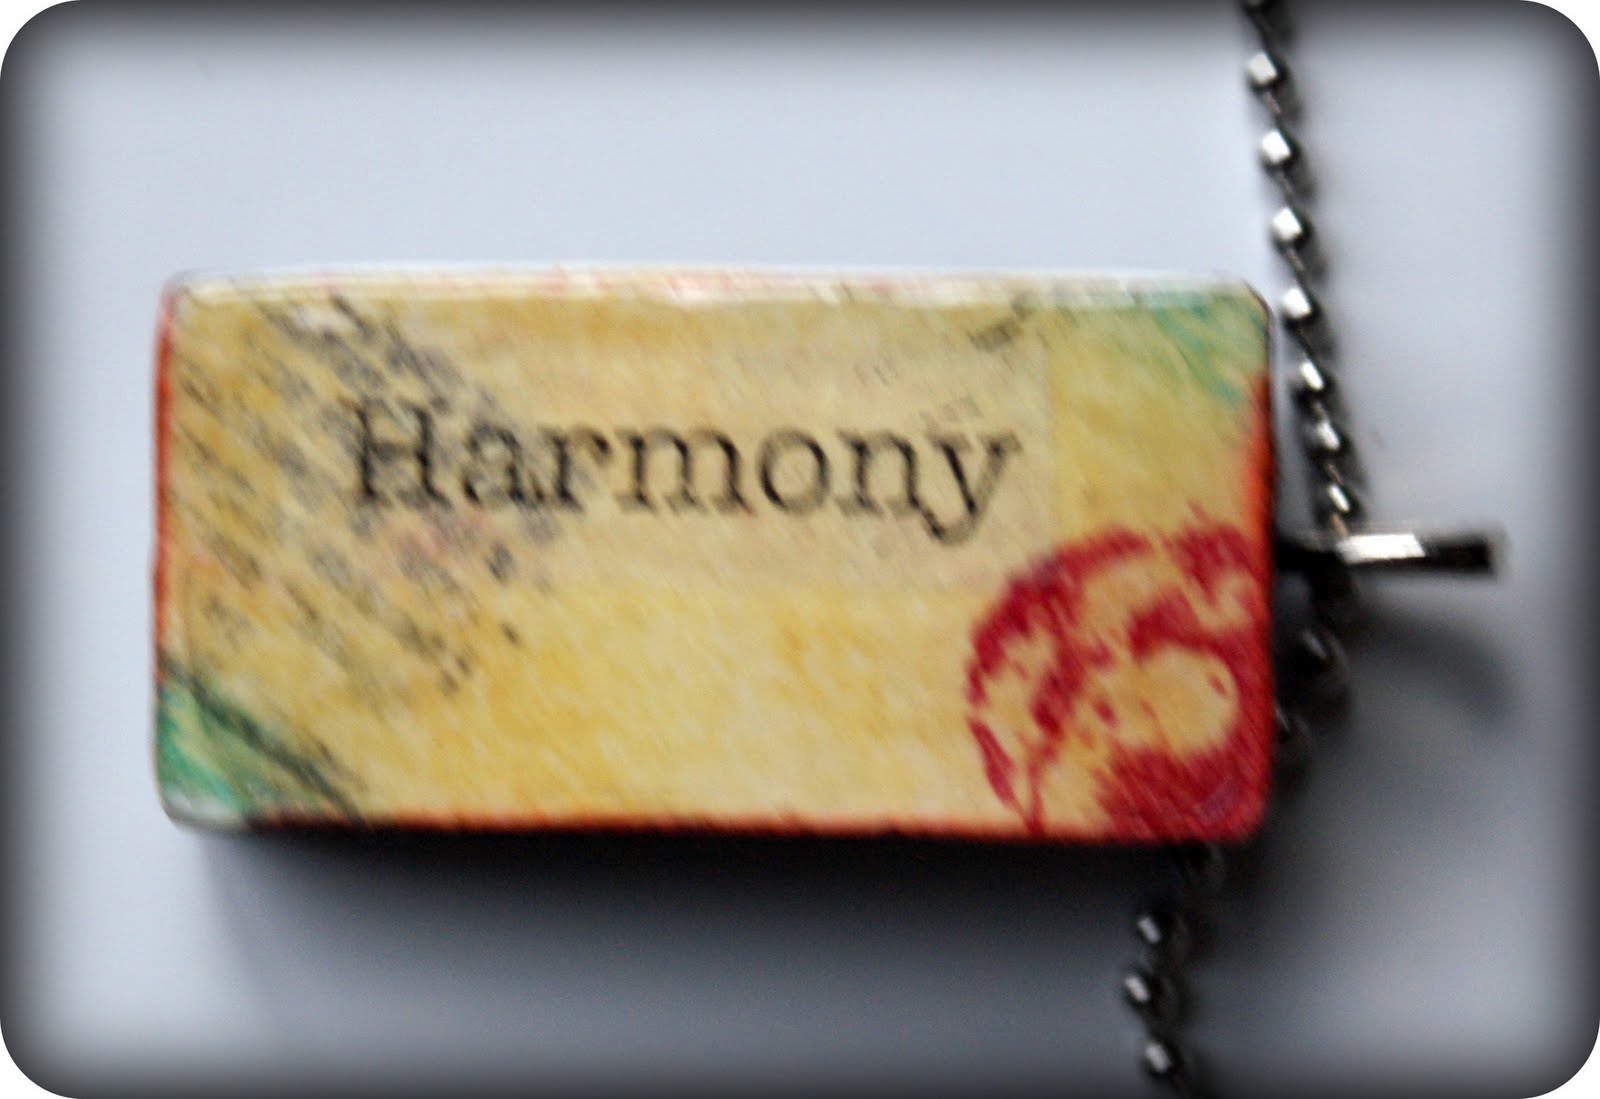
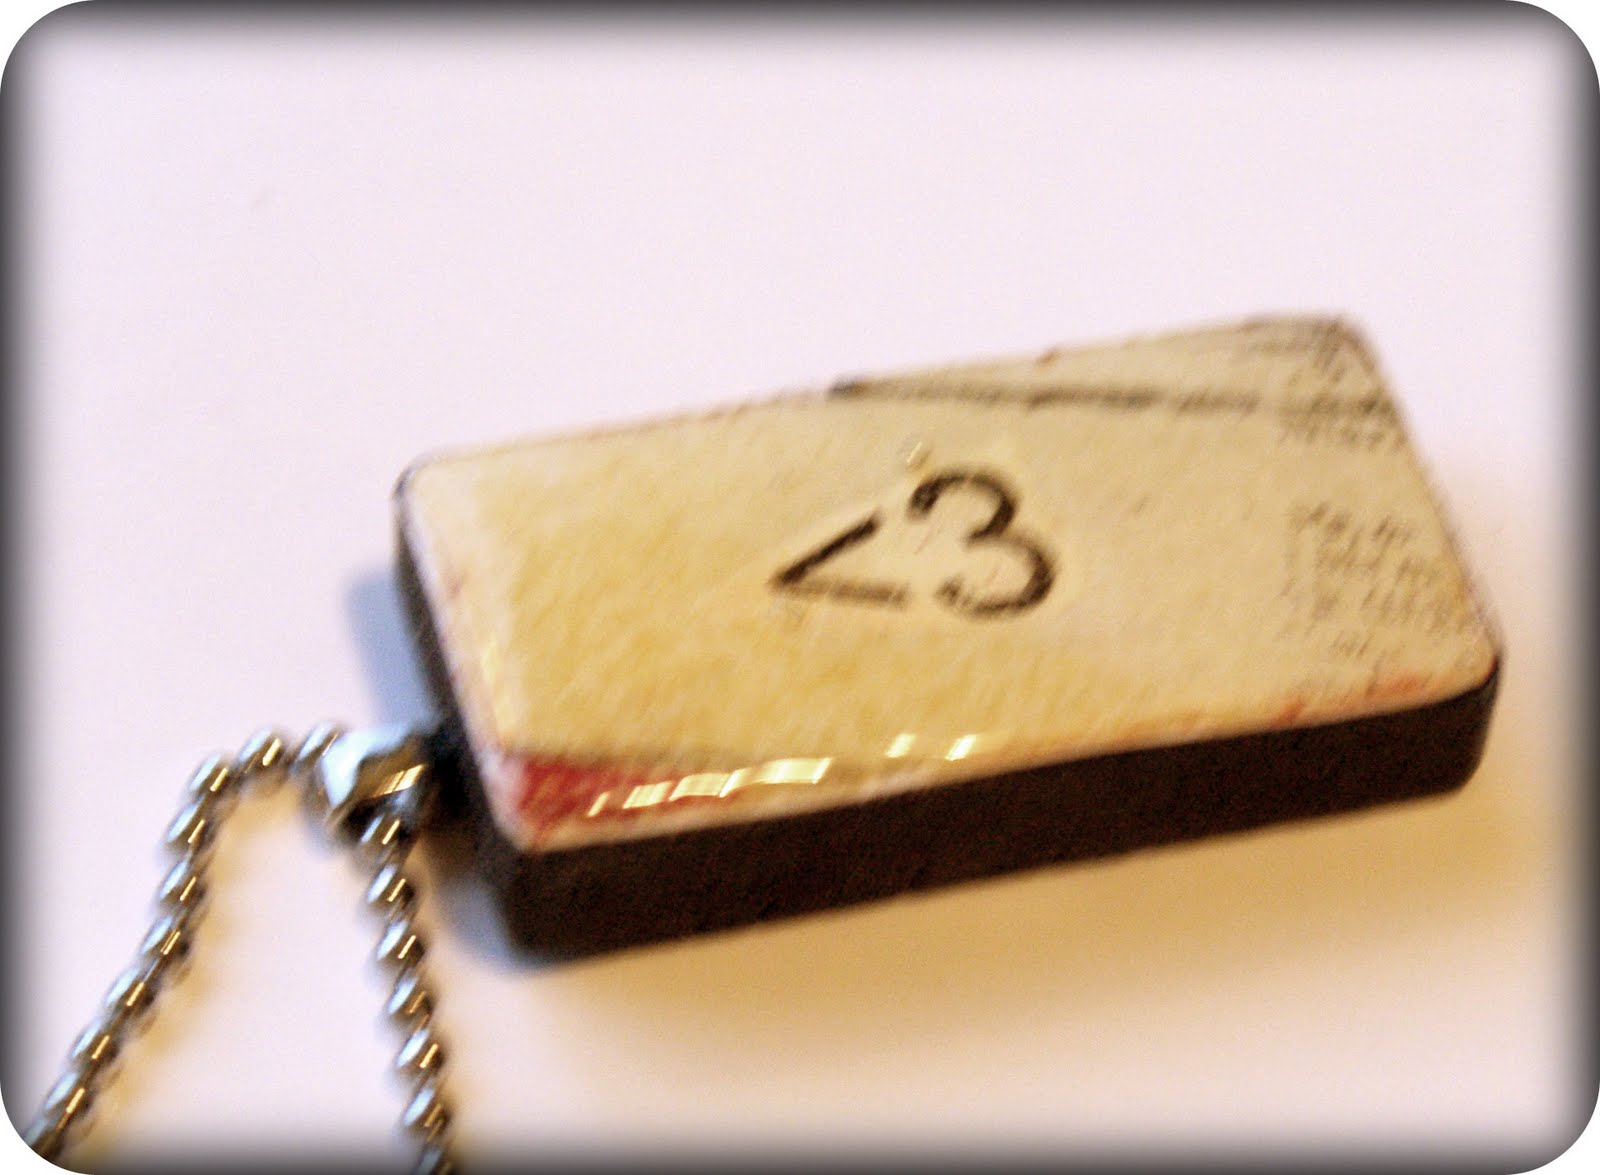
Domino pendants with a message! These are frugal as all get out, and pretty darn cool, I must say…I have made these before, but this time I utilized the contact paper transfer technique I detailed here. What do you think of these? I am planning to make one for my niece with her name since she can never find things with “Ashlyn” on them. I am also making one for a cancer survivor that says “kicking cancer’s @#*”.
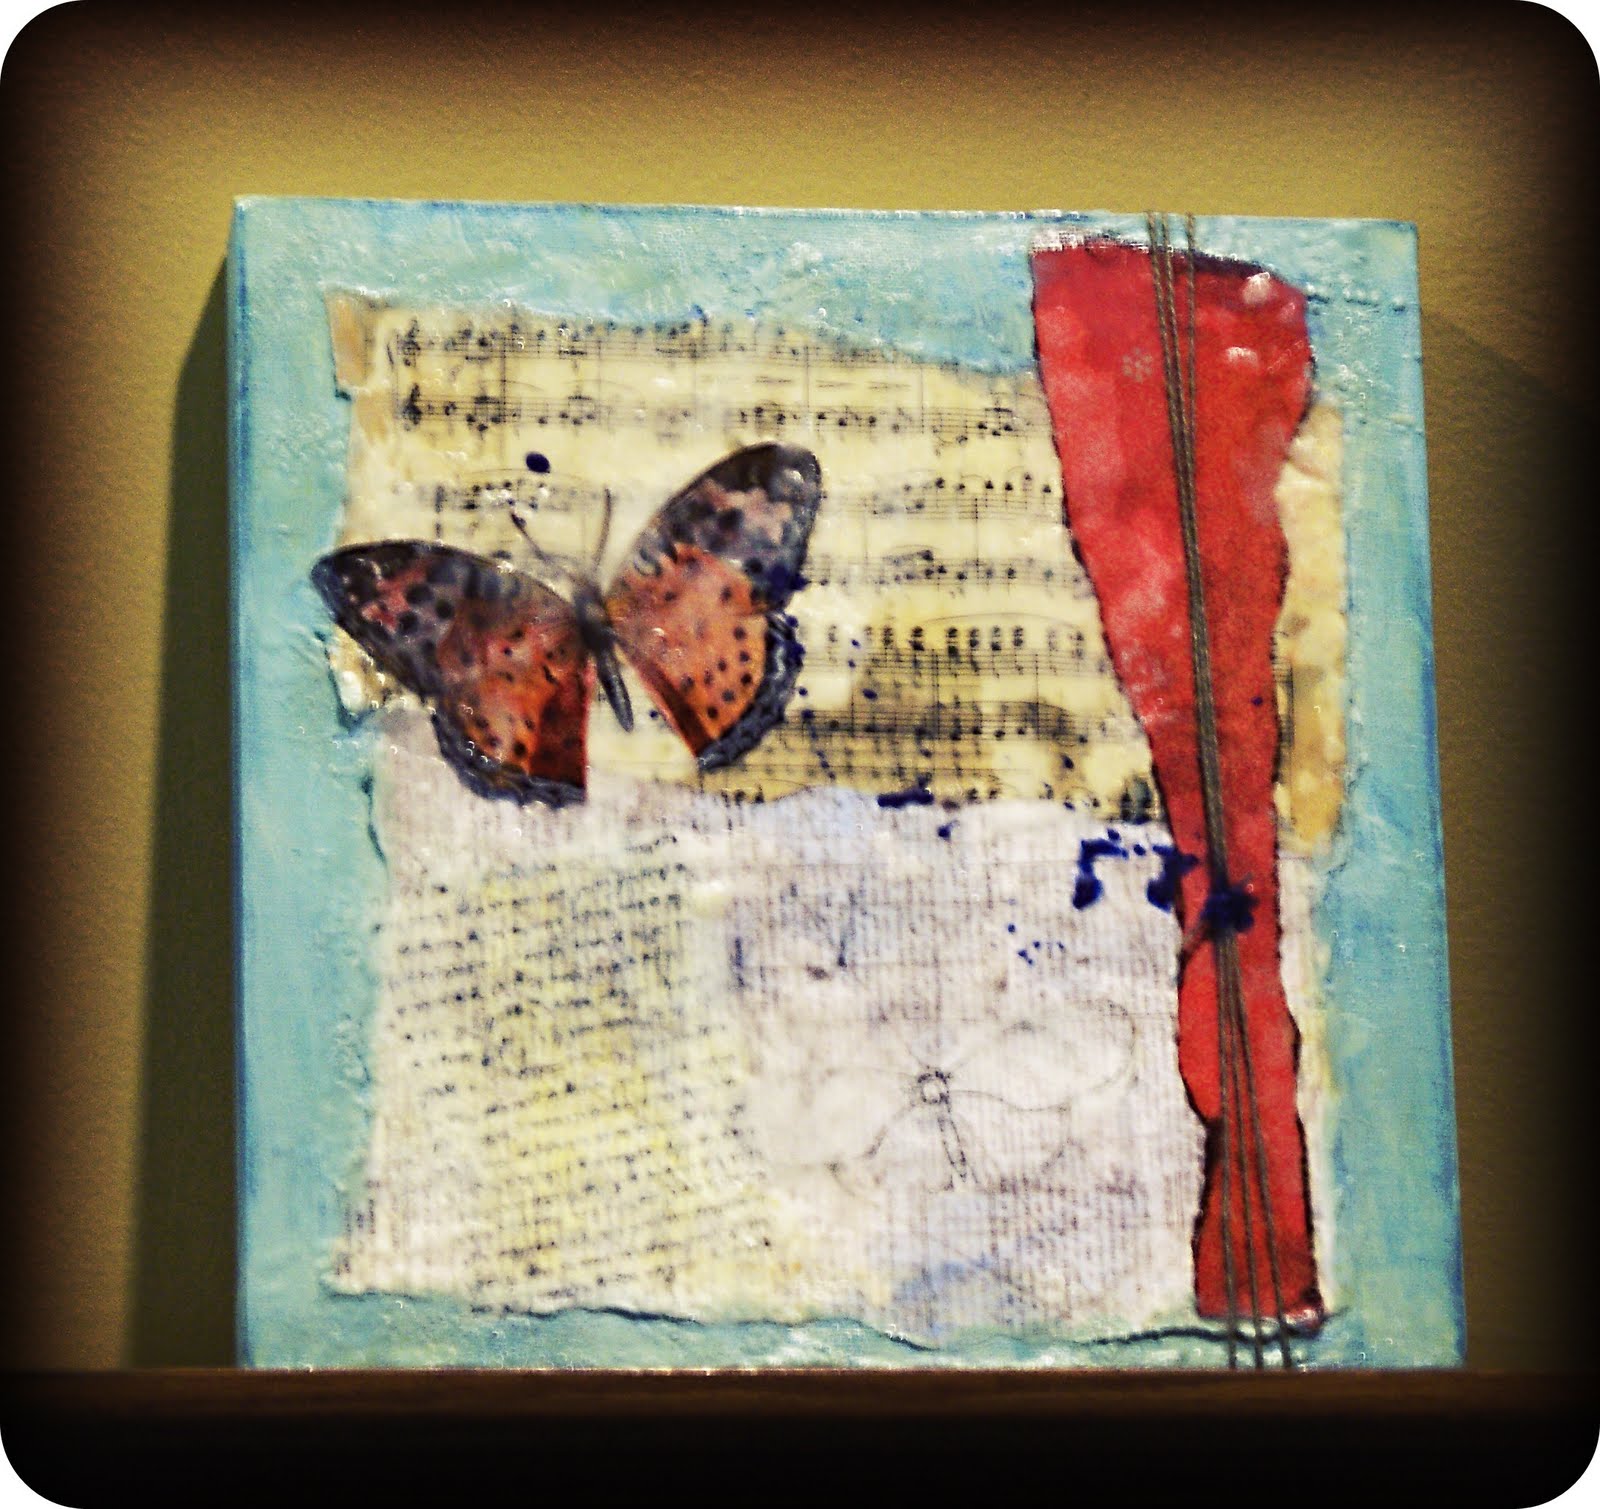

I found this awesome tutorial video on beeswax collage art at Stampington, and followed it pretty much exactly, with a couple of exceptions. I opted to leave off the word butterfly, and I used contact paper transfers for my images, instead of stamping and placing the image cutout directly onto the collage. Great video. I had a lot of fun painting with beeswax on this canvas, layer by layer. Fun, easy, different, and in line with my recent altered canvas obsession!

Ripley the innocent beagle…I will be back in full gear Monday. All is well. Just taking a lil break to chill with my peeps. Happy Holidays!
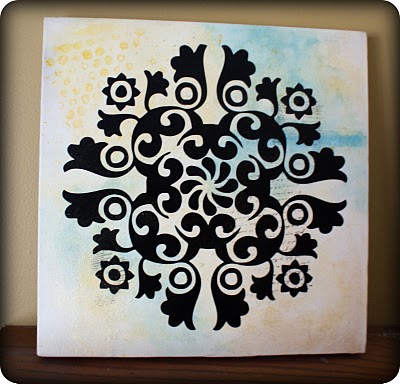
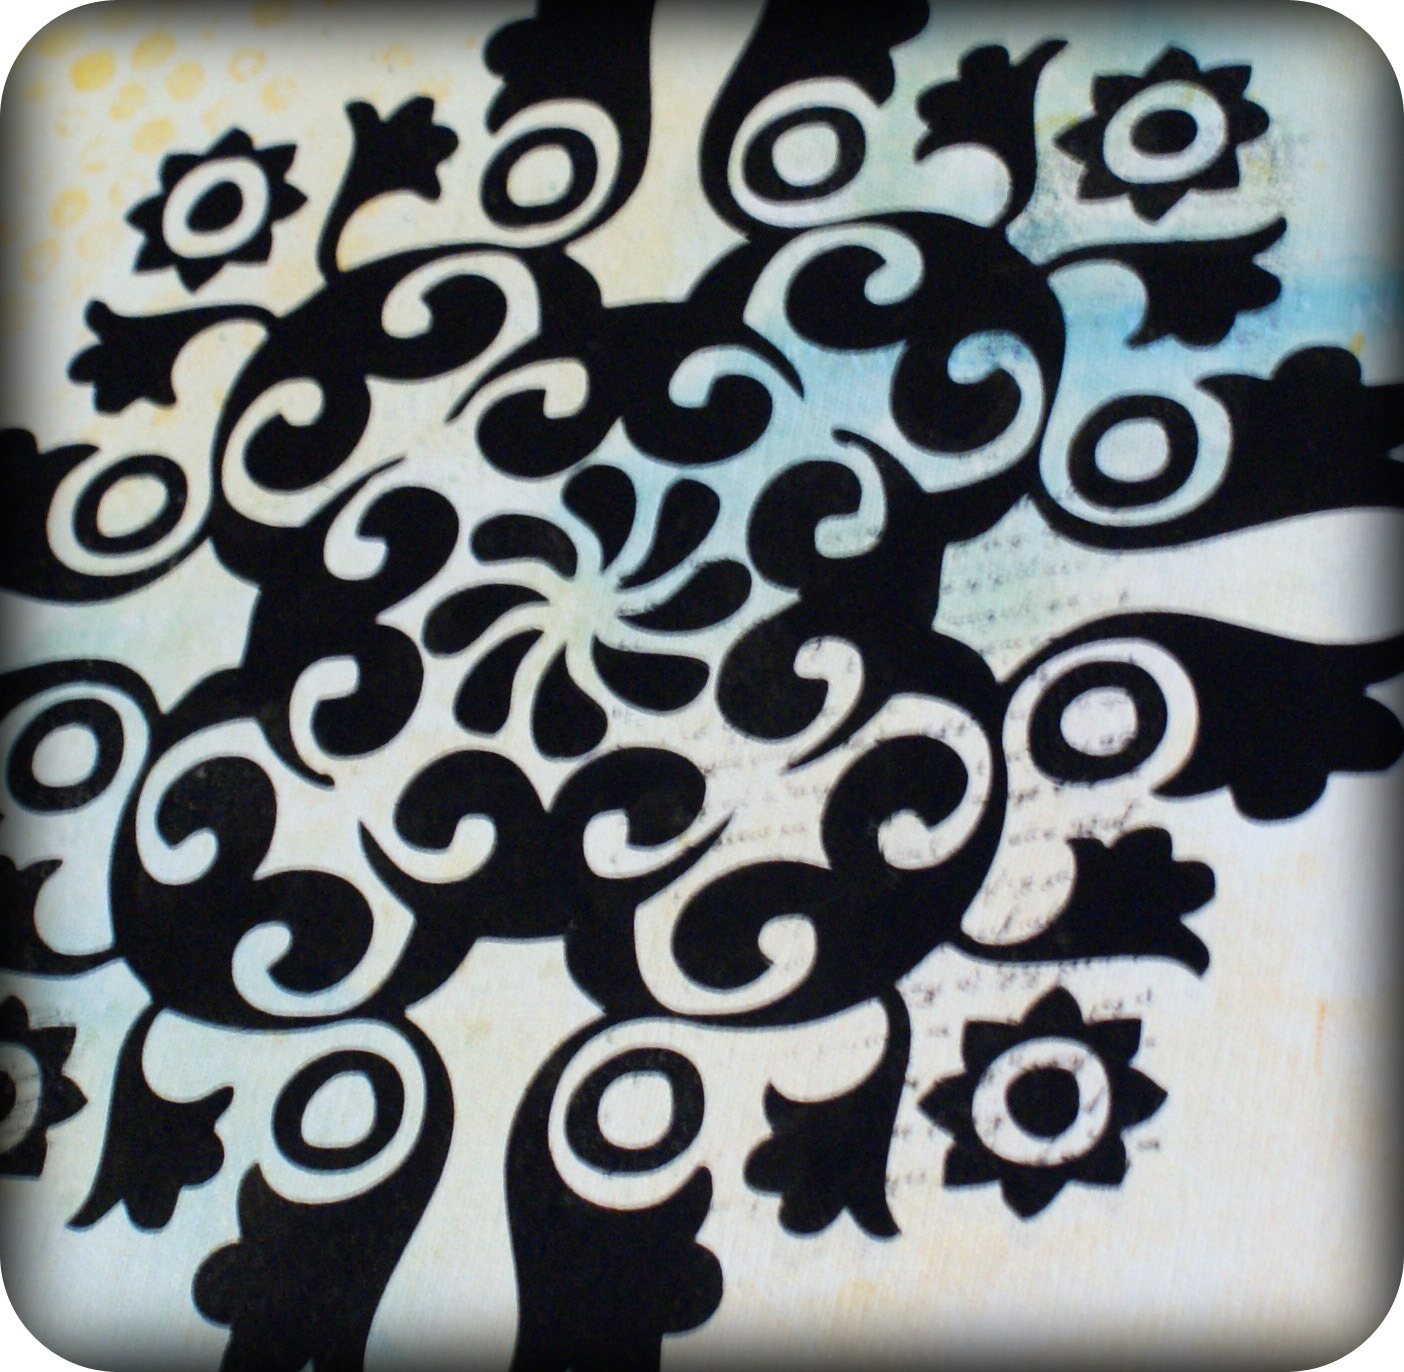
More altered art canvas, and exciting ways to use Cricut for your home decor projects!”For this project, I did some acrylic washes on a 12×12 inch canvas I bought from Joanne’s. I used a yellow and a blue, and once the washes dried, i stamped randomly on the background using a handwriting stamp and dictionary definition of gratitude stamp using black Staz On ink. On top of this, I did a wash of Golden iridescent acrylic paint. Once all dry, I placed the black vinyl design on top, which I cut out from my cricut. I am providing the .svg file for your free use: Please just give credit and linkback to my site if you use my files!Download


Now for the transfer process. The idea is to get the outline onto the substrate, in this case the canvas. I could just trim around the image and collage it onto the project, but this wouldn’t allow the canvas background to show through. After much research, I decided to go with this approach, shared by Lisa Cook. The problem I ran into is that I was working on a framed canvas, so I couldn’t really get in there with a rolling pin since there wasn’t a solid surface backing the targeted area. In the end, none of my image transferred using this process. Frustrating. From what I have read, failing several times before figuring out what works for you is inherent in image transfers. I found a simple solution… clear contact paper. Yep. Check it…
