
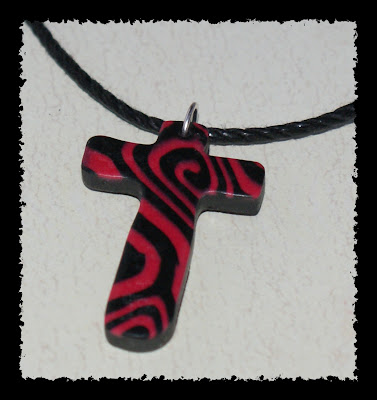
 I made the above cross using a cane I made from a simple jelly roll, cut and pieced together to form a complex design. Tutorial follows…
 *Condition your two clay colors in your pasta machine on setting 2 (second thickest), and lie flat in rectangle shape.
 *Place one color on top of the other and cut the excess edges to make a rectangle.
 *Run the rectangle through the pasta machine on the same setting (2), and you will be left with a long rectangle of the two colors stacked. Fold in half lengthwise (doesn’t matter which color is on top).
 *Press down the folded edge to get rid of any air bubbles.
 *Cut the other edge at a 45 degree angle (this will help blend the edge into the roll).
 *Roll, starting with the folded edge, pressing as you go along to get rid of any spaces.
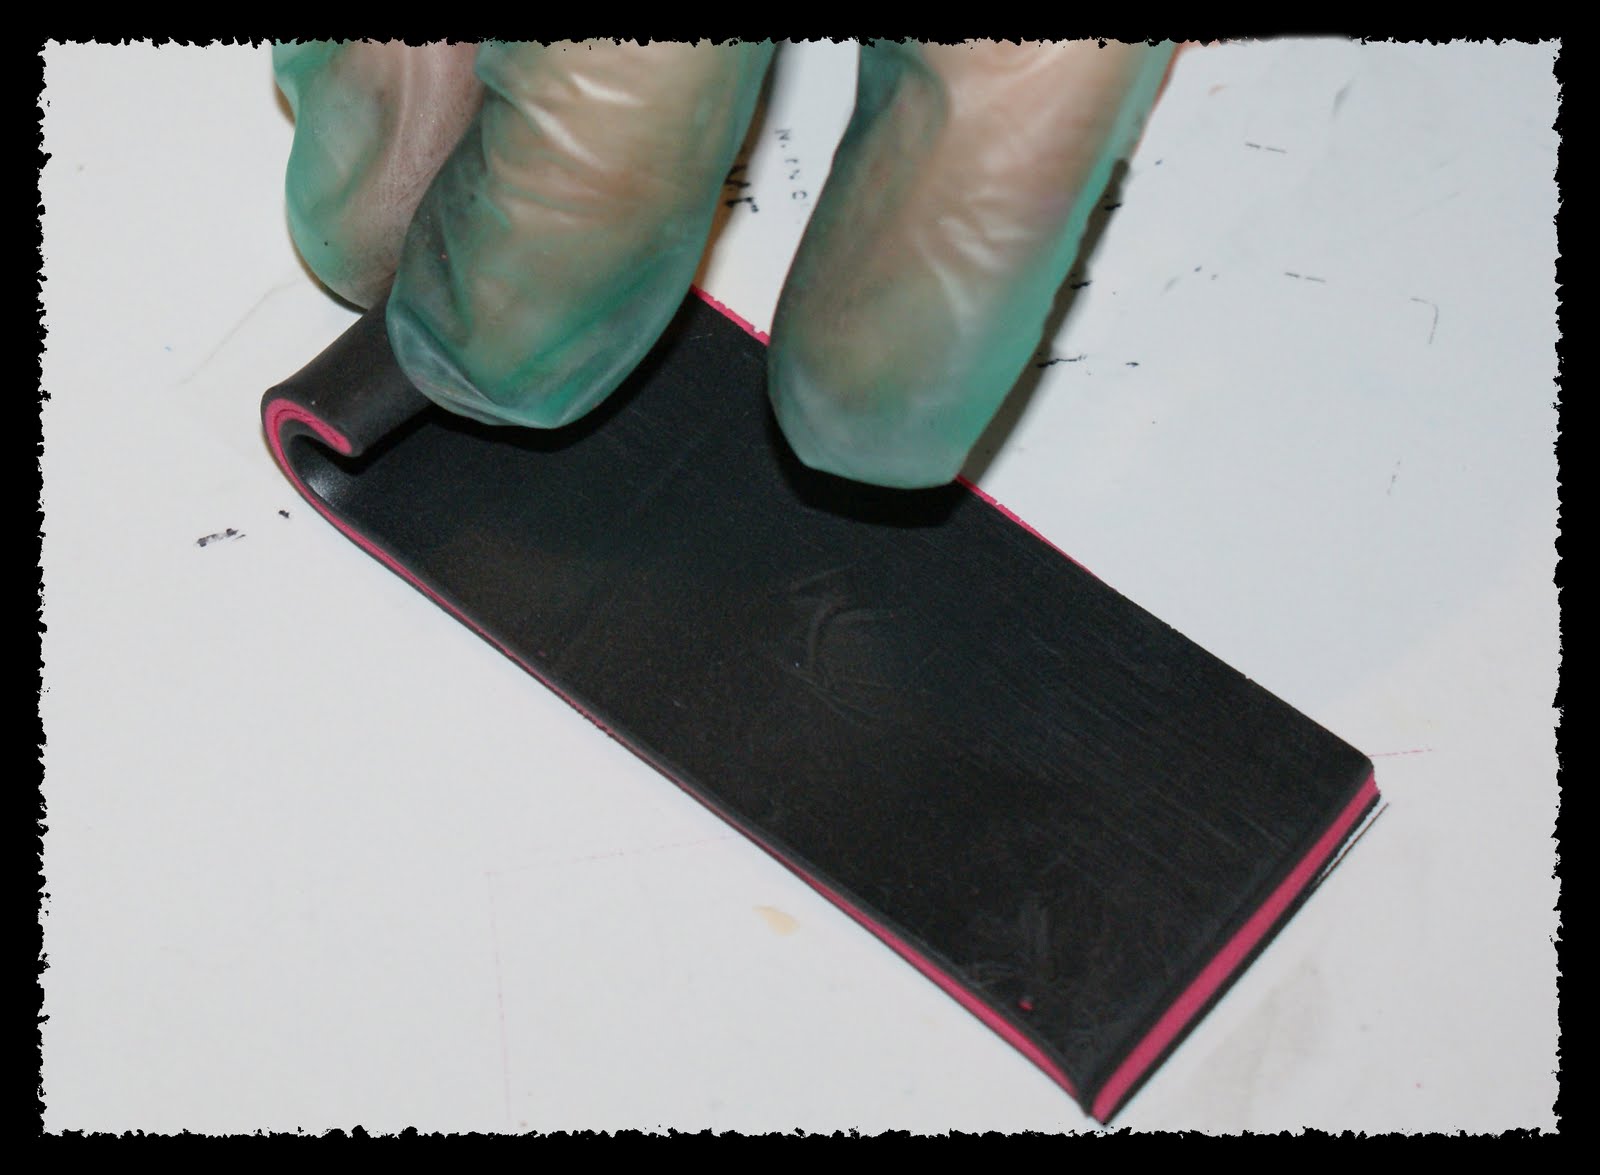

 *Measure the length of your roll, and cut off one quarter and set aside…
 *Stand the other 3/4 upright and cut in half, then in quarters…
 *Reduce the set aside piece from earlier to the same length as the quarter pieces, or until the diameter of the log is about the same as the radius of each quarter. Press the four quarters around the log as pictured…
 *Roll each side of the now cube with the brayer to fill spaces and even out the cube.
 *Now cut the cube in half and place each half side by side.
 *Then cut this in half and place one half on top of the other. Smooth with brayer and Viola! You have your cane. If you are like me when I made my first cane, you are thinking “Great, now what do I do with it.” Read on, my friend…
 *Take very thin slices and place on conditioned scrap clay rolled into a sheet. Lie them next to one another as close as possible without overlapping, and roll smooth with roller or brayer. Then cut out whatever shape you want, or you could place the thin sheets on clay spheres to make beads. I cut out a cross in this example.

 Tuesday Blog Hops…


